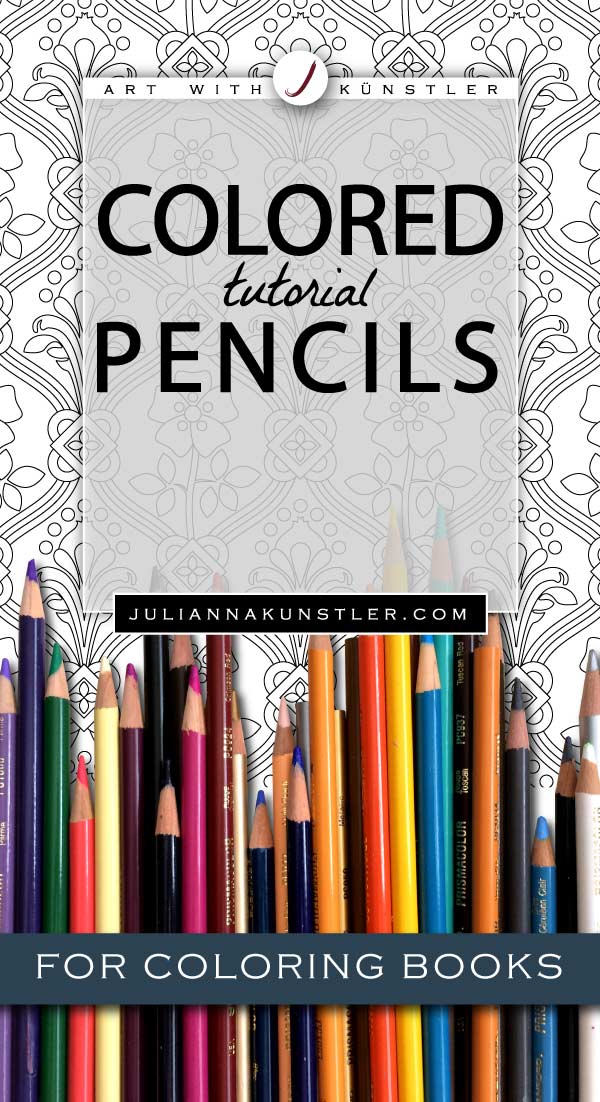
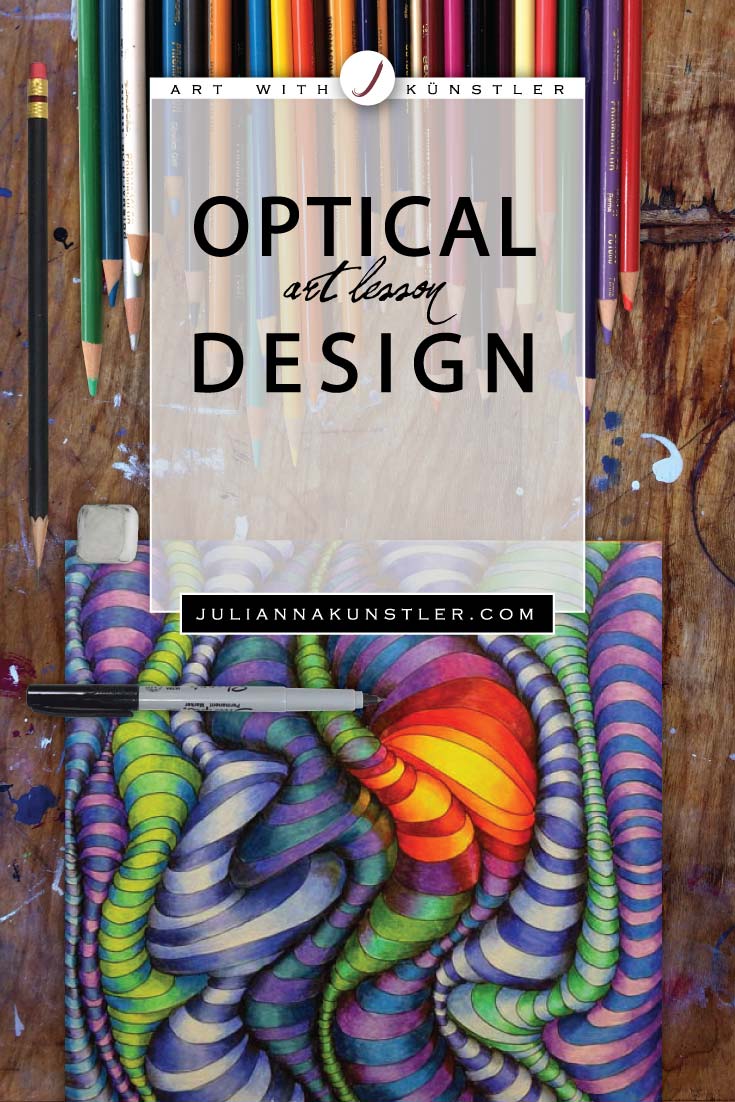
You can start with a basic set of 24 colors. That is just plenty to start with.

Prismacolor premier 24

Next thing - sort the colors. I like to group my pencils by color groups - warm colors, cool colors, neutrals. Having them in groups will make a color selection easier - you will immediately see all available variations.
Think of a few extras, that you might want to use.
drawing board and masking tape
I find it helpful to tape paper to a drawing board (or any kind of heavy board - illustration board, a piece of cardboard that fits the size, etc.). This way, as you work, the corners will not bend, it will be easier to store the work when you are not working on it, and finally, it will keep it flat and protected.
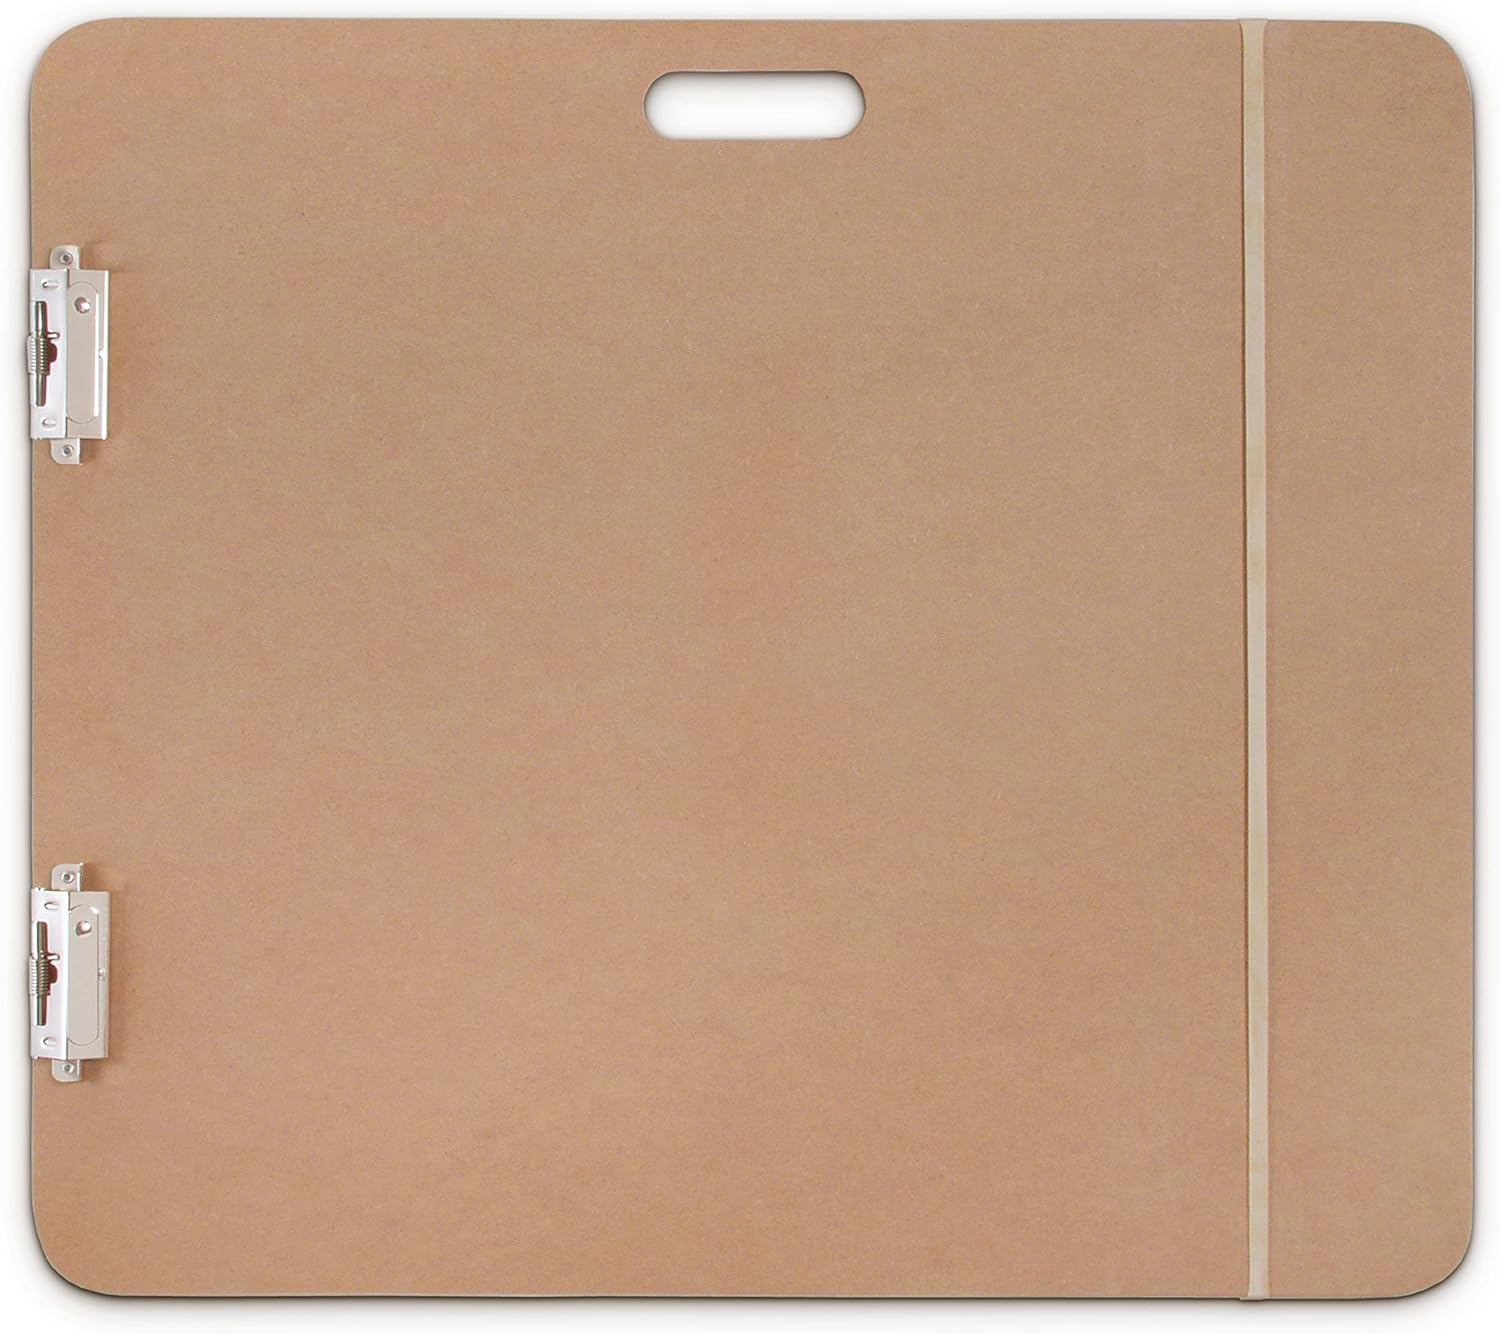
drawing board
dry board eraser
This is the best way to clean the surface of the drawing from eraser or pencil crumbs.
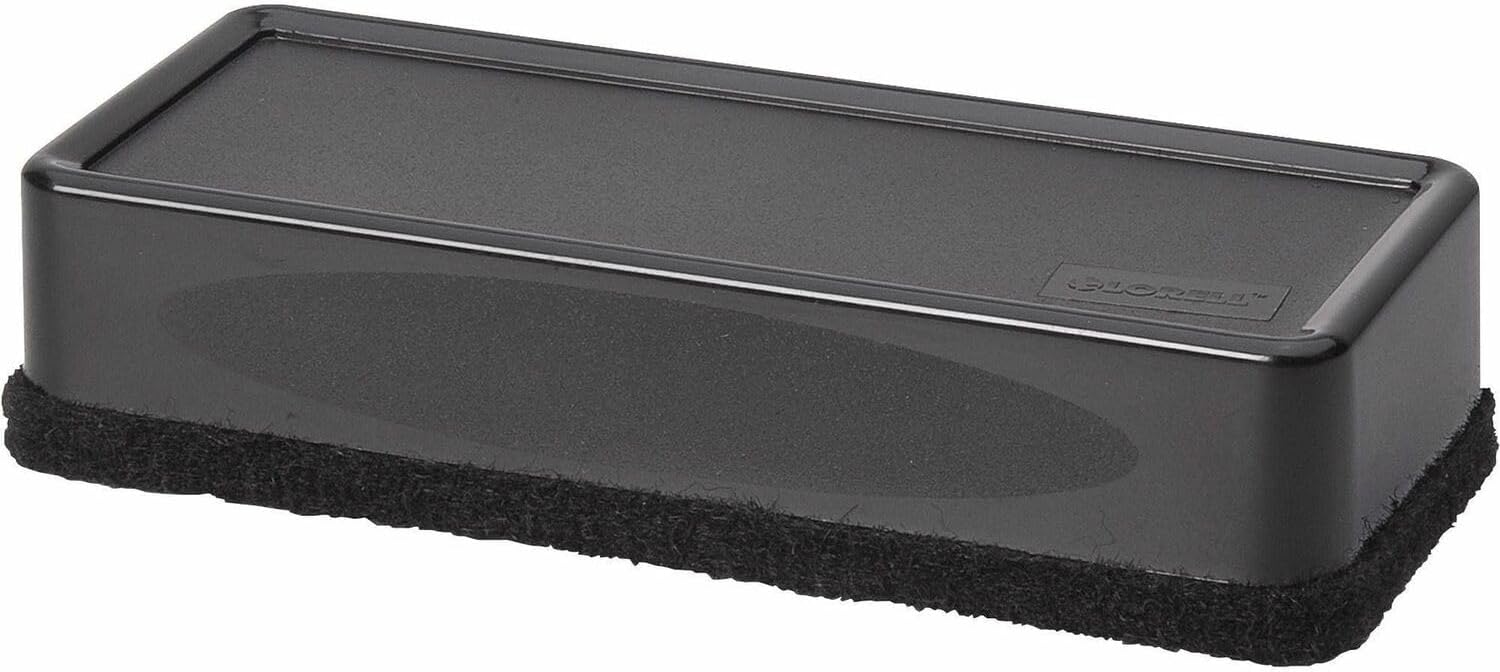
cleaner
colorless blender
This pencil has wax but no pigment. Use it to burnish the surface of the paper, filling in all the little white flecks from divots in the paper. This creates a smooth look. Once the paper is burnished, it will be difficult to add layers from other pencils. If you choose to blend with this tool, it should be the last step in your drawing.
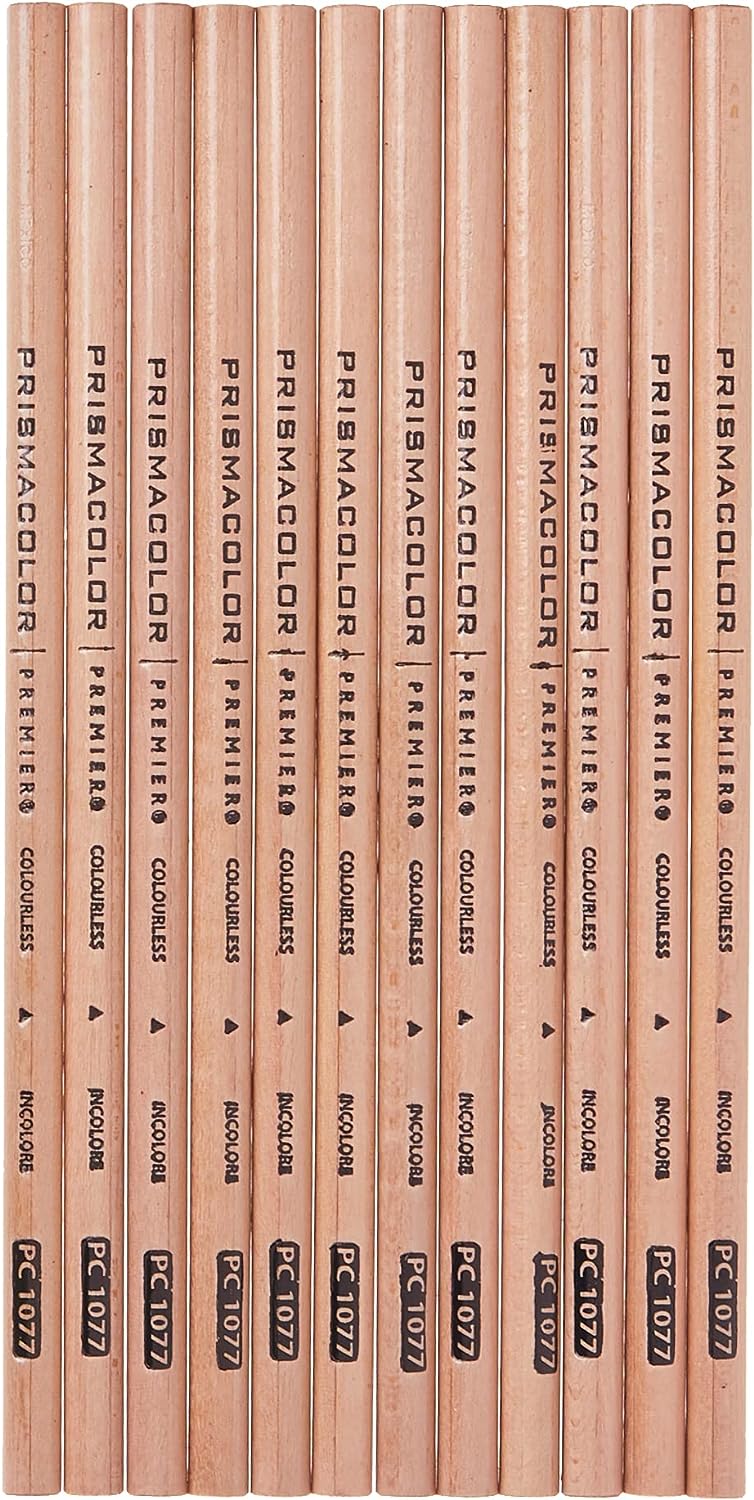
pencil blender 12
odorless mineral spirits
Another way to fill these holes, blend pencil strokes, and brighten colors is to dissolve your pencil with odorless mineral spirits. Apply lightly with a Q-tip to spread the color.
When it dries - you can apply more layers of colored pencils on top of it.
You can also try baby oil for a similar effect. Do not overdo it though.
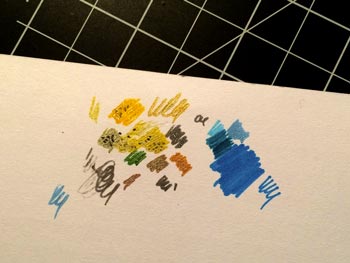
scrap paper
Use to test colors and color combinations, blending techniques, etc.
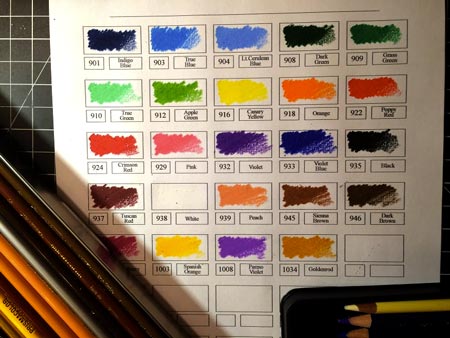
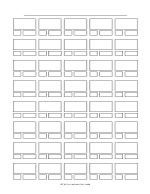
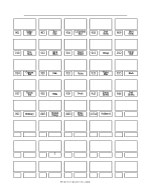
color chart
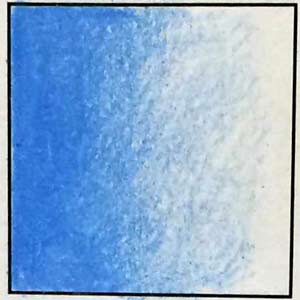
Make a color chart of your pencils before you start, especially if these are new pencils... Very often the colors look slightly different on the outside.
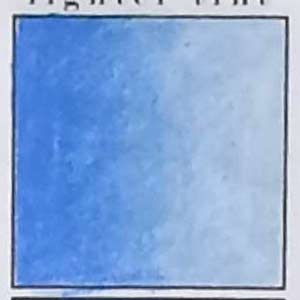
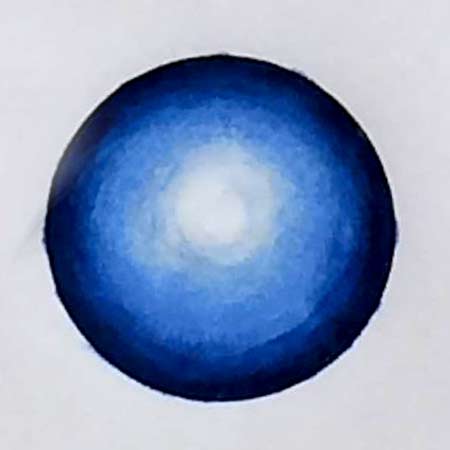
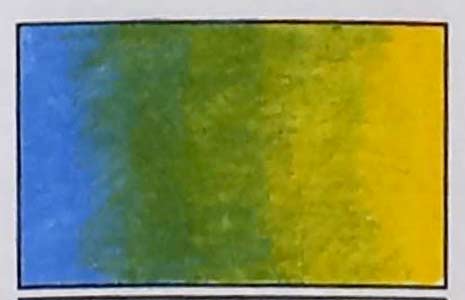
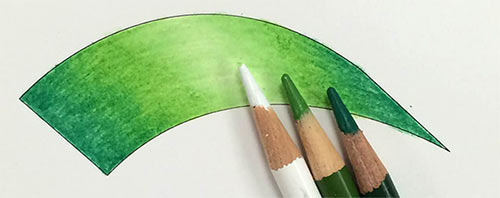
Use any of the charts below.
Writing down the name of the color and its number will help you tracking your pencils inventory and make it easier to reorder them.

