julianna kunstler logo
ACRYLICS

101
Instagram icon
 
Coloring with acrylics. Tips and tutorials for your coloring projects.

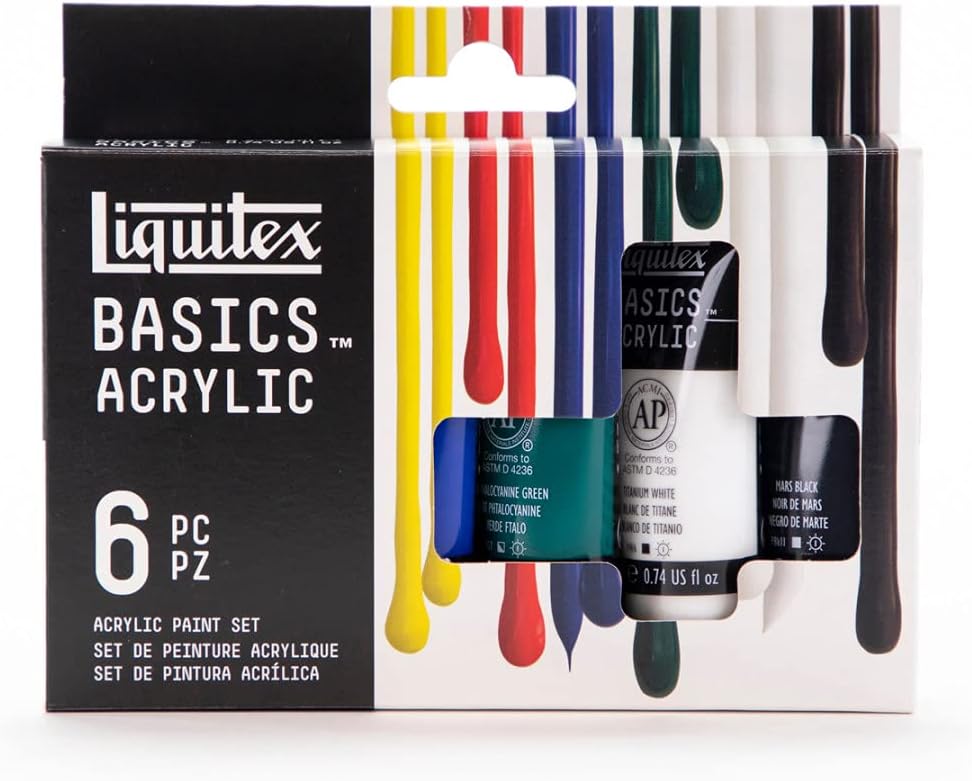
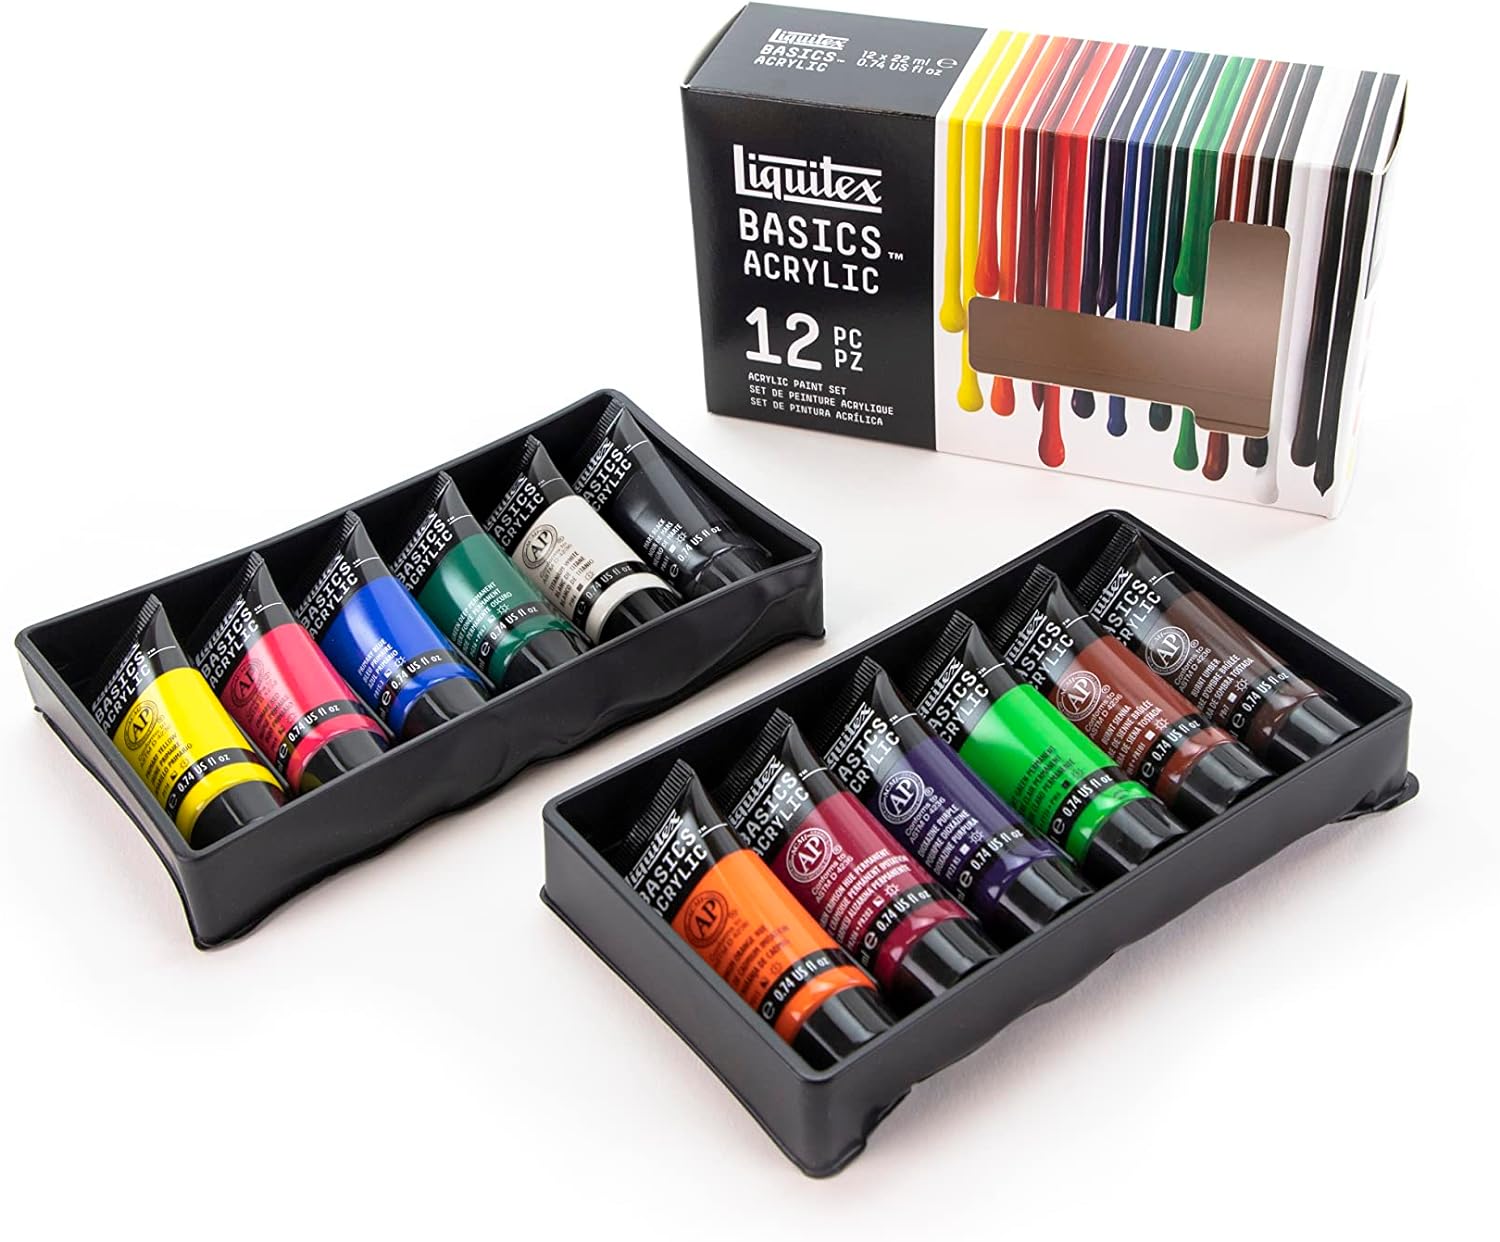
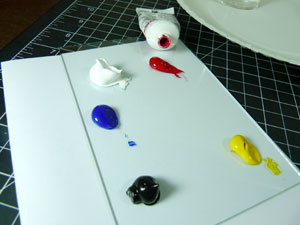
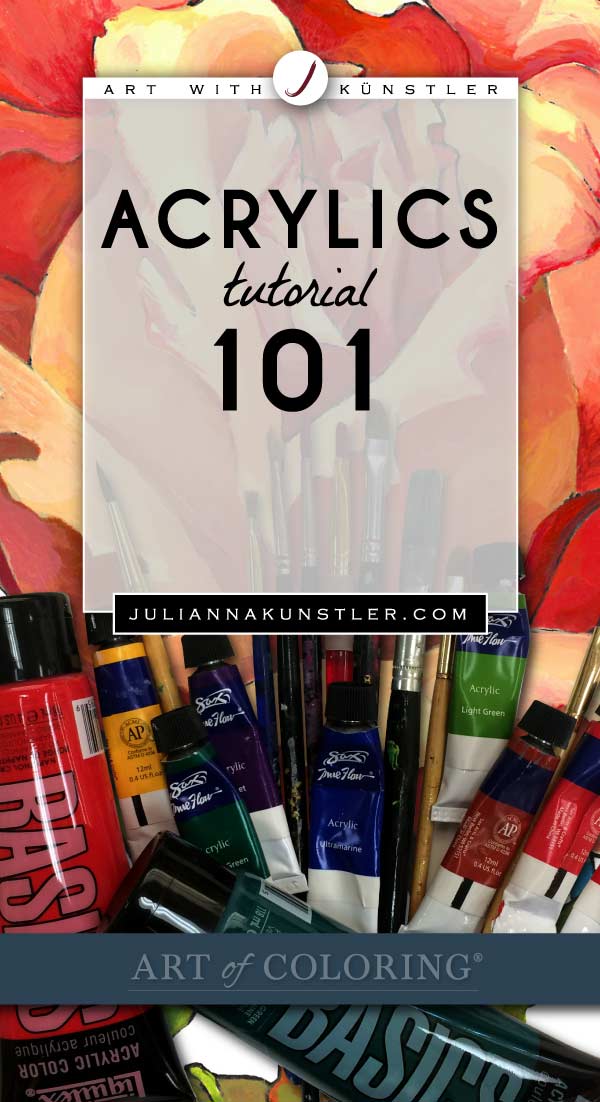
Acrylics is a very nice coloring medium - they dry fast, they are water soluble, odorless, and are easy to clean up.

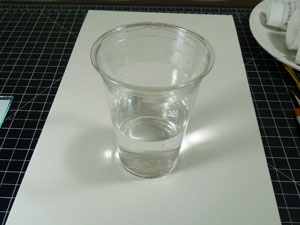
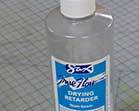
Acrylics are not intended to be as transparent as watercolors - so use water for cleaning the brush between the colors only - do not dilute the paint itself.

A good starting point to practice acrylic paints is to create a color wheel and do some basic painting exercises - see links below.

After you are comfortable mixing colors - try coloring art prints.

Art prints for coloring is an advanced alternative to coloring books.

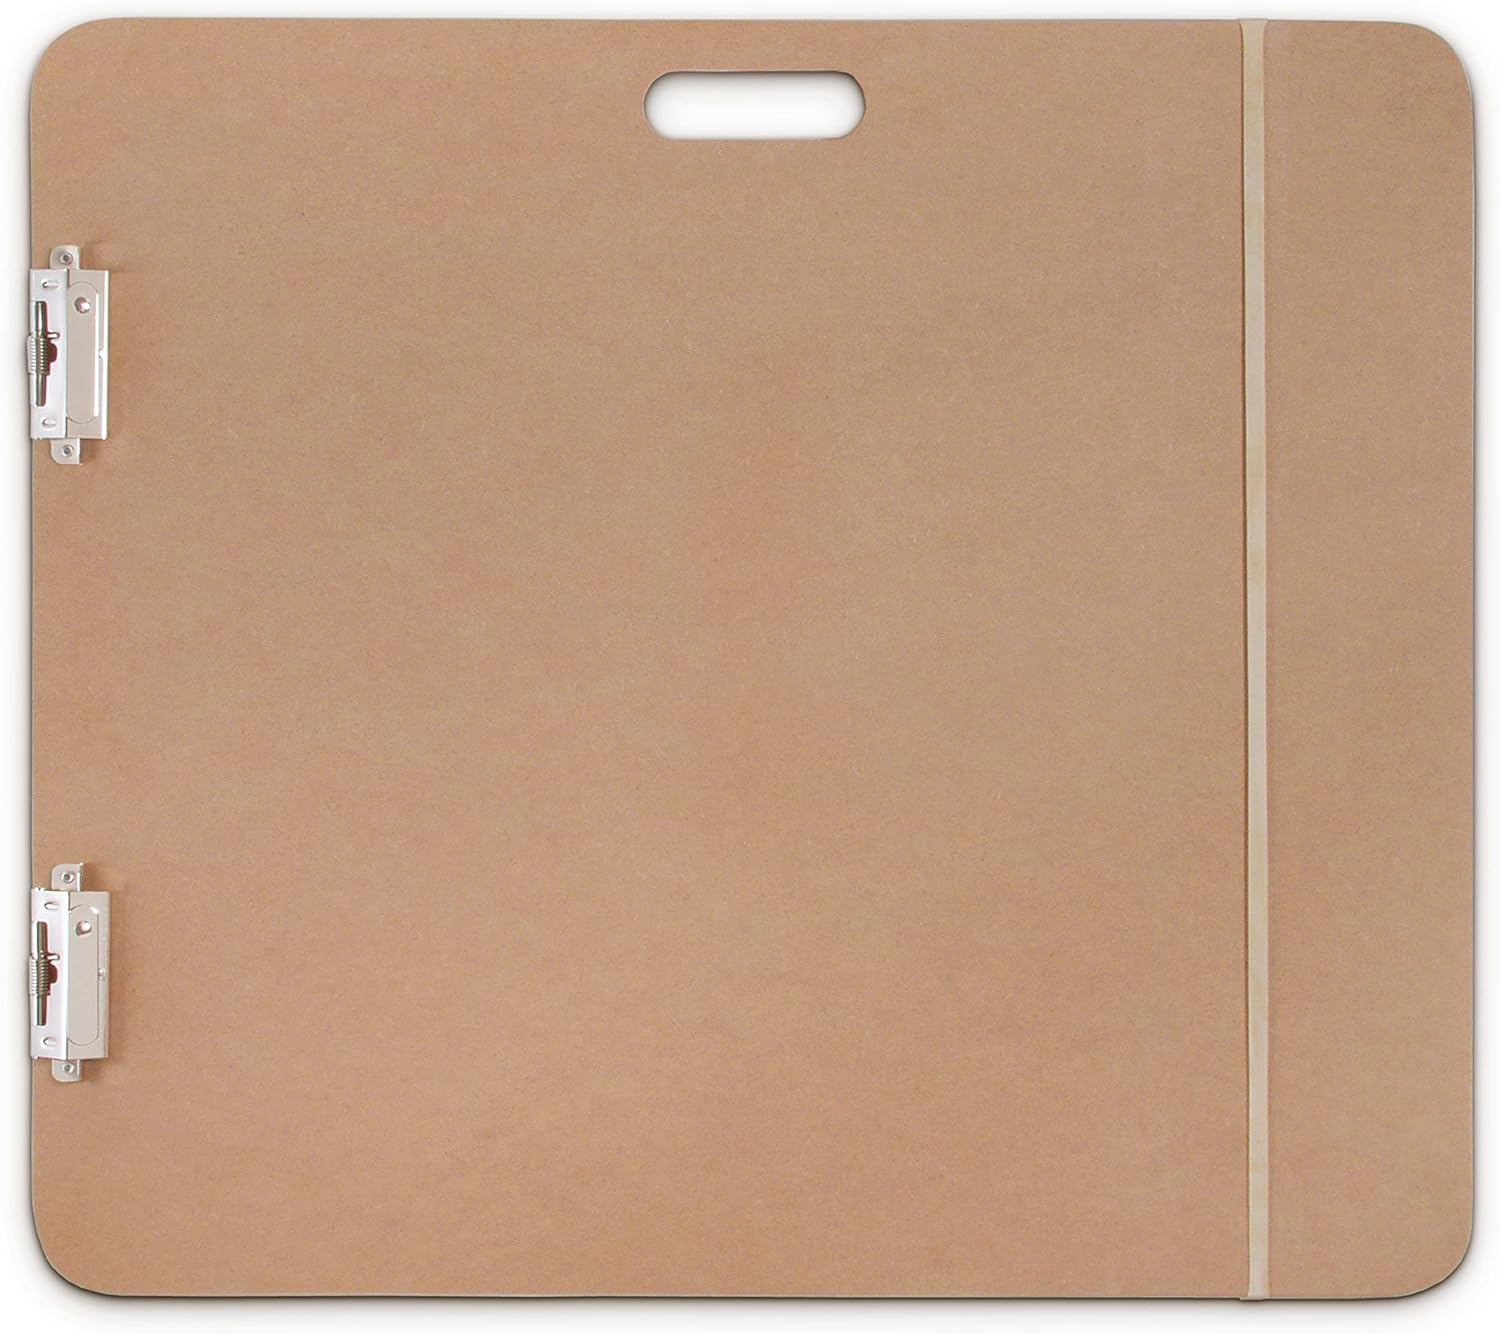
Each print is a 12"x18" original drawing that is printed on acid-free watercolor paper. High quality paper is suitable for all art media - including watercolors, acrylics, colored pencils, inks, markers, or a combination of the above.

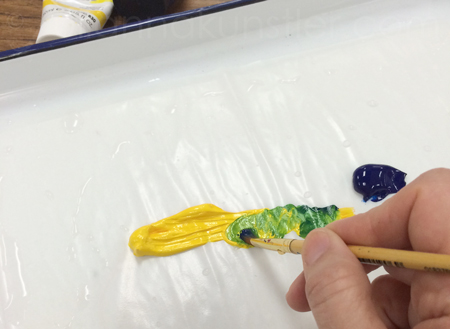
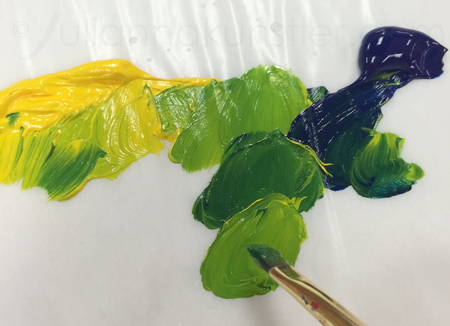
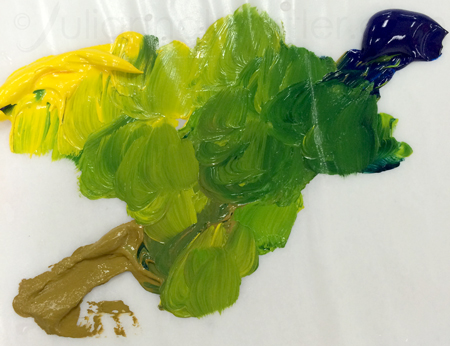
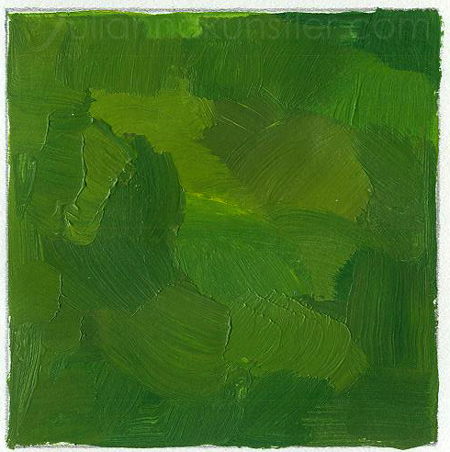
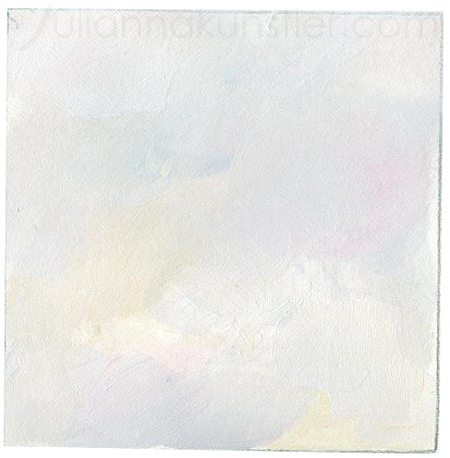
Try to blend at least two colors (or two shades of a color) inside each shape.

You can find out more about my coloring art prints here.

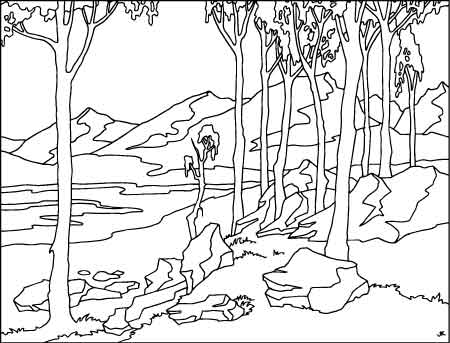
If you are just starting - you can practice coloring this landscape (print it from the link below).

landscape coloring

GALLERY

helpful links

color schemes

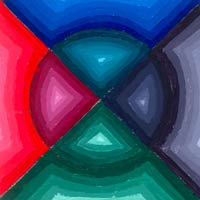
Color scheme designs

color triptych

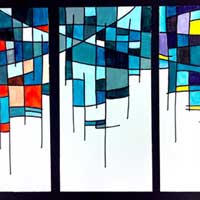
Color scheme triptych
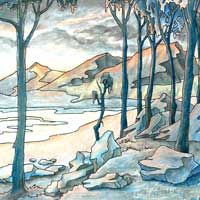
landscape coloring

Landscape coloring

monochromatic

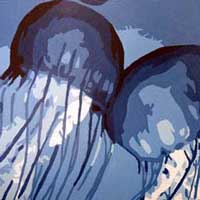
Monochromatic painting

How to use acrylics in your coloring projects. Tips and tutorials for coloring art prints.

paint

Acrylics: dry fast, odorless, water soluble, flexible, can be used on paper, canvas, board, wood or almost any other surface; all colors dry at the same rate.

Any color set will work for our lessons. The minimum set should include: White, Black, Red, Blue, Yellow.

Once dry, paint turns into water-resistant film.

Acrylics dry a shade darker - keep that in mind.

paid links

acrylics 6

acrylics 12

brushes

Have a few brushes ready before you start painting - flat and round brushes
sizes 2-10.

I would recommend the following types of brushes at this point:

  • Flat brushes - great for filling in areas with a nice crisp edge, good for mixing and blending colors
  • Filberts - compromise between a flat and a round brush - makes soft strokes, great for blending colors and softening edges
  • Round brushes - hold a lot of paint, great for long smooth strokes and detail painting.
paid links

round brushes

flat brushes

Palette

A professional glass or plastic palette, a piece of glass, paper plate or a transparency sheet. Anyway, any smooth surface will work. Acrylics dry very fast - so I do not recommend to use drawing paper for mixing it.

There are paper palettes available with one side coated - they are easy to clean as they are disposable.

water & paper towels

Use water to clean brushes between changing colors. Blot the brush after washing it - you don't need lots of water when painting. Also, do not take too much paint on your brush. Wipe excess paint with paper towel when needed.

Change water regularly

art board

Make sure the print is taped to an art board, or any flat strong surface to keep the print stretched and protected.

Tape the print on all 4 sides to the board.

paid links

drawing board

drying retarder

Add a few drops to slow down the drying process. It does not change the color of the paint, but please, do not use too much!

paid links

drying retarder

Let's get started!

mixing colors

Place small dabs of paint onto your palette.

You can add a few drops of Paint Retarder on the top to slow down the drying process.

Acrylic paint dries fast so don't put a lot of ot on the palette - don't waste it.

When mixing colors on your palette, do not mix the two dabs of paint that you have there. Instead, pull small amounts of both paints towards each other and then mix - this way you have a full control over the color and the amount of the paint you need.

Alwayst start with the lightest color of the two, than add a small amount of the darker one.

See how many variations you can get by altering the amount of each color...

Use my rule #1: Always mix colors before painting!! Do not use colors directly from a tube!!!

Mix, mix, mix colors!!!

Please do not use, for example Green paint to paint a green area. Instead, mix a few variations of Blues and Yellows.

You can see in the picture how you can achieve a large variety of greens by mixing just 3 colors in different proportions.

This green square is painted with just three paints mixed. None of these paints was Green.

Can you see the slight variations of the colors? That is the effect that you want to achieve in your painting.

Even White and Grey areas can use some variety. The base color for both of them is White.

Place a few other colors on the palette - -not too much - as we are only going to add a very very tiny bit at a time.

See how vibrant the white square is? Compare it to a boring solid white square below:

Look closely at the grey square on the left. See all other tones in there?

This is what my palette looks like when painting whites and greys.

more information will be added soon
...