julianna kunstler logo
coloring books

& colored pencils
Instagram icon
 
How to use colored pencils in your coloring book project. Tips and tutorials.

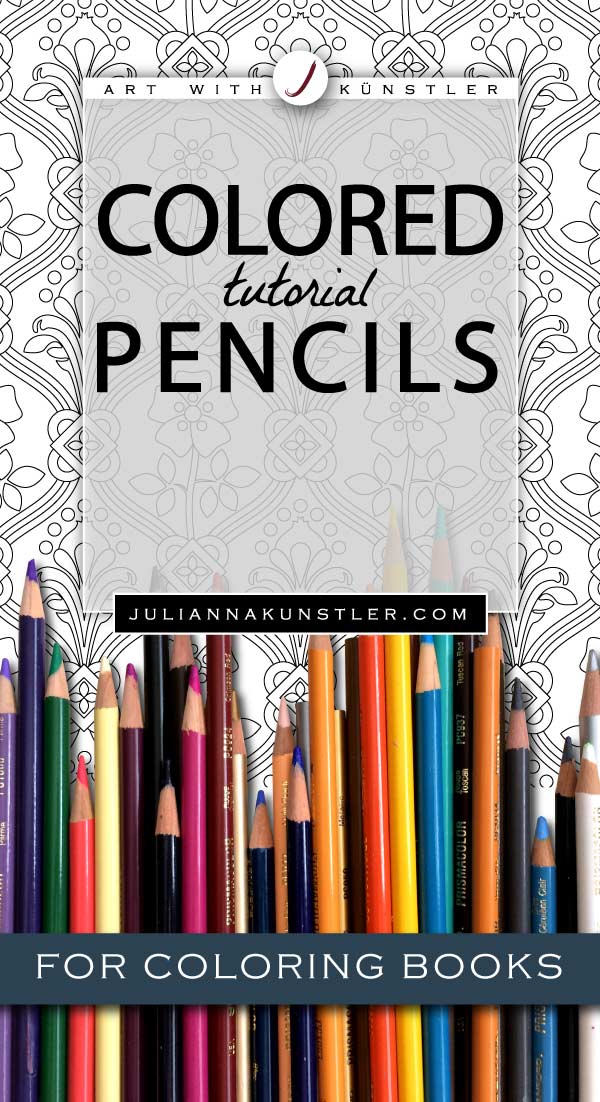
Colored pencils is the first thing what comes to mind when talking about coloring books.

Using colored pencils for book coloring can seem like something extremely basic - we all have done it back in the early ages.... but as we grow, our skill should change too, don't you think?

Our reward for coloring has changed too - instead a "good job!" praise from a parent, that sometimes appreciated not the quality of the coloring, but our time to sit still for 10-15 minutes... I am a parent too :) ... As an Art teacher with over 20 years of experience, I do not want to diminish all benefits that come from coloring as a young child - it is crucial for child development - way more important than teaching them to use an electronic devise - I am talking about eye-hand coordination, fine motor skills development, problem solving - to name a few...

See, I am not talking about the benefits (which are all still here), but of personal rewards. Now, our rewards are - stress relieve, self-expression, new achievements, etc... That's why I offer some basic tips for you to stat building up your coloring skills and taking them to an adult level...

Check the links above to explore the basics of colored pencils techniques.

my coloring books

GALLERY

coloring
coloring
coloring
coloring

tips

Now, that you are ready for the coloring book adventure - let's get started!

Sharpen and sort your pencil by color.

Have a scrap paper for covering the rest of the page and a piece for trying out the colors and color combinations.

My suggestion is to have a dry board eraser - for keeping your coloring page clean.

color chart

Make a color chart of your pencils before you start, especially if these are new pencils... Very often the colors look slightly different on the outside.

Use any of the charts below.

color chart
color chart

Coloring an area with a solid color

Coloring an area with a solid color seems quite easy. And it is. There still are a few tips I would like to share:

  • Shade with small strokes. It is easier to control the pencil and stay within the lines. It is also a faster way to color, believe it or not.
  • Have the strokes follow the outline of the area.
  • Always have your pencil tip in a perfectly sharp state - as soon as the tip gets dull and rounded - it starts burnishing the paper, which makes it harder to color.
  • Always have a scrap paper under your coloring hand to protect the rest of the page. You can also use it to try the colors.

I like to start coloring with following the shape's outline first.

There is no logical explanation, I think.... this is how I like to do it. May be the reason behind this is that when you start coloring, your pencil is very sharp and it is easier to define the shape and stay within the lines...

Who knows...

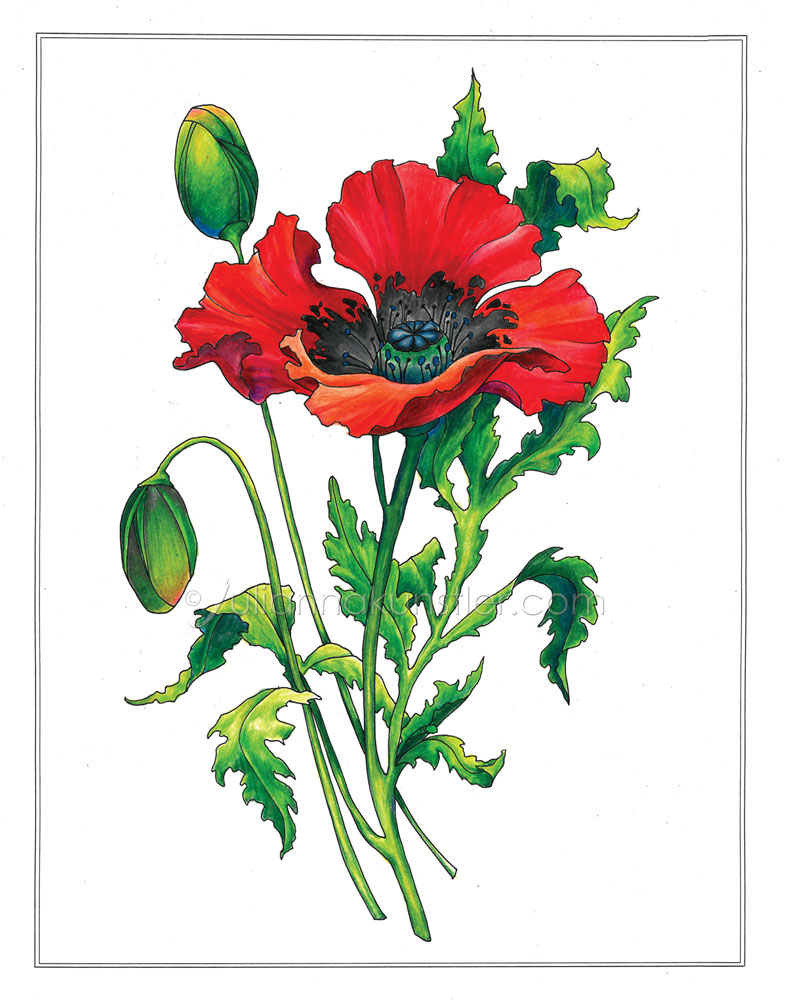
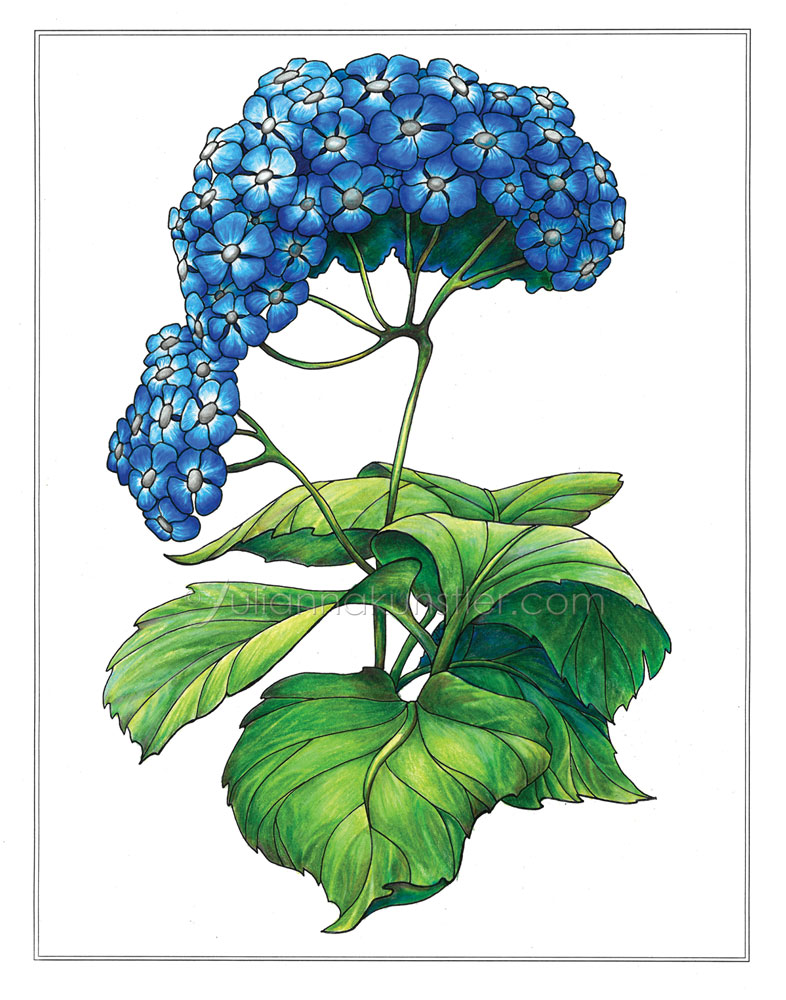
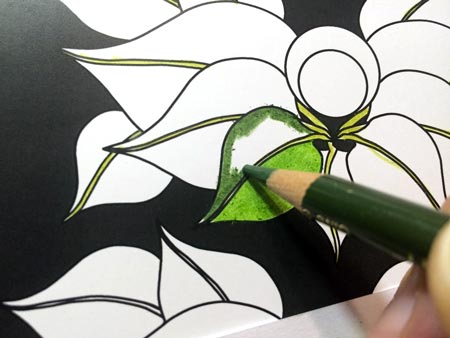
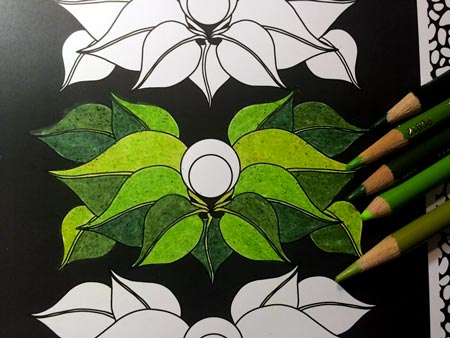
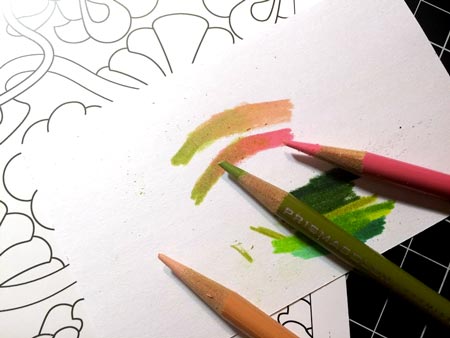
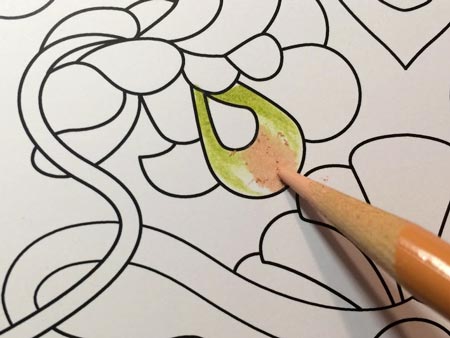
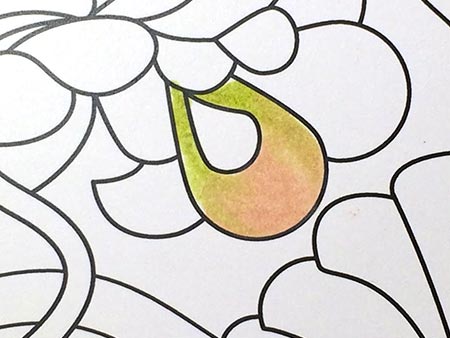
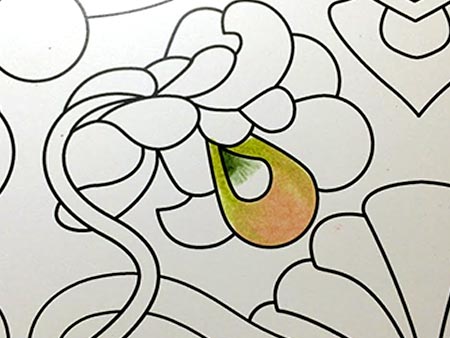
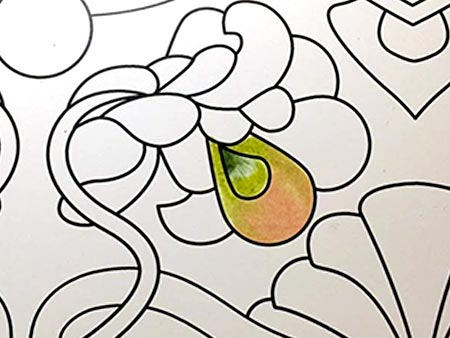
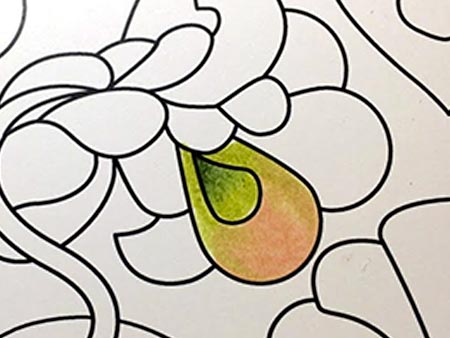
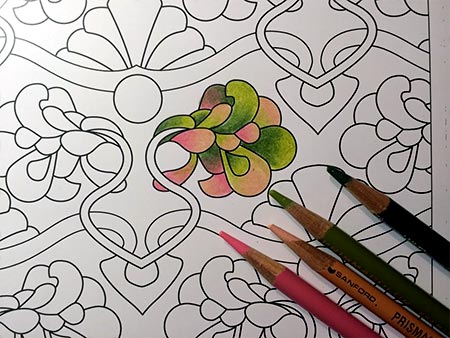
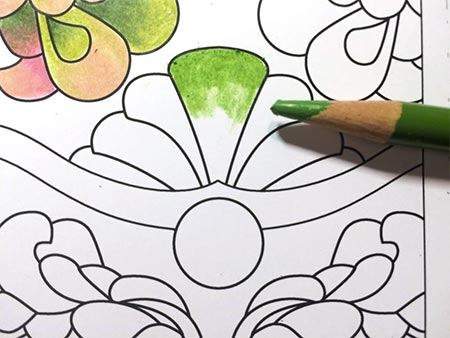
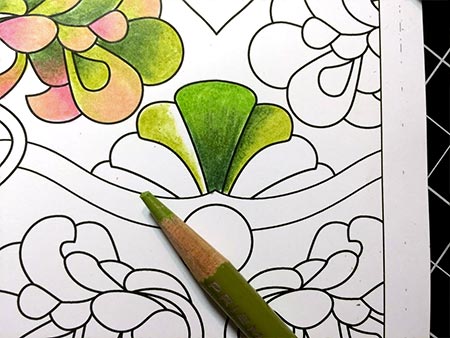
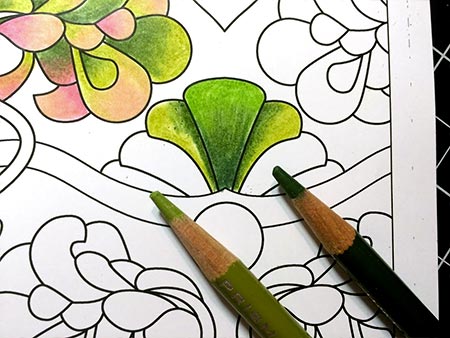
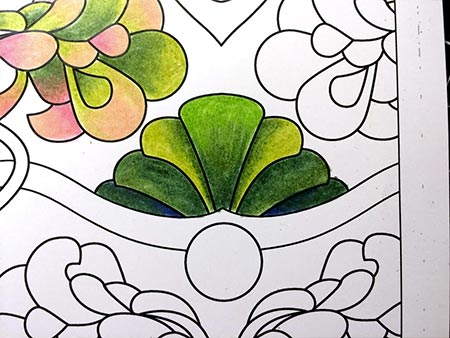
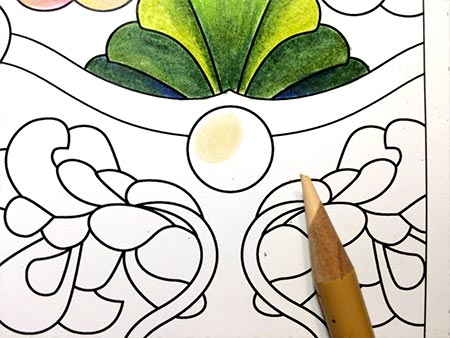
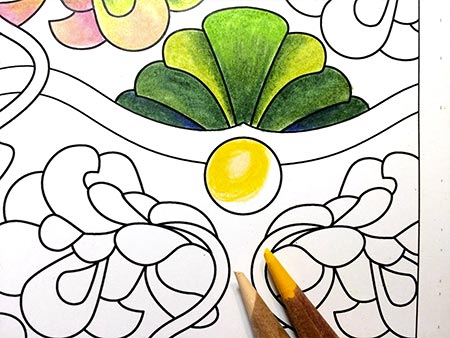
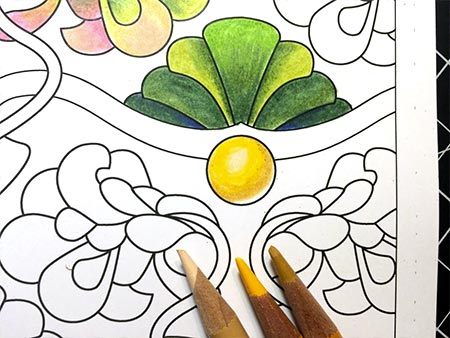
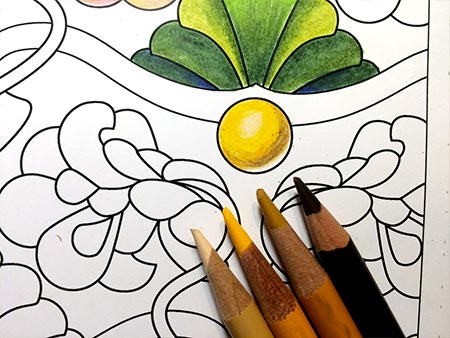
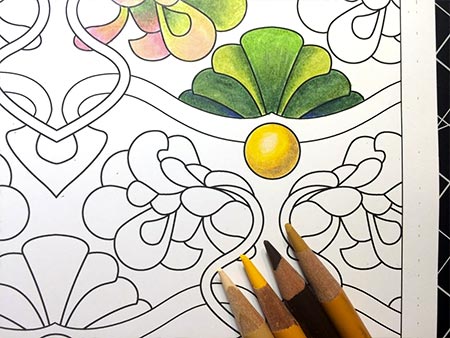
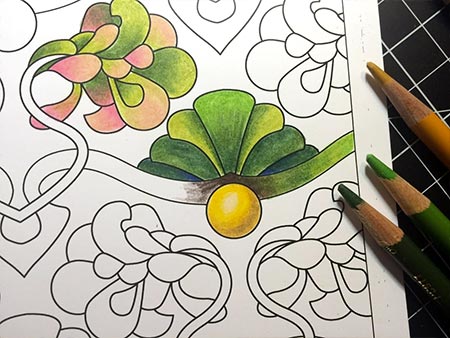
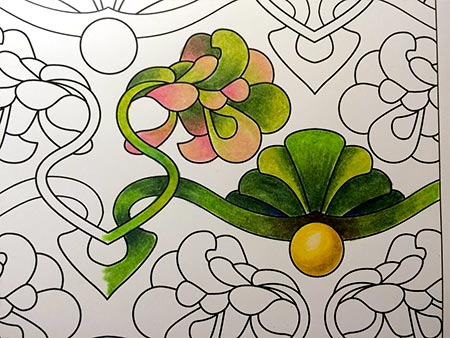
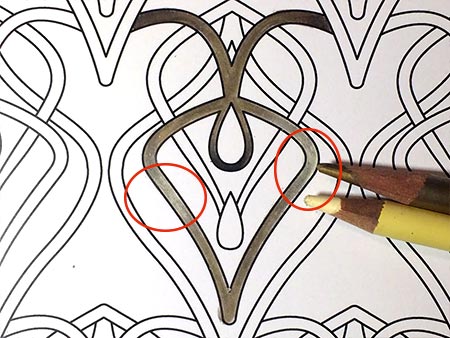
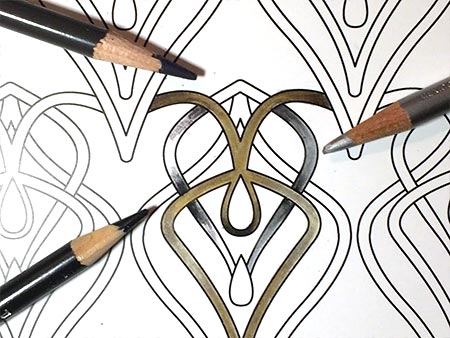
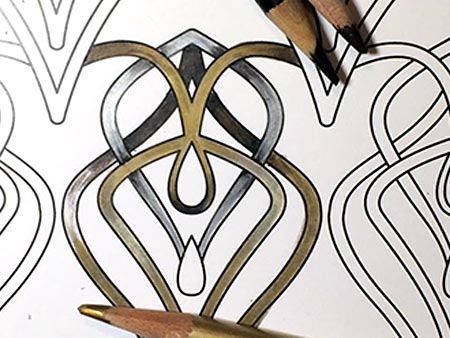
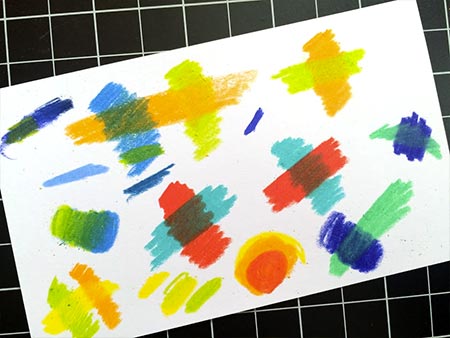
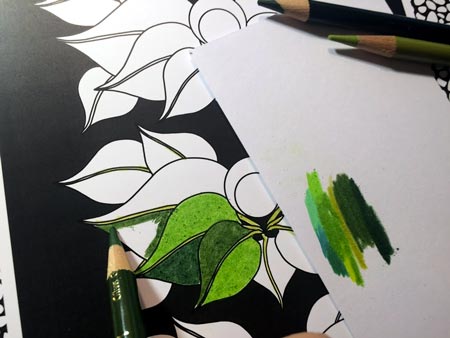
If you are coloring an area that requires one color (ex.: green) - use as many variations as you can - don't color the neighboring areas with the same pencil - if you don't have a wide range of each color - mix or layer the colors (I explain how to do it later).

If your design requires symmetry - color both sides right away - this way you don't have to figure out which pencil to use later on.

Coloring an area with two blending colors

Blending two or more colors is what colored pencils do the best! You are going to love it!

Consider blending two completely different colors for great effects whether it's a floral design that you are coloring or an abstract one. You are going to love the process.

Try it on a scrap paper first though.

Start with one color - going from full strength to fading...

Add the other color at the opposite side doing the same thing - start full strength...

... and fade it towards the first color.

Use the lighter color of the two as a blender to mix the colors for a perfect transition.

Use "Dry Board Eraser" to remove all pencil crumbs.

Do not do it with your hand - you will just smear the small particles.

Clean the area often to prevent the page from the mess.

Sometimes you need to blend two different shades of one color.

Follow the steps above as it does not matter which colors you are mixing or blending - just follow the same steps.

In this example I started with a darker color - full color to fading...

The lighter color on the opposite side - full color to fading..

Using the lighter pencil to blend the two colors together.

Continue with one shape (area) at a time.

You don't need a huge colored pencils set to complete the task - just experiment with what you already have.

Make sure you clean the "crumbs" after each area to keep the rest of the coloring page clean.

Adding depth

There is nothing new about using different shades of a color and blend the - we just did it...

Before starting - pick 2-3 shades of a color. I like to use 3 pencils for more controlled and gradual transition.

I usually start with the lightest color - this way you can build up the values easier - meaning that if your lightest color is darker than you expected, you can use black as the last resource to add shadows.

Shade in the direction of the shape.

The strokes should "wrap and hug" the shape, follow its curves, and,,,, stay small!!!

Apply the darkest shade last.

Make sure it blends in with the rest of the colors.

You can use the lightest or the medium color as a blender for some final touches.

Add drop shadows where parts overlap.

Again, start with the lighter color first.

Use a darker pencil next.

It helps if you color all same color areas, especially if they are symmetrical or close to each other - this way you don't need to memorize which pencils were used to match.

Again, use lighter color to blend.

Use circular strokes.

Do not hesitate to experiment with colors. Especially if you are adding shadows.

Shadows are not only darker, but, as a rule, are "cooler" in color. That's why dark blue pencil works great for shadows.

Blended with the original color, it becomes darker and "cooler" shade of that color.

Work on symmetrical shapes together.

More information will be added soon!

Please come back!

Metallic colored pencils

Layering colors and special effects

...