


The content will be added later.... sorry...
Check the links above to explore the basics of working with watercolors.
my coloring art prints


GALLERY


The content will be added later.... sorry...
Check the links above to explore the basics of working with watercolors.
The paint that you apply inside each area is called a “wash”…
That means that the paint is very watery, easy to see through, translucent… Do not grab too much paint on the brush - washes should not be opaque color and cover up the lines.
Because the washes are transparent - you can layer them. That's an awesome property of watercolors - you can build up colors and color values one step at a time.
Coloring one shape at a time is a great technique if you are a beginner painter.
Once you are comfortable with watercolor paints - then go ahead and experiment with the washes and other watercolor techniques. Watercolors dry pretty fast - so you need to paint fast to achieve this unique "watercolor effect". So for now, let's color in one shape at a time. In my example - it's one petal at a time.
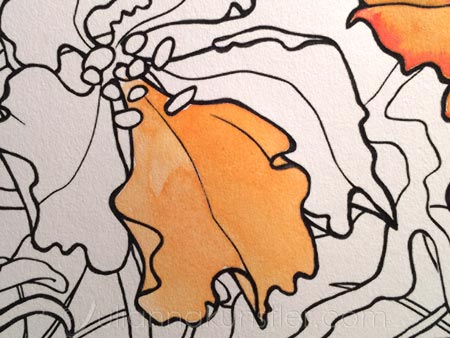
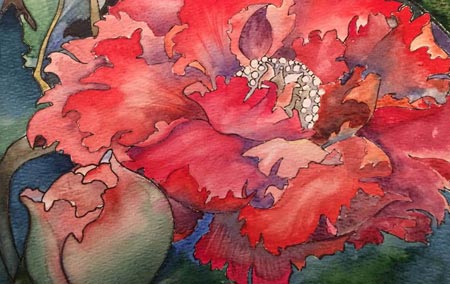
Apply a wash of a light shade of the dominant color onto the entire shape.
Don't wait till it dries to go to the next step.

Add other colors if needed and have them bleed with the wash.

As the paint dries - it becomes lighter - so you might need to add more colors to make colors look more vibrant.
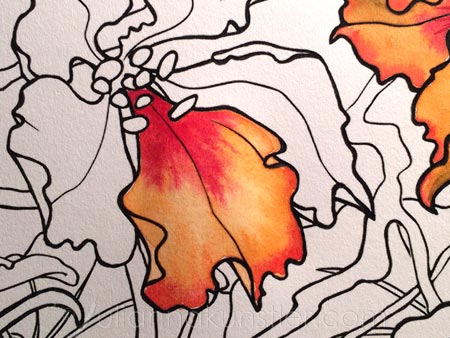
In this image: I added extra color to the edges.
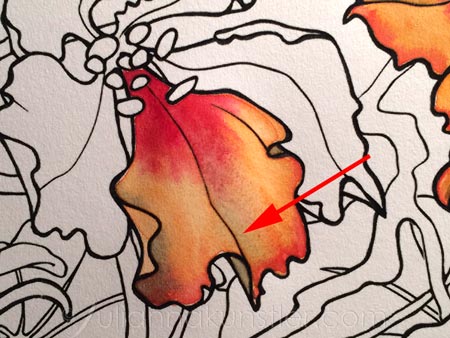
If the base wash is already dry - use a damp brush to fade the colors.

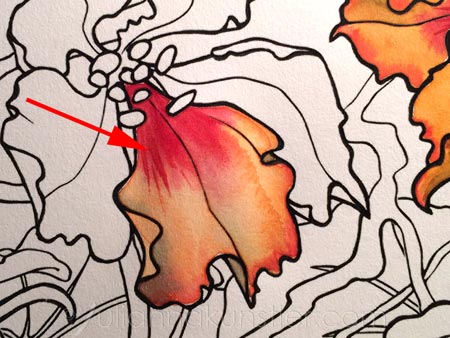
Add shadows.
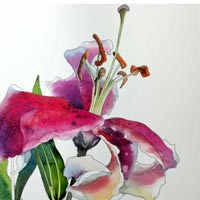
I used a light blue wash to go over the areas that are in a shade.
Extra light blue wash for a soft shade.
When everything is dry - you can paint over to add more details.

You can lift (lighten) a color by using a clean damp brush.
Try it on a scrap paper first.
Do not rub too hard - after all - it is paper - it does get damaged after a while.
The great thing about painting with watercolors is you are in complete control of their opacity. Transparency of this medium is its biggest asset.
That's why I do not recommend using the White watercolor paint.
You can lighten the colors by adding more water to them, which allows more of the paper to show through.
The only time I would use white paint is to add highlights or very small decorative accents.

Stay in the lines as you paint…besides creating a finished piece of artwork, you are also improving your hand-eye coordination, and your fine motor skills.
Your hand is placing the paint on the paper where your brain is telling it to. Your brain is your hand’s boss.
Use at least 2-3 colors or color shades inside each shape.
Make sure the colors "bleed" into each other for an authentic watercolor effect.
This will add liveliness to your painting. The colors are easily blended together while wet - use it to make the painting more vibrant.

Use any colors you want to paint the flowers and the stems/leaves…you don’t have to follow the colors that they actually are.
However, your colors must be custom, “mixed” colors…not a color that already exists in your set. You are creating your colors by mixing two paint colors together.
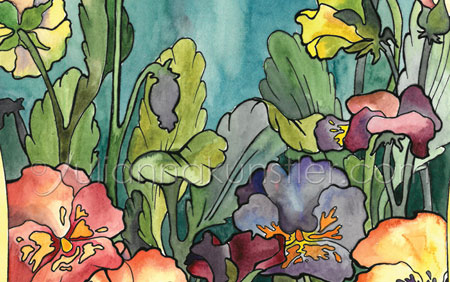
Use different shades of a color for areas that are in the light, and the ones in the shade - compare the leaves in the foreground and in the back.
You can darken some areas by applying a few washes to build up the value.
Have more color variations and details for the foreground areas, and less or no details for the background.
The petals that are “behind” other petals should be a darker wash of the same color. The petals in front should be a lighter wash. You should use dark and light washes of the same color within each individual flower. The same applies to leaves and stems that are further back (behind).

Don't be afraid to experiment with colors as you paint!
flower coloring