shade with color

Refer to the shading tutorial for shading patterns.
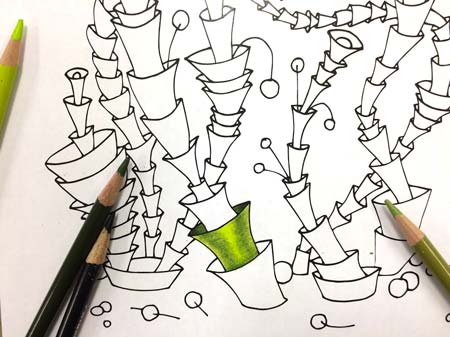
Then pick at least 3 shades of a color that you want to use for a particular shape.
These can be:
- light, medium, and dark shade of one color
- main color (medium shade), white, and black
- main color (medium shade), light color (pink, light blue, light grey, etc.), and dark color (dark blue, dark green, dark purple).

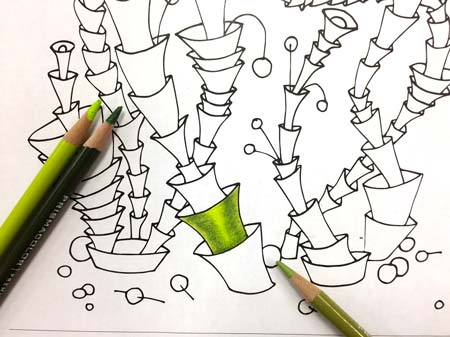
To understand the concept of coloring each “coral” form, all you need is to color just one section of the coral.
This is how it works: as the light hits the surface, it reflects right back.
More light is reflected from surfaces that are facing the light source – making them look lighter. Usually, it is the highest areas of the form.
Areas that do not get the direct light are darker.
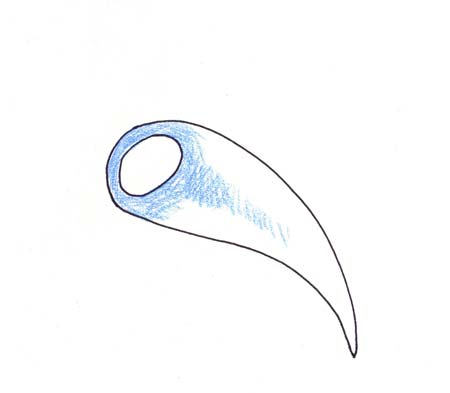
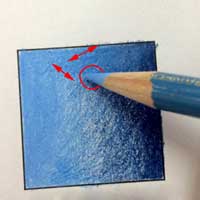
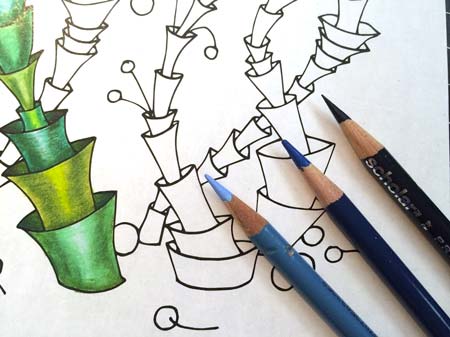
The four-step coloring technique is quite simple. First, you pick a main color (in my case it is a True Blue), then pick a dark version of that color (Indigo Blue), then grab a White pencil.
Note: When using colored pencils, place a piece of a scrap paper under your hand to protect the drawing from smudging.
Start shading (very lightly) with small strokes the areas that are the lightest. You do not want any obvious marks at this point.
Note:
Always, always keep your pencils sharp. This way you have better control over the strokes, detailing, and overall coloring quality.
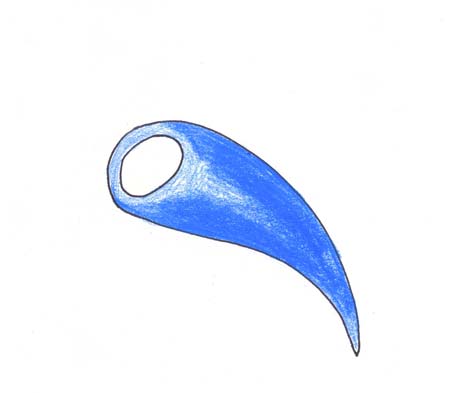
Color the rest of the unit with the same color using the full strength.
Note:
Test colors on scrap paper if you are not sure how the two colors will work together. Sometimes the colored pencils look lighter or darker than the actual color of the shading that they produce.
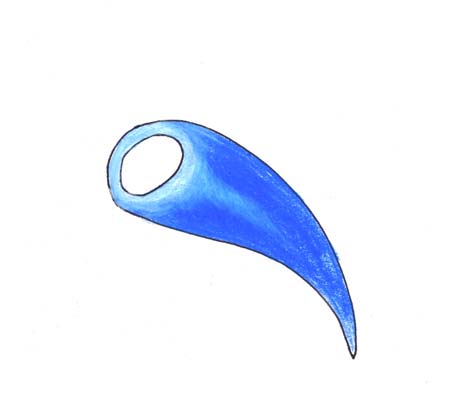
Use White pencil to blend and mix the base color at the areas that we left lightly shaded.
White pencil works as a blender here – it mixes with the Blue color, creating a lighter tint.
Use small circular strokes for better blending.
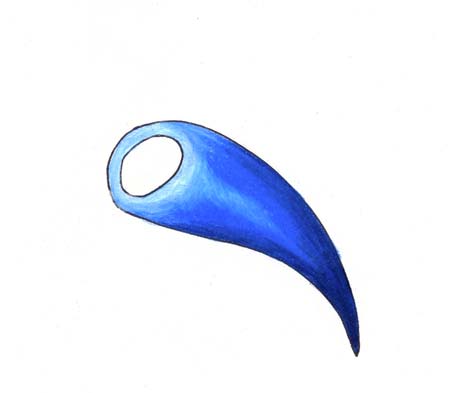
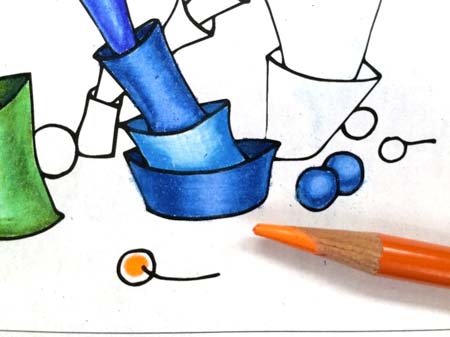
Now is time to add shadows.
Use the dark shade of your base color and work it into the sides of the section to make it look round.
Then add more shade to the lower part of the section. Use the base color to work as a blender here for a smooth finish.

Work on coloring the opening of the coral.
Use your darkest color first, then add a highlight in the middle with a White pencil.
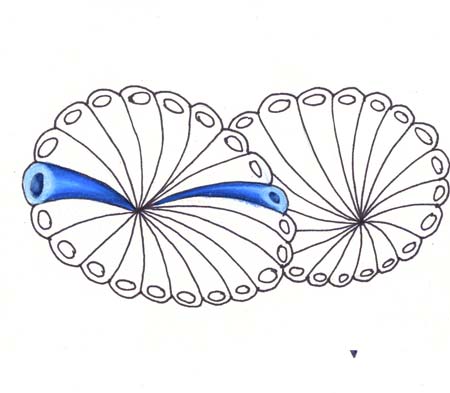
Congratulations!
You are done with the first section!
Now, all you need is to repeat the steps for each section of the coral.
Note:
White pencil can be used over other colors to create highlights.
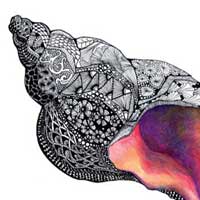
Color the rest of the corals with other colors. Choose the colors based on your mood and desire. I also added a few “blacked-out” shapes for more contrast.
Consider adding more shadows where “corals” overlap – darkening the forms that are behind. This will create a more realistic effect and will make the top forms really stand out.