

Alcohol-based markers combine ink with alcohol. The color produced by alcohol-based markers dry up extremely quickly and are relatively permanent. Some common brands of alcohol-based markers include Copic, Prismacolor, or Sharpies.
Water-based markers mix ink with either water or a water and glycerin mixture. The ink from these markers are opaque, waterproof and dry pretty quickly. However, they take longer to dry compared to other markers and saturated your paper with too many layers can damage the paper. Common brands for water-based markers include Crayola, Sakura, Staedtler, Tombow, and Windsor-Newton watercolor pens.
Solvent-based markers combine ink with a solvent such as xylene, methyl isobutyl ketone, or butryl acetate. Ink from solvent-based markers are relatively waterproof and pretty long-lasting but not quite permanent. They are commonly used for craft projects since they can be utilized on a variety of surfaces, both porous and non-porous.
Pros: Great flexibility in ink thickness via flexible nib; Extremely smooth application; Superb control is possible.
Cons: Can take quite a bit of practice to be familiar with; Difficult to apply consistent color in large areas; Can be quite expensive
Pros: Typically very affordable; Extremely long ink life; Little maintenance.
Cons: Not as much freedom in application depth; Ink can be sticky and blobby
Pros: Great color output; Ink tends to dry quicker which allows for additional passes; Can greatly fluctuate application depth and shape.
Cons: Takes quite a bit of practice; Can go through ink very quickly
Pros: Very smooth color application; Less harsh to use since not as much pressure is required; Very powerful color output; Great color selection.
Cons: Run out of ink quickly; Not as much flexibility in pass size and shape; Prone to smudging and bleeding
Pros: Some of the most vivid and deep color available; Extremely smooth and enjoyable application; Vast color selection.
Cons: Not as much control as other pen types; Short life span; Can dry out rather quickly


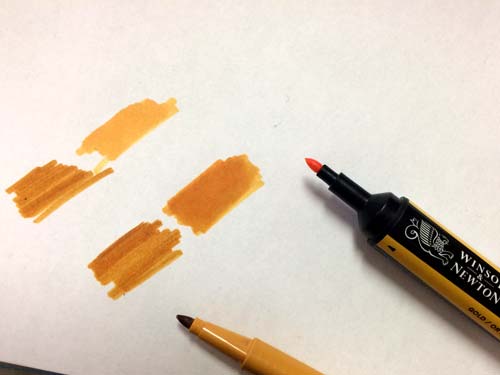
Compare colors and strokes that markers produce.

Always let the markers dry before you decide on a color. Some markers change their shade when dry.
Here are two markers that look like they are the same color, but one of them dries light.

Take notes on you scrap paper for future reference.

If you have different types and brands of markers and pens - make a comparison color chart. This will simplify your decision making while choosing colors.
Write down the marker set brand and color name or number.

Follow the shape you are coloring with strokes.
Alter pressure.

Once you decided on a color scheme - you can start coloring any pert of the design you want. I prefer to start with the background as they set up the mood or a contrast reference for the rest of the design.
If the design is very busy - background should be simple - a single flat color would work great.
If you need help choosing colors - click here.

Darker backgrounds make it easier to color inside small details.

Try applying colors in layers.
Wait for each layer to dry before applying the next one.

Different types of markers will blend differently. Make sure you try it first on a scrap paper.

The layering technique works better to achieve darker shades.

Compare the two elements - one of them had a light layer of green over the gold color.
Using light transparent colors over darker colors can work great for altering a color.

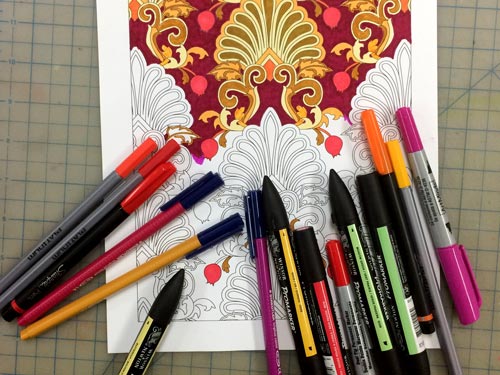
Do not try to use every single color you have in your set. It is perfectly fine to repeat some colors within your design.
Keep pens and markers that you are using in this particular project together for easy access.
If you need help choosing colors - click here.


Rotate your coloring page as you color.
You don't want to block the shape edges as you color. It helps to see where the line/shape goes to prevent mistakes.
.