in this section:
- pages vs. categories
- top level pages:
- home page
- other top level pages
- categories & sub-categories
by JuliannaKunstler.com


Remember, you sketched your site map?
Get it out now. You are going to use it in this step.
We are going to add some pages and categories to your site.
Before we do so, let's discuss the difference between these two options. (The option of posts we will skip for now, as we are going to use posts as our "end level" pages).
Both page and category will look and act the same for your site visitor, but it matters a lot to YOU in terms of the functionality of the site.

A page is just that: it’s a single page.
You can design it how you like (add columns, photos, headings, etc.).
You could add your events in a bulleted list. But it’s not “automated.”
Pages are best for content that’s not going to be updated very often. For example, About, Contact, Resources, etc.
Use a page if you want full design control, but also want to manually update the content.
You can have a dynamic block within your static page as a widget.
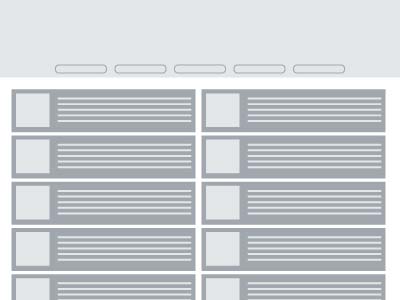
Use categories to organize your posts.
A category is a collection of posts in that category. It will show the list of those posts. Depending on your theme, this usually will show, per post:
The downside of this approach is that you do not have much control over the visual part of the category, just what your theme offers you. You can style this list (and use layout features) but it’s not like a page that you can go in there and make it look exactly as you’d like.
Now determine which pages you want to create as static pages and which pages will be dynamic categories.
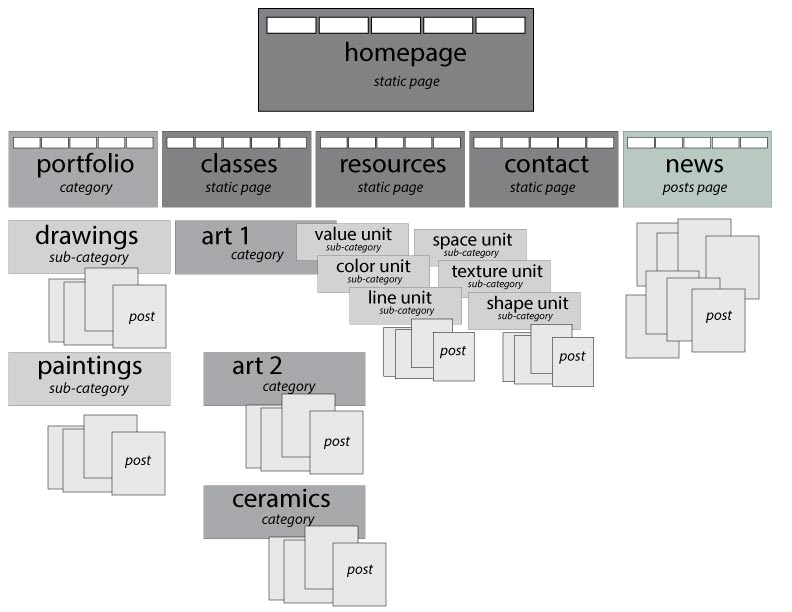
Based on my site map:
I use a static page option for my home page - I want to have a full control over its design.
I would use static pages for Classes, Resources and Contact.
I would use a posts page for News and updates (posts page displays all posts and updates).
I would use categories for portfolio and individual classes, and sub-categories for units.
I would use posts for individual lessons.
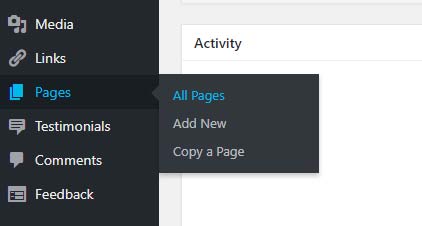
To add or edit a page from your dashboard menu:
Click on Pages > All Pages

You will see a list of all pages that you have so far.
This is where you can add and edit pages.
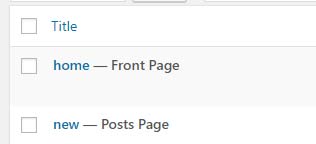
You should already have at least two pages:
HOME page (your front page) and NEWS (posts page).
We are going to edit your home page.
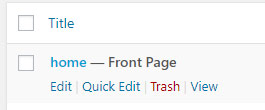
If you roll over the home page button - you will have an option to choose what you want to do with the page.
If you choose Edit - you will be able to add /edit text, images, page attributes, add interactive forms, etc. This is what you choose for working with the page content.
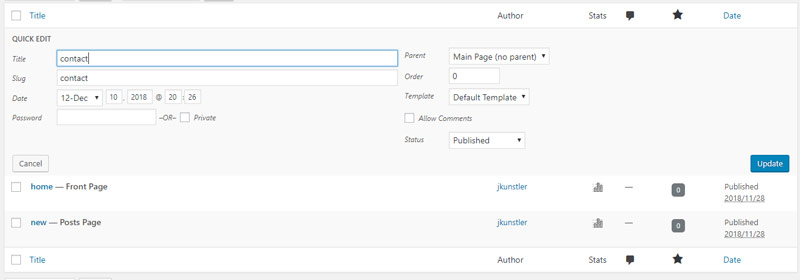
If you choose Quick Edit - you will be able to edit some page settings, but not the content.
The other two choices are obvious!
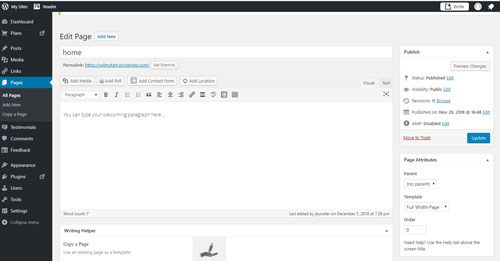
Page Editor window will open.
This is where you can put in your content.
The content will not get changed (unless you change it) if you switch the theme in the future.

You can keep the page title as is.
There is no other name for a home page but "home" :).

Below the title bar are forms bar and text editing tools.

Text tools are quite simple and are similar to any text editor.
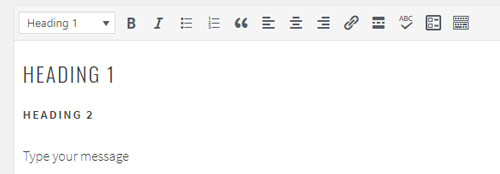
There are choices of text formatting: headings and paragraph.
Font typefaces, colors, sizes will depend on your Theme choice.
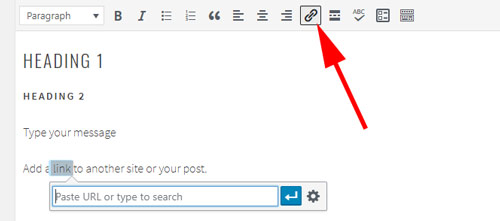
You can add links to a text.
Links can point to an outside web page or one of your own.
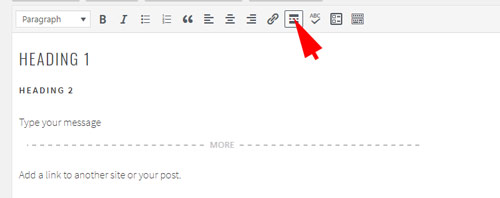
Read More tag:
You can truncate your blog entries so that only the first part of a posts is displayed on homepage, archive pages and in subscriber emails.
When you do this, a link will be placed directly after your excerpt, pointing the reader to the full post. You can put this link anywhere in a post, and customize it to say whatever you want.

Toolbar Toogle:
Opens more text formatting options.
Add images, videos, galleries, etc to your page:
Click on Add Media button.

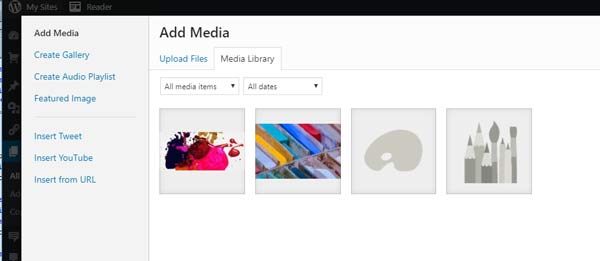
Add images that you have already uploaded to your Media Library
or...
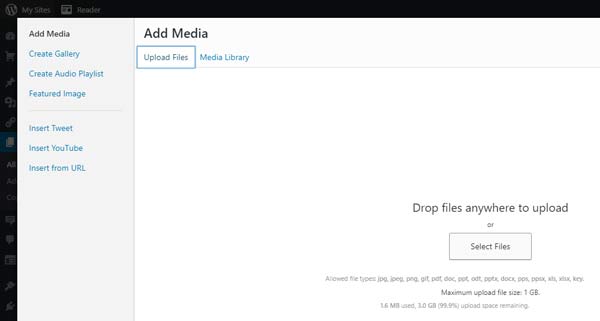
...upload a new image by clicking on Select Files button or just dragging and dropping them onto the window.
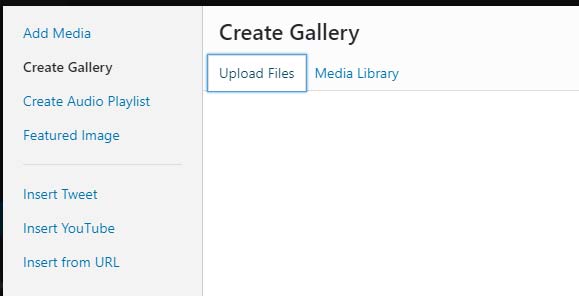
You can add an entire gallery here.
Upload multiple files and they will be formatted into a gallery (with thumbnail previews).
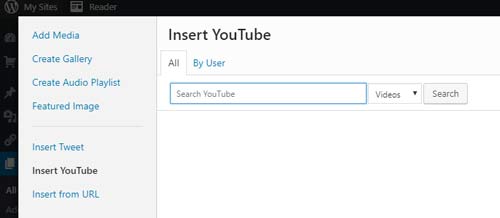
You can also add a YouTube video or other media bu placing a link to it.
There are other forms available for you to add.
You decide what you want.

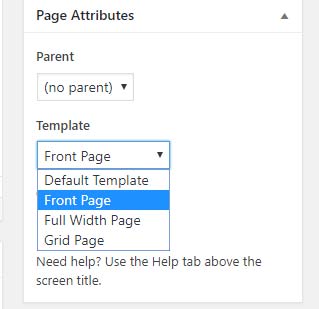
Choose a template for your home page.
Try all templates and decide which one you like more for this particular page.
Consider Front Page layout for home page, but test and preview them all to get a feel of them.
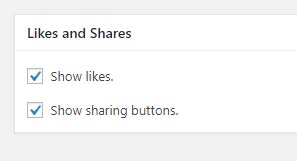
Decide if you want social media buttons and likes on the page.
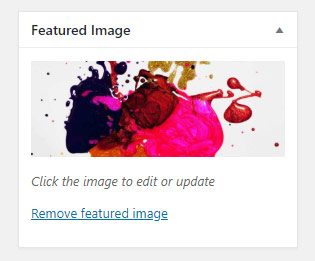
You might want to add a featured image to the page. It will be displayer at the top of the page.
Not required though.
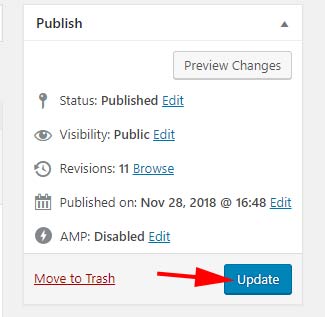
Preview changes.
Does everything look the way you want?
Click Update button. This is how you save changes.
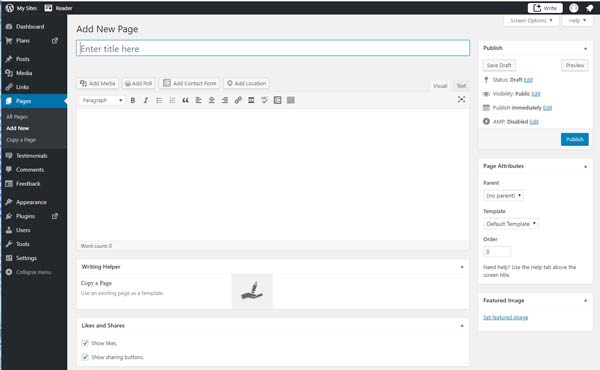
To add a new page:
Click Add New button in the top left part of the window.
Page title will determine the page's URL (web address). It does not apply to home page because it is set up as your front page.
Page title will show at the top part of the page.
It will also work as a link in your navigation menu.
Keep it short and descriptive.

For example: Contact. This is a standard page to have on a site.
Check permalink below the title - it should have your site address and then .../contact/
If more complex - click Edit button and change it.
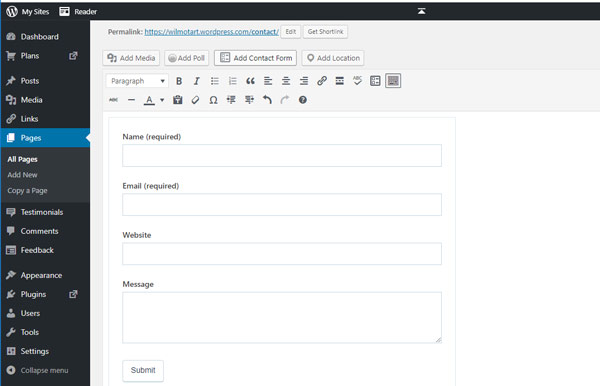
This is where you might want to add a contact form for visitors to communicate with you.
You can also add your email address and/or other information for people to find you.
Consider including all social media buttons here.
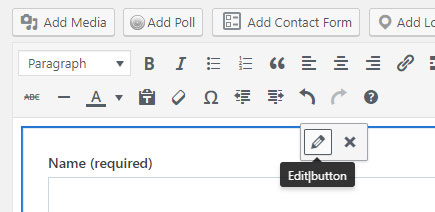
You can modify the contact form by selecting it and clicking on Edit button.
Choose page options:
Follow the same steps to create other top-level pages.

To edit pages settings (not content) - click Quick Edit from All Pages menu.
You can edit:
Click Update to apply changes.
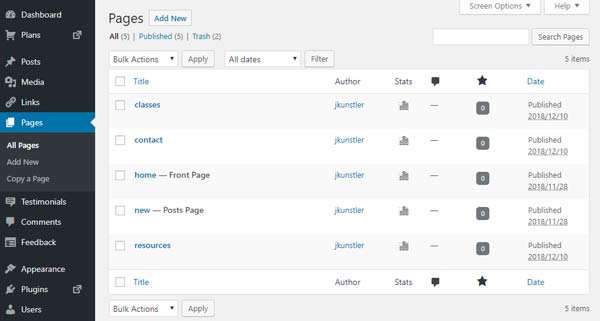
Add the rest of the pages.
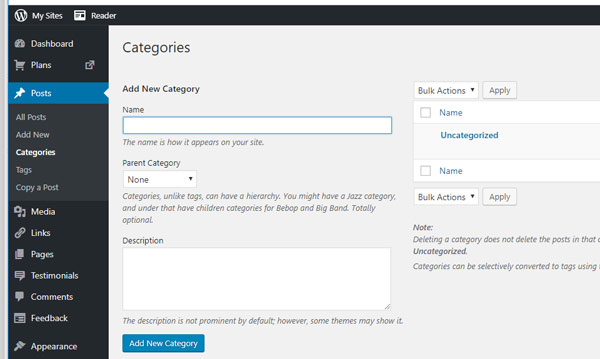
To add a new Category click:
Posts > Categories
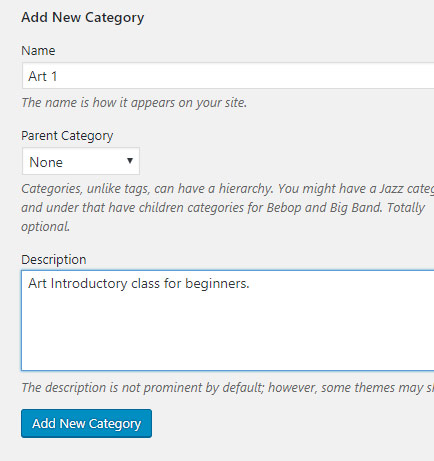
After naming a category - choose NONE for Parent Category because this is the first tier of categories.
Once you add a parent - it becomes a sub-category.
Add a short sweet description.

This is how it will show in the list of categories.
It will automatically add a slug (web address extension). If you had a space in your Category name, it will add a dash "-" symbol. URLs do not like spaces.
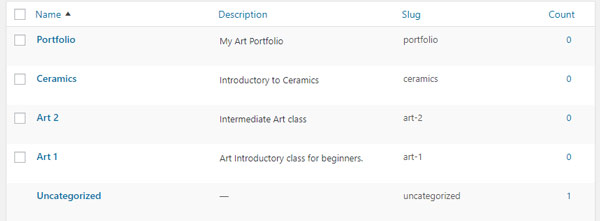
Add the rest of the top level categories.
You cannot modify the way the categories page will look. You cannot manually add any additional text or images to it - only by adding a new post.
So if you want a full control of the page - make it a static page.
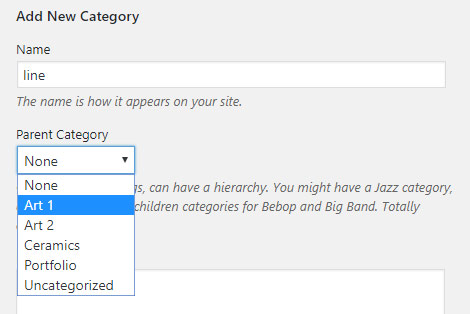
To add a sub-category is as easy as to add a category.
You just need to choose a parent category for it.
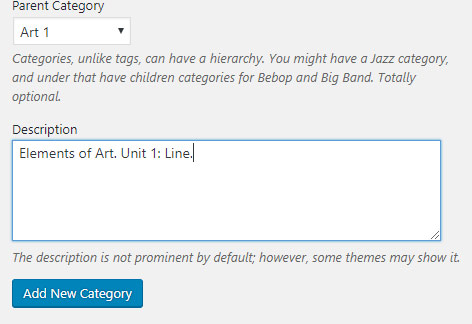
Add a description.
Click Add New Category button.

This is how a sub-category will appear in the list.
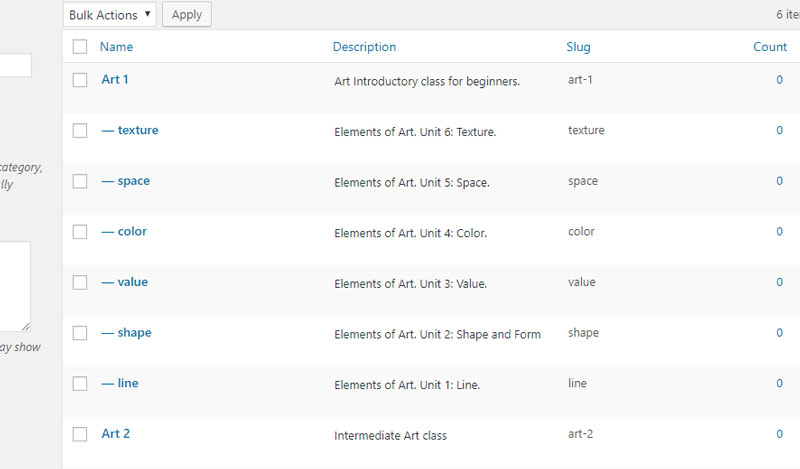

Add more sub-categories to your existing categories where needed.