julianna kunstler logo
build your blog

step 4: site layout
Instagram icon

by JuliannaKunstler.com

WordPress blog layout and customization. How to start a blog from scratch. Tutorial for beginners. Step-by-step tutorials. Free to use. Using WordPress platform.

This is going to become fun now! The visuals!!!

There is one thing that you need to do in advance - come up with a logo image for your site (it can serve as your home button and/or a site icon).

If you need more time to design and create a logo - no worries. You can add them at any time!

This is also time to customize your theme (template). Experiment with color schemes, fonts, add-ons, and other fun stuff.

in this section:

  • templates!!!!
  • site identity
  • site customization

templates

WordPress dashboard

Start creating your site from the WordPress dashboard.

The next thing you'll do find your perfect template.

Templates in WordPress are called Themes.

add theme

To access themes, click:

Appearance > Themes

setup blog template

Choosing a right template is very important. It is not only the "looks" of your site, but also its functionality.

There are thousands of templates available. That makes it hard to make a decision.

blog template

You can find a theme that suits your vision by searching the themes to narrow down your search.

Paid themes have more functionality and design customization options. That's why it is important to do preliminary planning to set you goals.

You can totally stay with a free template if you are not interested in adding "bells and whistles" to the blog (yet).

template setup

Before you make any decision - read Theme Details.

The description gives you an idea of what you can do with the site. Customization options are also important - you want to give your site a unique look after all!

Pay attention at when the theme was last updated. It is important! Old themes lack new functionality and options.

Quick tip:

You can change your site theme at any time. Your site structure will stay and will be transferred to a new template.

But... some functionality and visual choices might be gone. So read theme descriptions carefully and do not change themes too often.

blog templates

Read the description.

You will be able to preview the site, read what it can do, what can be customized, features, color schemes, etc.

Click Demo button to see the template "live".

Click Preview button to find out more information about the theme.

preview theme

Your WP dashboard will be replaced with a Theme Customizer.

It's a built-in feature for every modern WP theme.

To the right of the customizer - there is the preview of your site. It changes in real time as you change the settings.

wp theme customizer

Try different settings and see what's available for the theme in terms of customizing the template.

Different themes have fewer or more modules. Don't worry if your customizer does not look like this one.

If you install any plugins to your site (later) - you will see additional modules here.

preview theme

Explore the customizer to see what this theme can do for you.

You can check Colors & Backgrounds, choices of Fonts, etc.

Everything you try now - is just a preview. The changes will not be saved until you publish the blog.

So if you think you like the way the theme looks - Activate & Publish.

If you are not sure - move on to a next theme (click OK in the pop-up window to "The changes you made will be lost if you navigate away from this page.")

Try multiple themes.

customize blog theme

I hope you are ready to customize your theme now.

site id

customize template

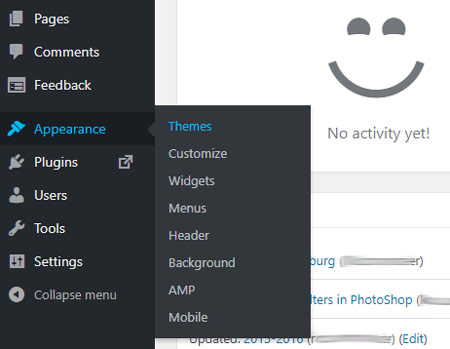
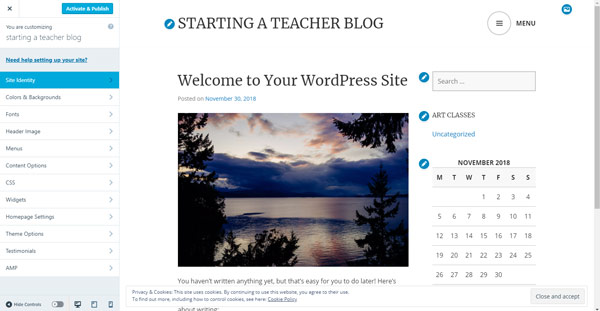
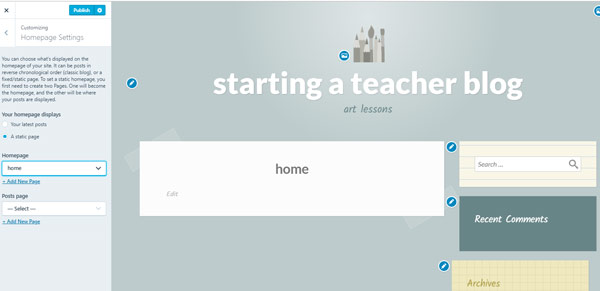
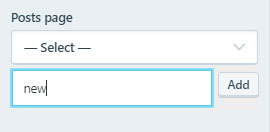
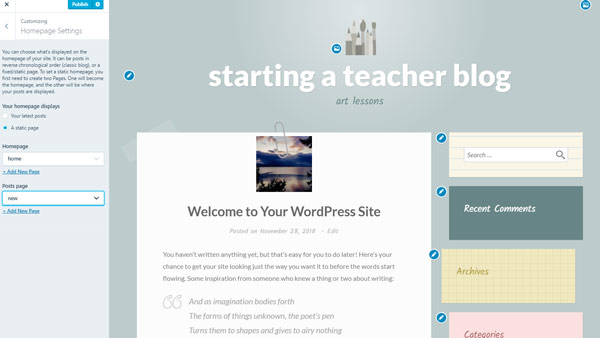
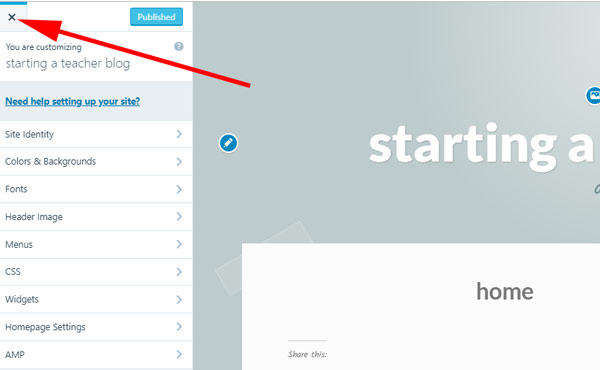
Now, that you are in your theme customizer - you can modify settings and save them (it's called "PUBLISH" in WP).

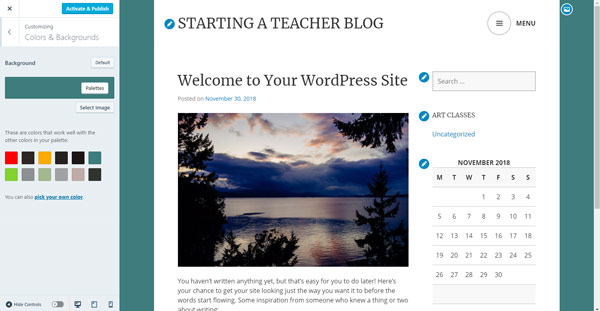
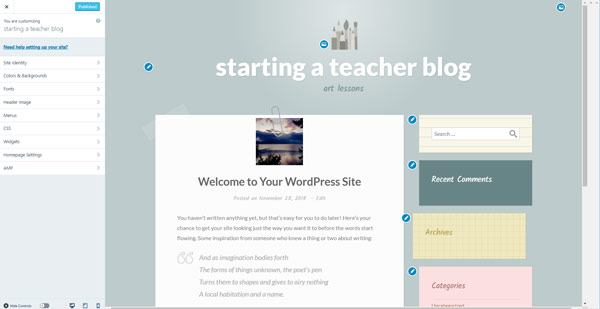
Depending on the theme you chose, you can adjust color scheme, fonts, backgrounds, and other settings that are available.

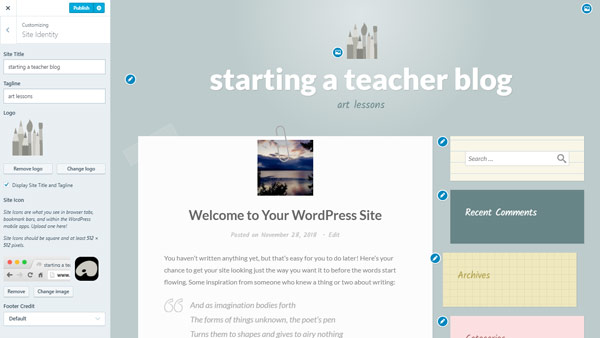
Bur first - complete the site identity section.

site identity

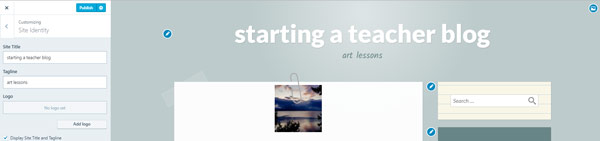
Site Title - appears at the top of each page as a header. You do not need to have it if you don't want it.

Tagline - appears as a sub-heading. Also, not required.

If you do not wish to display the title and the tagline - uncheck "Display Site Title and Tagline" button.
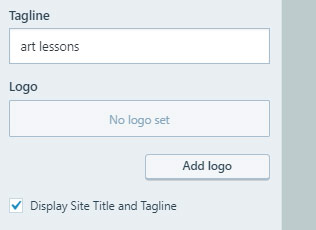
add logo

Logo.

If you want your logo to be visible in your site (and act as a "home page" button) - upload it here.

If you do not have a logo - make one, search for a free stock image, or find someone who can do it for you.

I recommend an image in .PNG format with a transparent background.

Have multiple versions of your logo - black, white, color, etc. This way you can choose the right one for your the background color or background image.

Position of your logo in the page layout depends on individual theme.

You can also totally skip that part.

Please note:

I used two different images in this tutorial for a logo and a site icon so you can see where these images are placed. Normally, you use the same logo image.

upload image

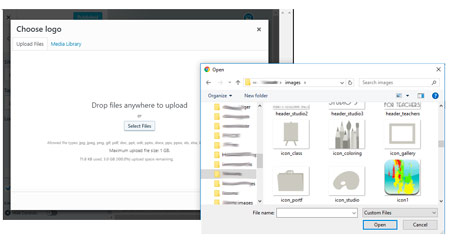
To upload a logo (or any image) to WP:

Click Add Logo

Browse to the folder where you keep all of your site files. Open.

insert image

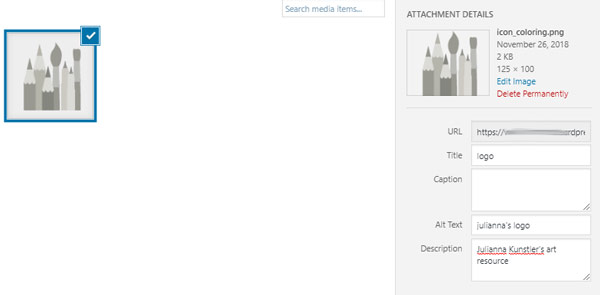
As you add any image to your site, I recommend to fill in all meta tags right away.

Meta data is additional text that you can add to your images. This text helps search engines learn what your image is about, so they could show the image when someone searches for those words

Title – The title field allows you to provide a title to your image. This title is used internally by WordPress to sort images in the media library. Give it a short name. For multiple versions of the same image -have the same name with extra (numeric or descriptive) characters.

Caption – This is the text that you want to display with your image. Depending on your theme, it will be displayed inside image border or outside the image. 

Alt text – Alt text or alternate text is a required field by the HTML standards specifications. It is displayed when a user’s browser is unable to locate an image. 

Description – This text can be displayed on the attachment page for your image. You can enter as much information as you want in the description field. Like the story behind a photograph, how you took the picture, or anything else that you want to share can go here. You can even add links in the description field.

You can edit the image later at any time by clicking on a blue image button.

site icon image

Site icon (also known as Favicon) is a small image (usually it is your logo without text) that appears at visitor's browser bar (or tab).

site id

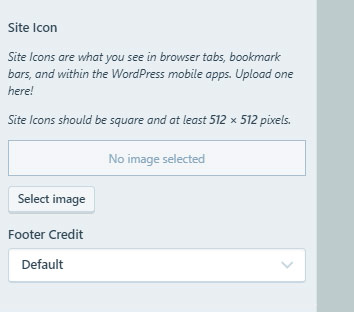
To upload your site icon - click "Select Image".

Read the requirements for this image.

This image does not have to have a transparent background, but it is still a preferred option if your logo is not a square.

site icon

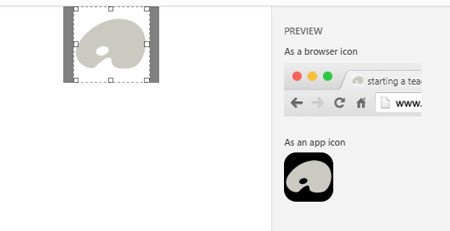
Once you upload the site icon - you will be able to crop it to a square shape to fulfill the requirement.

media library

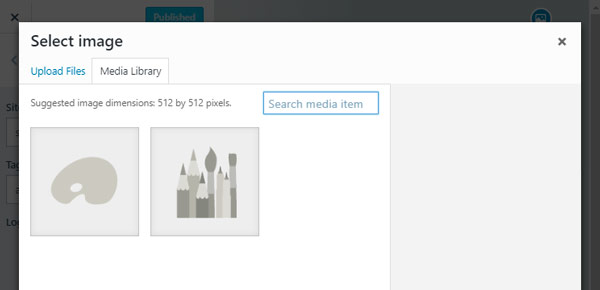
All images and other media files are stored in Media Library.

If you want to use an image that you already have - select Media Library instead of uploading it again.

blog identity

That concludes setting up the site identity part.

If you choose to modify this section - you can do it at any time.

publish button
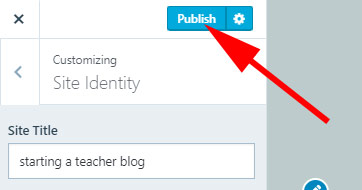
To save all changes - click Publish button.

Use Publish button every time you modify the template, add pages or posts.

switching between dashboards
Wordpress interface

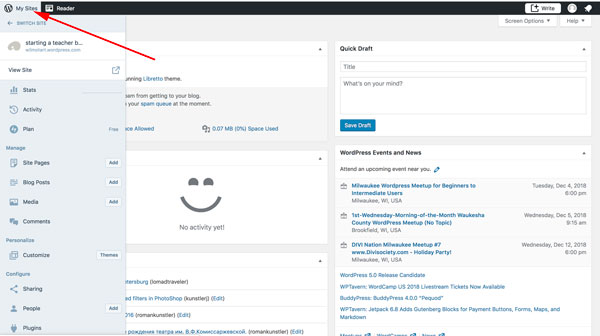
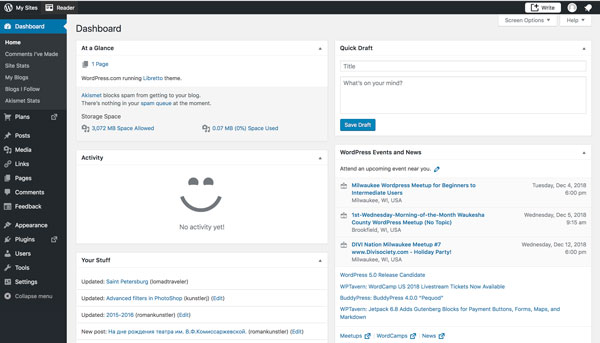
If the WordPress Admin interface looks a bit overwhelming, don't worry - you can bring up a theme dashboard - click on My Site tab at the top left corner.

You can choose your next steps from this menu now.

wordpress

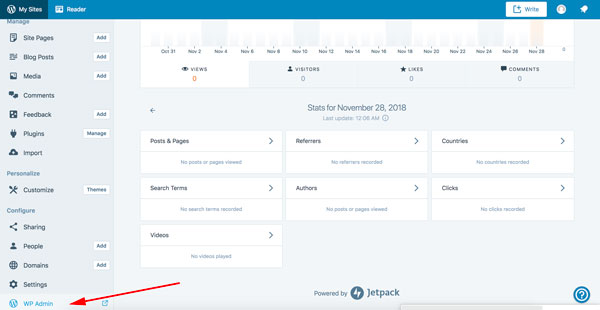
If you need to get back to the initial dashboard - scroll the left pane down and click on WP Admin button.

site customization

homepage settings

home page settings

In customizer:

Click on Homepage Settings

static page

Many older themes in Wordpress are limited on homepage options.

Many newer themes offer more options.

You will need to explore your theme and use the customization options as widely as you can.

Many themes have extra "homepage" template options that you can find in page editing window. So, for now, if you have only two options - this is what we use.

Add a page and name it "home".

Static home page vs. dynamic (latest posts):

I, personally, prefer to have a static home page as you have more editing power to design it. You can still have your latest posts displayed here, but they will be just a part of the whole page. The rest of the layout can be whatever you choose to showcase here.

Dynamic page shows your posts. You can also have some widgets, so it is better to use it as your "news" page, unless your primary goal is to just display posts.

static homepage

static page

dynamic homepage

dynamic page

add homepage

You will see a preview of your home page on the right.

Don't worry about the content yet!

Leave it blank for now and publish it.

add posts page

Optional:

You can add a page that will show all of your latest posts. You can do it here.

You do not need to have it, but if you do:

add posts page

Add a new page and call it "new", or "news", or "blog", or whatever else fits your plan.

new posts

Publish the changes.

colors

See what your theme offers you in terms of color palettes and choices.

Experiment with colors and hit Publish when you are done. All modifications will be immediately applied and published.

fonts

There are usually plenty of font choices available for you for headings, main text areas, sub-headings, etc. It all depends on your theme options.

Stay away from using ornate fonts for your main text. It makes it hard for viewers to read a text if it strains the eyes too much. Reserve decorative fonts for headers.

Sen-serif (non-serif) fonts work better on a computer screen for large text areas (vs. serif fonts for printed materials).

Often, the default theme fonts work just fine - after all, the theme was designed by a designer :)

widgets

Widgets is the most fun part to play with.

Widgets are small blocks that you can customize and place next to your pages and/or at the bottom of it.

From theme customizer: click on widgets.

Start with the sidebar options.

There are usually some widgets that are already placed into your page by default.

You can modify each one of them or remove from your layout.

You can always do it later by clicking on blue "edit" button next to each widget.

Consider each widget and make a decision whether you need it or not.

Do not jam you pages with widgets that will not make your viewers' experience better. Nobody likes clutter.

Modify each widget in the customizer.

Then click Done.

If you wish to remove a widget - click Remove.

Do not worry - you do not delete the widget completely - all of them will stay in the Widget library and you can add it at any time.

Change widget titles to reflect your site personality.

To add (or reorder) widgets - scroll down the customizer and click "Add a Widget" button.

Explore the widgets and have fun with them.

Return to the main customizer screen and continue exploring the settings.

Do not forget to press "Publish" button to save the changes.

main menu

To exit Theme customizer - click on the Exit button at the top left.

Do not worry if you have not customize all settings - now you know how to get here - you can do it any time.

You will be returning here regularly as you start building your blog and add pages and posts.

...