.5 Credit
Pre-requisites: Successful completion of Art 1
Course available to: Freshmen, Sophomores, Juniors, Seniors
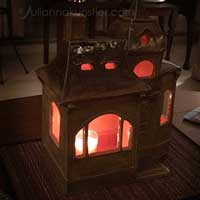
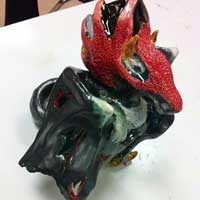
This is a beginning ceramics-pottery class for individual students who are interested in acquiring knowledge and skills in clay. Students will be introduced to all basic aspects of sculptural and functional pottery.
Course outcomes:
Students will understand the procedures of working with clay
Students will understand the process of pinch pot method
Students will understand the process of coil pot method
Students will understand the process of slab method
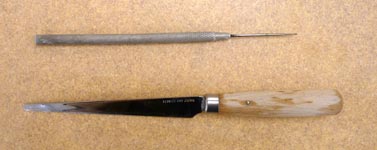
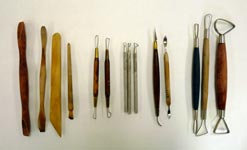
Students will understand how to use ceramic tools properly.
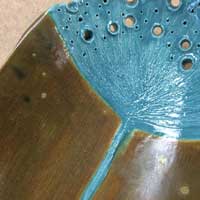
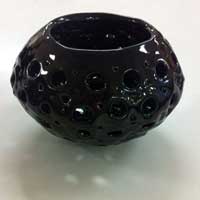
Students will understand what glazing is and how to use glazes appropriately
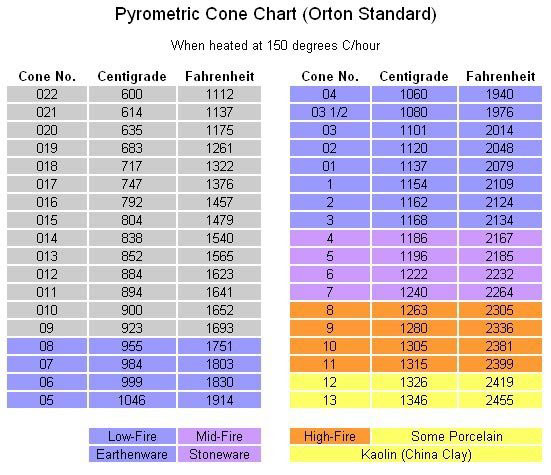
Students will understand the process kiln firing
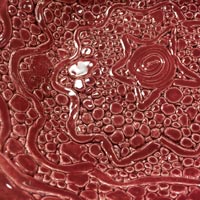
Students will understand the basic elements and principles of design in creating a 3-D object (texture, shape/form/, contrast, variety, texture, etc.)
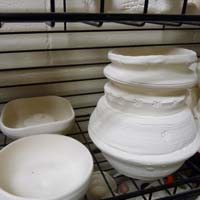
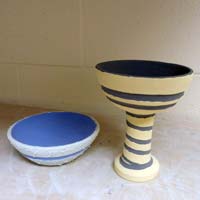
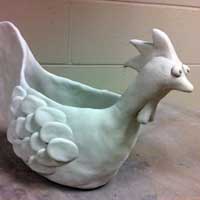
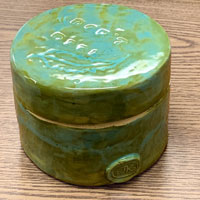
Students will be able to produce decorative and functional ceramic pieces utilizing the understanding of the Art Theory.
Students will understand and use art vocabulary pertaining to ceramics media.
BASICS
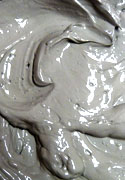
Clay is an earthy material of fine grained minerals with traces of metal oxides and organic matter.
Pottery can be created without the use of a potter's wheel. The potter's wheel did not appear in history until only 4 000 years ago. The main construction methods were pinch and coil methods.
Clay has been used for many things throughout human history: a writing surface, building material, money, storage containers, cooking vessels and serving plates, electronic device parts, ceramic shields or tiles are used on space ships. Ceramics is a major tool for dating cultures in archeology studies.
the three hand-building techniques
pinch
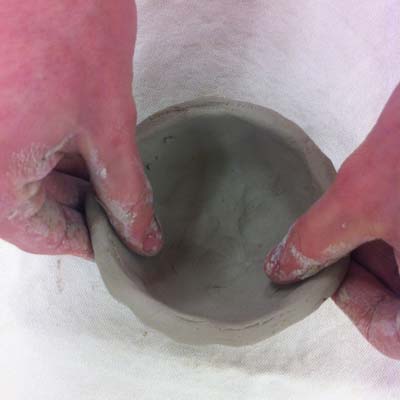
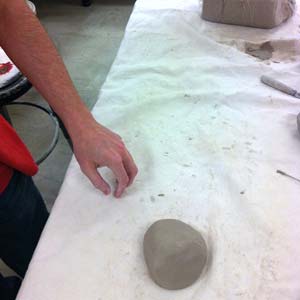
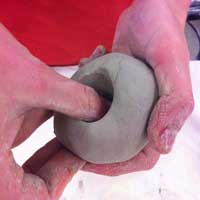
Pinch pots are created by using your hands to shape the clay. Pinch pots are some of the oldest archaeological artifacts found on the planet.
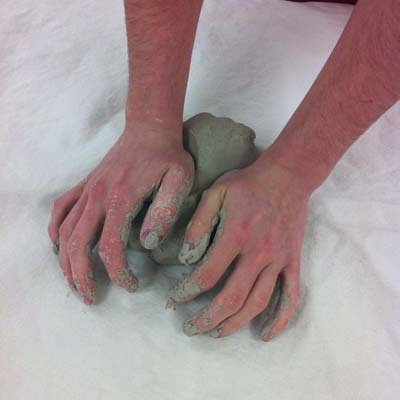
- Begin by forming a smooth ball that fits in your palm (fist size).
- Press the thumb into the center half-way to the bottom.
- Revolve the ball while pressing the walls out evenly with the other hand.
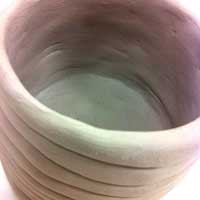
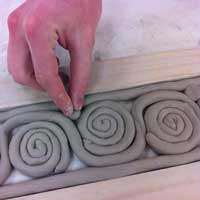
coil

Coil pots are created by pressing coils of clay together.
- Keeping the fingers flat, form clay into sausage shapes.
- Roll them into ropes (coils)
1/4" to 1/2" thick - Coils are pressed together creating a design. Gaps are filled in with small balls of clay.
- Inside of the wall can be smoothed.
- Join the walls & the bottom.
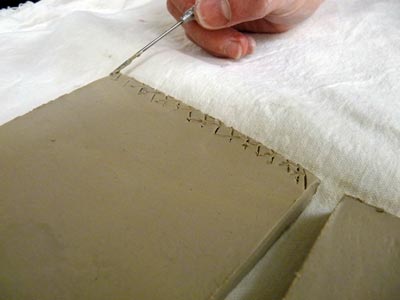
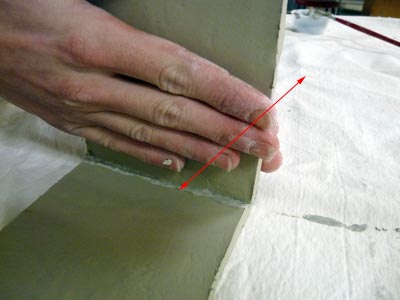
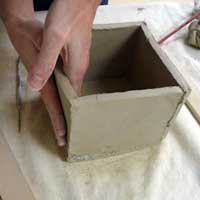
slab
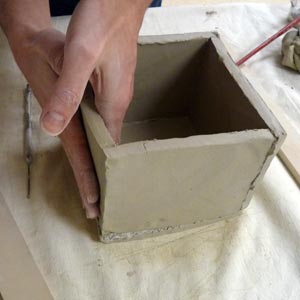
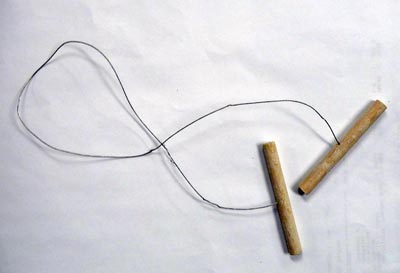
The slab building technique involves rolling out clay to an even thickness - usually 1 cm - then cutting shapes, folding, bending, manipulating and joining together to form a finished object.
- Roll slabs of clay
- Cut out the sides
- Join the sides (score and slip!!)
- Attach the bottom
- Cut out the excess clay from the bottom slab.
Other techniques include:
wheel throwing, relief (high, low, sunken), mold making & slip casting, carving, sculpting, etc.