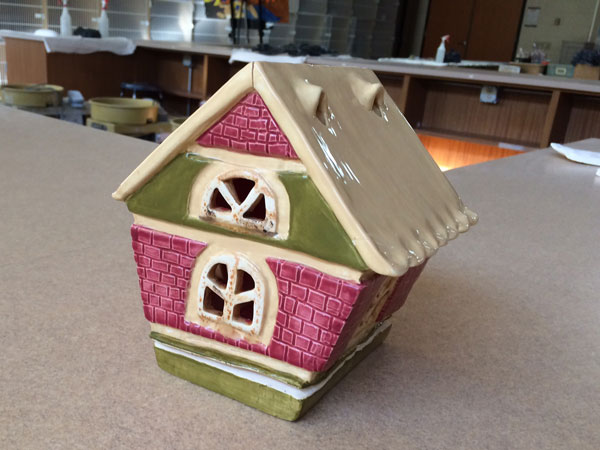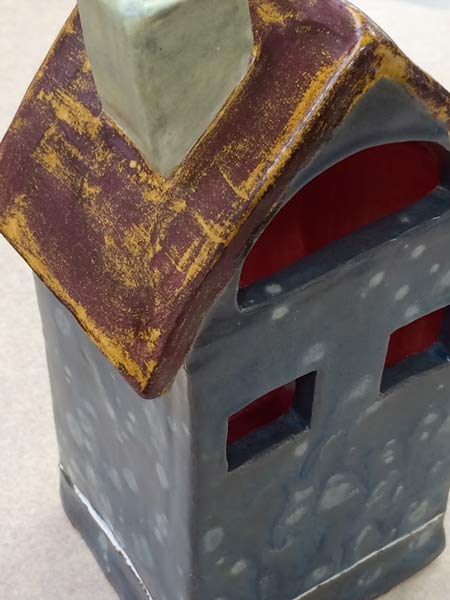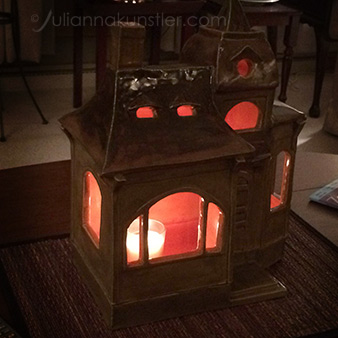
by JuliannaKunstler.com

STEPS
Step 1: planning

Planning is important!
Find some reference photos or drawings. You can use an image of your house too.
Sketch the floor plan and the side (wall) layout.
Make paper templates for each side.
Step 2: slab box building
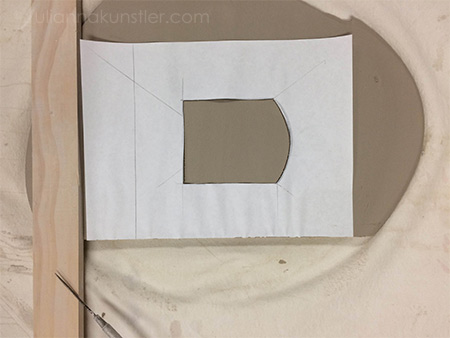
Roll slabs for the sides.
Cut out the walls using templates.
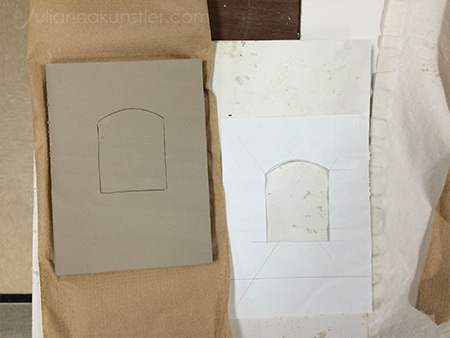
Do not cut out windows yet!
Just trace them!!!
Let all walls leather dry.
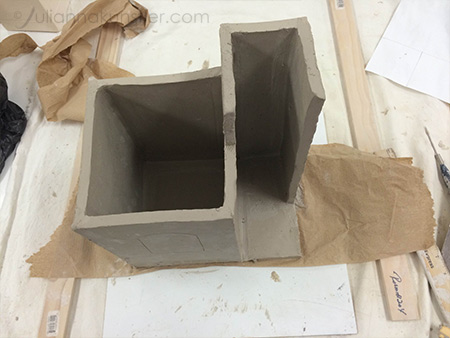
Start building the house the same way you built slab boxes.
Remember to score and slip!
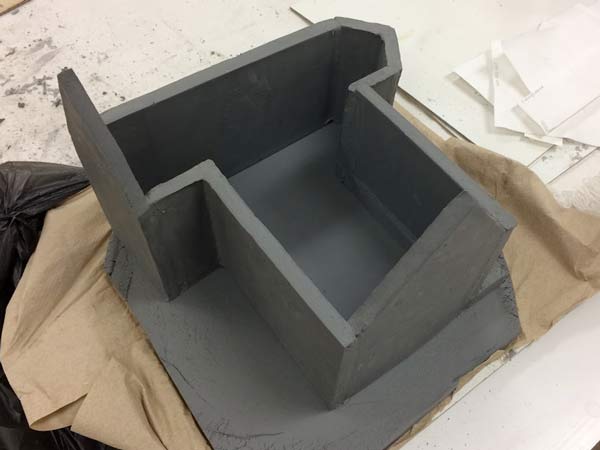

Add the roof too.
Make sure you have a chimney or some other opening at the top for warm air escape.
Step 3: cutting off the bottom tray
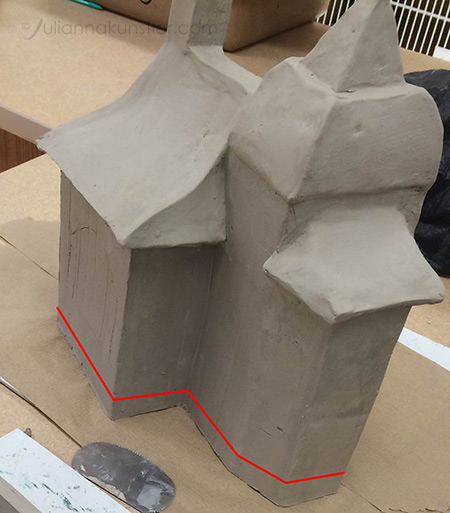
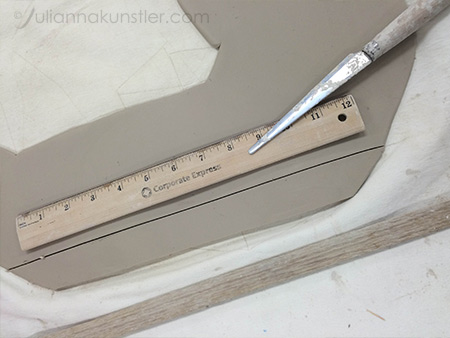
When the entire house sides are done and sealed, cut out the bottom part of the house.
I used a ruler and its height for a uniform cut.

Take the top part off.
Be careful not to bend the walls in.
Step 4: adding back strips
Roll a slab (I used a thinner than the walls piece).
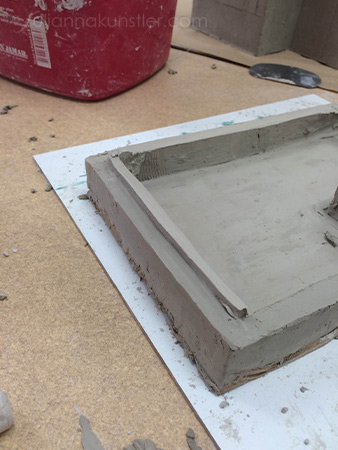
Cut some strips to go inside the perimeter of the bottom tray.
The strips should be slightly than the tray cut.
Score and slip, attach the strips from the inside as shown.
Make sure the air is not trapped between the strips ands the walls.

Step 5: details
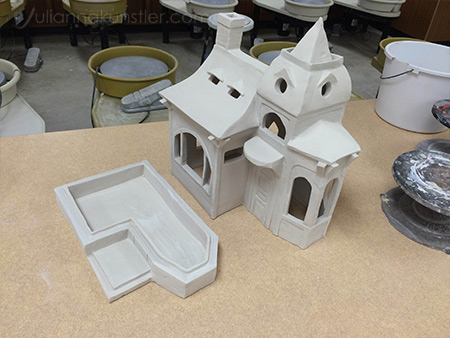
Now, that the house is leather dry (or dryer) - go ahead and cut out all windows, carve details, add extras.
Smooth the inside of the house.
Important: keep both parts (top and bottom) together as one piece at all times. As clay dries - it shrinks - we want both pieces to shrink together for a good fit.
Step 6:bisque firing
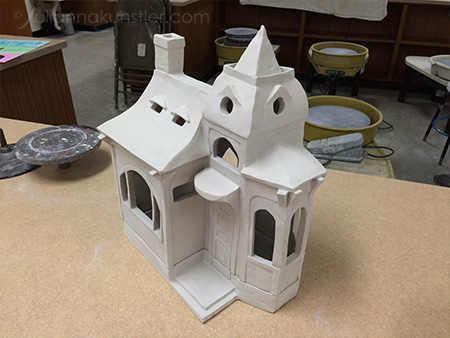
Let the house dry completely. I waited for over a week just to make sure there is no moisture left.
Important: fire as one piece!!!!!!
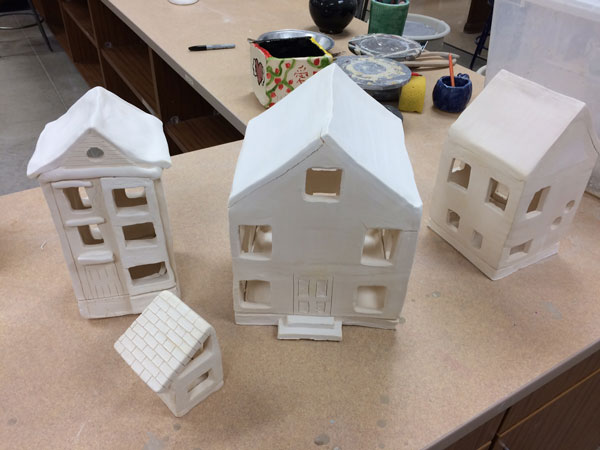


Step 7: wax resist coating
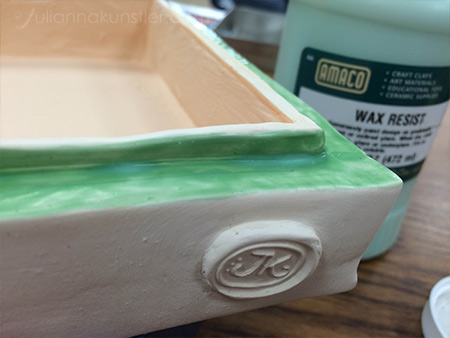
Use wax resist and apply a coat on each area that come in contact with the other piece.
Wax will protect (to a degree) from accidental glazing of these areas.
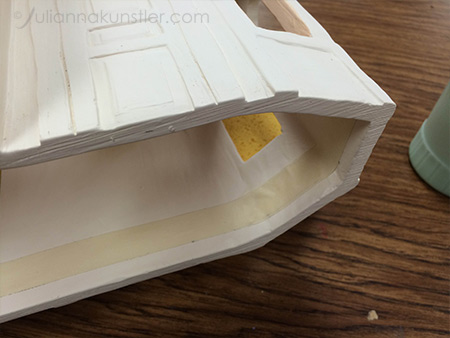
For a larger piece I used masking tape for a nice edge before applying wax.

Keep protecting the waxed areas from glazes.
Step 8: glazing
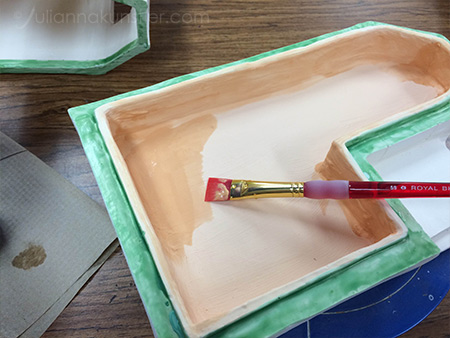
Start glazing from the inside of the house. Use just one color glaze.
Recommendation: yellow or orange.

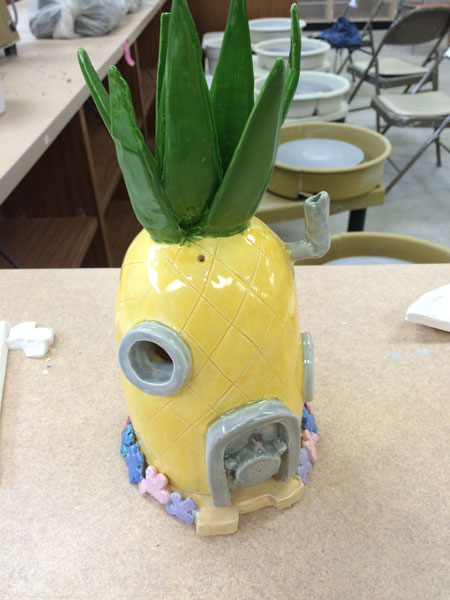
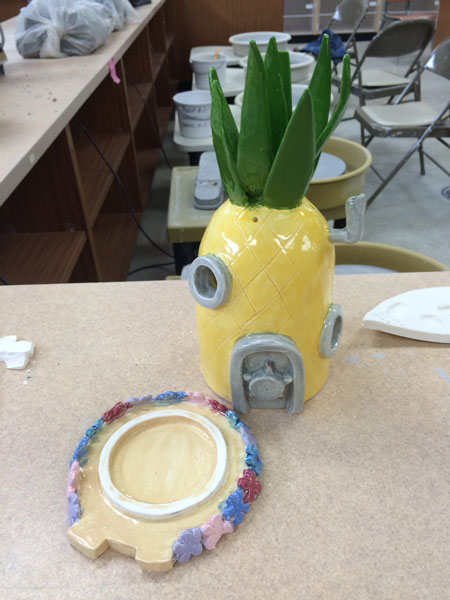
Step 9: glaze firing
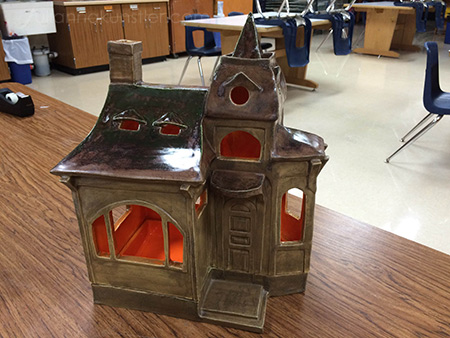
Glaze fire as one piece.
Wait until the kiln cools down before taking it out to prevent cracking.

Enjoy!

