step 1- rolling
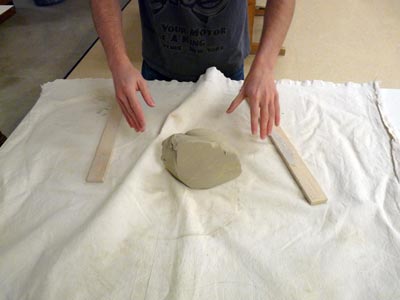
Start with wedging and throwing clay on a flat surface (covered with canvas).
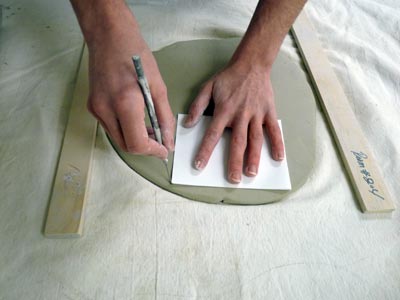
Spread the clay out by patting it with your whole hand.
Flip the clay over carefully.

Place wooden strips (guides) on beth sides of the clay to help you achieve an even thickness of 1 cm.
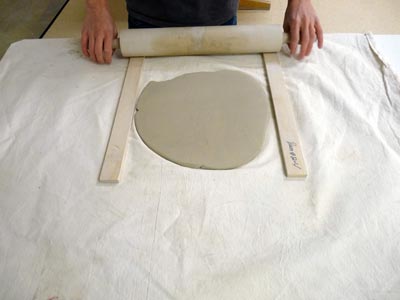
Roll the clay.
step 3 - putting together

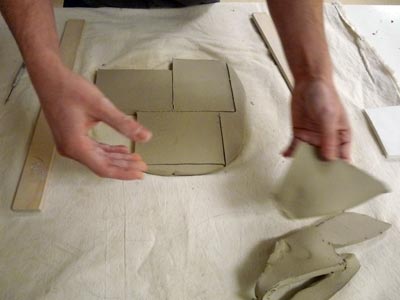
Place the 4 sides aside. Let the clay firm up to become leather dry. (For most clays it would take about an hour).
You can roll a slab for the bottom of the box now.
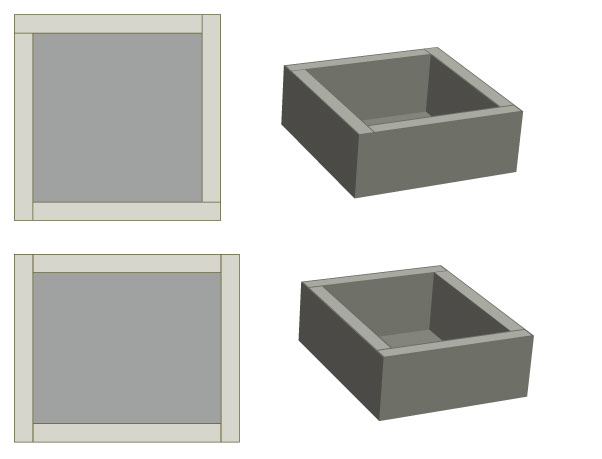
There are two ways to pit the box together.
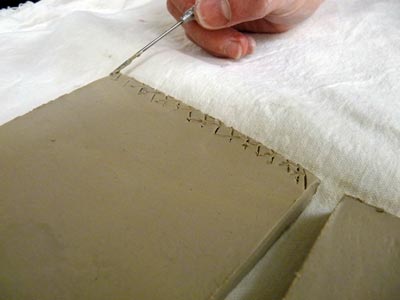
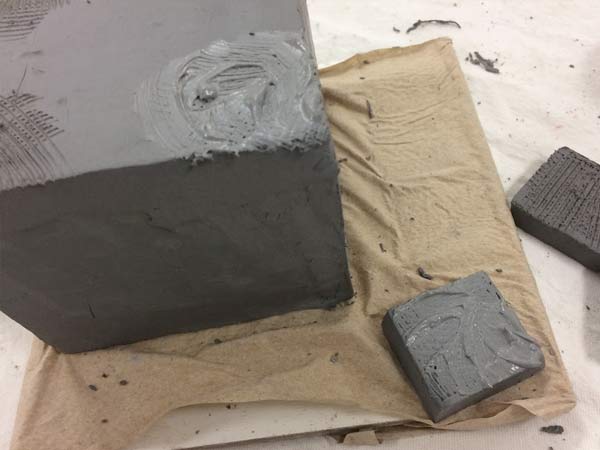
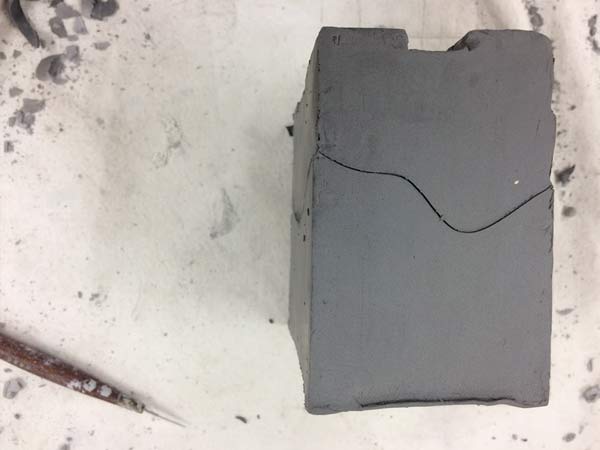
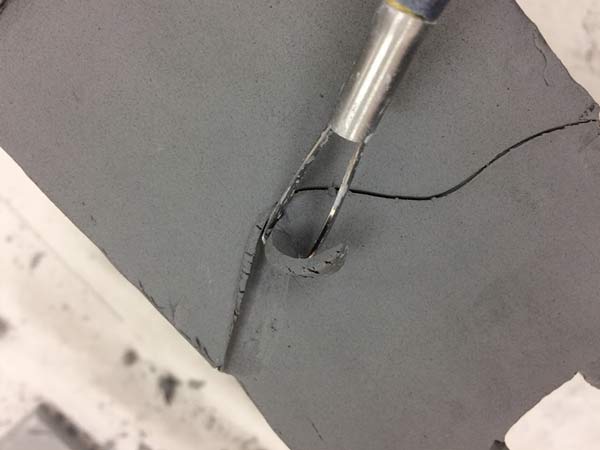
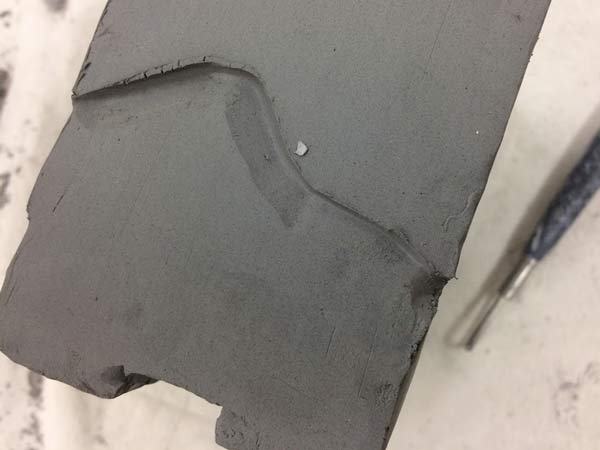
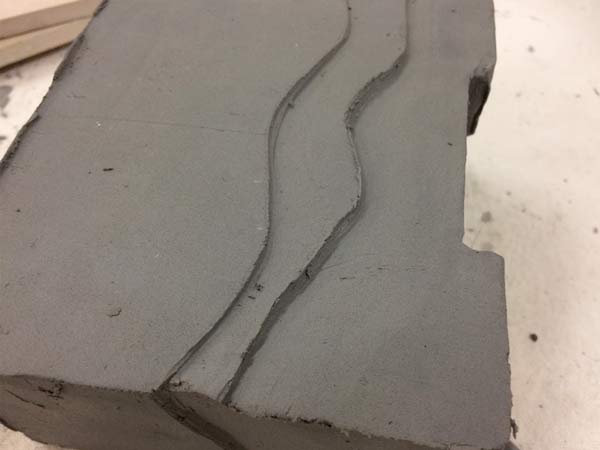
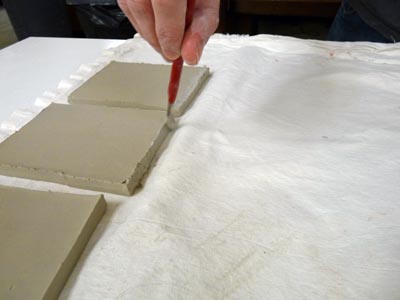
Use a needle tool to score the edges of the slabs that are going to be joined.

Apply slip to scored areas
Make sure you score and slip both joining surfaces.

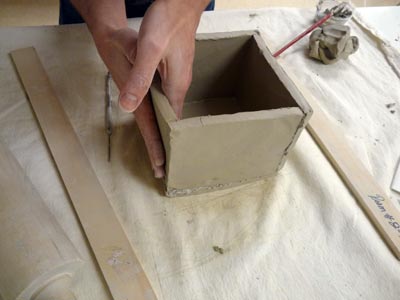
Carefully join the sides.
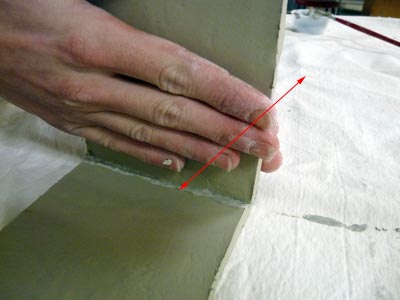
Slightly rock the attached piece back and forth to strengthen the bond between the surfaces.
You will know you have a good bond when most of the slip has squeezed out and the pieces will not slide back and forth easily.

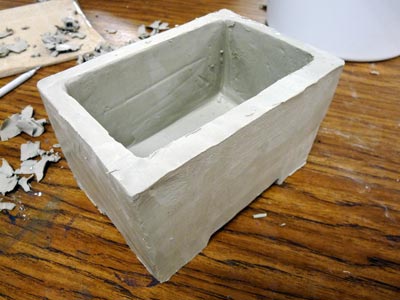
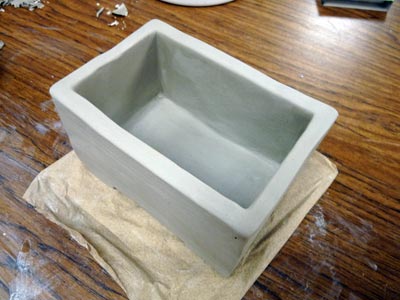
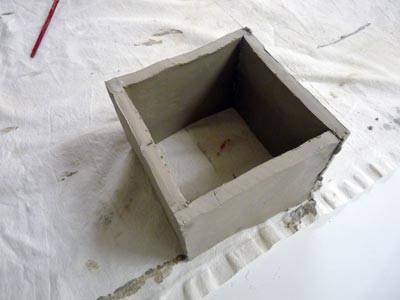
Place the 4 sides over the "bottom" slab.
Make sure the sides are straight.
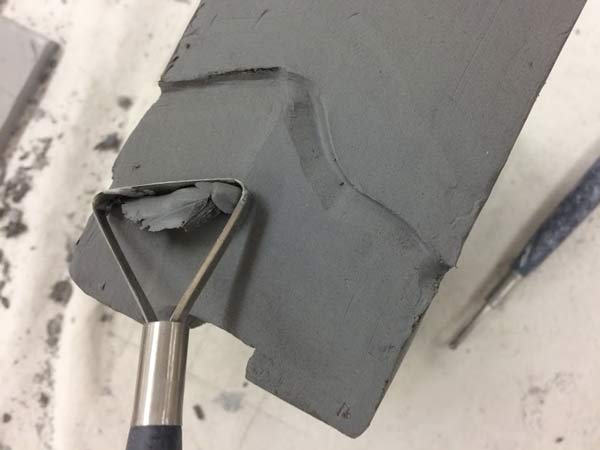
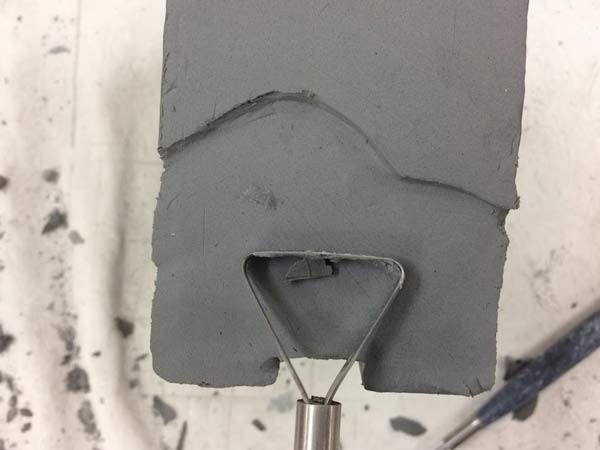
Use needle tool to cut away the extra clay.
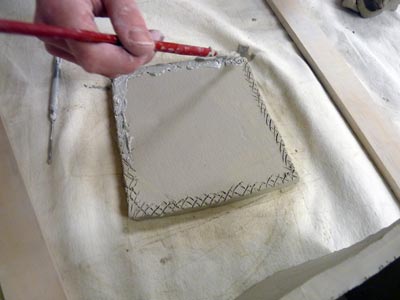
Score and slip.
Join all parts together.
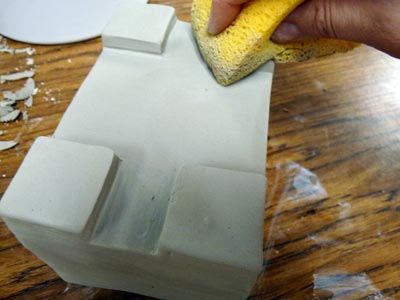
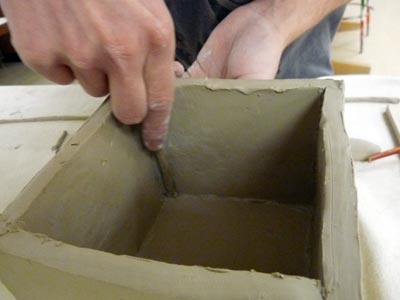
Use a flat wooden modeling tool to smooth the joined pieces.
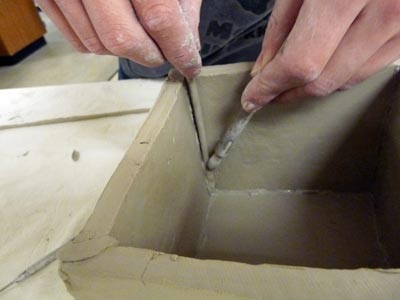
Add a coil in the corners to make seams stronger.
Gently press the coil into the corner.
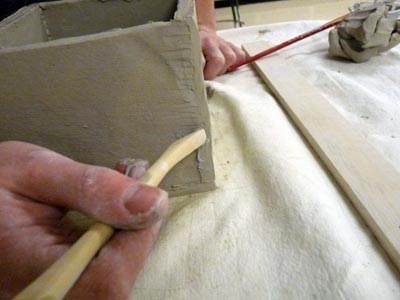
Use a brush handle to smooth the corners.