
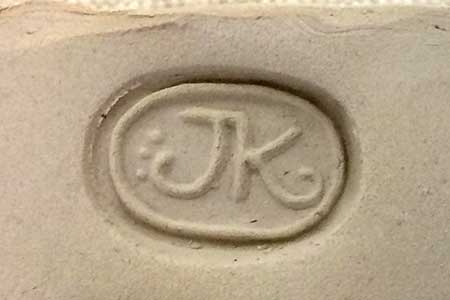
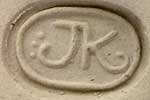
Signature Stamp
Texture Stamps
by JuliannaKunstler.com
GALLERY
STEPS
Signature stamp
Let's create a signature mark for your ceramics pieces. It will make it look more professional than just scratching your name at the bottom. Signature stamps can be as simple as just your initials. You can also come up with a hallmark-type of a symbol. You decide. Please, no hearts or daisies :)
 |
Start with a sketch. Try different designs before you find something that you like. It should be small enough to go on any size piece, it should be readable in the small size - that is simple enough.
|
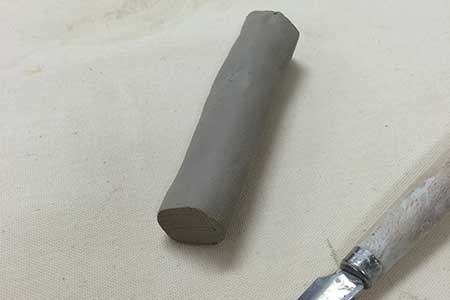 |
Roll a coil the same diameter as your design. Shape it to fit the design outline (whether it's an oval, a circle, a square, etc..) |
 |
You can also decorate the stamp itself as you are going to use it for a while - you might as well enjoy it as an artpiece. |
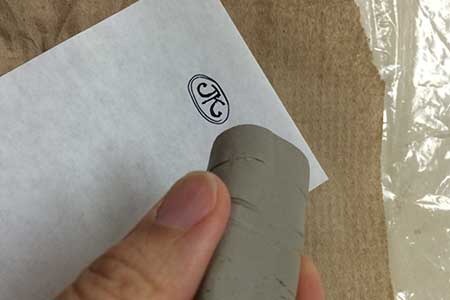 |
Outline the sketch with a pen that has a water-soluble ink. Then wet the flat part of your future stamp and press it onto the paper. |
 |
Rub the back of the paper to transfer the design onto clay. |
 |
Trace the design if necessary. |
 |
Let it dry now until it is leather dry. Carving into a wet clay will leave too many "crumbs" around the lines. |
 |
Scratch your design with a needle tool. Use a soft brush to continuously clean the lines. Work slowly. |
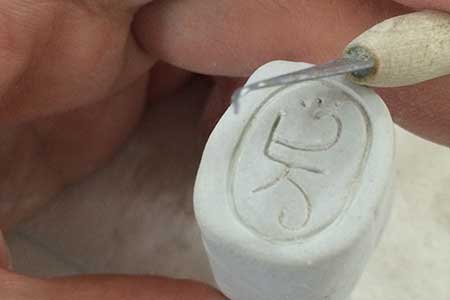 |
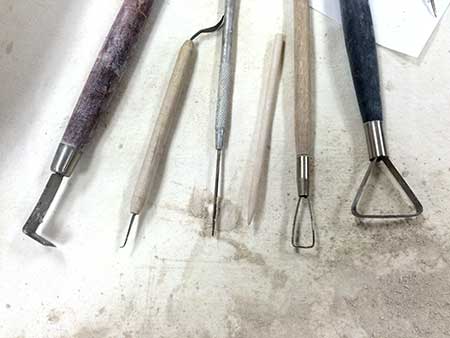
Use a variety of tools to widen the design lines and make them as neat as possible. |
 |
I like to use the wooden picks to smooth the lines in the end. |
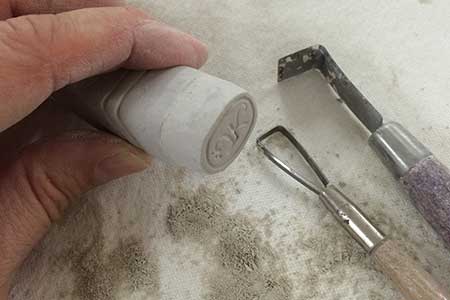 |
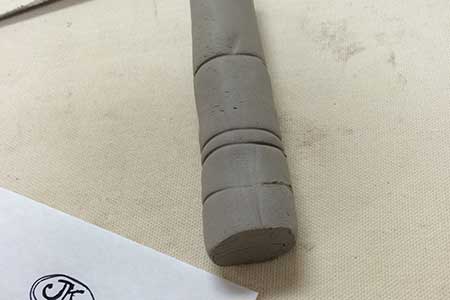
Carve the rest of the stamp, adding details and decorations.
|
 |
Well, something like this.... |
 |
Mark the top side of the stamp. |
 |
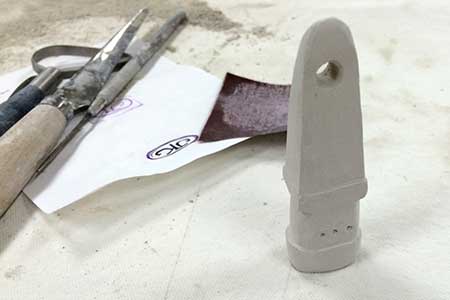
Smooth it with a wet sponge or a soft brush. Let it dry. Bisque fire. |
 |
You can glaze it later if you choose to. Do not glaze the "stamping" surface. |
 |
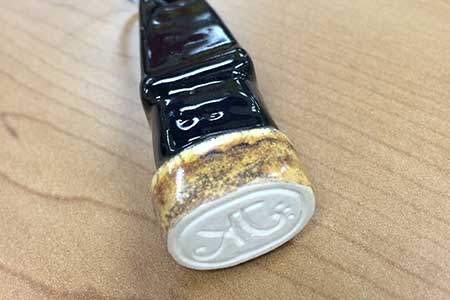
Enjoy your new signature stamp!! |
Texture Stamps
You need to create 10 texture stamps:
- 5 stamps with pressed-in designs - you can use any object to make an impression, like a button, a bead, etc...
- 5 stamps with carved-in designs - they can be abstract or have images.
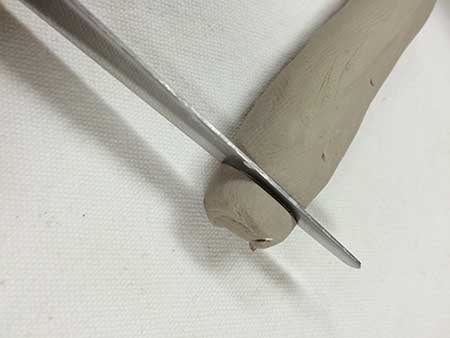 |
Impression stamps: work while clay is still moist. Roll a coil, cut a flat edge. Make sure the cut is smooth. |
 |
Press in objects. |
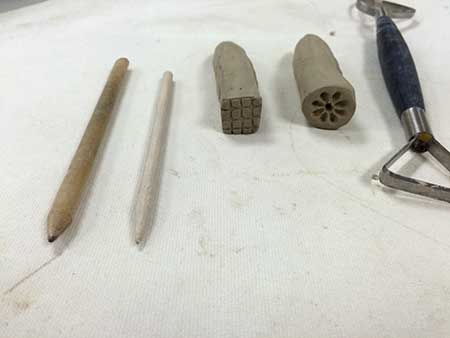 |
Use tools to clean the "crumbs" and to shape the stamp itself. |
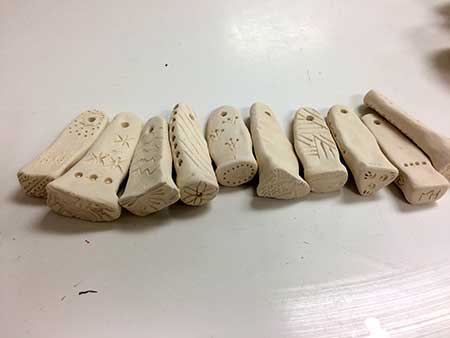 |
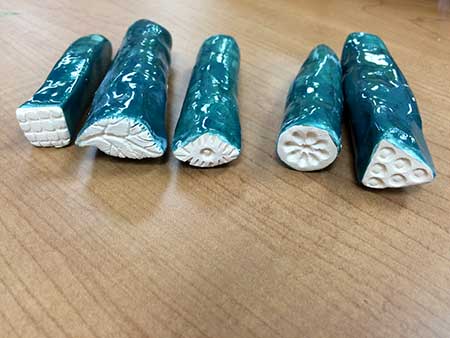
Stamps can be any shape. You can decorate them any way you want - these are your tools for the future projects. |
 |
Neatly made tools will be nicer to work with. |
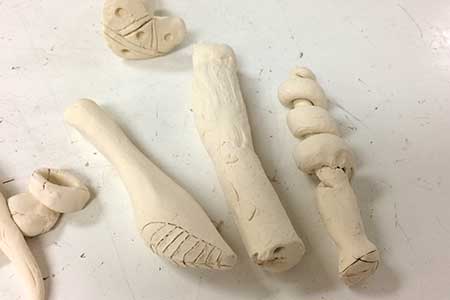 |
They can be even have odd shapes like these... |
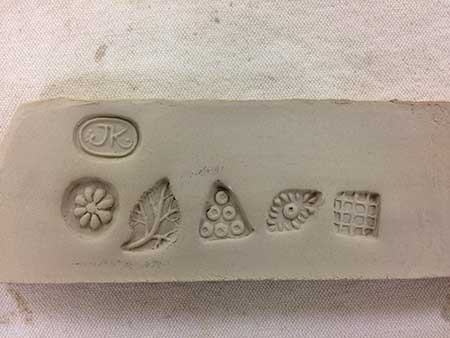 |
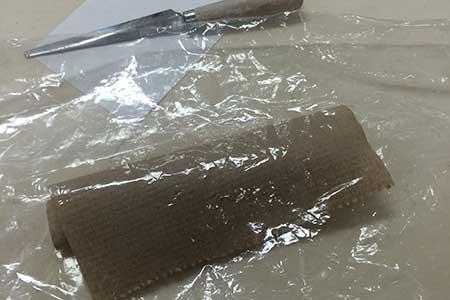
After bisque-fired - press the stamps onto a piece of a clay slab. Include your signature mark. |
 |
Stamps can be glazed if you wish to. |