1. background

Start with creating a new file: 8.5"x11"; units: inches
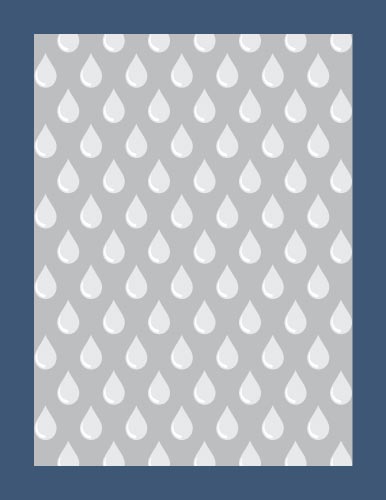
In the new file - name your Layer 1 "background".
Save the file right away.
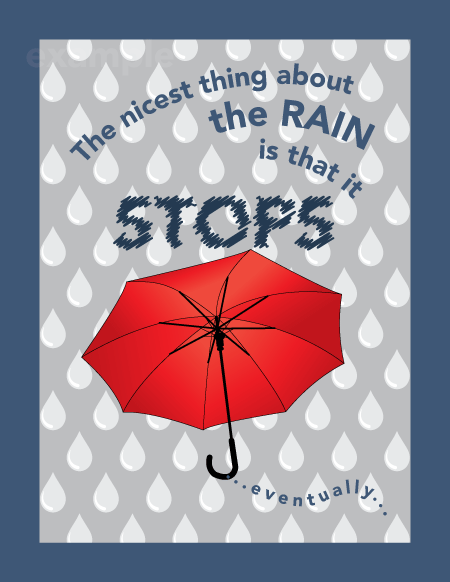
There will be a few steps to recreate this design.
2 rectangles:
blue #3F5775 (8.5"x11")
grey #BCBEC0 (7"x9.5")
Align them and center.
You can lock them to prevent from accidentally moving them (Object > Lock or Ctrl/Command 2)
raindrop
Copy the bitmap raindrop image and paste it into your file.
Convert it into vector (lesson is here).
Change the colors:
drop grey color #E6E7E8
light reflection: white
Change the height of the drop to 0.75".
raindrop pattern

Select the drop.
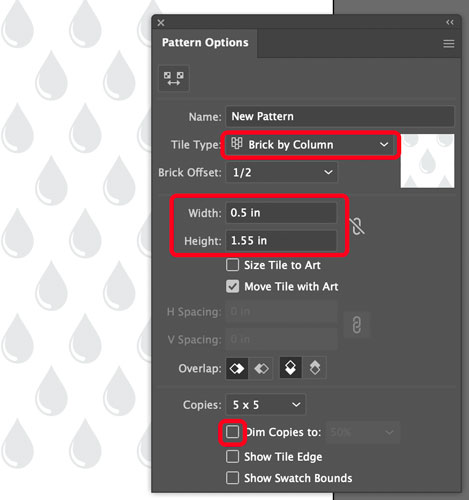
Go to Menu bar: Object > Pattern > Make
Set the parameters as shown.

Exit Pattern making mode at the top left part of the workarea.

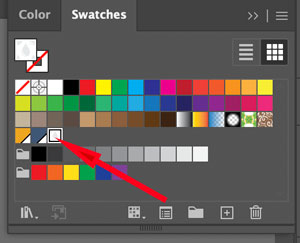
The new pattern is saved now in Swatches panel.
Copy the grey rectangle.
Paste it in Front.
Apply the new pattern of raindrops.
2. umbrella

It's umbrella turn now.
Create a new layer. Name it "umbrella".
Paste the umbrella image and lock it.
You are going to recreate the umbrella. This will take a few steps.
Canopy

Plan out the best and easiest way to create all necessary shapes.
Use Pen tool (lesson is here)
Start with the shape outline. Don't forget the corner points!!!

Trace every other shape inside the canopy.
It does not matter how far the shapes extend pass the main shape.

Use Pathfinder panel.
(lesson is here)

Delete all unnecessary shapes.
Now you are ready for the gradients.
Create a custom gradient and apply it to each shape.
(lesson is here)
You can temporally change the opacity of the shapes to draw the rest of the umbrella.
other parts
Once the main part is done - use Pen tool to create the rest of the details.
Most of the remaining parts can be drawn as lines (paths) with different stroke properties.

