julianna kunstler logo
Type tools

name logo
Instagram icon

by JuliannaKunstler.com

Type tool

Type characters sit on the baseline.

Create a line of text by clicking on the artboard. This will place an anchor point and a baseline for the text.

When resized - the font size is scaled as well.

Create a text block by clicking and dragging a rectangle.

When resized - the font size does not change. Text adjusts to fill in the resized type area.

Area Type Tool

Before you start with the Area Type tool - you need to create an area to type in.

Draw any shape - pre-made or freehand. Color properties do not matter - they will disappear as soon as you apply text.

Click on the path of your shape.

Now your text fills in the shape.

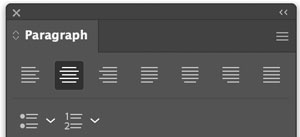
To make it more obvious - use "Justify... left" setting in Paragraph panel.
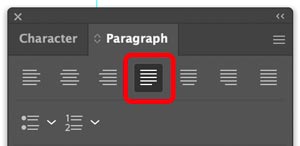
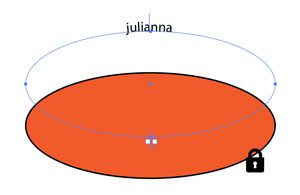
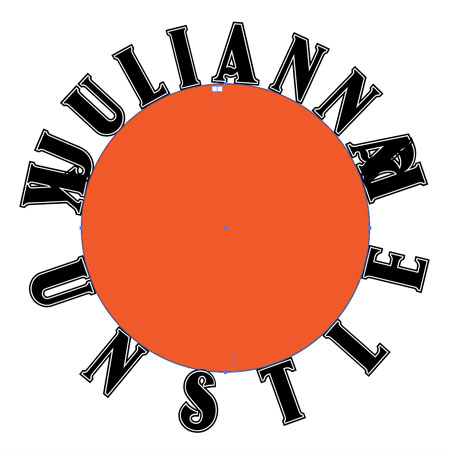
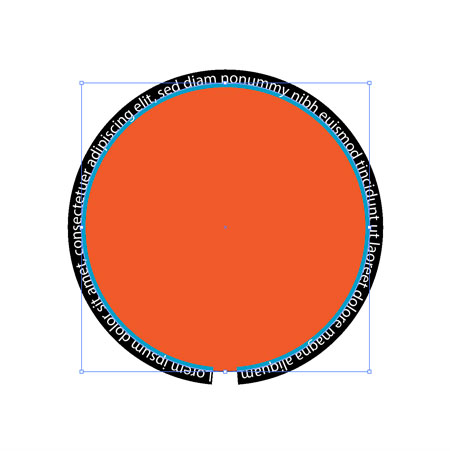
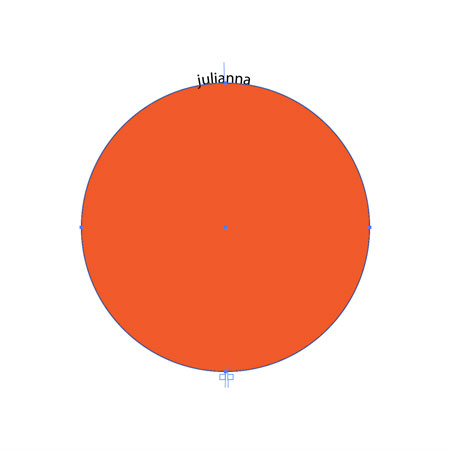
Type on a Path Tool

To type on a path - we need a path.

Draw a path and keep it selected. Stroke color and weight do not matter - these properties will disappear.

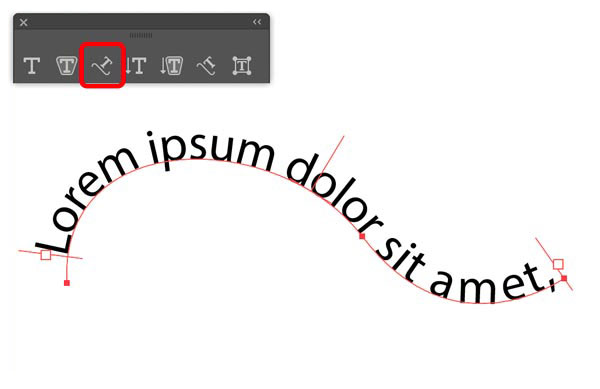
Click on a path to apply type.

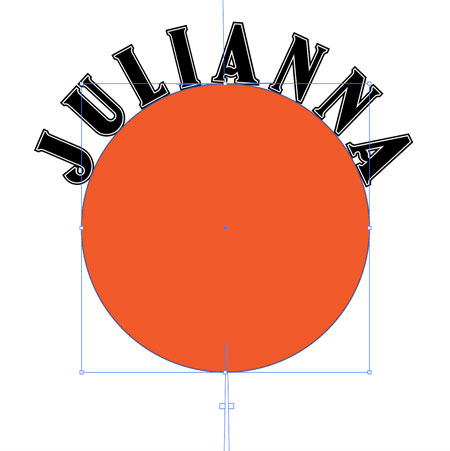
The path turns into a baseline with 3 brackets.

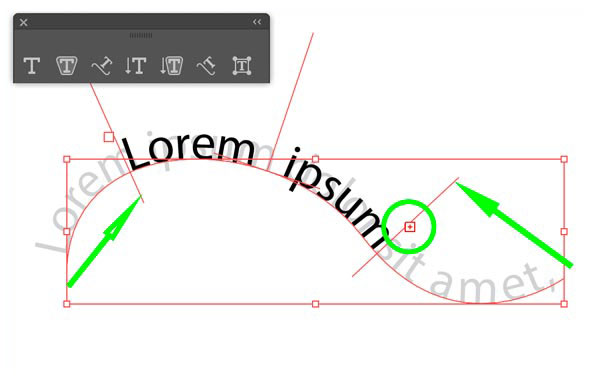
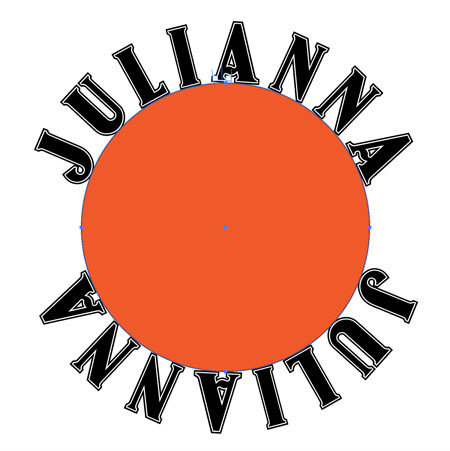
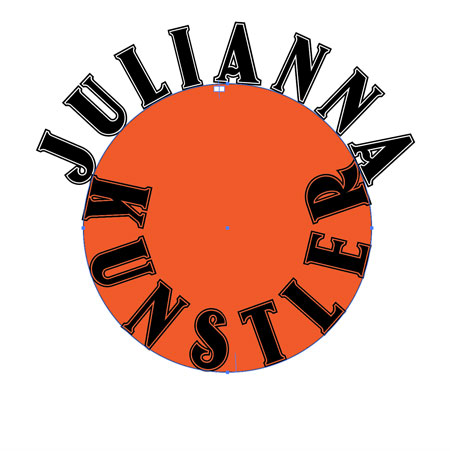
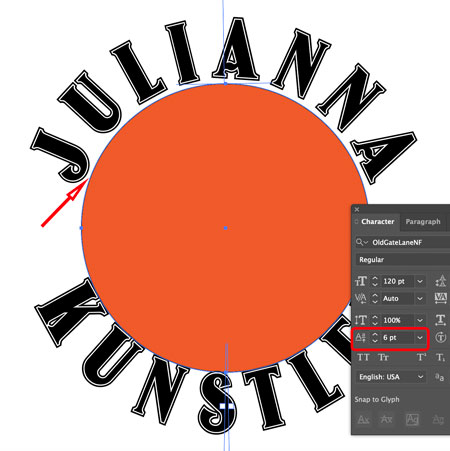
The two brackets on both sides control the start and the end of the text area.

If the area does not fit the entire text - you will see a small red square with a cross over the "End" bracket.

Every time you see that symbol - it means that a part of the text is hidden.

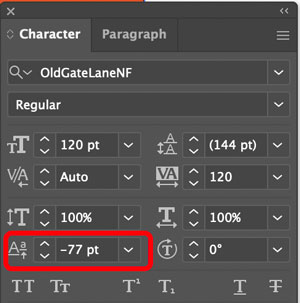
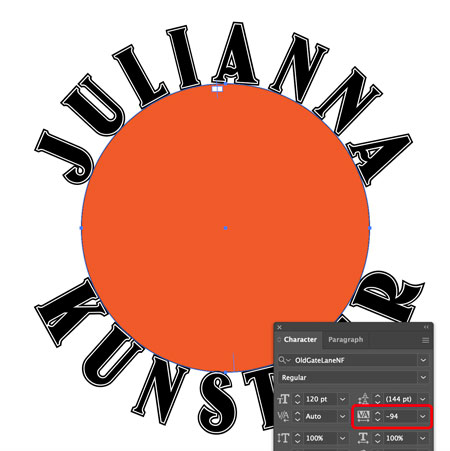
The middle bracket controls the placement of the text on the path.
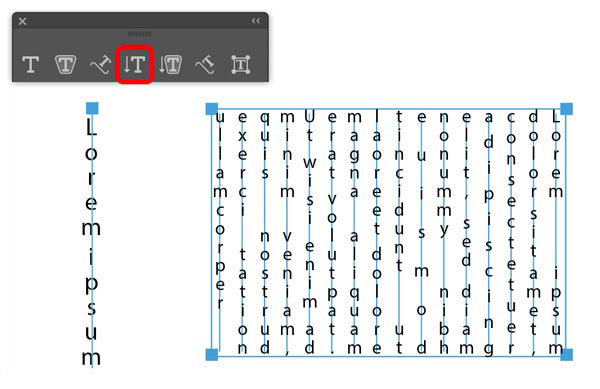
Vertical Type Tool

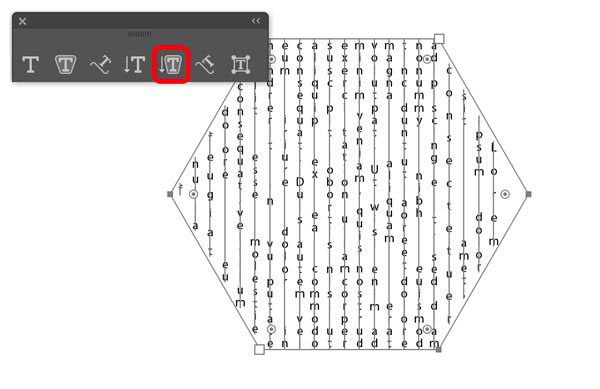
Vertical Area Type Tool

Vertical Type on a Path Tool

Touch Type tool

Move, scale, rotate and overlap individual characters in a word.

logo assignment

STEPS

You are going to recreate this logo.

Use your own name...... obviously...

Create a new file.

Artboard: 8x8 inches

Units: inches

Start with a perfect circle (hold Shift) Use your own colors.

Don't make your circle too small. Make it about 5".

Any color.

Here is your main circle!

To make your name go around it - you need to create a type path that matches this circle.

The easiest way is to copy the circle #1 and paste it above:

1. EDIT > COPY

2. Next step - IMPORTANT - lock the circle to prevent from selecting it accidentally)

Object > Lock > Selection

3. EDIT > PASTE IN FRONT

This is what's happening:

circle #1 - locked

circle # 2 - selected

Choose Type on a Path tool.

Open Paragraph panel:

Window > Type > Paragraph

Select Center alignment.

Click at the bottom of the circle.

The top circle is now a type path with no color properties.

You see the circle #1 now.

Type your first name.

Then choose Direct Selection Tool (white arrow)!!!

This is what's happening:

circle #1 - locked

circle # 2 - became a type path

Bring up Character palette.

Find a cool typeface and change the font size.

Change tracking setting to spread the letters out.

You can see brackets only if you choose a Selection tool (black or white arrows).

To add your last name:

1. Copy your first name.

2. Lock your first name (Ctrl/Command 2).

3. Paste in Front (Ctrl/Command F )

Grab the center bracket and move the text along the path..

Watch carefully as you move the text - it can get tricky...

Keep the cursor close to the center bracket while moving.

The text is upside down. We need to make it legible,

Drag the center bracket inside the circle.

This will move the text inside the baseline.

At least we can read it now!!!

Highlight the text and type your last name.

Adjust the Baseline Shift value to move the text below the baseline.

Adjust tracking to visually match the first name style.

Let's add more space between the main circle and the text.

To select your first name type - you need to unlock it (Object > Unlock All). This will unlock the circle too!.

Select your first name and add the baseline shift value.

Select the last name type.

Decrease the baseline shift value by the same number of points as you increased the first name shift.

Select All (Ctrl/Command A)

Group the objects together - Object >Group (Ctrl/Command G)

Center the logo on artboard (Align panel)

Create a 7"x1" rectangle.

Create a 1"x1" square.

Rotate square 45 degrees.

Move it over one end of the rectangle.

Duplicate the square and move it to the other side.

Select the three rectangles and align them using Align panel.

Use Minus Front pathfinder command.

Center the band on the artboard (Align panel)

Select everything on the artboard.

Lock it (Object > Lock Selection or Ctrl/Command 2)

Place a 3" x 3" square in the center.

(Use Align panel if need to).

Apply Scribble effect to the square,

In the menu bar: Effect > Stylize > Scribble

You can also try other effects, including Distort & Transform.

The square needs to be selected for the effect to apply.

Try different settings for the effect.

Click OK when done!.

Next step is to add some clipart to the design.

Open Symbols panel (Window > Symbols)

Symbol is a pre-made vector clip art that is reusable. You normally do NOT use any clip art in your design, but Symbol is a great option to reuse YOUR OWN design element in a work.

Click on the drop down menu in the upper right corner.

Choose Open Symbol Library.

Choose any category you want.

Drag a symbol onto your logo.

Note:

if you want to change the appearance of a symbol - go to Object > Expand ... Symbols

To add a drop shadow:

Effect > Stylize > Drop Shadow

Now you can change the colors and fonts to make your design more fun. You can also add more symbols. But... do not overdo it!!!

...