julianna kunstler logo
Pattern 3D Application

wrapping an object
Instagram icon

by JuliannaKunstler.com

WI State Standards:

  • AA Cr11h
    Plan: Formulate original concepts by practice, experimentation, and revision. (planning/experimentation)
  • AA Cr12h
    Make: Create works of art that introduce students to media, care of tools, and basic craftsmanship skills.
    (skills)
  • AA Pr10h
    Develop Meaning: Curate a body of work incorporating personal, historical and contemporary art to communicate one or more points of view.
    (aesthetics / communication)

Learning targets:

  • Use planning (sketching) to develop a unique outcome
  • Create an original artwork
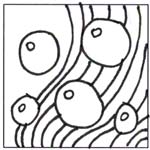
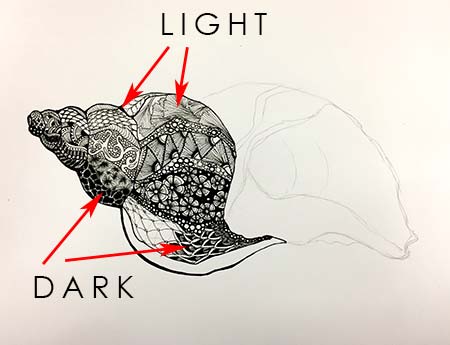
  • Combine multiple media to achieve an aesthetic effect (principle of Contrast).
  • Work with a focal point concept (principle of Emphasis)
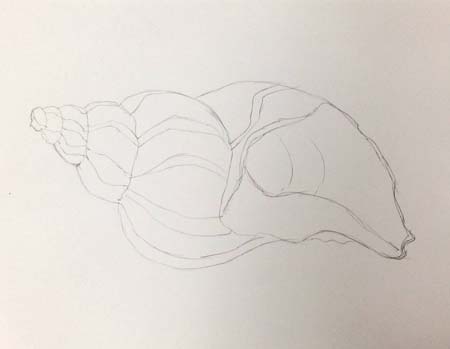
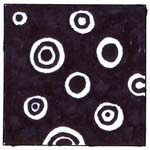
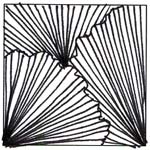
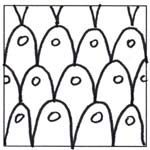
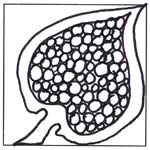
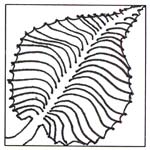
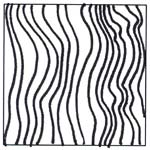
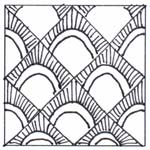
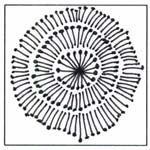
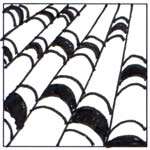
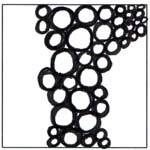
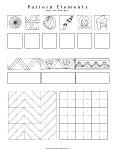
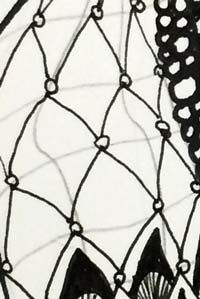
  • Patterns and values, bending a surface

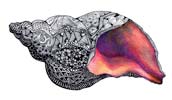
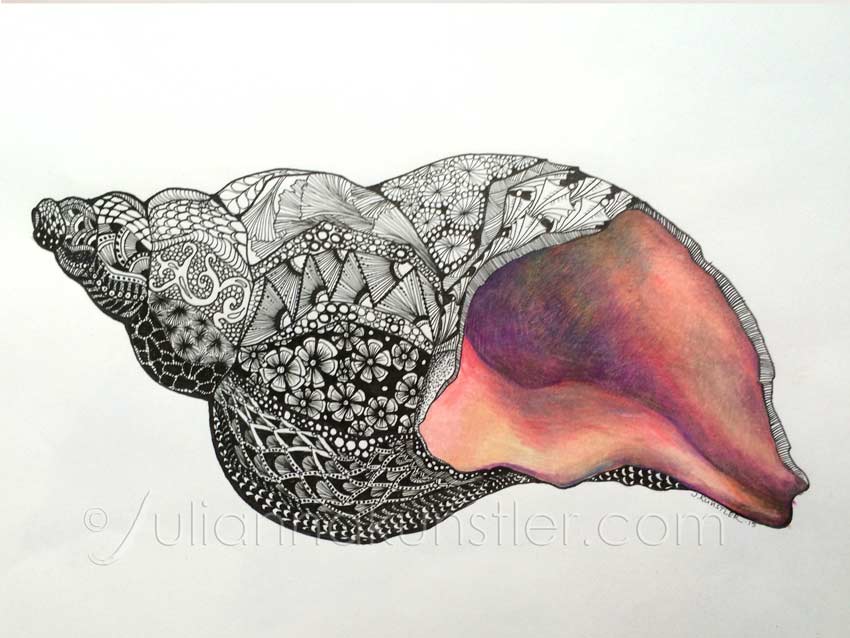
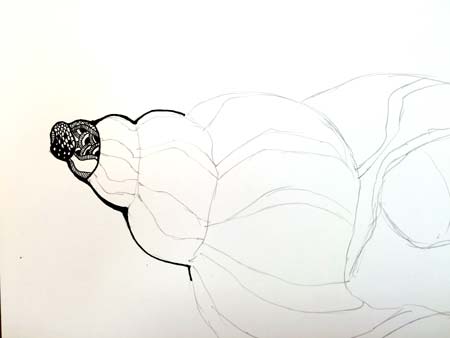
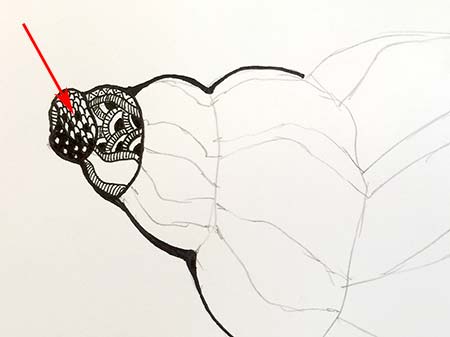
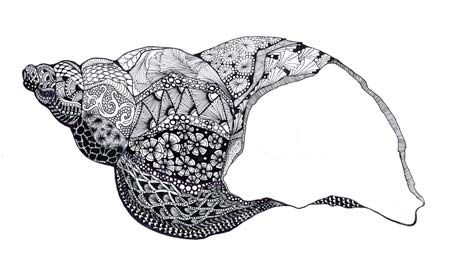
The assignment is to "wrap" an object with abstract patterns while supporting the 3D appearance.

Part of the object will be colored realistically with colored pencils or painted.

GALLERY

STEPS

drawing

drawing shell

Decide on what you want to draw. This should be an object that is easily identified by its silhouette and can be divided into parts.

Draw it lightly on a board. Divide it into multiple areas that support the form of the object - no straight lines.

Define the area you want to fill in with a pattern.

Divide large areas into smaller shapes to create more interest and variety.

patterns and designs

Decision making.

What kind of pattern you want to use for this specific area? How cay you control the value?

Choices and possibilities are endless:

patternspatternspatterns

Tonal value – i.e. the density of the design – light, medium, dark;

patternspatterns

3-D quality – i.e. form “wrapping” – should the pattern look flat or support the curves of the form;

patternspatterns

Texture quality – smooth or rough – round, organic shapes and lines or angular and straight;

patternspatterns

Complexity of the pattern and the repeating elements – one or more elements in the pattern, complexity of the element itself;

patternspatterns

Positive / Negative drawing  – Black design on White background or White on Black;

Type of pattern – linear, grid, circular, or random

patterns patternspatternspatternspatternspatterns

Collect a “library” of pattern elements that you would like to keep as a reference.

Use worksheets below:

apply patterns

apply grid pattern

Depending on the decision that you made in Step 2, you can use a pencil to lay out the guides or a grid for your future pattern.

Lines should be very thin and light – you should be able to erase them easily – you don’t want these lines to distract from the design.

fill in with patterns

Time to fill in the shapes with patterns.

Start at the border with your first element.

Continue drawing the elements expanding the pattern. If your pattern looks boring – you can always add more fine details to it – simple patterns to fill in empty spots (dots, circles, etc.)

The size of the elements can vary – it will add more interest to the overall design.

pattern value

Transition from one pattern to another.

Find a creative way to switch between elements.

Use your pencil guide as a reference, but you don’t need to stop at a line – think of a way to “fade” pattern elements into another area.

pattern value

Consider adding overall value to the patterns.

variety of patterns

Create a variety of patterns - variety creates interest.

shell

Complete all areas

Coloring and shading.

shell

You can use additional art media to enhance your design. Colored pencils and watercolors work great for adding a color. A graphite drawing pencil will work for adding extra shadows – but keep it sharp at all times!

.