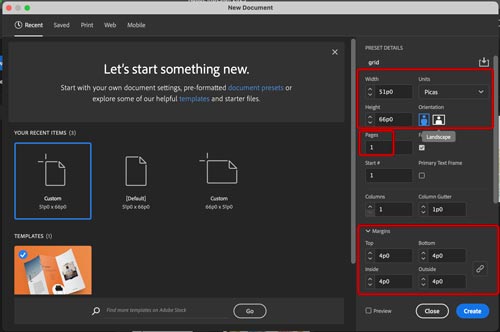
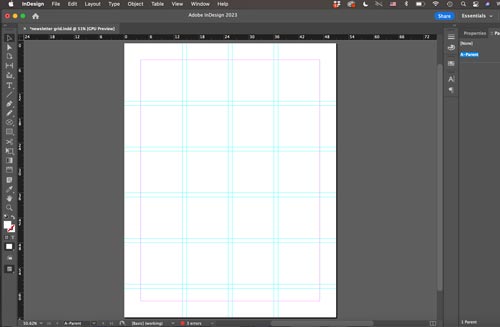
Pages vs. Parents
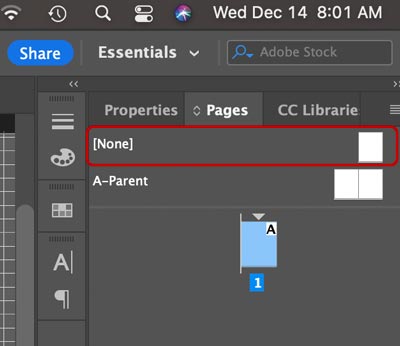
Open Pages panel
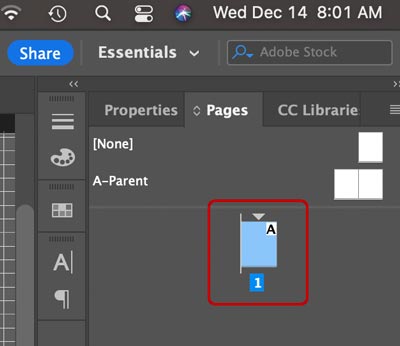
The lower pane shows the selected page you are working on.
If you have more than 1 page in your document - this is where you can navigate between the pages.
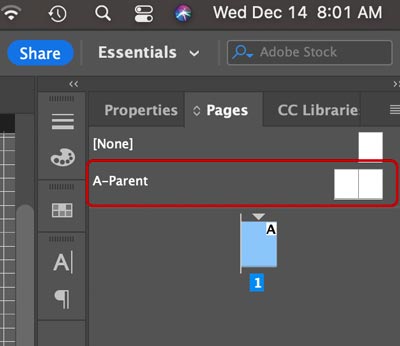
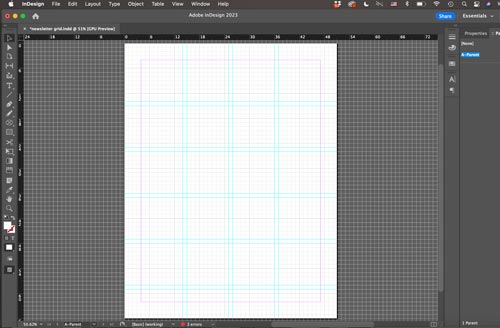
The upper pane shows your Parent (Master) spreads.
Master spreads or pages are like templates that you design to keep the document layouts consistent.
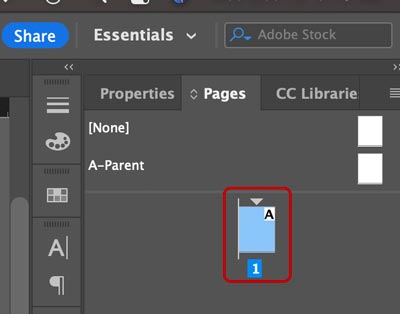
You can have more than one Parent spreads.
By default your Parent-A spread comes as a 2-page spread.
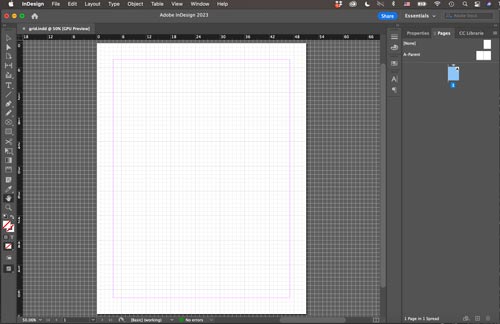
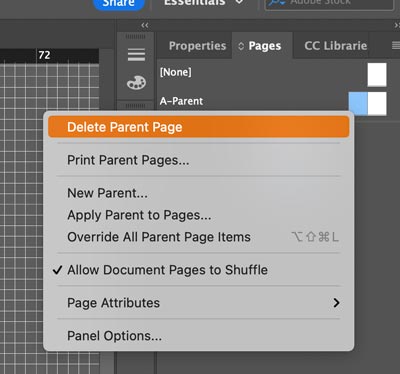
Any change you do to a parent page will result in affecting all pages that are linked to that Parent. (Think: symbols and symbol instances).
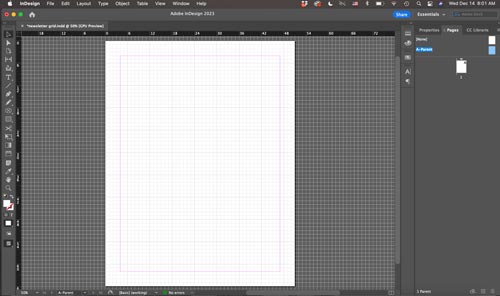
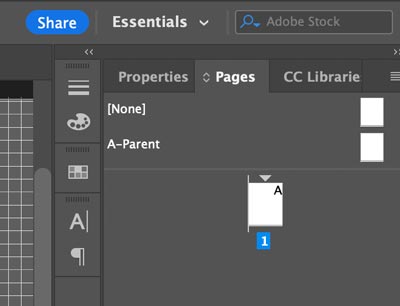
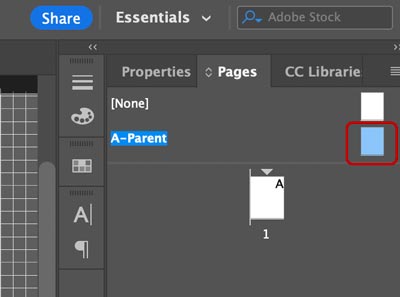
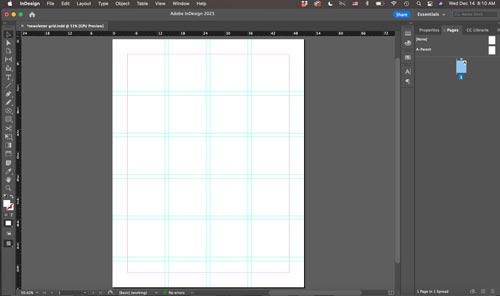
This will open the Parent A view.
It looks exactly as a regular page, but anything you add to the layout here will show on your page that is liked to it.
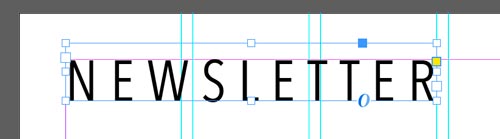
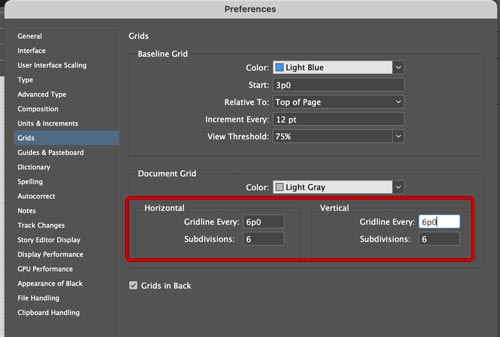
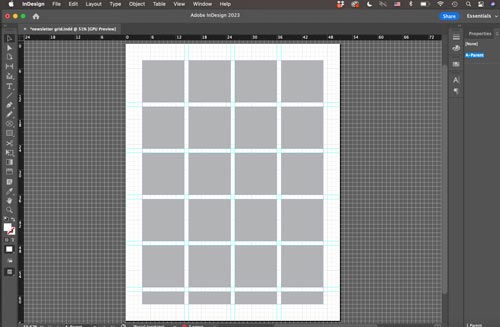
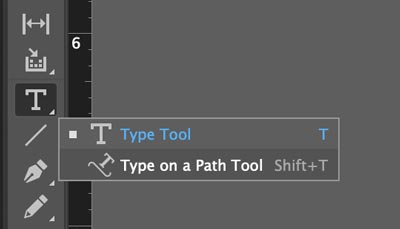
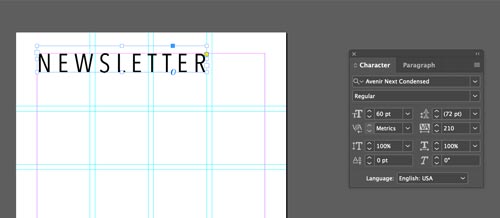
Alignment is important!
Make sure the letters are aligned with the grid.
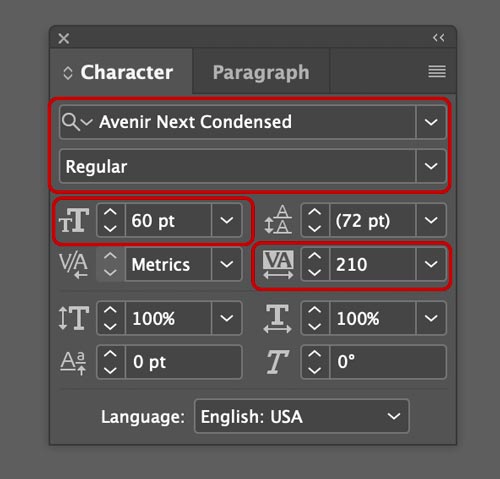
Use Character panel to change the font settings.
Use Paragraph panel to change paragraph settings.
Both panels you can find in the menu bar: Window > Type & Tables > Character
Adjust the typeface, the font weight, and tracking.
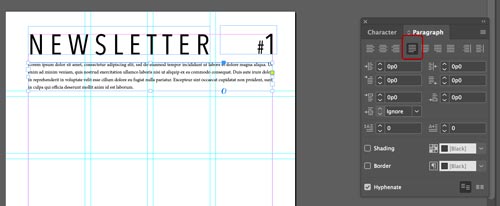
Continue adding text frames for the text body and subheaders.
In Paragraph panel: choose justify left setting.
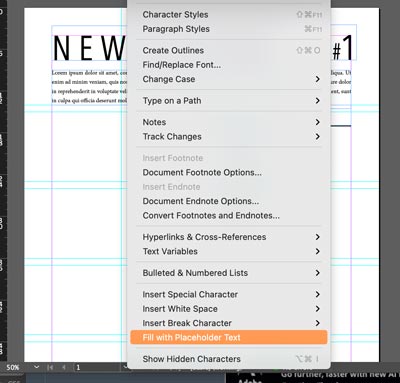
You can use a placeholder text before you place your own text:
Type > Fill with Placeholder Text.
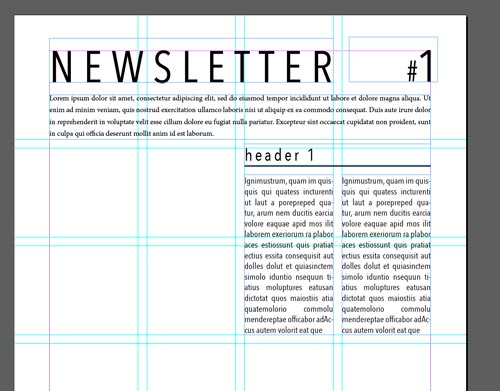
Experiment with text frames and columns.
placing your text
Delete the placeholder text.
Paste your own text.
If the entire text does not fit into selected text area - you will see the red square symbol at the bottom right corner - it is called an "out port". You will need to "thread the text frames - so that text continues to flow into another frame.
Choose Selection tool.
Click on out-port.
Then click inside the next text frame.
The rest of the text will show in the second frame.
Continue adding text to the format.
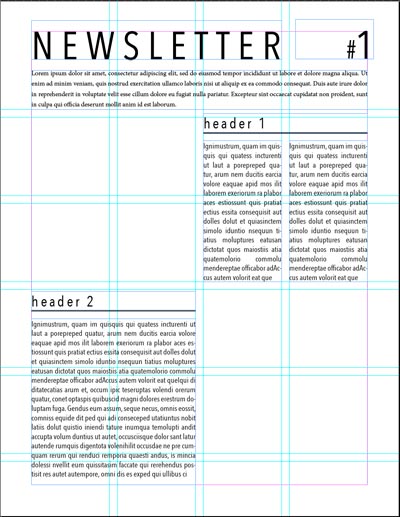
Experiment with different layouts.
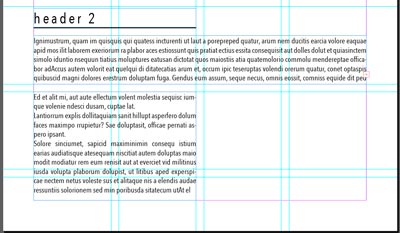
To copy text formatting properties (color, font, size, etc.):
Select the text block you want to apply the text format to.
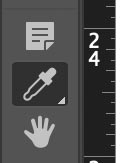
Select the Eyedropper tool.
Important:
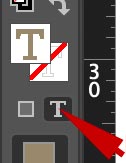
Click on "Text Formatting" to copy the TEXT properties.

Click on the formatted text (header 1)
Then highlight the text you want to be formatted (header 2).
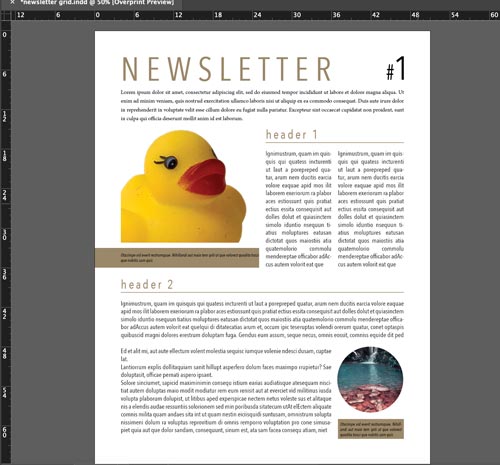
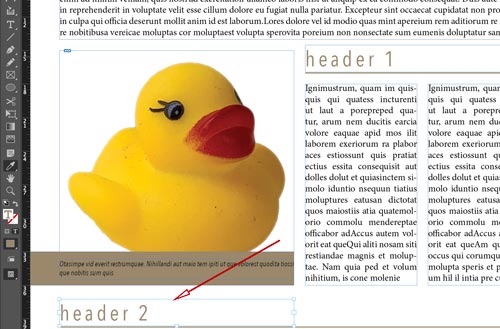
Add images
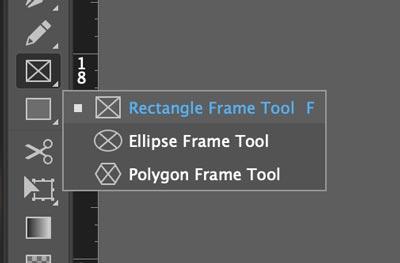
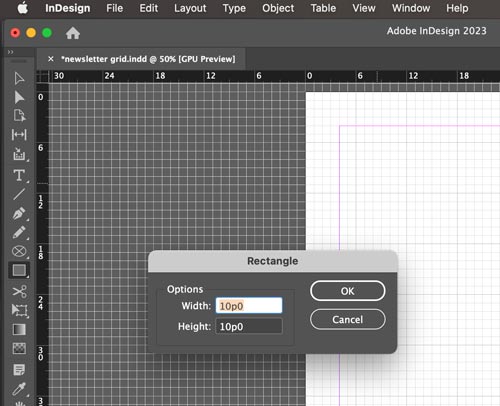
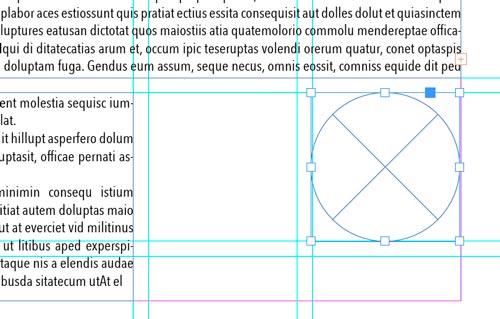
To add an image to the document you need to create a frame that will hold it.
Frame defines the placement and the area of the image to be displayed.
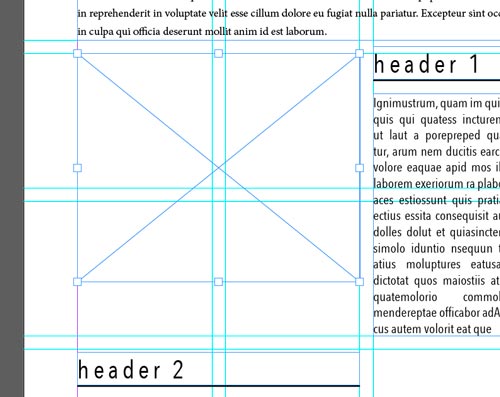
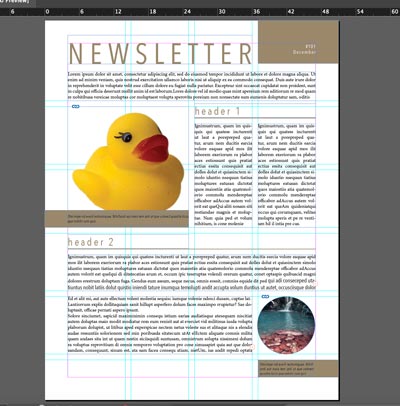
Click and drag a frame.
Use grid for alignment.
Leave some space for the caption.
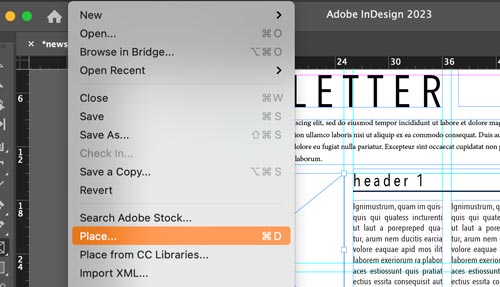
To insert an image into the frame:
File > Place
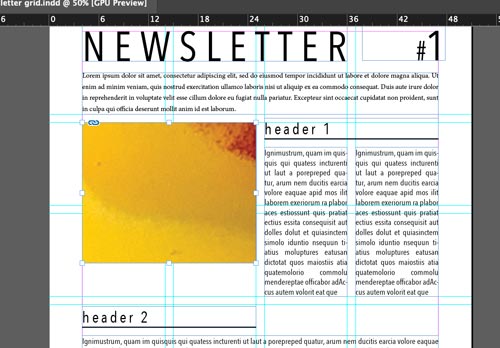
Image is now placed inside the frame based on its original dimensions.
You will see only the area inside the image frame though.
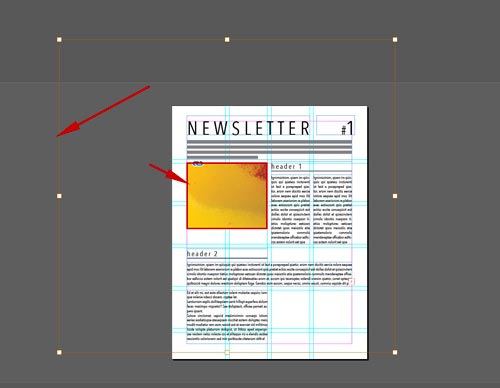
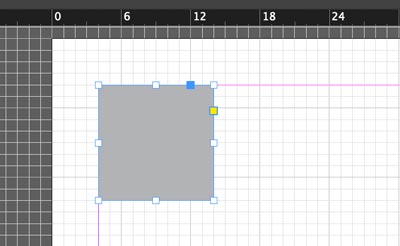
Double-click on the image to the the yellow bounding box of the image.

To resize - make sure you hold SHIFT.
You can use any shape as an image frame.

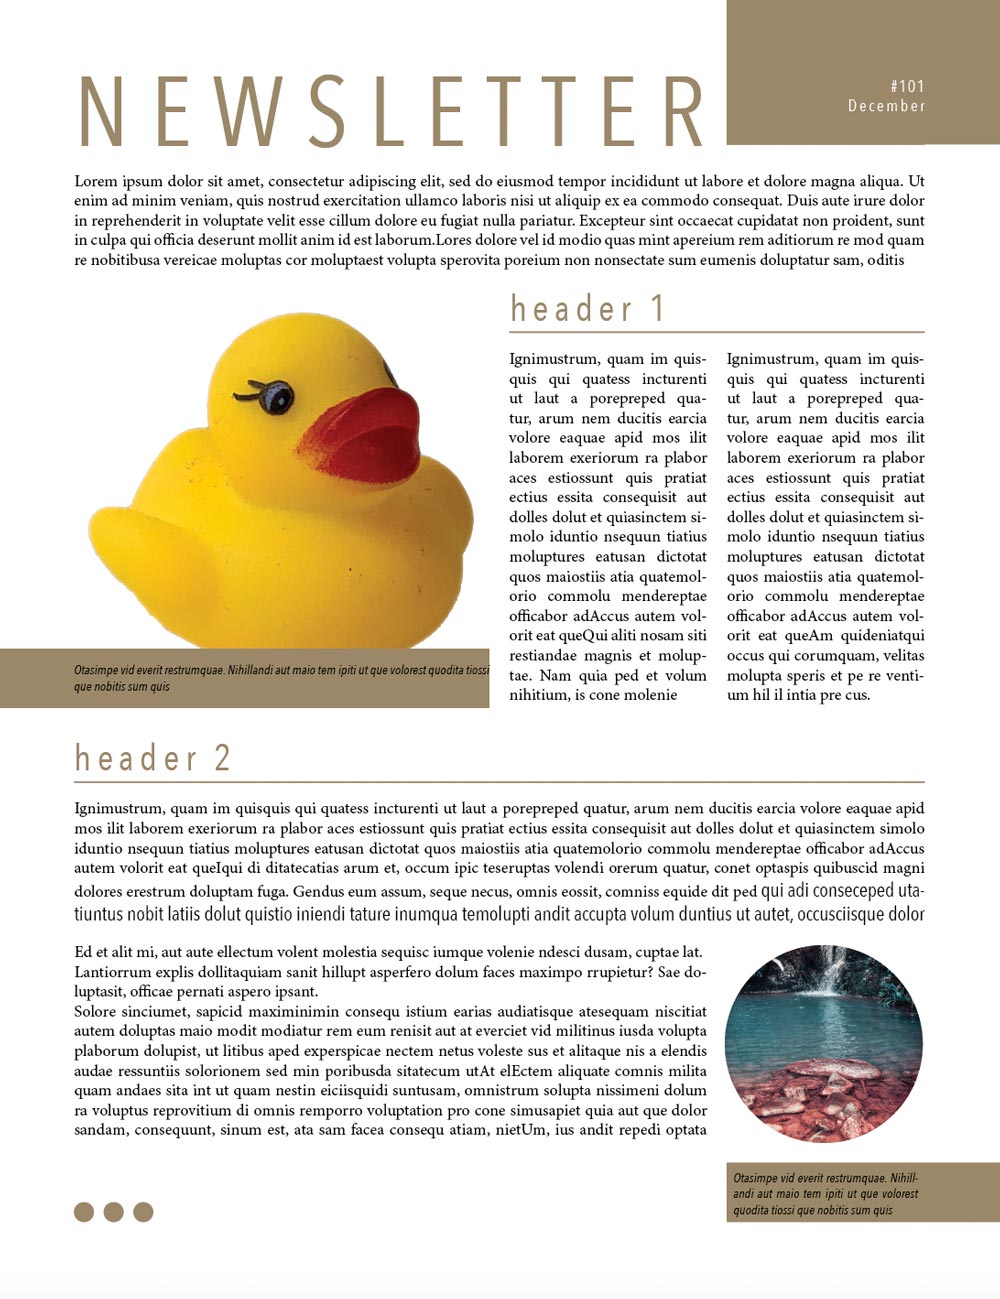
Add captions under the images.
Use the same font family, but change the size or the style (like italic?)