Units of measure

by JuliannaKunstler.com
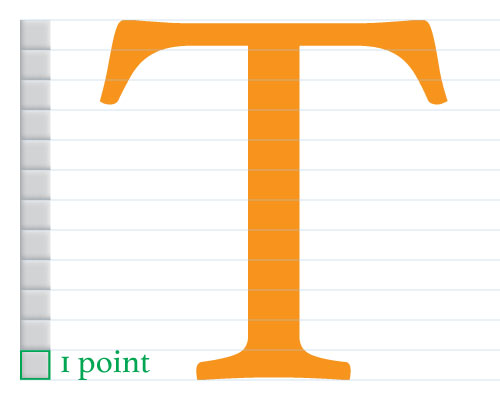
In typography the point is the smallest unit of measure.
It is used for measuring font size, leading, and other items on a printed page.
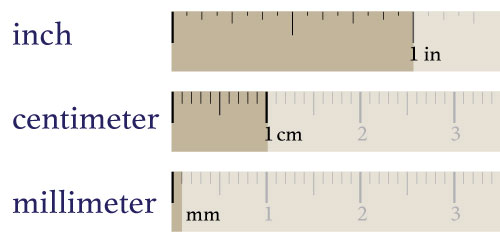
There is 72 points to the inch.
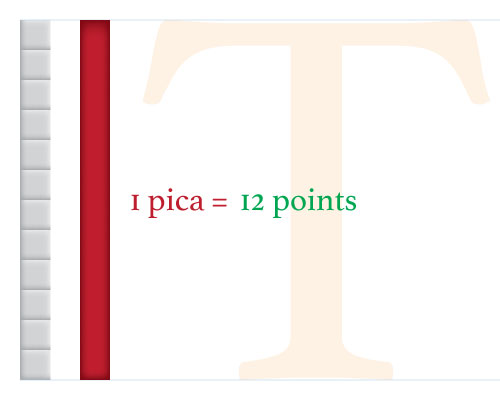
Twelve points make up a pica /ˈpaɪkə/
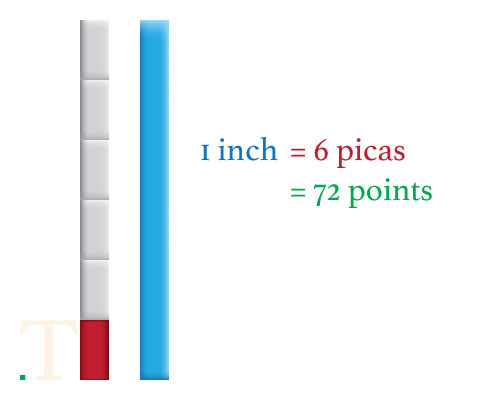
Six picas make an inch.
If your work involves complex, multi-page designs such as books, magazines, newspapers, or newsletters, working in picas and points can be a real timesaver. Use picas for measuring column width and depth, margins, and other larger distances.
Have you heard of the Rule of thirds in design?
Here's an example: divide an 8.5-inch by 11-inch piece of paper into thirds horizontally. Now, find 3.66 inches on the ruler. It's not the simplest concept, but just remember the rule that 11 inches is 66 picas, so each third is 22 picas.
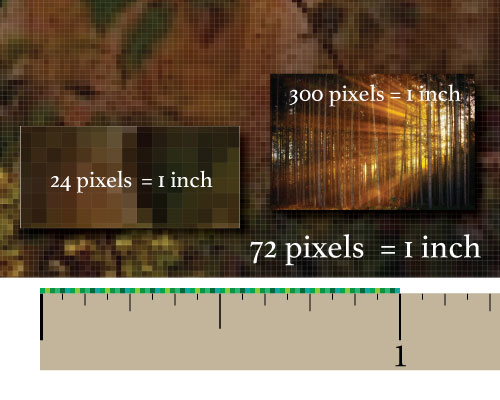
The pixel (a word invented from "picture element") is the basic unit of programmable color on a computer display or in a computer image.
The physical size of a pixel depends on how you've set the resolution for the display screen.
Alignment is the placement of visual elements so they line up in a composition:
Where visual elements are aligned, a composition can appear clear, confident, elegant, formal and trustworthy. Good alignment is invisible i.e. this doesn’t have to be a literal line in your design.
Adobe allows you to set up tools keep the elements align.
They are grid and guides.
Let's set up a template for grid modules that you can use in your future designs.
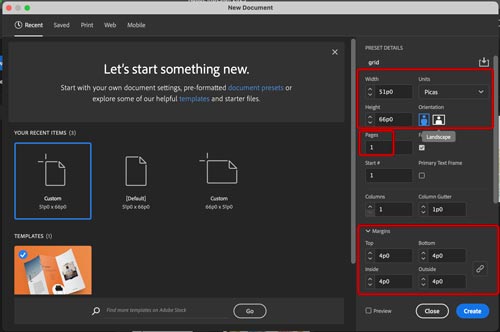
Open Adobe InDesign:
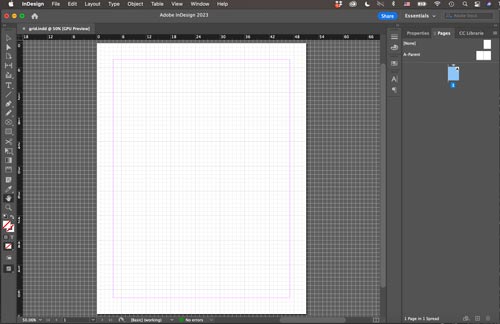
Create a new document:
Units: Picas
Width: 51p0
Height: 66p0
Pages: 1
Margins: 4p0
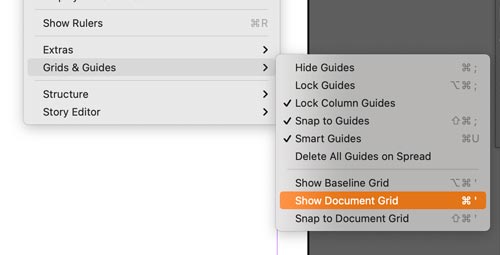
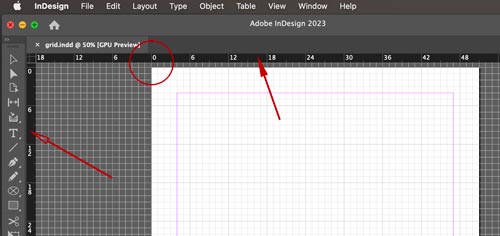
To make the grid visible:
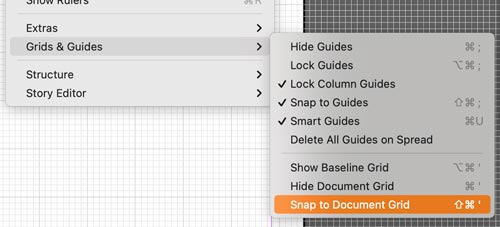
View > Grids & Guides > Show Document Grid

A default or previously used grid will show over your document.
Grid is for alignment reference only - it will not show on your final image/document.
Let's set the grid for our task:
Preferences > Grids
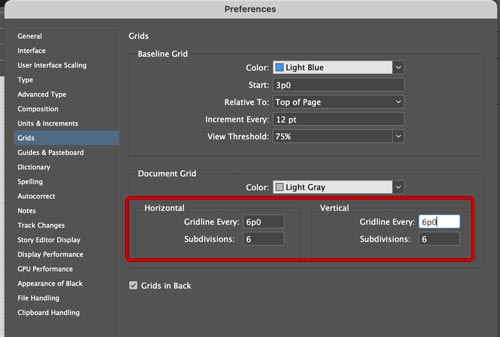
Set Document grid:
Horizontal and Vertical:
Gridline every 6p0 (there are 6 picas in 1 inch)
Subdivision: 6
This creates gridlines every pica.
Every 6 picas are defined by thicker line.
The red lines are the document margins.
Now the document is ready for the next step.
Make sure you save it.

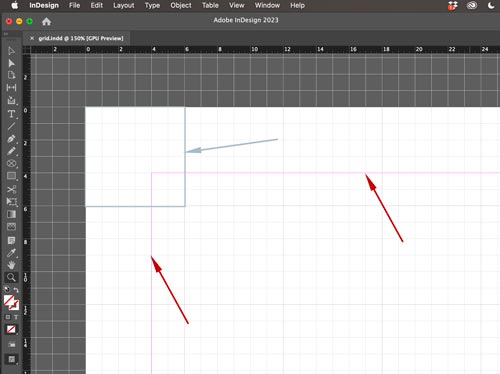
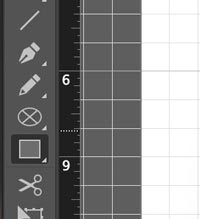
In order for us to add guides - we need to have rulers visible.
Go to View > Show Rulers
Rulers can be seen at the top and to the left of your document.
Rulers help you accurately place and measure objects in a document window. The point where 0 appears on each ruler is called the ruler origin.
When snapping is enabled, moving an object within the snap zone of a grid location will cause the object to snap to that location.
To snap an object to a grid, all you need to do is to drag an object toward a grid until one or more of the object’s edges is within the grid’s snap-to zone.
We are going to create a custom grid layout using guides.
To make it more visual - let's create a set of modules (squares)
Select Rectangle shape tool.
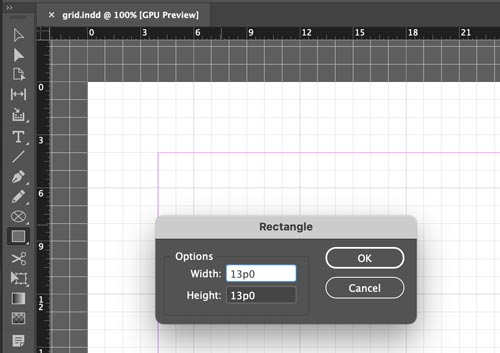
Click on the document.
Set the square dimensions: 13p0
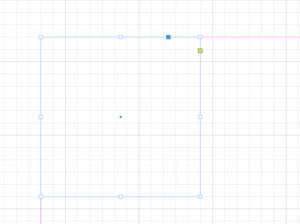
Move the square to snap to the top left margin corner.
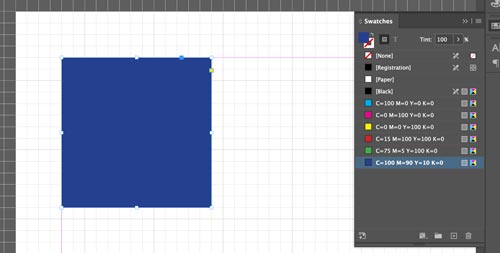
Let's apply some color to the square fill.
Open swatches panel and pick any color.
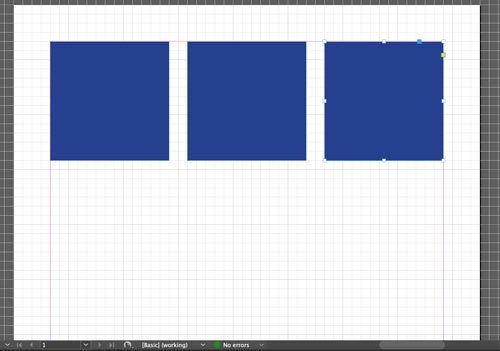
Duplicate the square leaving 2 picas in between.
Duplicate the row leaving 2 picas as well.
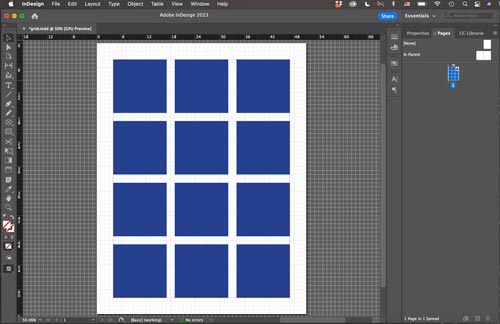
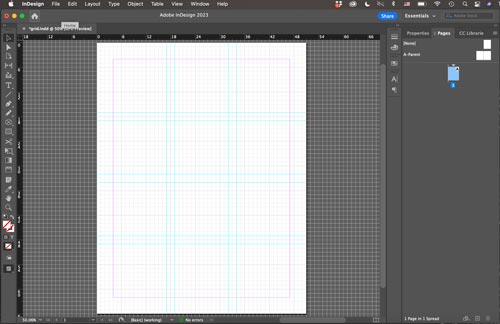
Now you have a visual of your layout.
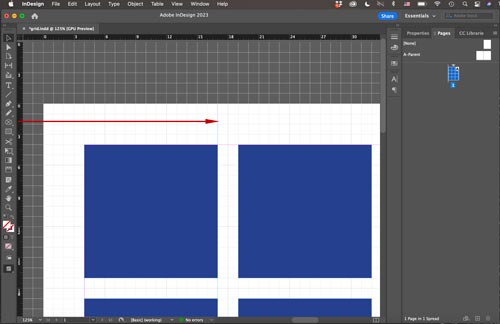
To add a guide - place the cursor over the left ruler, click and drag until you reach the right corner of the first square.
The guide will snap to the gridline.
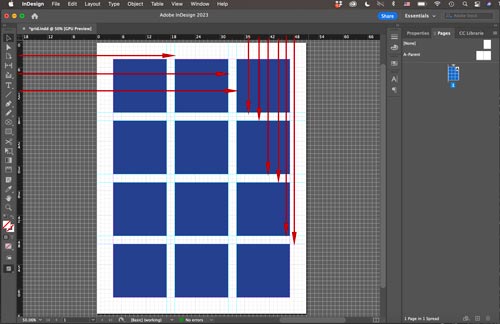
Continue dragging guides around each square module.
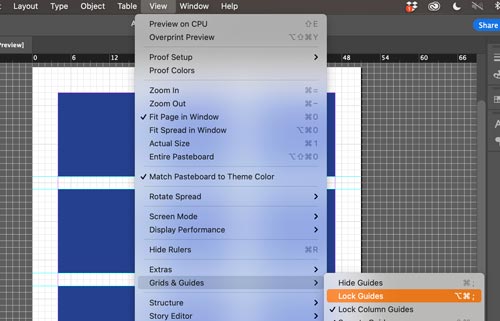
To keep the guides in place - lock them.
View > Grids & Guides > Lock Guides
Now delete the square modules.
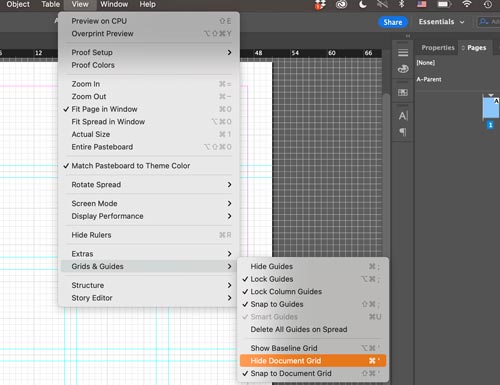
To hide the grid:
View > Grids & Guides > Hide Document Grid
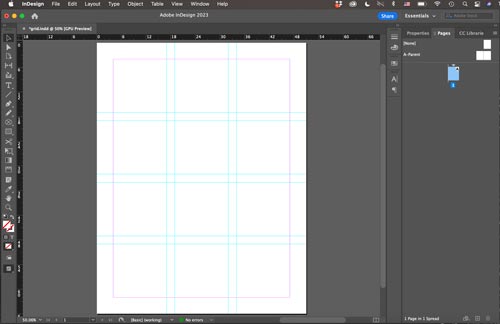
The document is ready to work!
credits: