julianna kunstler logo
eye

colored pencils
Instagram icon
 

by JuliannaKunstler.com

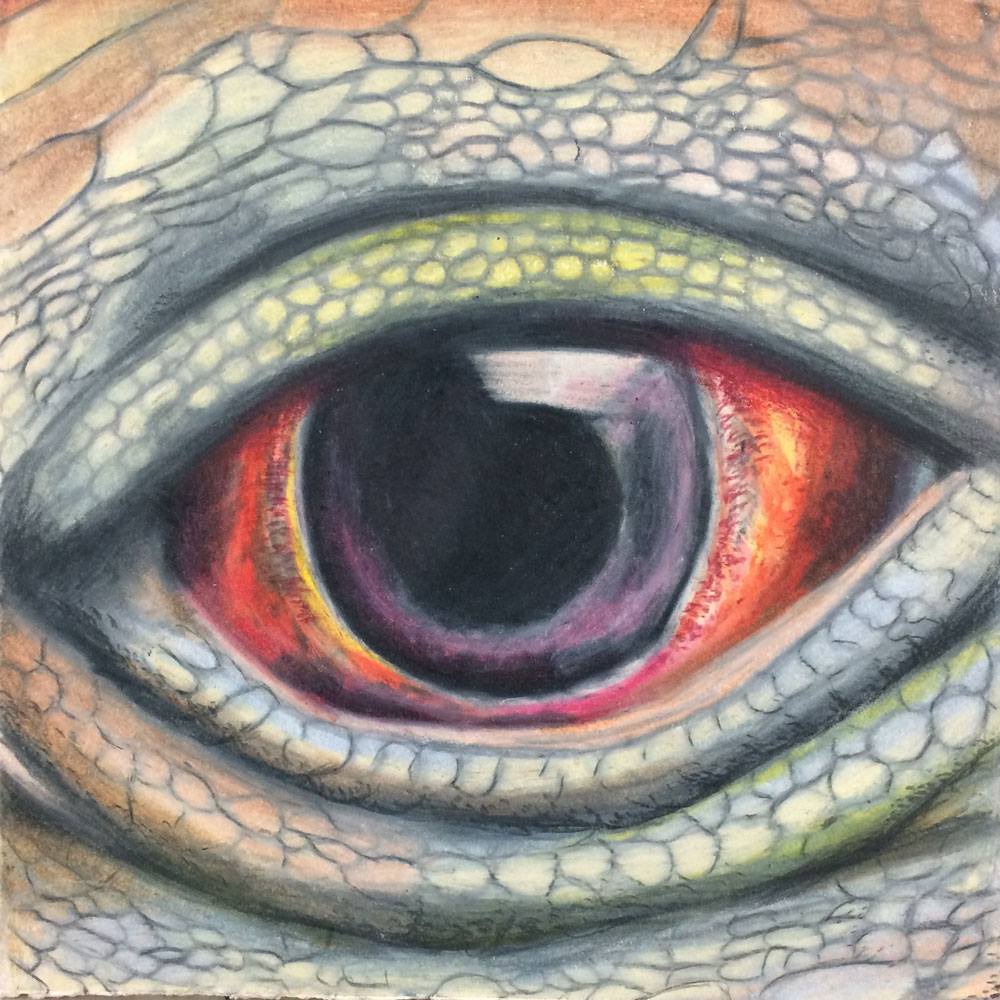
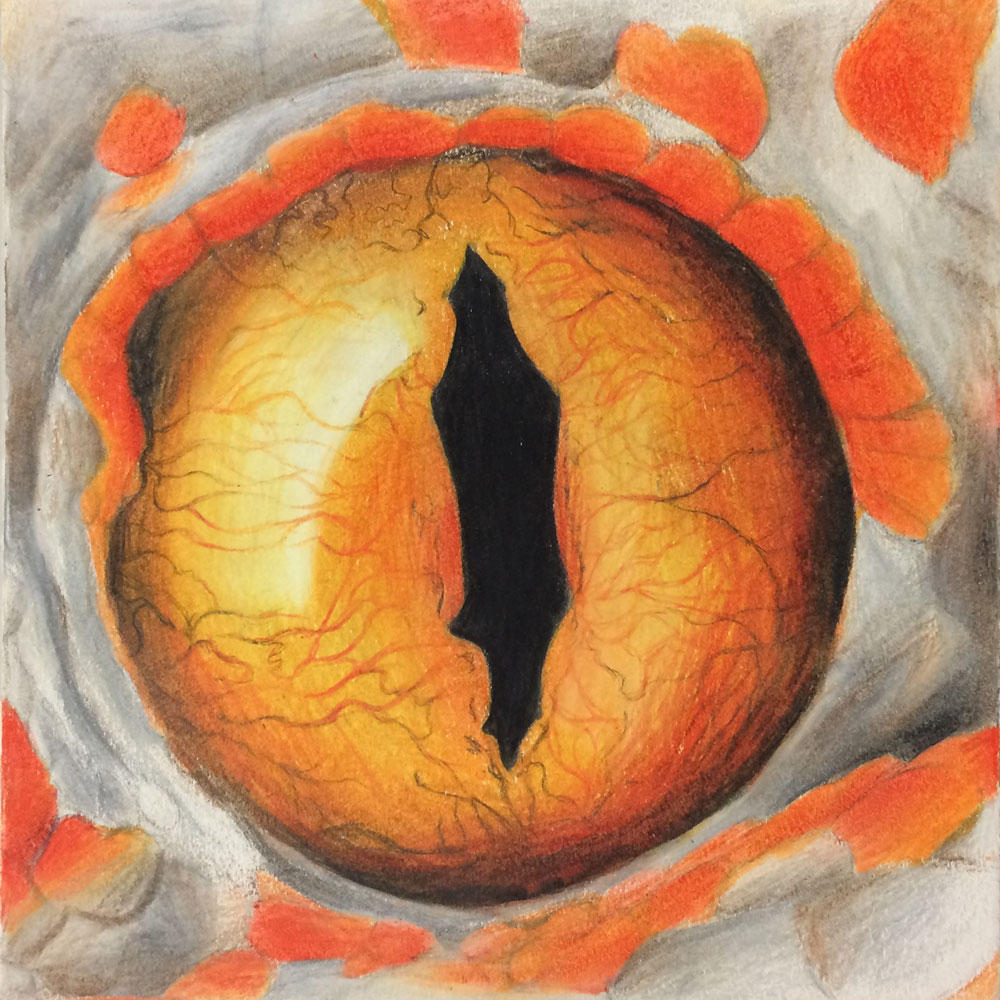
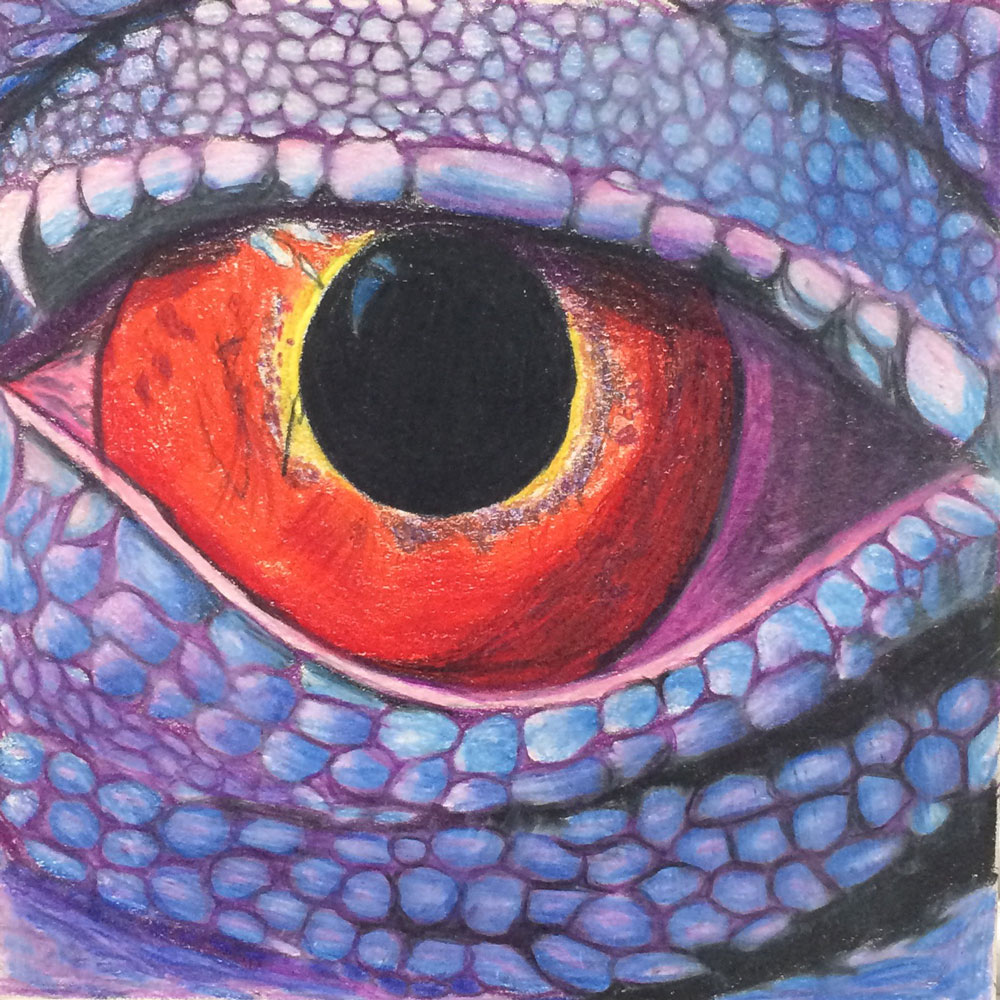
Learning objectives:

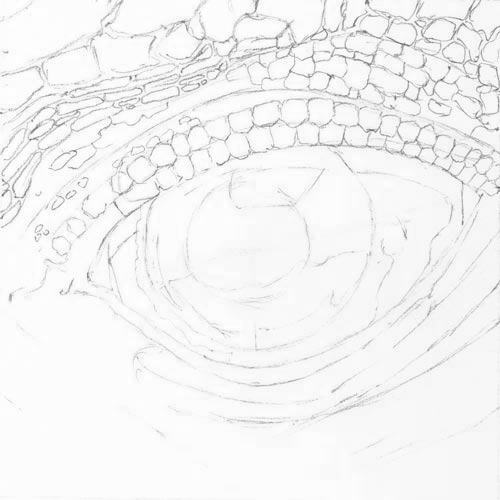
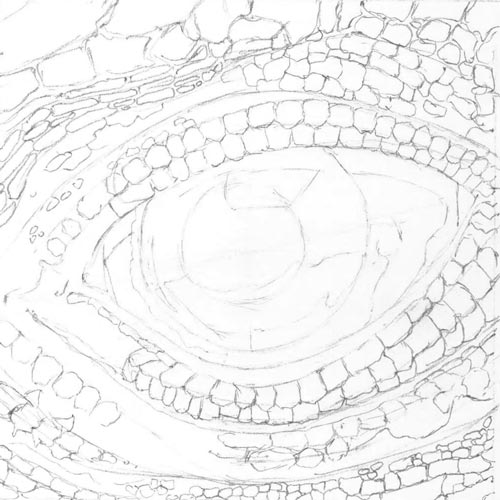
  • Observational drawing (2D to 2D): no grid reference drawing
  • Patterns (skin texture)
  • Color mixing/blending
  • Photorealism
  • Color values
  • Colored pencils techniques and skill development

Grading:

  • likeness
  • color matching
  • details
  • shading/coloring quality
  • craftsmanship

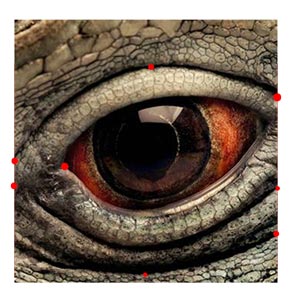
Pick a reference image for your drawing.

GALLERY

STEPS

step 1: pencil drawing

Use 5"x5" illustration board for drawing.

Your reference image is exactly the same size.

Use harder quality graphite pencil (HB - 5H) for finer lines.

grid copy

Remember grid drawing?

Consider using the same approach.

Just draw one square.

Find the key points :

  • points on the image sides where major shapes and lines cross them
  • corners
  • highest / lowest / right-est / left-est points of big shapes
  • where is the center of the image?

Mark these points on the board.

Also, mark the center of the square.

You can mark the mid-points on each side.

Use your pencil for proportions and angles.

Note how many large shapes you have and how they are related.

Transfer all main lines. Pay attention to the angle of each one.

At this point you should get the rough outline of the eye.

Now you can use these defined areas to fill them in with details.

Continue adding details.

Keep them as outlines. Do not shade!

Add as many details as possible - it will be easier to apply color.

step 2: coloring

Use your best colored pencil skills to make the drawing as realistic as possible.

Blend and mix colors.

Keep the pencil sharp at all times.

You should have lights and darks inside each shape.

...