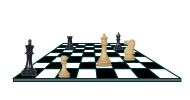
forms in one point perspective
grid method
learning objectives:
- Define vanishing point, horizon line, receding lines
- Use 1-pt. perspective to create a grid
- Render complex forms on a grid plane
reference
vocabulary
horizon
vanishing point
receding lines
shape and form
grid
plane
plan
STEPS
assignment
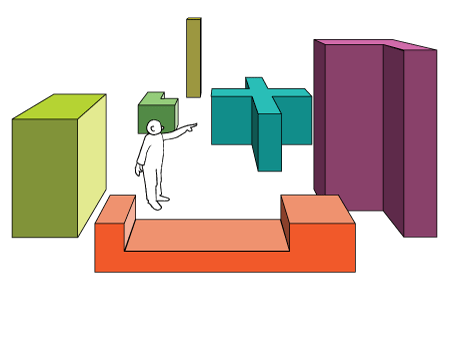
Create 3-D forms on a grid plane.
Apply color values to support the illusion of space.
1. grid
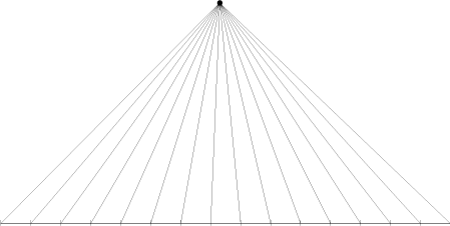
Grid dimensions: 15 x 15 squares
Draw the front side of the grid and divide it into 15 segments.
Connect each marks on the line with the vanishing point.

Complete the grid using the "checkerboard" method.
2. planning
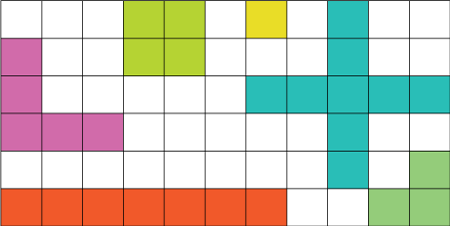
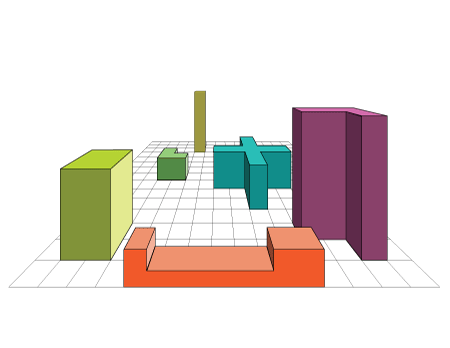
These are the shapes that you need to build in 1-point perspective
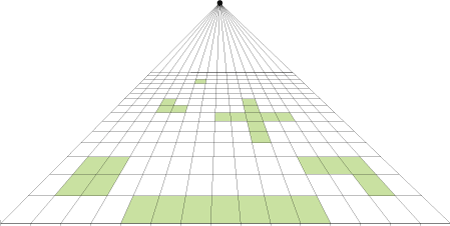
Position the shapes on the grid.
You can shade them or outline lightly.
3. building forms
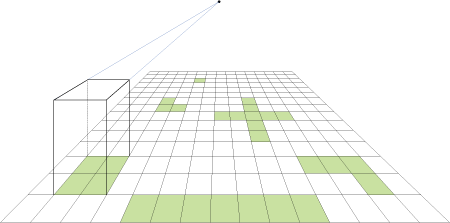
Build one form at a time.
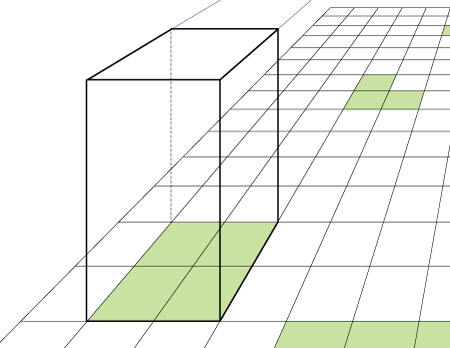
Draw vertical lines from each shape's corner
Define the height of the form (you decide on the height)
Remember:
- All vertical lines stay vertical
- All horizontal lines stay horizontal
- All lines, that show depth - go to the vanishing point
- Draw all lines (corners) even if they are not visible

Make a rectangular cutout into the biggest form (as shown).
constructing a cutout:
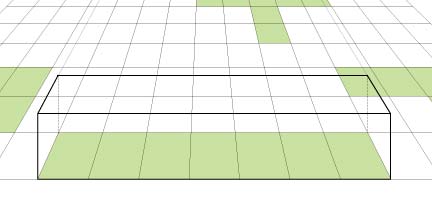
Start with a simple block form.
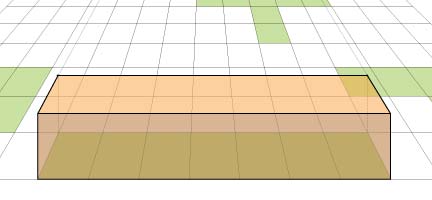
If you placed it in the center of the grid - you will have two sides visible: the front and the top.
Remember: the front side is where you do all extra measurements and form changes.
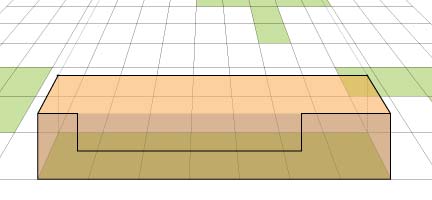
Draw a cut-out on the front of the block.
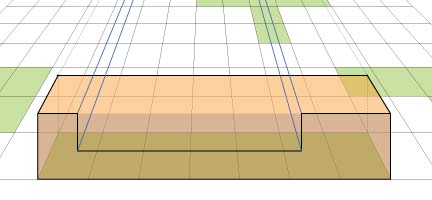
Connect all new corners to the vanishing point
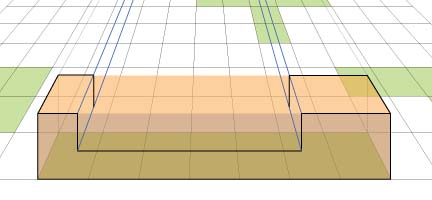
Where the back top corner line crosses the new receding lines - draw two vertical lines down to the other two receding lines.
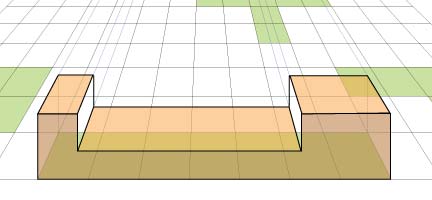
Connect the two points with a horizontal line.
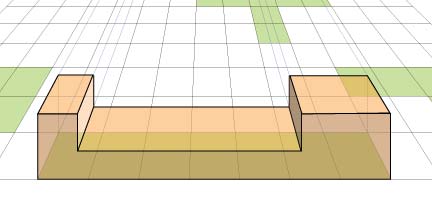
The new form is done.
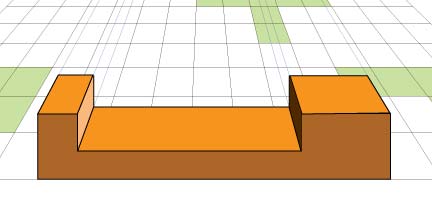
Now you can erase the construction lines.
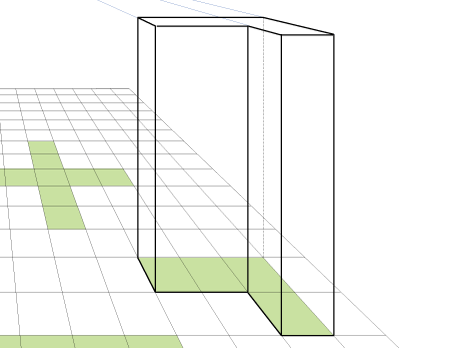

Continue with the rest of the forms.
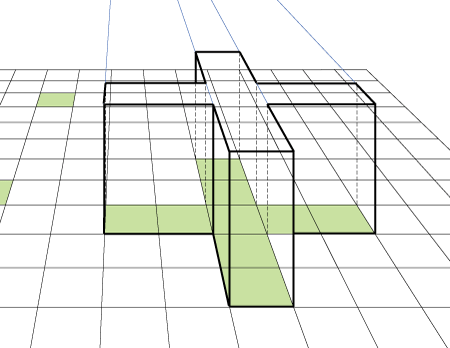
Outline all visible corners.

Color the forms using a variety of color values - keep the values consistent.
...
