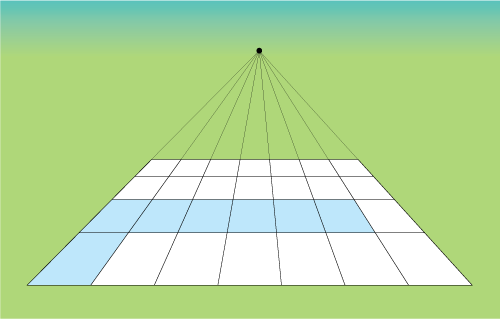
Print out 3 grids.
Position the following forms and build them up using 1-point perspective rules.


by JuliannaKunstler.com
Print out 3 grids.
Position the following forms and build them up using 1-point perspective rules.

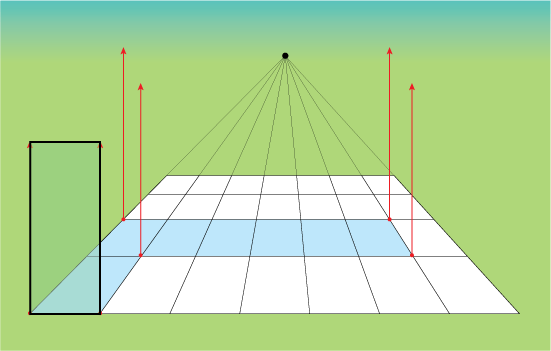
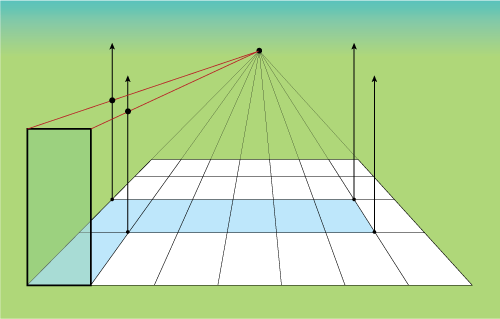
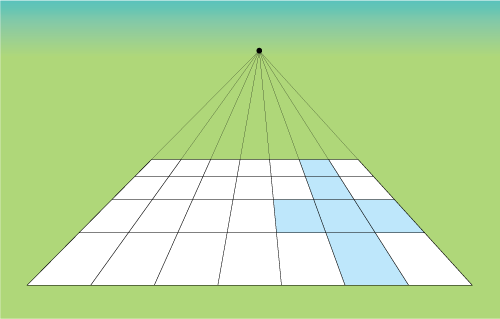
Mark a 2x3 block on a grid - you can lightly shade it or outline the perimeter.

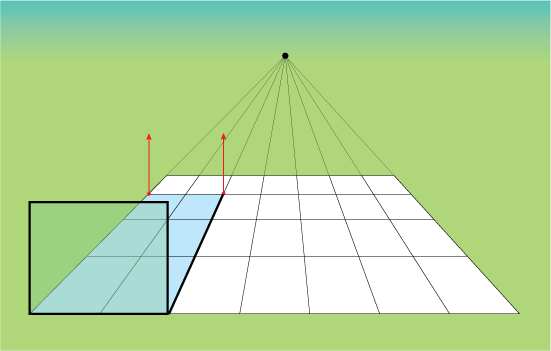
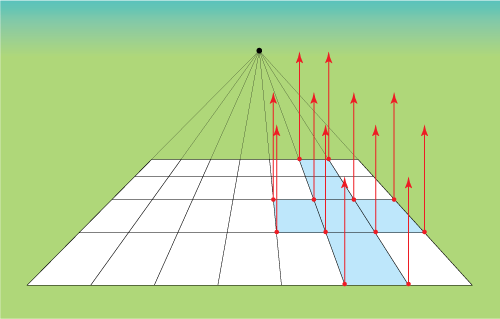
Add height to the block - draw a vertical line from each corner.
There are only 3 types of lines in one-point perspective (horizontal, vertical, and receding):
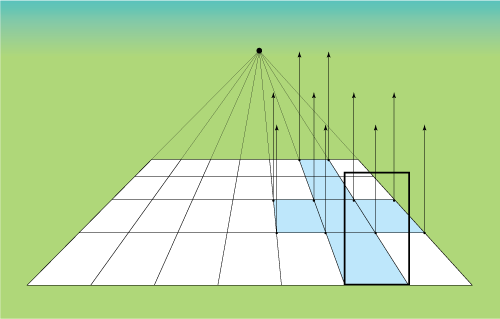
What is the closest part of the shape? You always start with defining it first.
Define the front side of the block by placing the top corner line.
It should be horizontal and parallel to the bottom corner line.
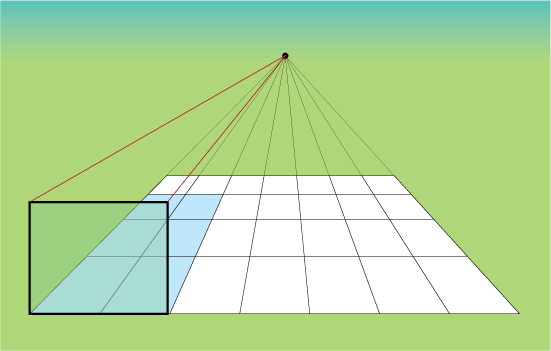
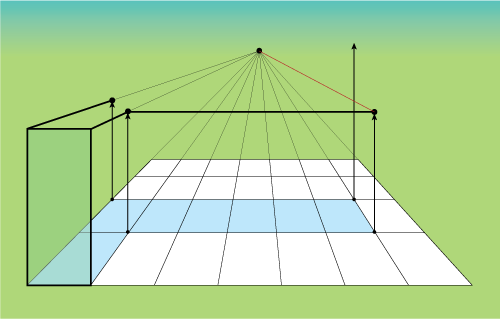
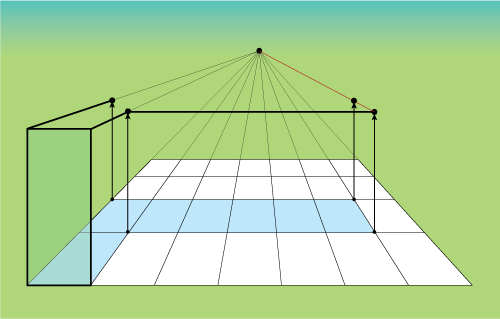
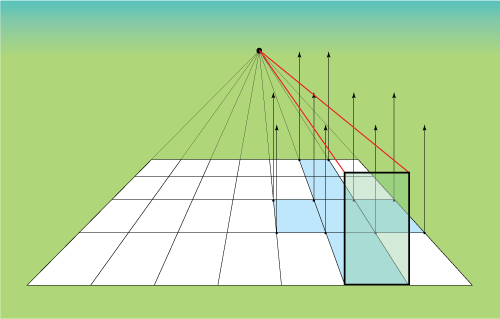
Add depth by drawing two receding lines from the top two corners of the front side.

Mark the crossing points of the receding lines and the back corners vertical lines.
These points define the height of the rest of the block: back, right, and left sides.
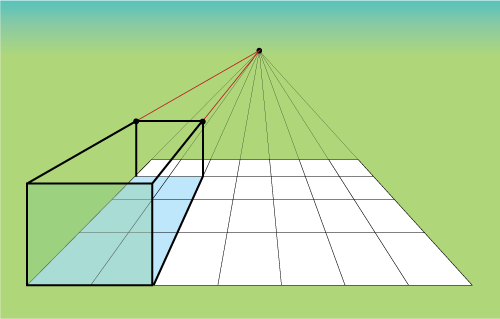
Connect these two points.
If you've done everything correctly and accurately at this point - this line is a horizontal line (parallel to the front corner).
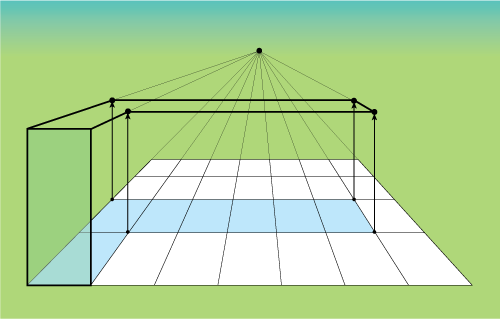
Done!
Apply the same steps to build more complex forms. If you get confused - break complex forms into simple blocks first.
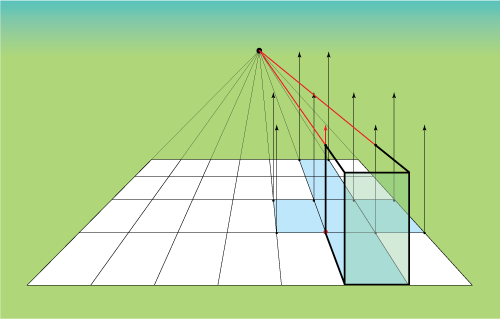
Mark an L-shape on the grid.
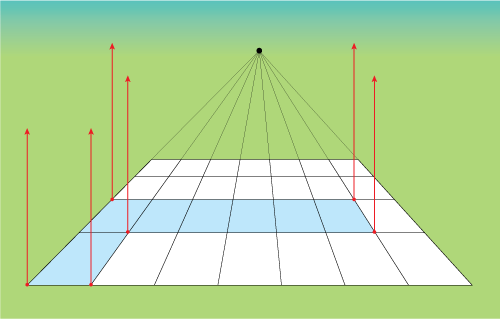
Add height to your form.
Draw vertical lines from each corner (total of 6).
The layout and position of the shape can vary, but the steps stay the same.
Find the closest side of the shape. You are going to start with defining it first.
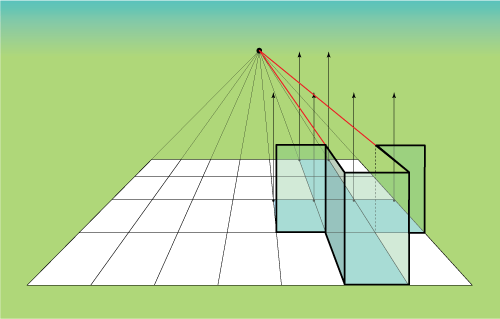
Connect the two vertical corner lines with a horizontal corner line - you decide on the height of it.

Add depth to the form by drawing two receding lines from its front top corners.
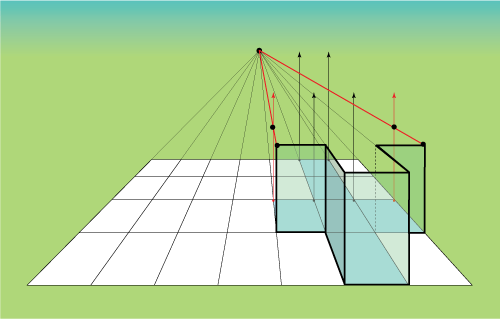
Note where these receding lines crossed the vertical corner lines.
Mark these points.

Draw a horizontal line from one of the points.
It is placed between the two vertical corner lines.
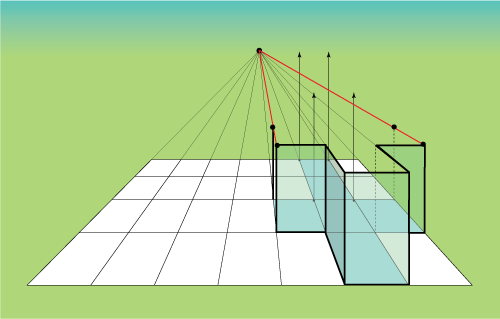
Now, that we have the right corner line defined - add depth by drawing a receding line from the top right corner to the vanishing point.
Note where the receding line crosses the back vertical corner line.
Mark that point.
Connect the two top back corners with a straight line to define the top side.
If everything is done correctly - this line is a horizontal line and is parallel to the front corner line.
Done!
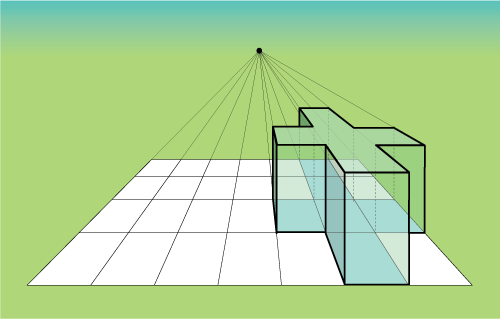
Start with marking a cross shape on the grid.
Add height by drawing 12 vertical corner lines from each corner.
What id the closest side?
Define its height.
Add depth by drawing two receding lines from the two top corners of the front side.
The top two receding lines are crossing the two vertical inside corners.
If you look at the shape layout on the grid - you will see that at these inside corners the top corner line should go horizontally.

Draw two segments of the top horizontal corner line.
Now we have a total of 5 sides done.
Add more depth by drawing two more receding lines on the left and right sides of the cross.
Note where these lines cross the far vertical corner lines.
Mark these points.
These points will define the height of these vertical lines.

Draw the next horizontal corner lines between the corresponding receding lines.

Add the last part of the depth.
Use existing receding lines that start at the very front top corners.
Mark the crossings.

These marks will define the height of the very back side of the cross.

Connect the two points with a straight line.
It should be a horizontal line.
Done!