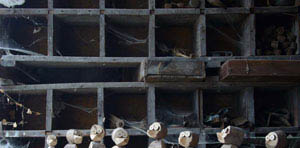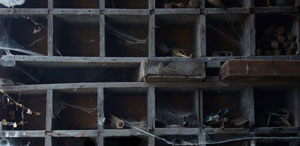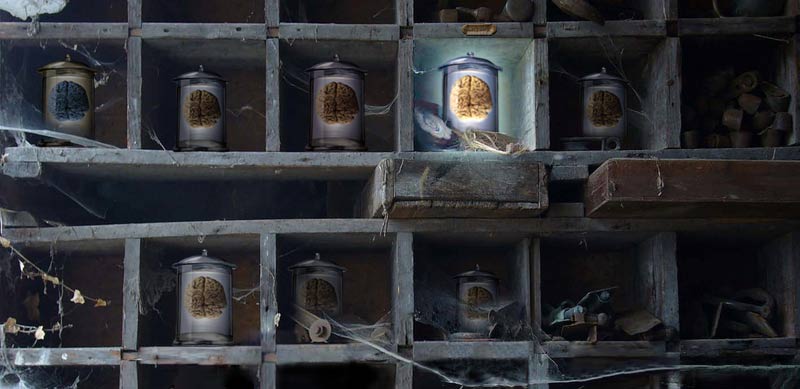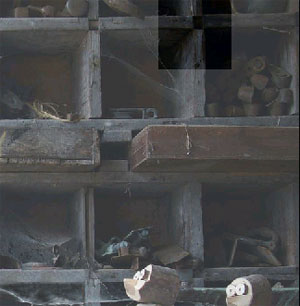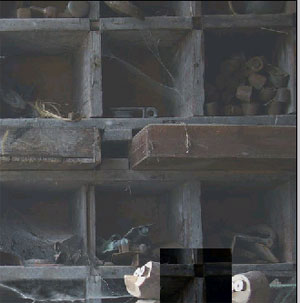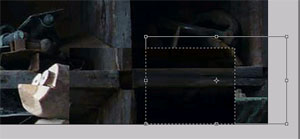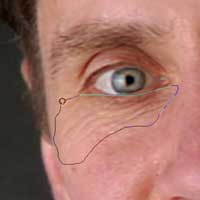
Select an area of the image that can be used to cover the objects and to match the background.
Most of the time that would be an area close to what you want to cover.
It does not have to be this particular area. You can select your own. But it has to work!!!!
Make a selection. Copy. Paste.

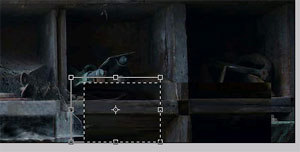
Now move this new "patch" to cover the objects.
Don't worry if it does not fit perfectly... That's why we have all these Transform Tools!!!

Once you adjusted the center, select a side of the "patch" and stretch it to cover all objects. (Free Transform, Distort, Warp, etc.).

Repeat the steps for the other side of the "patch"

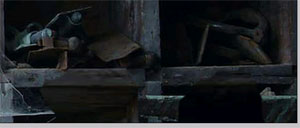
Once the objects are covered - try to align the boards.
Use Distort and Warp options.

Match the colors and values.
Use Soft eraser to blend the "patch" into the background.
Restore spider webs and the tools on the shelves that were covered by the objects.
Quick refresh on the tools to use:

Healing Brush and Patch Tool work after you merge the layers.
They are perfect foot fixing the edges of the "patch".
Remember this assignment?

fixing photos

To restore webs and tools - use Clone Stamp Tool.
If you choose "Sample All Layers" option - you won't have to merge the layers.

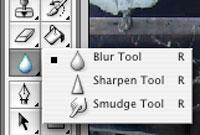
You might use Smudge Tool for blending.
Just don't overdo it!!!!

Remember:
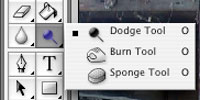
Dodge Tool makes it lighter. Burn Tool makes it darker.
