julianna kunstler logo
Fixing and Editing Photos

Instagram icon

by JuliannaKunstler.com

Credit: "Photoshop. Classroom in a Book".

Objectives: Students learn to fix and edit photographs by using editing tools.

Essential questions:

1. How to use Clone Stamp and Clone Pattern tools?

2. How to use Healing Brush and Spot Healing Brush tools?

3. How to use Patch tool?

4. What are Burn and Dodge tools?

Stamp Clone tool

Open image 1

You'll make it look like this:
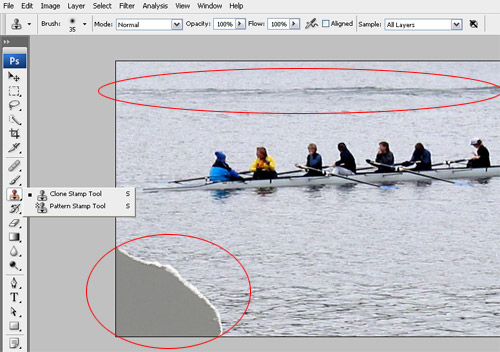
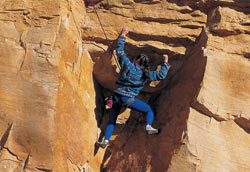
The two areas that need to be fixed: water wake in the background and the corner of the photograph.

To fix the corner: select Clone Stamp tool......

Above is the Option Bar for the Clone Stamp Tool. You can change the brush size/softness (I recommend 0% hardness), opacity (I do not recommend to change it), alignment (see below), you can choose to sample selected layers or all layers.

Not Aligned: samples pixels from the initial sampling point each time you stop and resume painting:

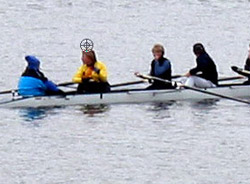
1. Alt/Option click on the area you want to sample
pixels from.
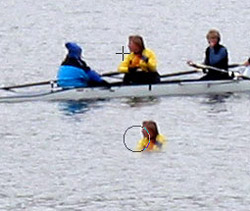
2. Start painting. Do you see a cross-hair? It shows you the sampled point. It moves as you paint.

Every time you stop and resume painting the cross-hair returns to the original sampled point.

Check the Aligned option.

Aligned: Samples pixels continuously, without losing the current sampling point, even if you release the mouse button.

1. Alt/Option click to sample the pixels.

2. Start painting.

3. Stop.

4. Resume painting. The distance between the cross-hair and the brush cursor stays the same.

Undo all the changes you made so far.

Let's fix this corner!

Alt/Option click on the area you want to sample.
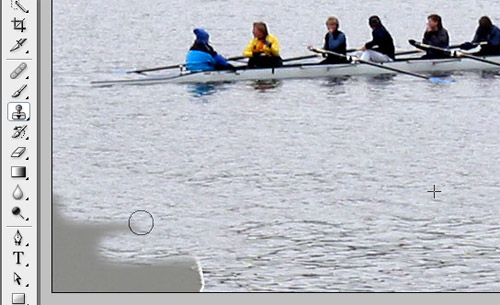
Start painting.

Usually, it's a good idea to paint on a separate layer.
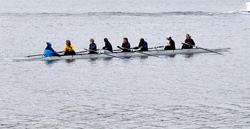
See how easy it was?

Now let's fix the water wake.

Select Pattern Stamp Tool

Look at the Option Bar.
You can choose a pattern to paint. There is a set of pre-made patterns. None of them will work for us. So... you'll have create your own custom pattern.

First, you'll have to make a selection to use as a pattern unit. Use rectangular marquee Tool and select a square like you see on the picture below:
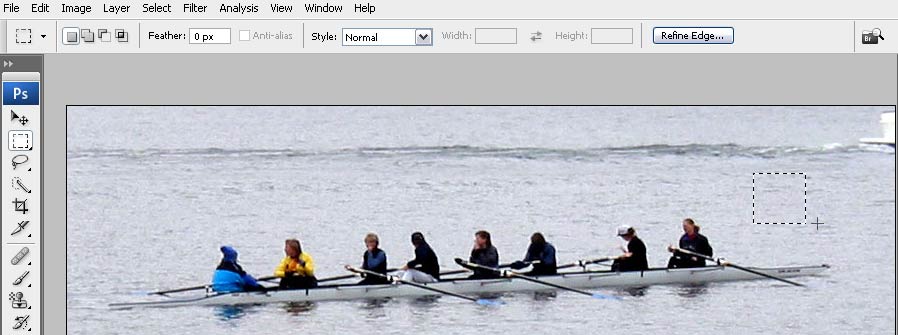
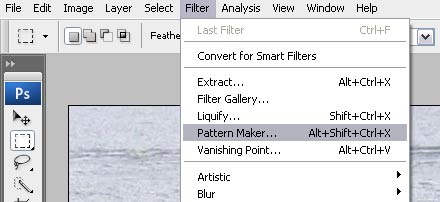
Filter > Pattern Maker
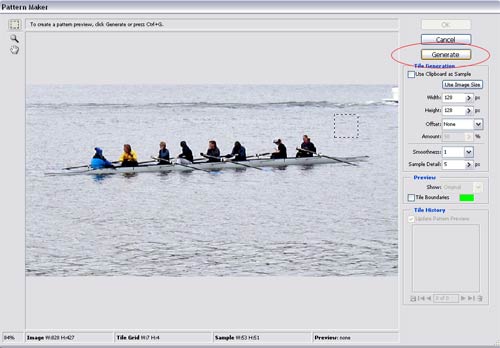
Click Generate to create a pattern unit from your selection.

Don't be scared!

Make sure you follow the directions:

Click on the Save button to save the pattern unit.

Do not click OK !!!!!!!!

Give the pattern a name.

Click Cancel in the main window. (clicking OK would apply the pattern to the entire image; by clicking Cancel you will return to you image)

If you go th the Option Bar now, you'll see that you have a new pattern.

Choose it.

Start painting over the water wake.
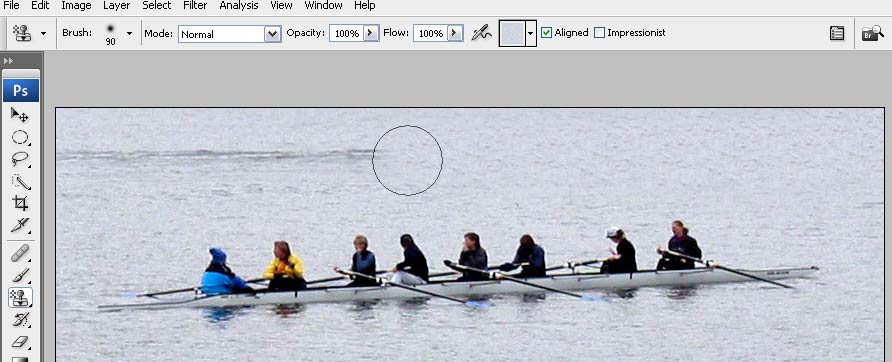
Compare the start and the end images

Healing & Patch tools

Open image 2

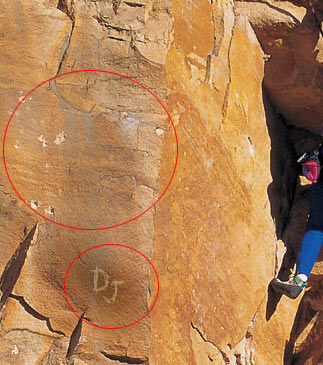
The areas that need to be fixed:

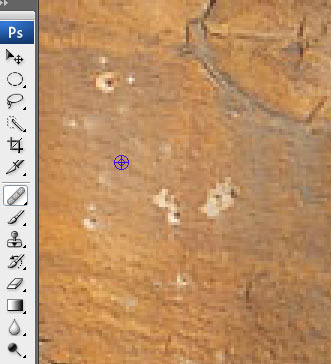
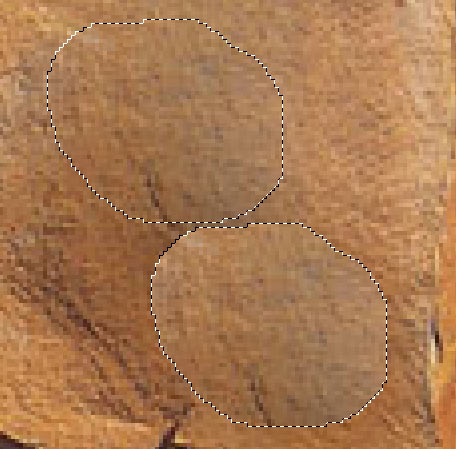
Let's start with the holes on the left side.

You are going to use the Healing Brush Tool:

It works like the Clone Stamp Tool. The difference is that it does not just copy the pixels from the sampled area, but it also blends it with the existing background. It's a "smart cloning tool".

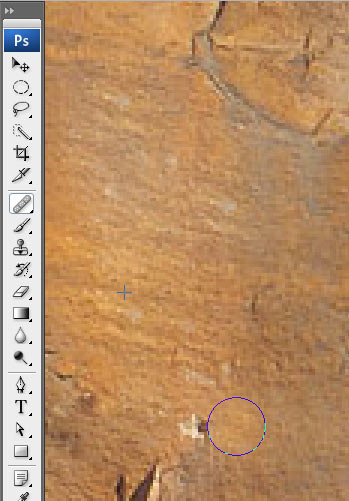
So... Alt/Option click on a "good" area to sample pixels.

Start painting over the holes.

You can see the cross-hair - this is where you sample the pixels.

Paint with small strokes!!!!

PhotoShop will naturally blend the new pixels with the background.

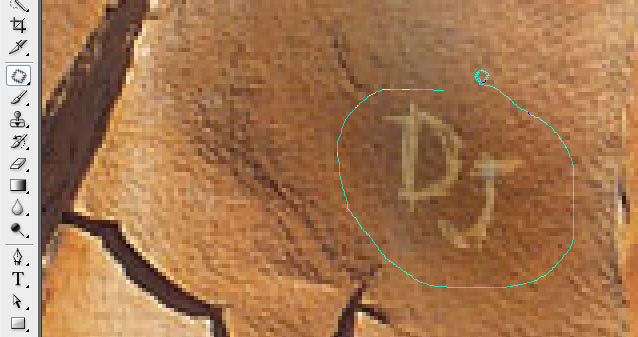
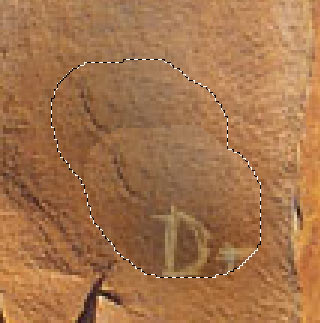
Zoom in the area with graffiti.

You are going to use Patch Tool to fix this area.

Patch tool works like Lasso Tool - freehand select the area that you want to fix:

Place the cursor inside the selection.

Drag it to the area with no graffiti.

Right now it looks like a patch (surprise!!!)

But when you release the mouse, PhotoShop will do some thinking and adjust the pixels to make it seamless.

Do not use this tool on large areas!

Deselect.

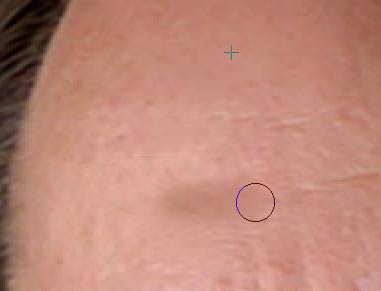
To fix the area on the right, you are using the Spot Healing Brush Tool:

It works like the Healing Brush Tool, but you do not have to sample pixels to paint. This tool will fix the imperfections for you. (Works good on pimples, spots, scars, etc...)
All you have to do is start painting with small strokes over the holes.

Compare the images:

"The Fountain of Youth"

Open image 3

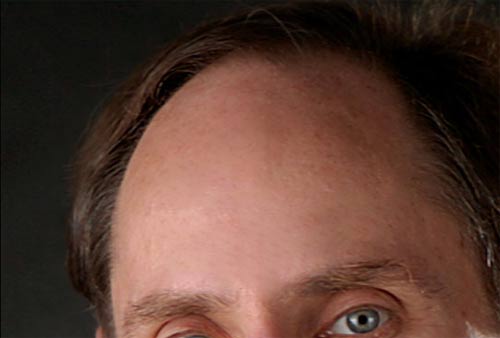
You are going to make this guy look younger:
remove the wrinkles on the forehead and under the eyes.

Start with the forehead. Choose Healing Brush Tool:

Paint over the wrinkles with small strokes.

Make his forehead wrinkle-free!

(Sounds like a TV ad for a miracle cream...)

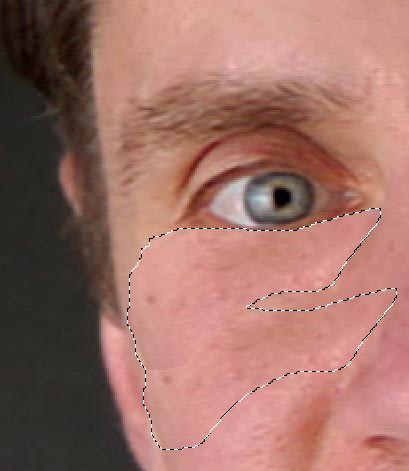
To fix the area under the eyes - choose the Patch Tool.

Draw a selection under the eyes.

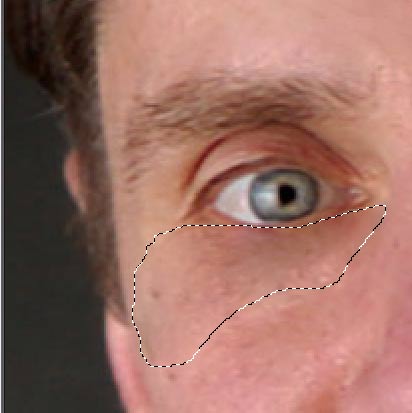
Drag it to a wrinkle-free area.

Release the mouse.

The area is fixed!!!!

Deselect.

Repeat the steps with the other eye.

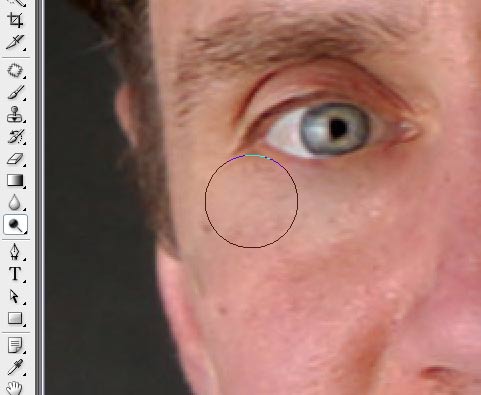
You can also lighten the dark circles under the eyes by using the Dodge Tool:

It works as a brush, but instead of painting, it lightens the area. (Perfect solution to whiten teeth on a photograph!!!)

If you want, you can also fix the wrinkles around the mouth. Choose any of the retouching tools that we just used.

Compare the images:

...