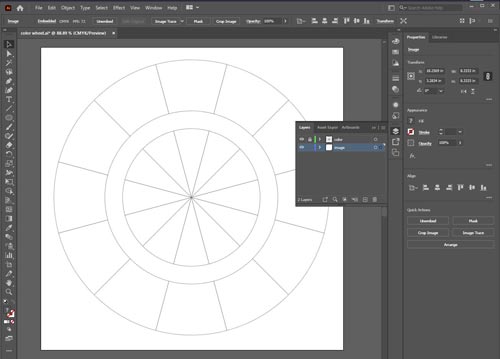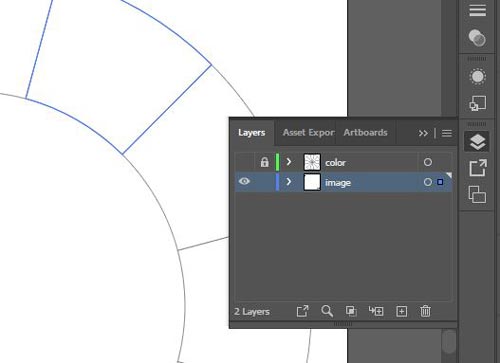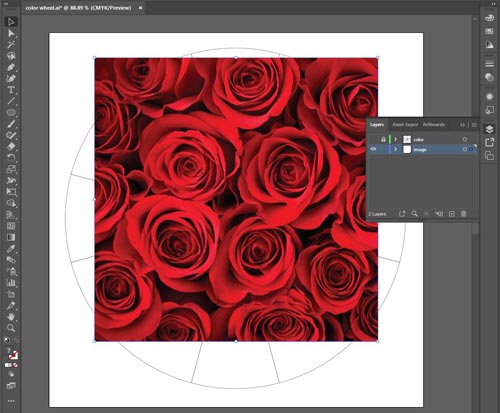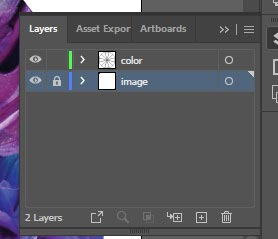
There are 2 layers in your file.
Lock and hide the top layer ("color").
Select the bottom layer ("image")

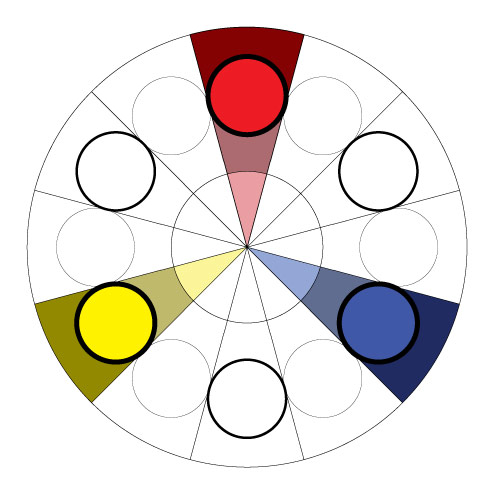
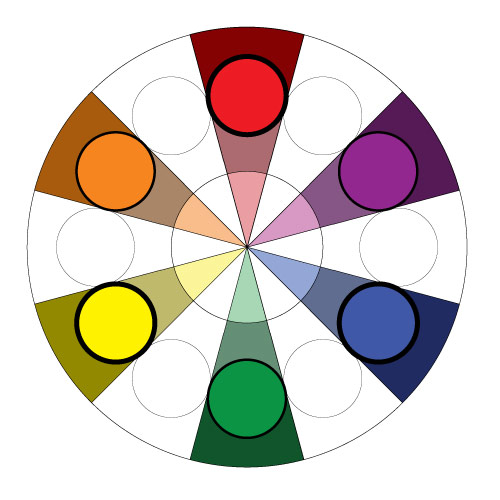
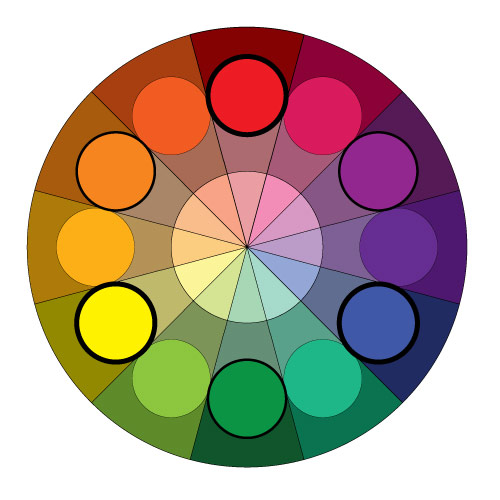
Start with primary colors.
Red, Yellow, and Blue.
They should be spaced out evenly.

Let's go with Red first.
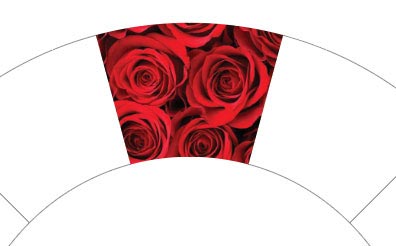
Think of an object or a theme that would have red ads a dominant color in a picture.
I think roses.
Copy an image from your browser and paste it into the file.
If the image is too big - resize it. Remember to hold Shift to constrain proportions.

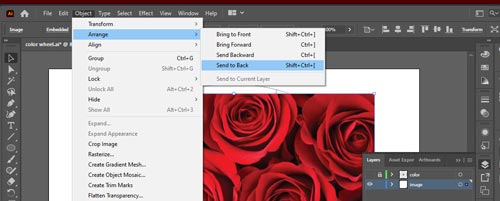
The next step is to position the photograph behind the circle.
Object > Arrange > Send to back

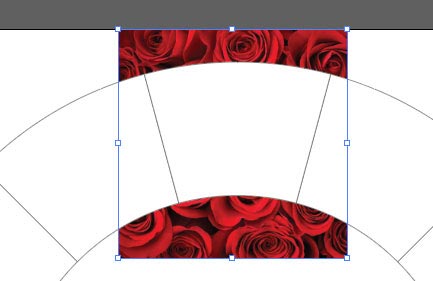
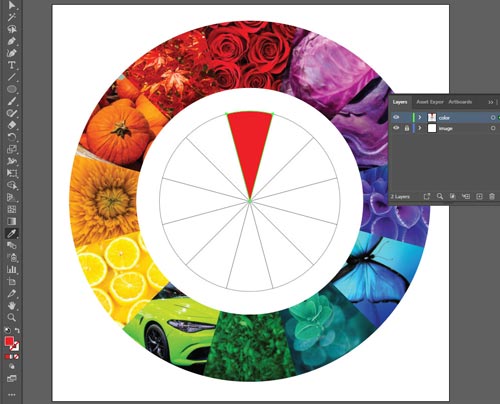
Select both - the imge and a section of the color wheel.

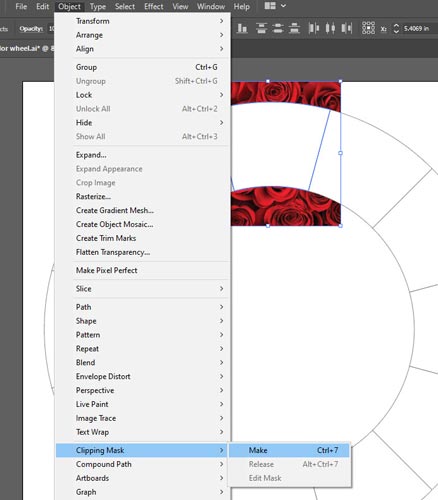
Object > Clipping Mask > Make
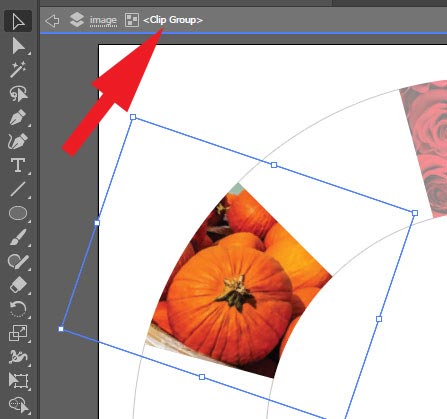
This creates a Clipping Group, where the top shape becomes a "cookie cutter" for the rest of the group.
It hides everything outside the top shape, and reveals, like a window, what's inside.
Clipping groups cand be edited or released at any time.

This is what a clipping group looks like.
The top shape looses it properties (color and stroke) and stays only as a path.
So it does not matter what color is the top shape!
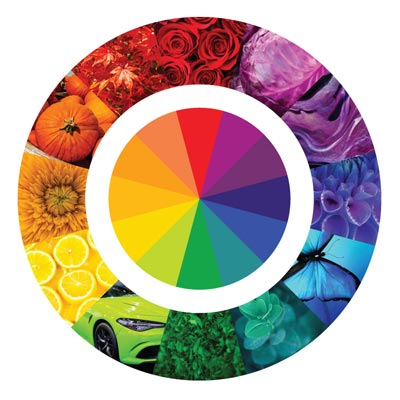
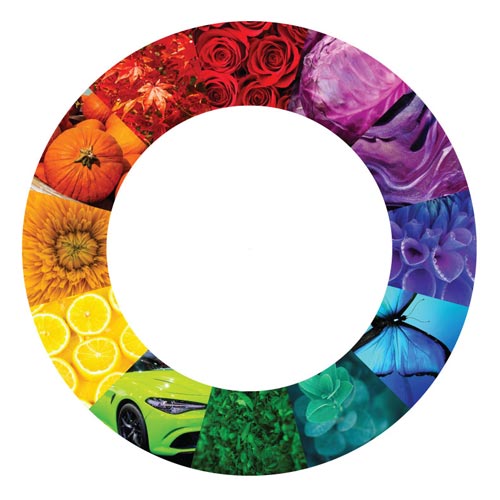
Complete all primary colors!

Secondary colors next!
Orange, Green, Purple
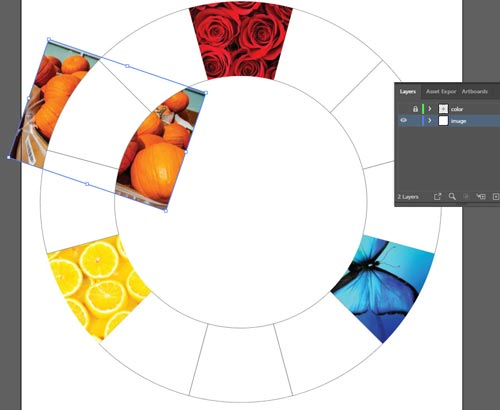
Place them between the primaries.

You can rotate the images to position them just perfect.
Then apply the Clipping mask.

If you want to edit the image after you've applied a clipping mask - double-clicl in it.
It will take you to the clipping group mode.
You can move, rotate, or resize the image without affecting the top shape.
But!!!
You can also change the clipping shape. Just not for this assignment :))
You can return to the standard mode by using the arrow at the top left of the window.

Tertiary colors next.
Red-orange
Yellow-orange
Yellow-green
Blue-green
Blue-purple
Red-purple

Done!!
Save.
