
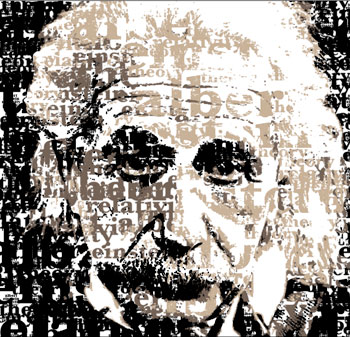
Typography
by JuliannaKunstler.com
STEPS
Use a nice contrasted ahotograph for this project.
We are going to replace values with typography.
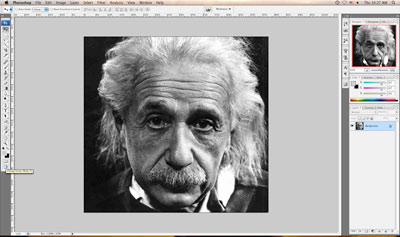
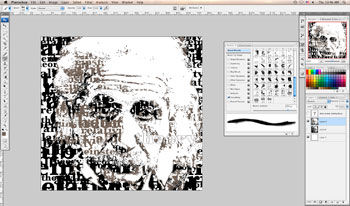
Open your image in Photoshop
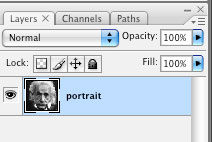
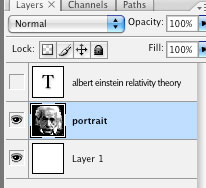
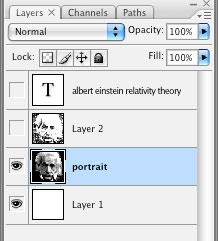
Double-click on the background layer to unlock it.
Name it "portrait"
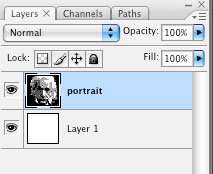
Create a new layer beneath the Portrait layer
Fill it in with white color (Edit > Fill>White)
Return to Portrait layer
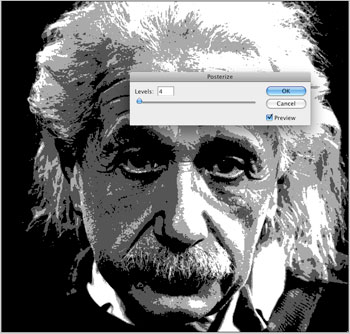
Image > Adjustments > Posterize
Set levels to 4 (four different values)
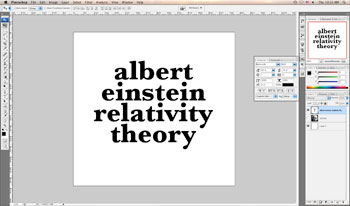
type in words that you want to use for your design
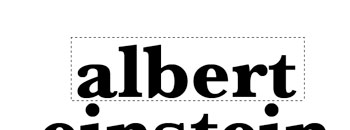
Select your first word as close to the letters as possible. Make sure you have only black and white colors in there.
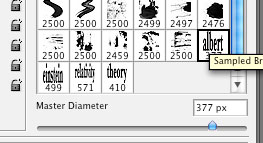
You are going to create a custom brush that would paint with your word as a stroke.
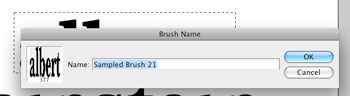
Edit > Define Brush Preset
You can give your brush a name (if you want to)
Create brushes for the rest of the words following the steps above.. You should be able to see your brushes in Brushes palette.
Go to your Portrait Layer
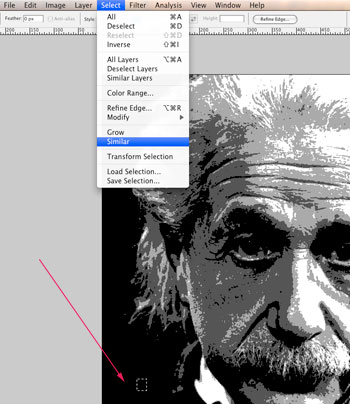
Select a small area of your darkest value (black)
Go to Select > Similar to select all black areas.
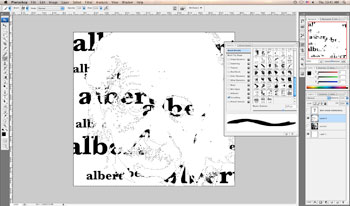
Then hide your Portrait Layer
Create a new layer (you are going to paint on this layer)
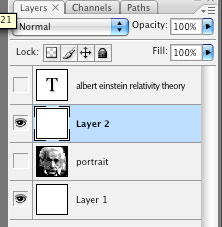
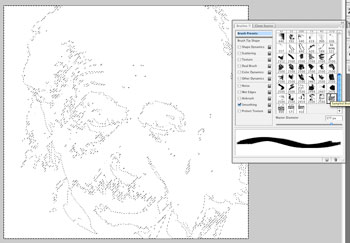
Choose your first WORD brush. Use black color and start painting.
As you paint - change the size of your brush by using [ and ] keys. You need to have variety of sizes. Repeat the steps with other word brushes to fill in the "darkest" selection. Then Deselect.
Select your second darkest value. Use dark grey color and paint again.
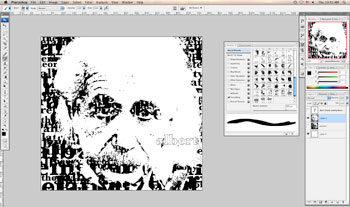
Same steps for the next value.
Remember to switch to Portrait layer when making selections!
Optional steps:

In case you want to use your words as a pattern, follow the steps:
Command/Ctrl T
Resize your words to make them really small.
Use Rectangular Marquee tool to select them.
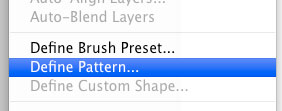
Edit > Define Pattern
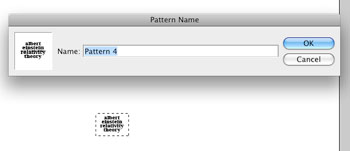
You can give your pattern a name....
OK
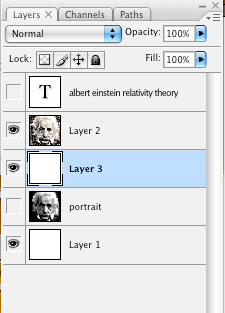
If you want to add a pattern that you created from your words, create a new layer below your Layer 2 (your painting layer)
Use Paintbucket tool

Set the fill option to Pattern and select the pattern that you created.
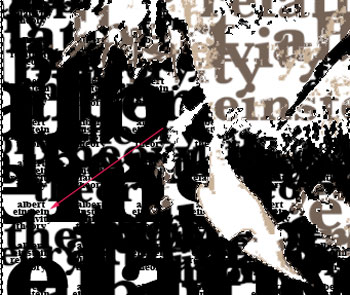
I reselected the darkest aread again before I applied the pattern.
Do you see it?
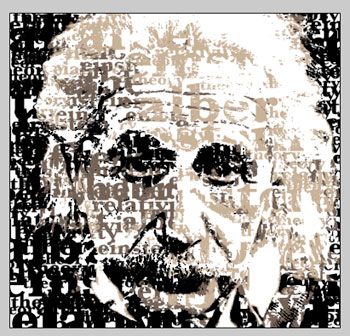
Black-and-white is great, but you can also experiment with colors and textures.
Credit:
Here is the link that I used to work on this project: