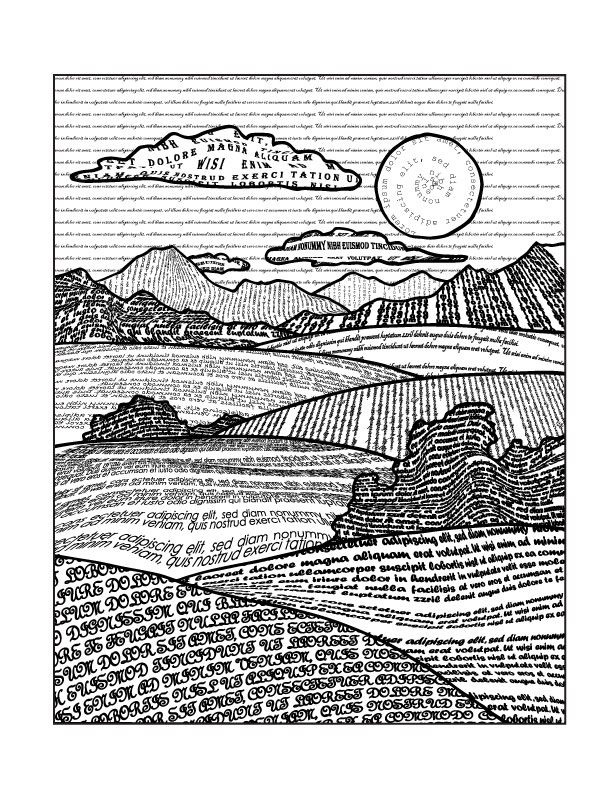
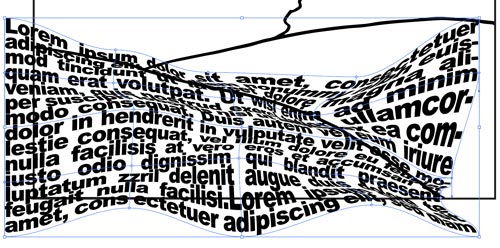
Use typography to fill in the landscape.
Attempt to create different values and textures:
- darker and larger elements in the foreground
- smaller and finer fonts in the background
- choose round, pointy, heavy, and thing typefaces for different textures.

by JuliannaKunstler.com
Use typography to fill in the landscape.
Attempt to create different values and textures:
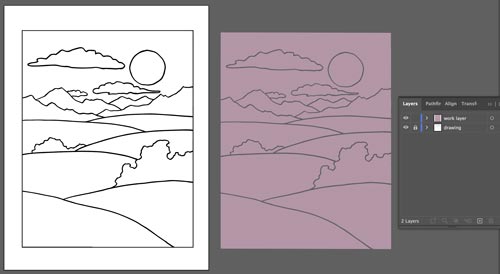
Open the file.
There are two layers in the file:
Draw a text box for the front shape.
Make it bigger than the shape.
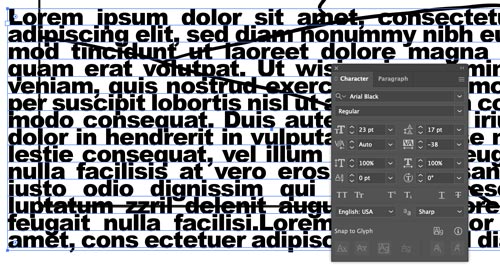
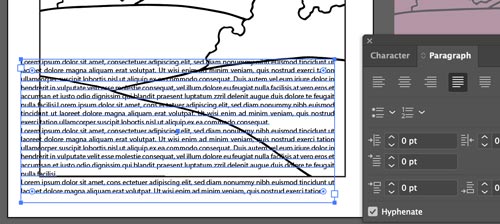
Experiment with font settings (Character panel). This area being the closest - you want to make it dark and detailed. Look for a detailed, but bold font.
To curve the text - use any of the following:
For extra texture - try:
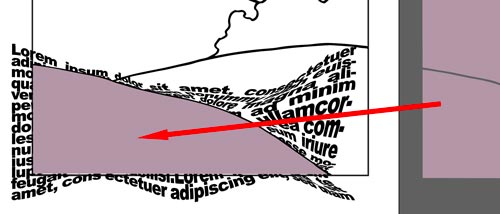
Once you are done with the texture and the font appearance - use the appropriate shape on the right and drag (option-drag) it over the front shape.
Object > Arrange > Bring to front - to bring the pink shape above the text area.
Now you can use it as a Clipping shape.
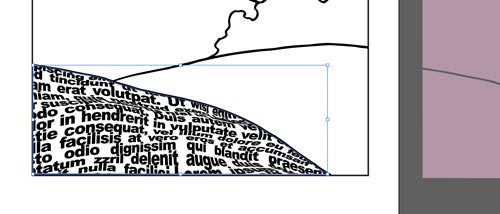
Select the text area and the pink shape.
Object > Clipping Mask > Make
You are done with the first shape!!!
Continue with the rest of the shapes.
Have fun!