julianna kunstler logo
image size, dimensions & resolution

in Photoshop
Instagram icon

by JuliannaKunstler.com

  • Image size
  • Web optimization
  • Canvas size
  • Cropping
  • Color modes
  • Transparent background

Proper image size is very important in all projects, whether they are intended for printing or for screen view.

Let's take a look at image size options.

Open your image in Photoshop..

Image size

To check (and edit) image's size and dimensions - go to the menu bar:

Image > Image Size

In the pop-up window you will see:

  • Image preview window at 100% zoom
  • Image size (file size)
  • Dimensions of the image - in pixels, inches, cm, etc.... in your default units, that you can adjust in the Preferences menu
  • Editable options for height and width (choose units). For the most part you want to keep them linked - so if you change one, the other will adjust to maintain the proportions
  • Resolution - it shows the current one, but it's editable.

If you change resolution setting - the image pixel dimensions will change as well.

The dimensions of the printed image will not change (if you set the dimensions in inches, for example)

You can change the resolution to something ridiculously small to see how it changes the image.

Compare these two resolution settings:

Every time you change the image resolution or dimensions, you affect the image size. Pay close attention to all settings as you edit each one of them.

If you want to adjust the image (file) size - this is the first place you go to do so.

optimize for web

Image file size is extremely important in web design.

Nobody wants to wait for an image to load... Right?

So our challenge is to reduce the file size without compromising the image quality too much.

From the menu bar go to:

File > Export > Export As (or File > Save for Web in Adobe CS6 and earlier)

In a pop-up window you will be able to adjust settings to find that size-quality compromise.

First - you can see the current file size in the left pane.

Click on 2-Up tab at the top.

Now you can view the original image and the one you want to export side by side to compare the changes in its quality as you manipulate the settings.

Select the right image.

Adjust the Quality slider and watch the image preview change.

Low the quality until image starts to look not acceptable.

Then pay attention to the image file size.

Continue adjusting the quality until you find the balance between size and quality.

Canvas size

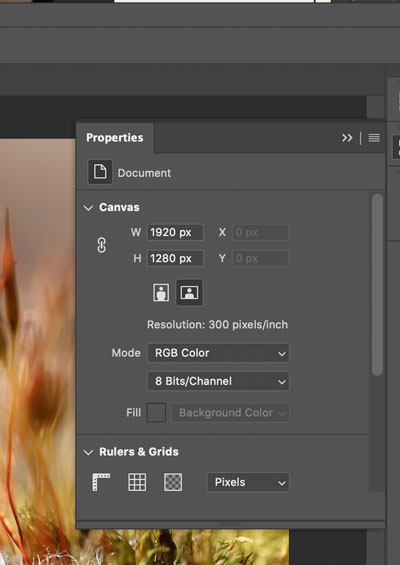
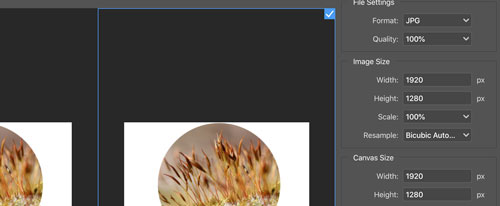
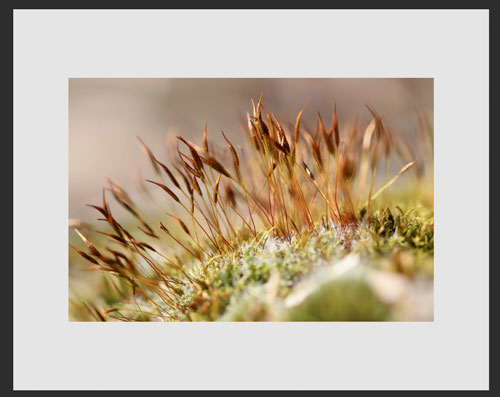
Canvas is an image "window" - the work area where your image "sits".

You can change canvas size if you want to add more work area - above, below, or to the sides

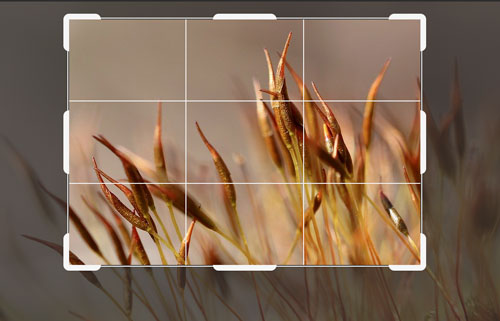
Or if you want to crop the image to the specific dimensions without distorting it

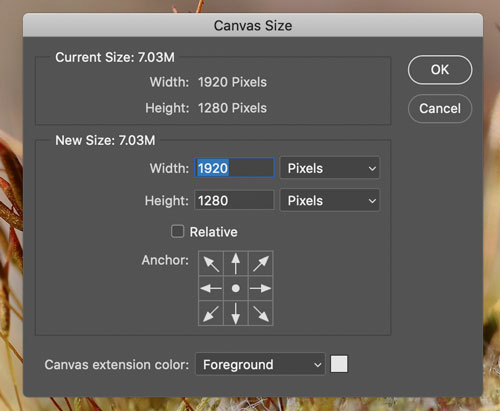
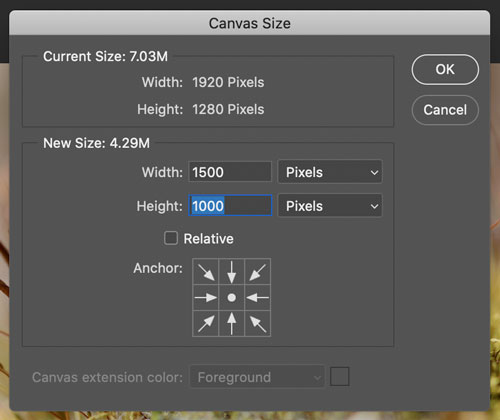
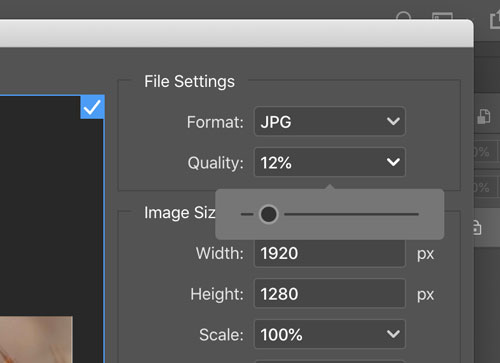
Canvas size can be specified in any units.

If you increase the canvas size - pay attention to the anchor position.

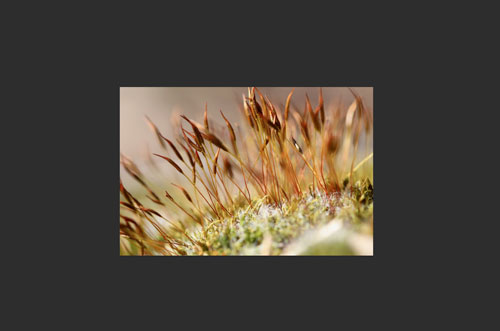
By default, it it centered.

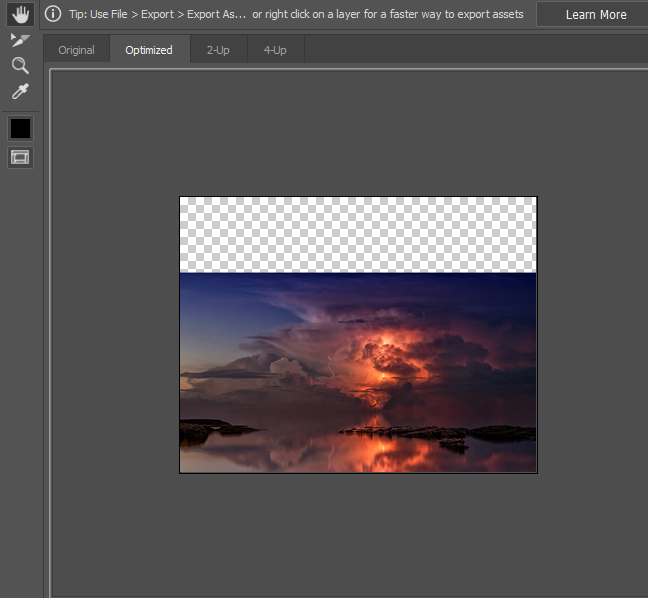
That means that extra canvas space will be added evenly around the perimeter of your image.

Like that.

If you move the anchor off center, the space will be added to one side.
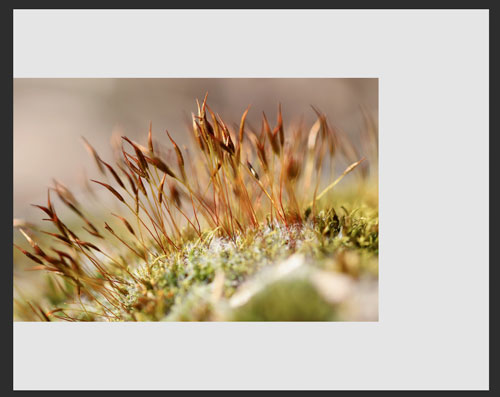
Like this.

If you decrease the canvas size (= crop it) - the anchor will show how the cropping will occur.

Photoshop will give you a warning when you decrease the canvas size.

Like that!

cropping

If you want to have more control over the cropping process - use Crop tool!

Once you select the Crop tool - you image will show the crop marks that you will use to manually specify the cropping area.

Placing the cursor over a corner mark - you can drag the corner to reveal the cropping area.

The rest of the image is grayed out.

The cropping area has a 3x3 grid lines to help you with the composition of an image - very much like in a DSLR camera viewfinder - "Rule of Thirds".

You can rotate the image as you crop.

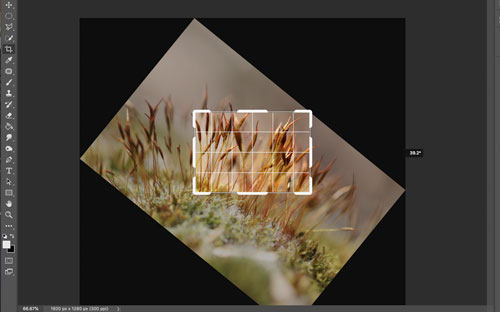
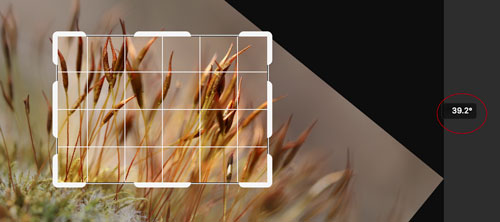
Rotation angle will show next to the canvas window.

When you're happy with the image:

hit ENTER

to apply cropping.

other properties

You can check the summary of your image file in the Properties panel.

Window > Properties

As long as you're there - check the color mode.

RGB - for screen and web

CMYK - for print

You can also get to the Color mode setting from the menu bar:

Image > Mode >

transparent background

There are times when you need an image with a transparent background.

After you open your image file - open the Layers panel (Window > Layers)

By default, you will have your image on the background layer, which is locked.

To unlock the background layer you need to rename it:

Double-click on the layer.

In a pop-up window rename the layer or leave the generated Layer 0 name.

Click OK.

Now the image can be moved inside the image window and parts of it can be removed.

When you remove a part of an image - a grey-and-white grid will show to indicate that this area is transparent.

.JPG format does not support transparency! .PNG does!

So you will need to export it as a .PNG file.

File > Export As

Change format to PNG

Check Transparency option.

If you preparing a file for web - check Smaller File option.

You can zoom in the preview to see the details and compare image quality.

Check the file size now.

You can also change the dimensions of the optimized image.

Click Export.

And that's it!

assignment

Download the image.

1. Open it in Photoshop.

2. Check image resolution, dimensions, and file size. Change image height to 4 inches. Change resolution to 100 pixels/inch.

3. Add 150 pixels of transparent space to the top of the image:

  • unlock background layer
  • add 150 pixels to the canvas

4. Optimize for web to reduce the file size and preserve transparency.

5. Change dimensions of the optimized image 50%.

Done!

Turn in the image!

From this:

To that: