layer colors
color balance and other options
This assignment will explain how to manipulate colors of your image's layers.
You will manipulate colors of a half of your image.
Then you create a smooth transition between the two halves.
This technique can lead to very interesting and dramatic effects.
STEPS

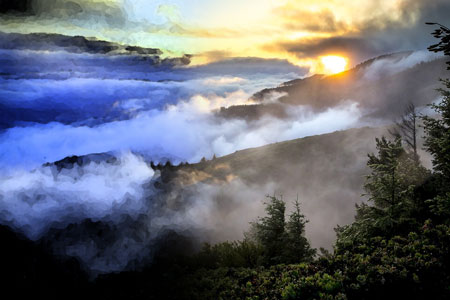
Find a photograph.
Open it in Photoshop.
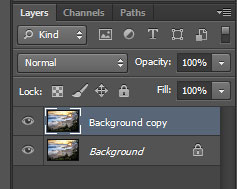
Duplicate the background layer by dragging it down to "New Layer" button at the bottom of layers palette.

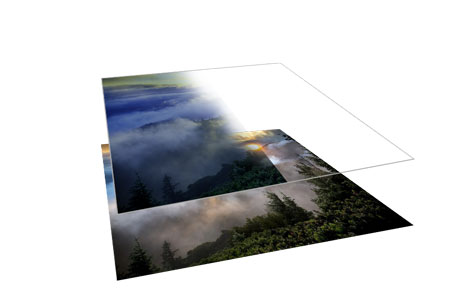
Now your Layers palette has two layers.
Keep the top layer selected.

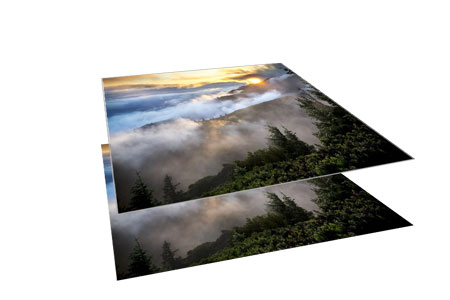
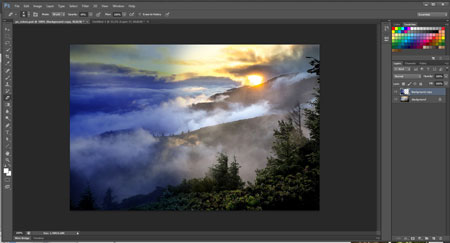
This is what the layers look like.

Use Rectangular Marquee tool

Drag a selection that you want to keep as original.
Edit > Clear (or Delete key)
Important: Deselect the area (Ctrl/Command D)

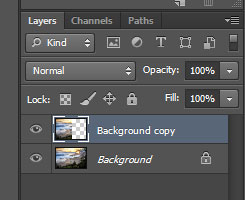
Even though the image did not change in the Image Window, the thumbnail in the layers palette should display the part of the top layer is now gone.
When you see checkerboard pattern in Photoshop - it displays a transparent area.

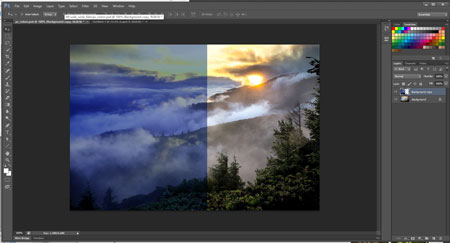
This is what the layers look like now.
Background layer will stay as is (the original).
You will manipulate the top layer.

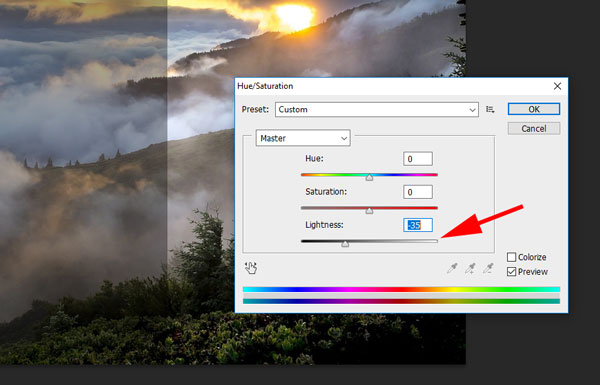
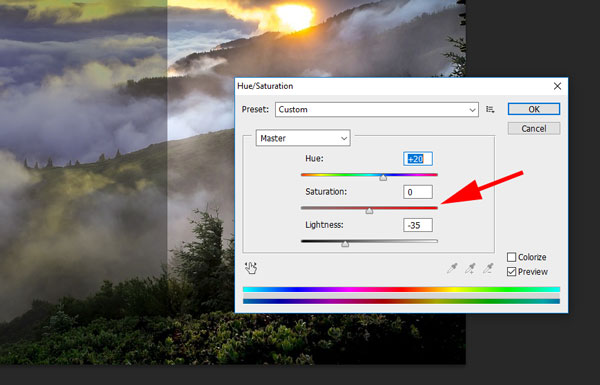
Image > Adjustments > Hue/Saturation

A window will pop up.
It has settings for all three dimensions of color:
Hue (color family)
Saturation (color brightness, balance of pure color and grey)
Lightness (color value)
Try to drag the Lightness slider....

Try to change colors by dragging Hue slider

Experiment with the amount of color in the image.
If you set Saturation to -100 it will turn your image into black-and-white photograph.

Click OK to apply the changes.

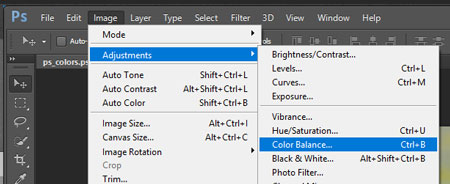
Let's adjust colors even more.
Image > Adjustments > Color Balance.

A window will pop up.
You can add/remove certain colors by dragging the sliders.
Experiment.

Click OK to apply the changes.

Now the transition part!
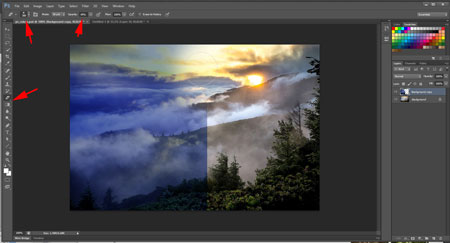
Choose Eraser tool from the Tool box.

Set the tool's size (large), hardness (0%) and opacity (50-60%) in the Options bar.

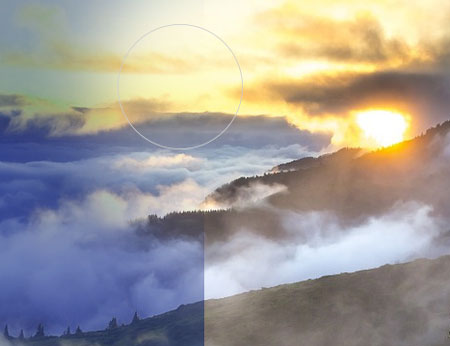
Start erasing the edge of the top layer.

Carefully erase along the edge.

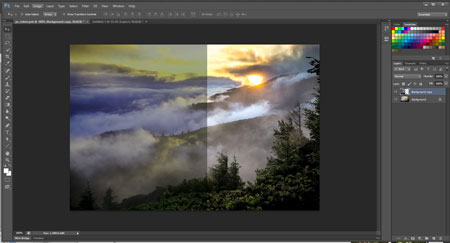
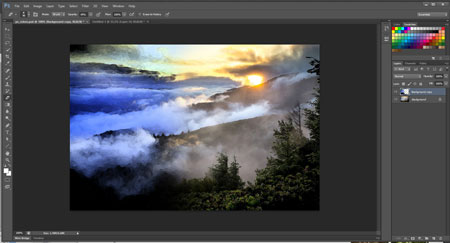
This is what it looks like after you are done erasing.

The last thing to do is to apply a filter onto the top layer (or on whatever is left of it :).
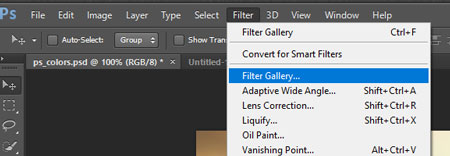
Filter > Filter Gallery

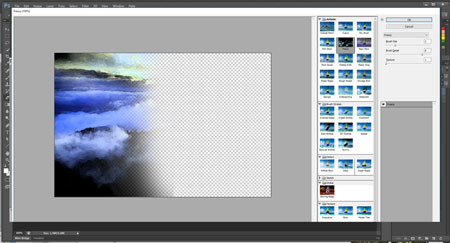
In the pop up window:
Try different filters and choose the one that works for you!
(You can apply multiple filters if you want )

Click OK to apply filter.
To apply another filter you need to repeat the steps (Filter > Filter Gallery)

Sign your name.
Print.
...


