by JuliannaKunstler.com
Hue / Saturation
You can adjust color settings for your image or an isolated object.
This option will allow you to manipulate all 3 properties of a color:
- Hue (a family of the color)
- Saturation (how pure/vibrant or dull/grey the color is)
- Lightness (a tonal value of the color)
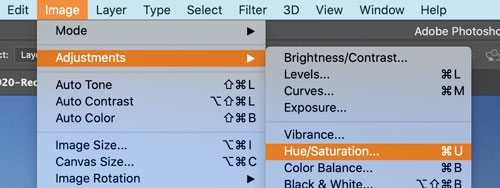
Image > Adjustments > Hue/Saturation
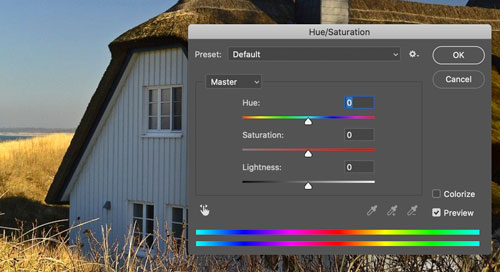
A Hue/Saturation window will pop up with 3 slider bars.
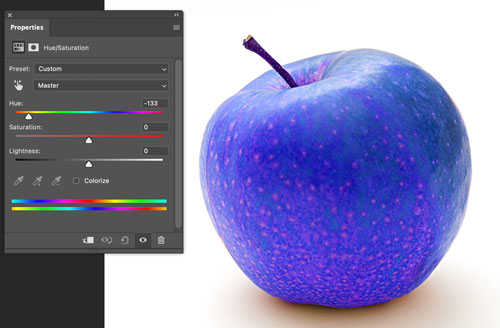
Hue
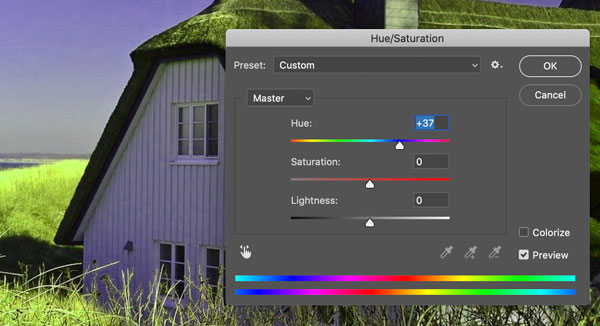
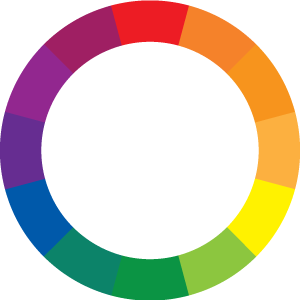
Hue slider moves the colors on the color wheel:
Positive values - clockwise
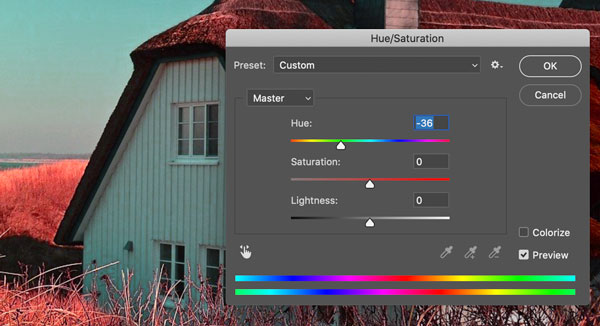
Negative values - counter-clockwise.
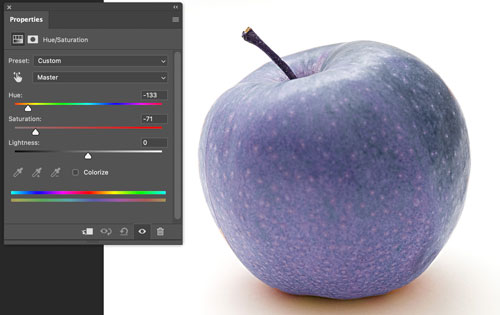
Saturation

Saturation affects color intensity.
Positive values increase the color intensity.
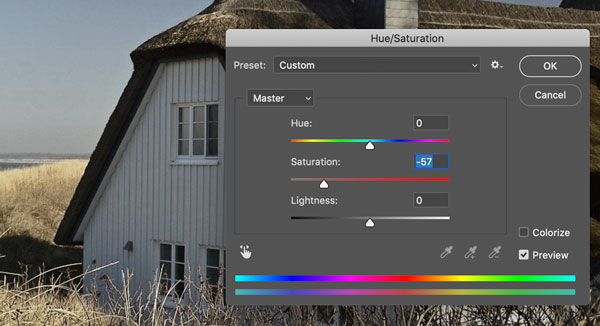
Negative values - gradually remove colors making the layer black-and-white.
Lightness
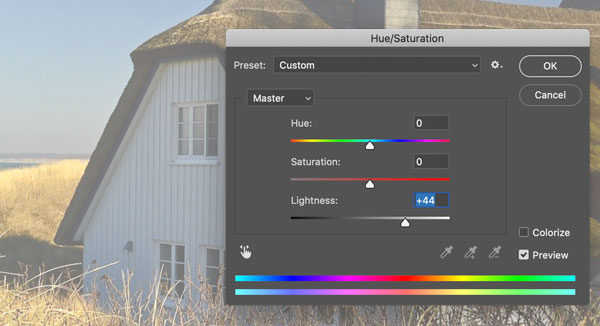
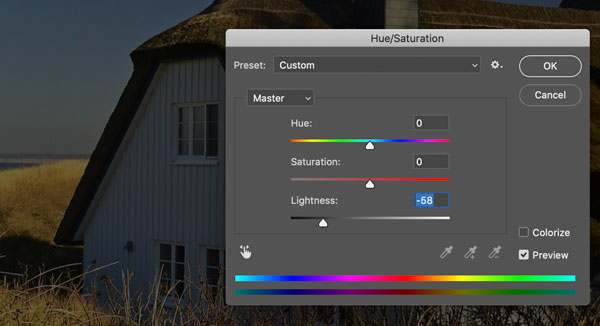
This is how Hue/Saturation generally works.
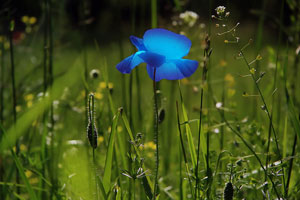
Now let's apply it to the image.
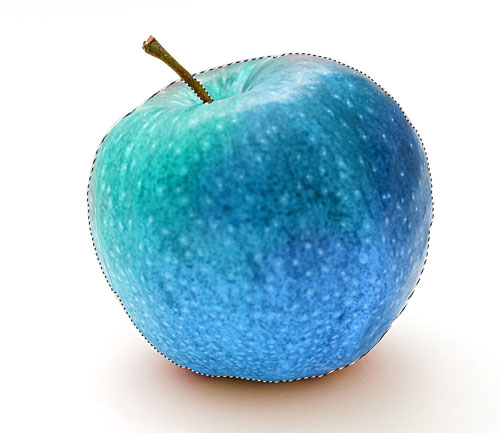
Isolate object
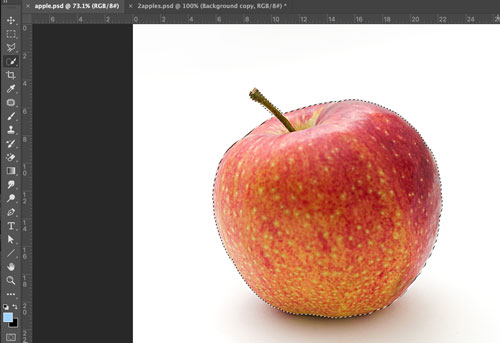
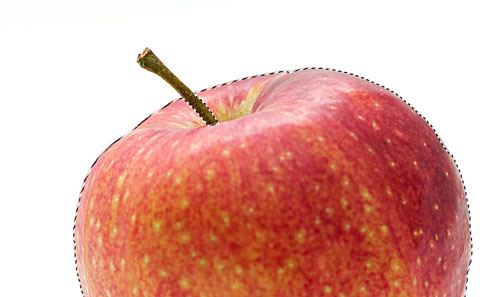
Before we start changing colors - let's isolate the apple so the color changes do not affect the rest of the image.
To isolate an object we need to make a selection.

Choose the Quick Selection tool from the Tool bar.
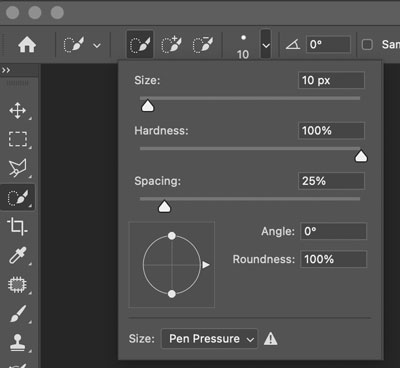
From the Options bar - choose the following settings:
Size - around 10 px
Hardness 100%
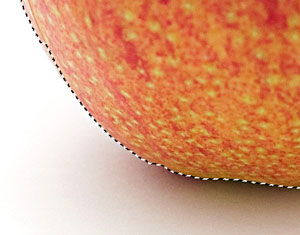
Draw a stroke across the apple.
You should see a selection line around the apple.
If you are not satisfied with the selection outline - deselect and start over.
(To deselect: Ctrl/Command D)
If you think the selection will work - let's save it so we do not have to reselect it again.
In the menu bar:
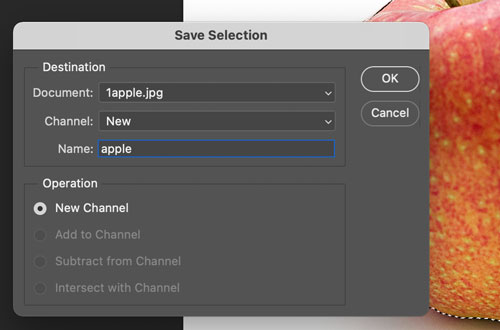
Select > Save Selection.
Give your selection a name. I think that "apple" would be appropriate.
Adjustment layer
Adjustment layer lets you apply color and tonal values to an image without permanently changing pixel values.
That means that you can change or remove it at any time, and your original image will not be affected.
From the menu bar:
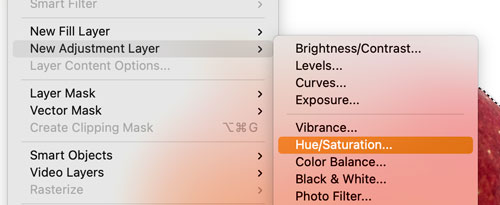
Layer > New Adjustment Layer > Hue/Saturation
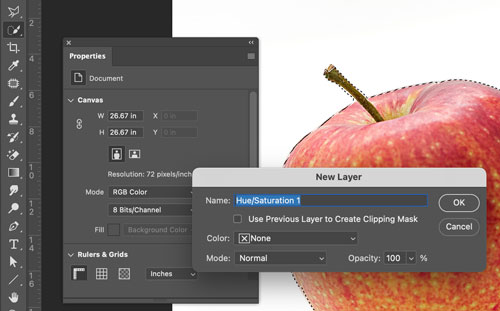
You will see 2 small windows popping up:
1. New Layer properties (leave it as is). Click OK
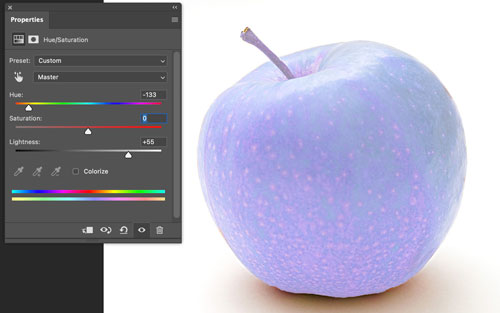
2. Properties panel
In the Properties:
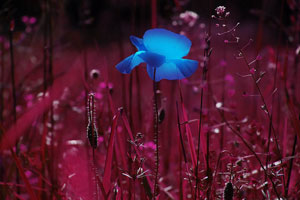
Experiment with the Hue slider.
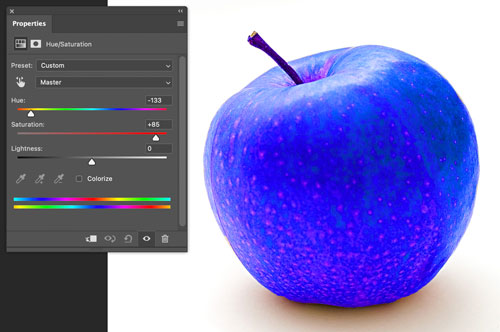
Try different Saturation settings.
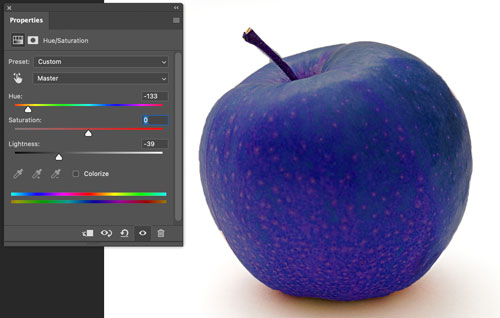
See how Lightness setting will affect the colors.
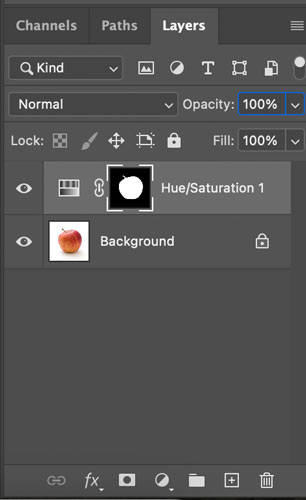
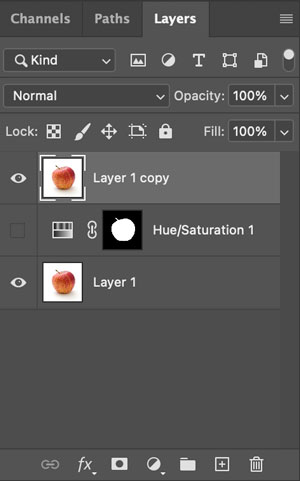
This is how Adjustment Layer looks in the Layers panel.
It shows that Hue/Saturation is applied to a selection.
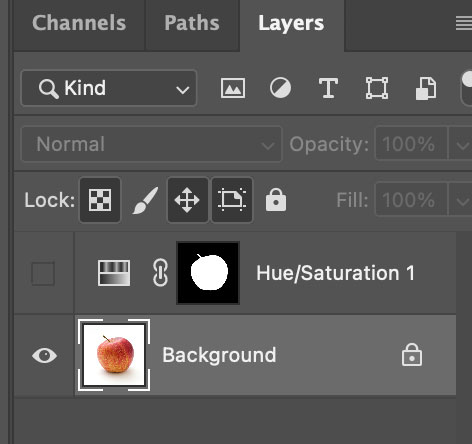
If you click on the eye symbol - the adjustment layer will hide, revealing the original image.
(To turn the adjustment layer on - click on the eye symbol again).
Right now - keep it hidden as we try another technique.
Replace color
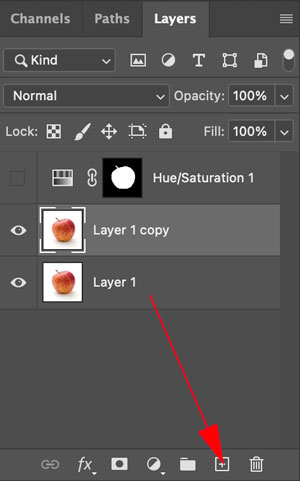
Duplicate the apple layer by dragging it into "New Layer" button.
Drag the layer copy above the adjustment layer.
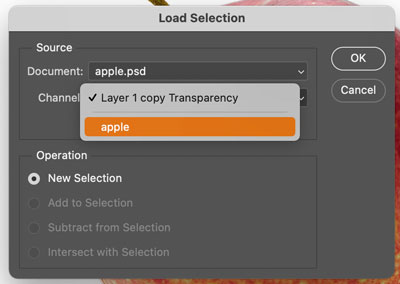
Load the saved apple selection:
Select > Load Selection > apple >OK
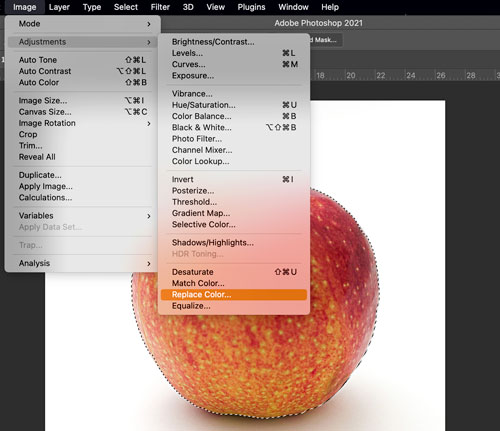
We are going to apply the color adjustment directly to the layer.
Image > Adjustments > Replace color
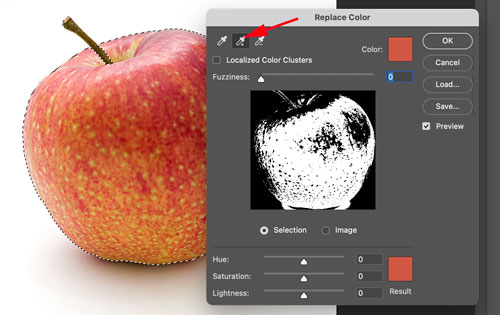
In the pop-up window:
Select the eye-dropper tool with a "+" symbol.
Start clicking inside the apple to select the colors.
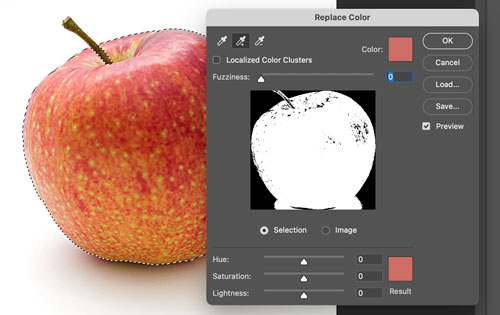
Selected colors will appear as white areas in the preview window.
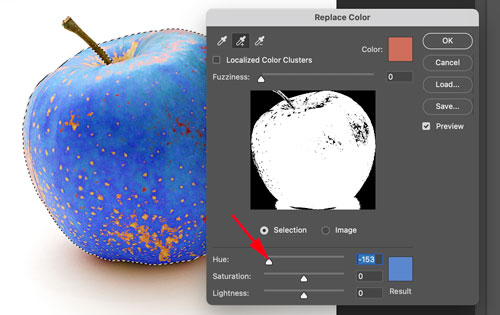
Use the Hue slider to choose the desired color.
Adjust Saturation and Lightness settings if you wish to.
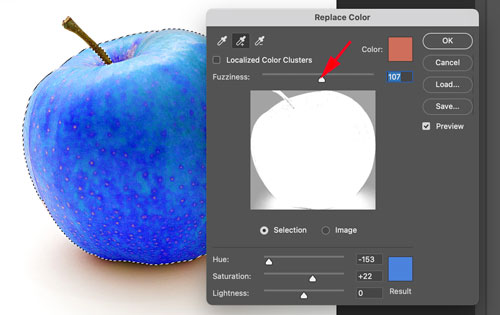
Adjust Fuzziness slider to spread the colors.
Click OK.
Now hide this layer before we try another technique.
Applying a color layer
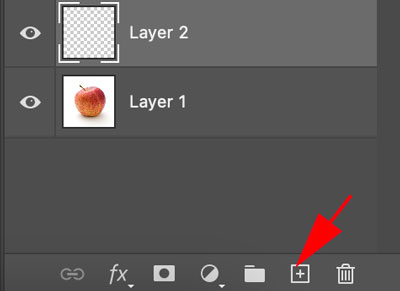
Create a new layer above the original apple layer.
Load selection.

Choose Brush tool.
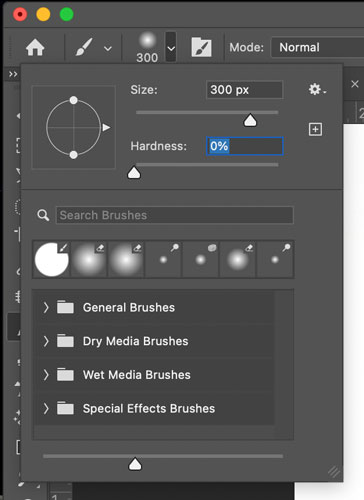
In the Options bar - set the brush hardness to 0%.
We need soft edges for painting.

Open Swatches palette. We need it to select colors for painting.
If you don't see it - go to the Menu bar: Window > Swatches
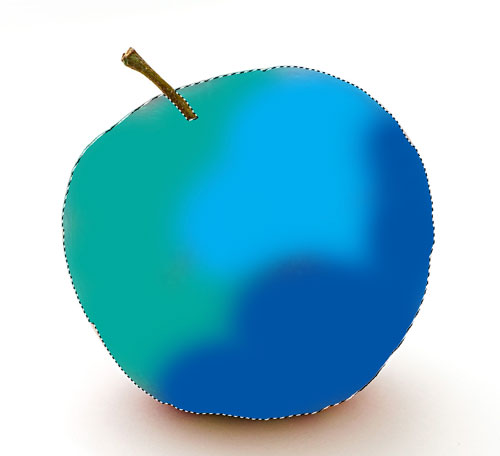
Paint inside the selection.
Use 1 color or multiple colors.
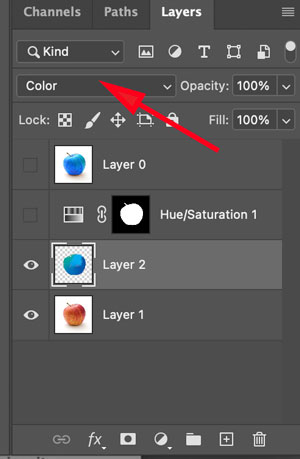
Change layer's blending mode to "Color".
Done!
Assignment
Find a photo of an object and change its color.
For example: