Grading:
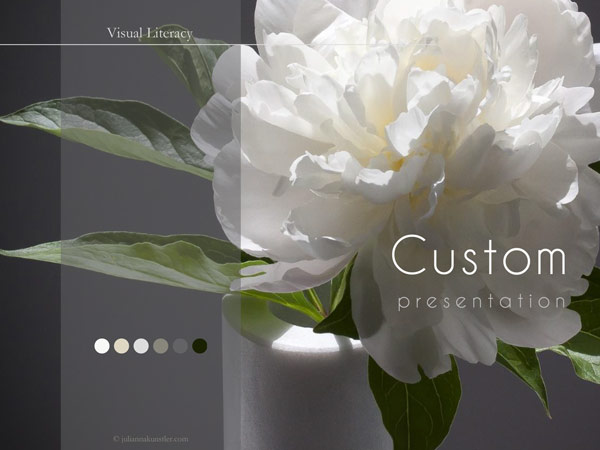
- overall aesthetics
- functionality of the design
- color scheme and color usage
- fonts: typeface choice and color
- elements alignment
- background image
- additional graphics (if needed)

by JuliannaKunstler.com

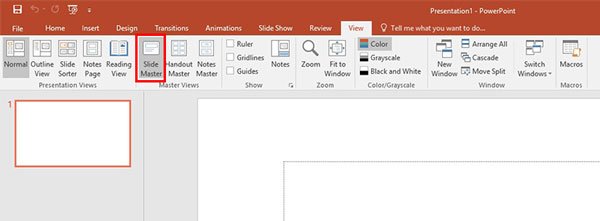
Open a new PowerPoint presentation
select View tab
Choose Slide Master
Slide master view gives you access to modify the template layout and settings.

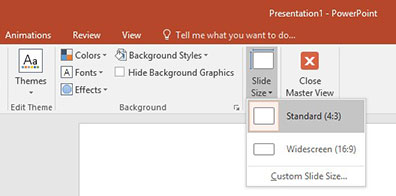
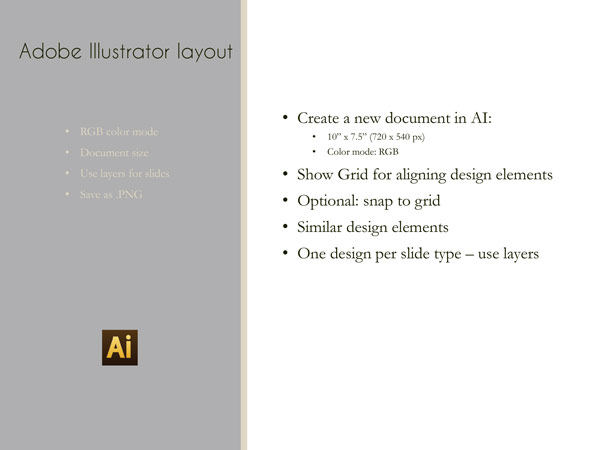
If you are going to insert your pre-designed images, make sure the presentation has the same dimensions as your images.
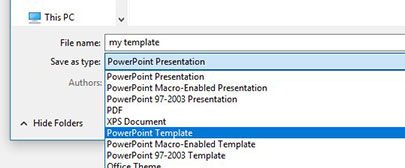
Save the new file as a template: .potx file
Next: let's set up themes.
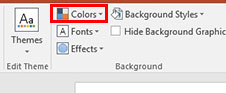
Let's start with applying your color scheme to the template.
Click on Colors menu.
Scroll all the way down and click on Customize Colors
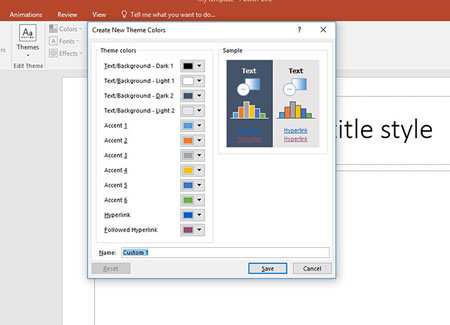
A New Color scheme window will pop up.
It is set up for default colors.
As you enter your own colors, you can see how they will work together in a Sample area.
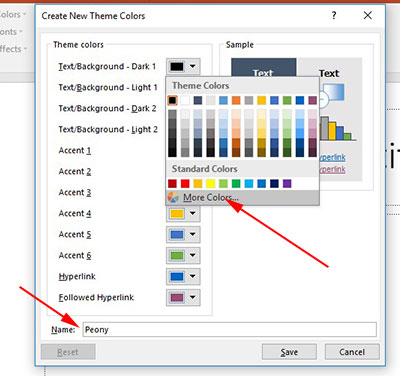
Give your Color Theme a name.
Then start with the first color: Dark 1
Click More Colors.
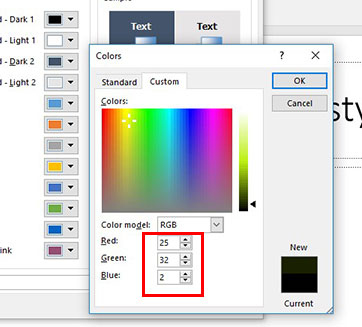
In the Colors pop-up window:
Enter values of your darkest color.
Click OK.
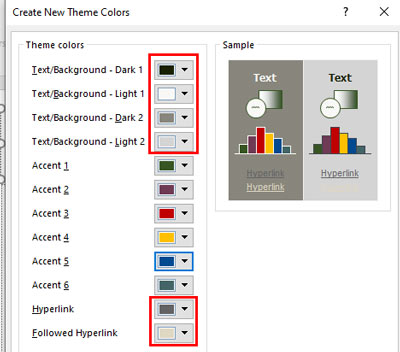
Next swatch: Light 1
Enter values of your lightest color.
Continue with the rest of the colors. Choose Dark 2 and Light 2 that you prefer.
The other two colors - use for hyperlinks.
Adjust the Accent colors to your liking. I chose deep saturated colors for accents as they look great with my muted color scheme.
Pay attention to Preview option if you cannot decide on which color to choose..
Save.
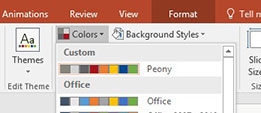
Now your color theme is saved and you can access it directly from the Colors menu.
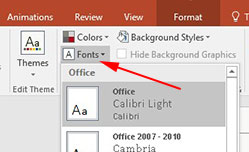
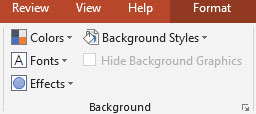
Let's set up the fonts.
Click on Fonts menu.
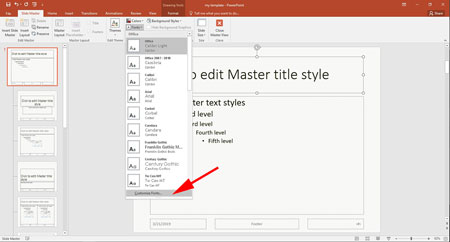
Scroll down.
Click Customize Fonts.
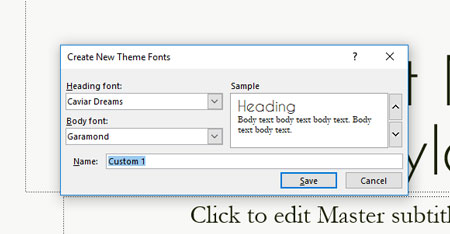
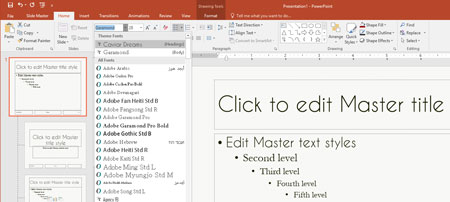
Select a font for all headers and titles. It will become your default font for all headers.
Select a body font.
Give your Font theme a name and save.
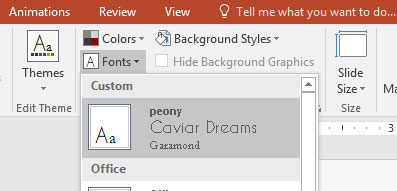
Your selection will show in the Fonts menu.
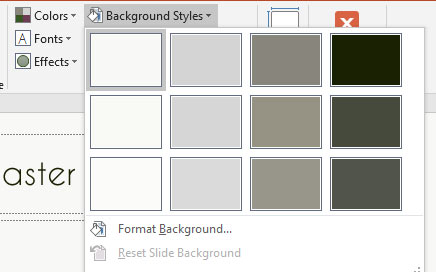
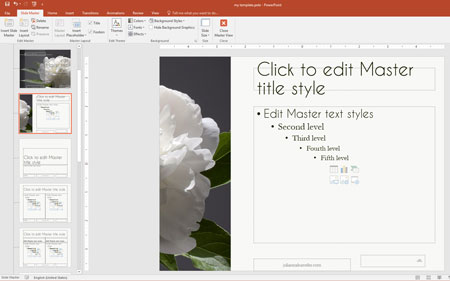
Choose a default background for all slides, regardless if you have a background image for them or not.
You can modify it later for each slide layout.
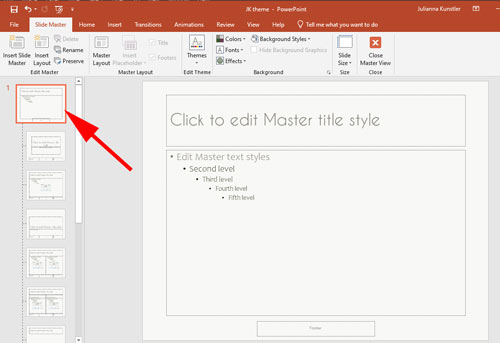
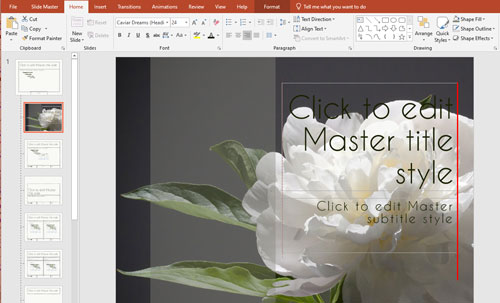
Select the very first slide.
This is your Master Slide. The settings you apply here will be applied to all slides.
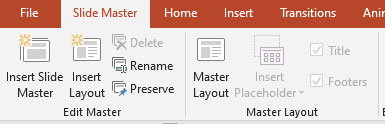
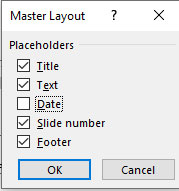
Click on Master Layout and select/deselect options that you want to keep in your presentation.
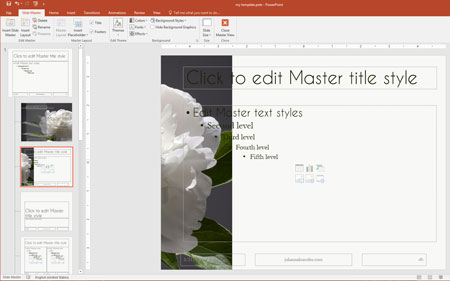
Then select Home tab.
Now you can apply fonts, colors, styles, etc.to each text level.
You can set font and its properties to subtitles (the first text style).
Highlight it. Then modify it.
Consider using the title font for subtitle, but smaller size, color, or different style
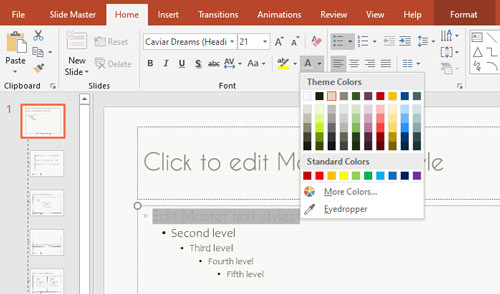
Select a color from your theme for text styles.
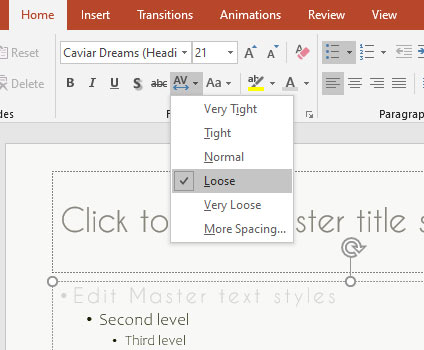
You can also change text tracking (space between letters, alignment, effects, etc.)

Now let's work on individual slide layouts.
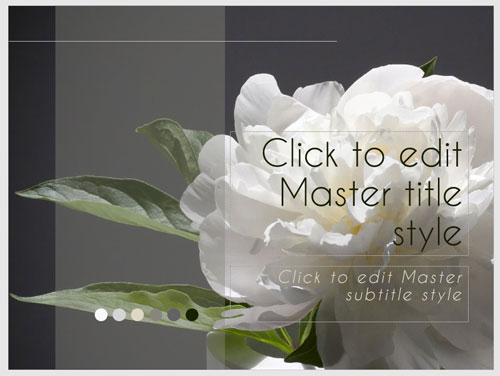
Select your Title slide.
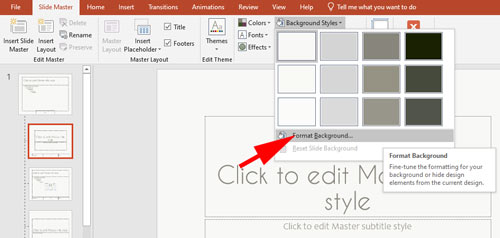
To place your image as a background - click on Format Background.
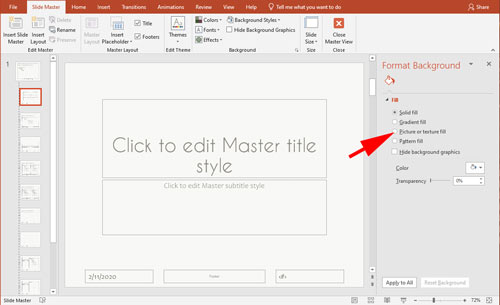
Choose picture or texture fill.
Then click on File and browse to your background image for this slide.
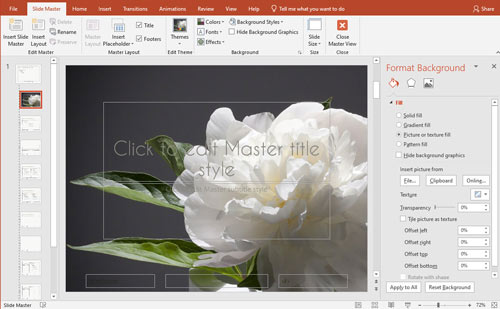
You can change transparency and other settings for the background.
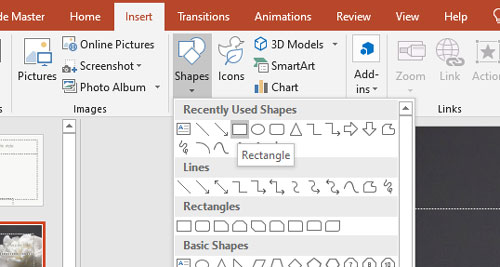
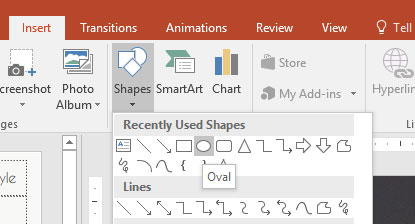
You can add additional graphic elements, like shapes over the background image.
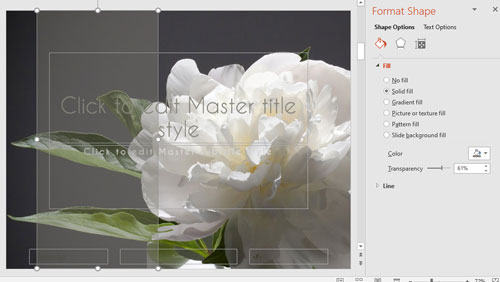
You fan format shapes, change transparency, position, size, colors, etc.
Make sure you stay with the color theme.
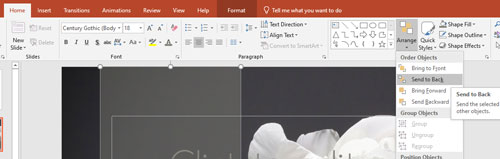
You can rearrange the order of all graphic elements
Now the background is set up.
You can reposition and resize text boxes.
You can change text options for this particular layout of the Title slide.
Make sure you align graphic elements..
If you feel like it - you can add a few extra elements (like lines, smaller shapes, etc.).
Use your work sketches as a reference, but feel free to improve it as you go.
Make sure text is easy to read. Adjust colors if needed, but stay with your color theme.
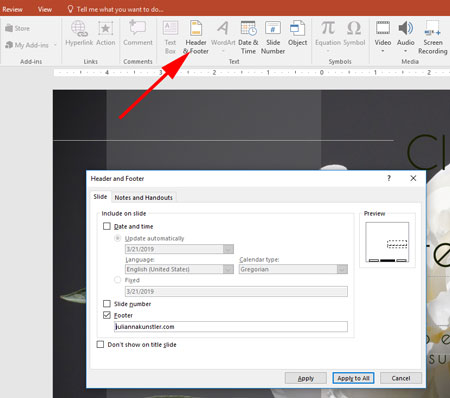
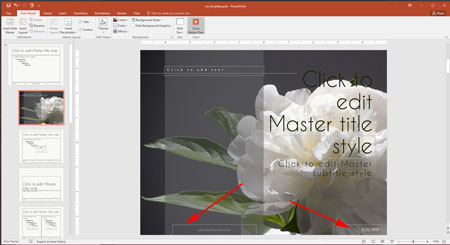
Even though the master slides have areas like footer, slide number, and date, they do not automatically show in your presentation.
You will need to specify what do you want to show in the Title slide.
Under Insert tab, click on Header & Footer
I am just adding my signature (copyright info) in the footer.
If you click on Apply to All - it will save this option for all master slides.
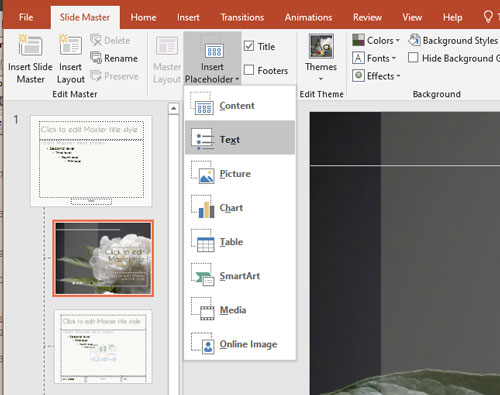
If you want to add another area for text, image, chart, etc input - you will need to use a placeholder.
Placeholder is an editable object that you will be able to edit in a presentation.
If you add a regular text area, image, etc, they will be locked in a presentation and serve as a part of the background.
So, under Slide Master tab:
Insert placeholder >.....
That's if you need one.

Once a text placeholder is "placed", it will show all text styles available.
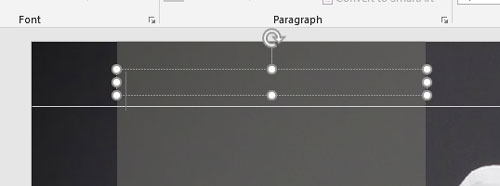
Delete the text and default text "Click to add text" will appear inside the placeholder.
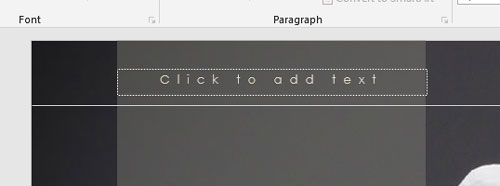
Add more placeholders if needed.
Modify font color and other type properties.
Modify or remove footer's units:
date, footer, and slide #

Click on the next layout slide.
Insert the background that you have created.
Modify placeholders and footer elements.
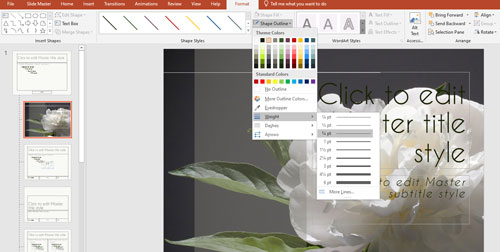
Add shapes and lines if needed.
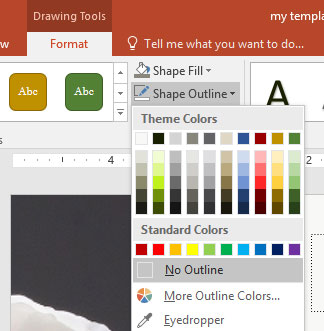
Stick to the theme colors both for shape outlines....
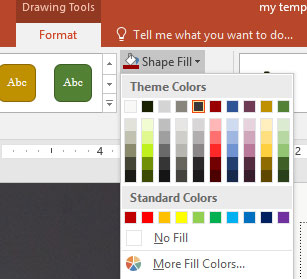
.... and shape fills.
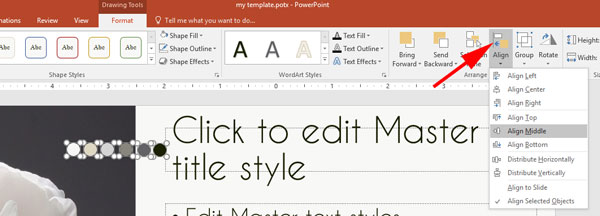
To align and distribute elements, use FORMAT tab.
The elements should be selected.
Hold Shift to select multiple elements.
You can group multiple elements by right-clicking on selected graphics and choosing "Group" option.

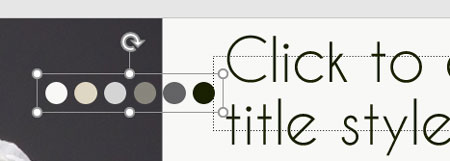
Make sure you align placeholders where needed.
Continue with the rest of the slides.
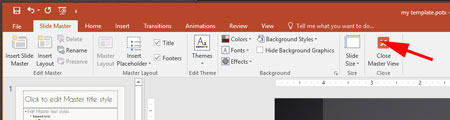
Close the Master View when done!
Save.
Now you can use this template to create your presentation.
To apply a template to a presentation: