julianna kunstler logo
my name is...

creative fonts
Instagram icon

by JuliannaKunstler.com

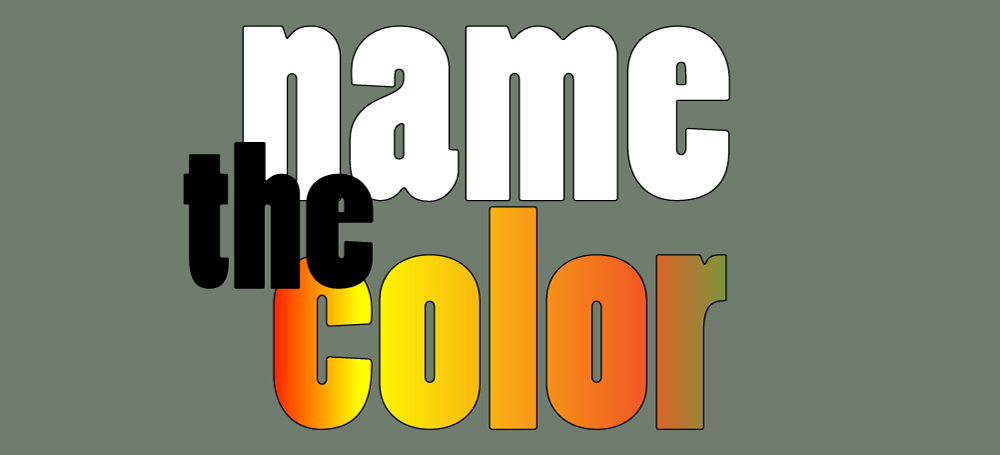
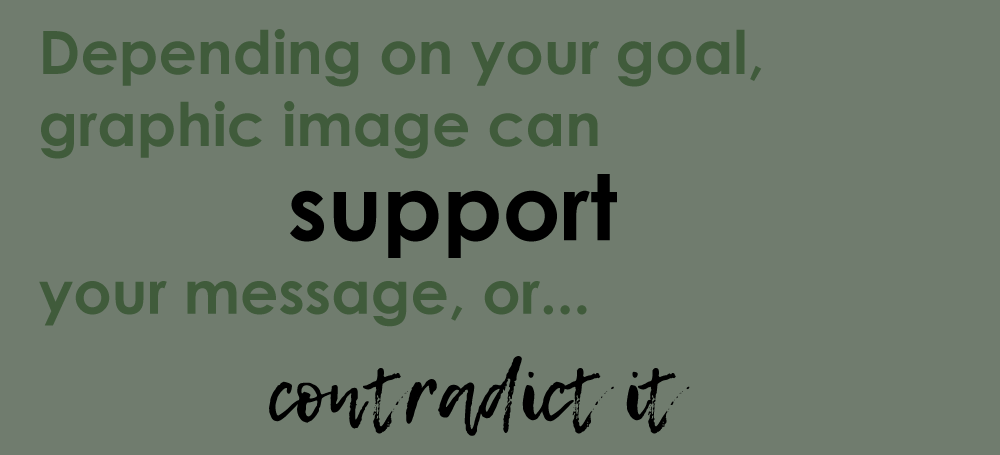
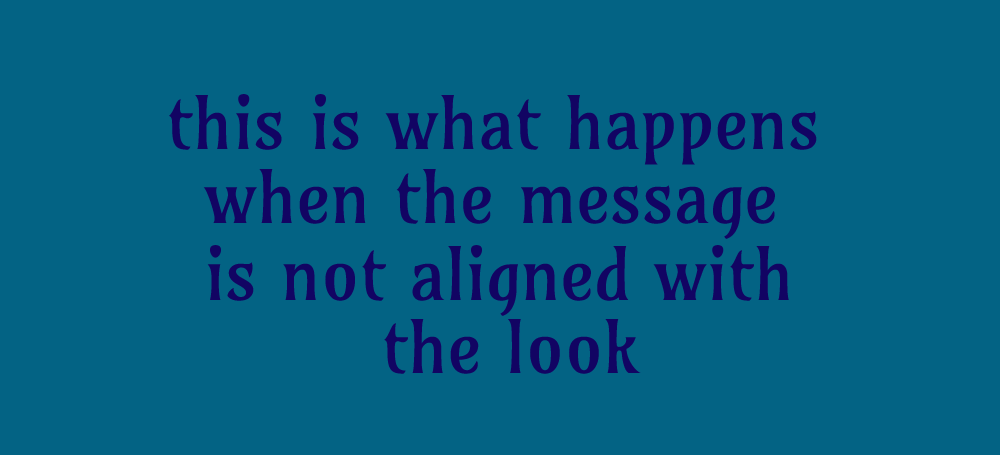
Choosing a right typeface (font) for your graphic project is very important. For the most part, you want to support the message you are trying to convey with your design.

Typeface is a part of the overall design. Treat it as design elements!

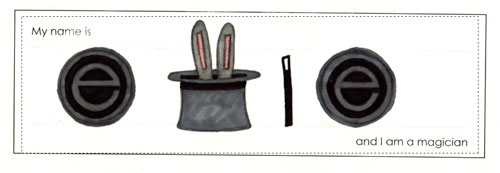
Carefully render your whole name inside the rectangle.

Learning targets:

  • design letterforms to communicate a message
  • understand letterform perception as shapes
  • use colors, textures, positive/negative space in designing letterforms
  • apply unity principle to letterforms to ensure letters "belong together"
  • understand alignment and spacing

gallery

STEPS

Write down the characteristics that best describe each individual. Brainstorm as many characteristics as possible. You are not going to use them all, but you will be able to rely on some of them for your design. Have at least 10 words for each personality.

Then write your name with an appropriate typeface that best describes and expresses these characteristics.

Pay attention to the actual size and placement of your name in the rectangle.

Consider how letter-spacing, typeface, use of upper and lower case will affect your message.

You can use typography web sites for reference.

Things to consider:

  • overall design conveys the message
  • each character shares similar characteristics and looks as a part of the group
  • additional graphics are allowed to support the message (don't overdo).
  • use positive/negative space where appropriate
  • use colors and textures if needed.

Next steps:

  • Scan the drawings
  • Process the images in Photohop
  • InDesign: import images for presentation

in Photoshop

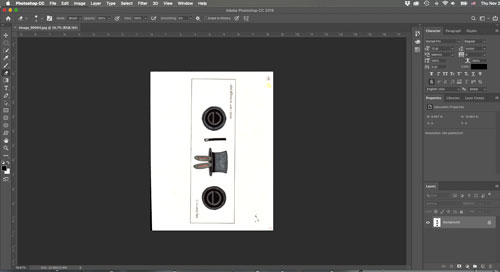
1. Open your first image in Photoshop

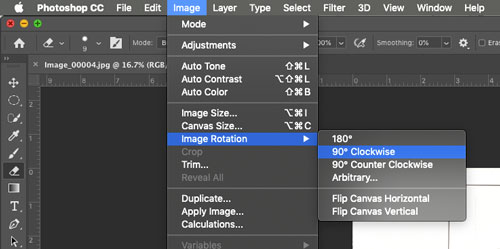
2. Rotate:

Image > Image Rotation > 90 CW or 90 CCW

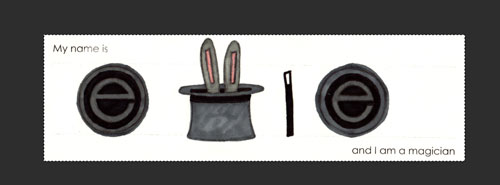
3. Select rectangular Marquee Tool

4. In the Options bar (at the top):

Style > Fixed Ratio: 10x3

5. Select your artwork

6. Crop the selection:

Image > Crop

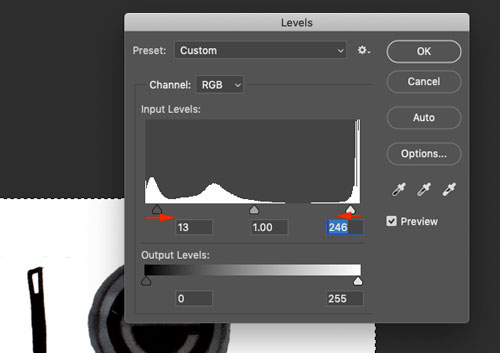
7. Adjust contrast:

Image > Adjustments > Levels

Please note:

Your settings will be different from the image here.

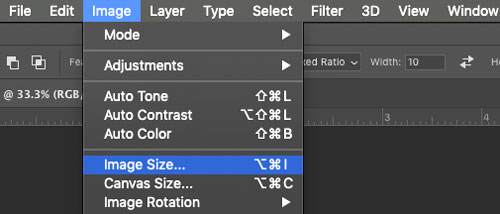
8. Set the image size:

Image > Image Size

Set Width to 10 inches

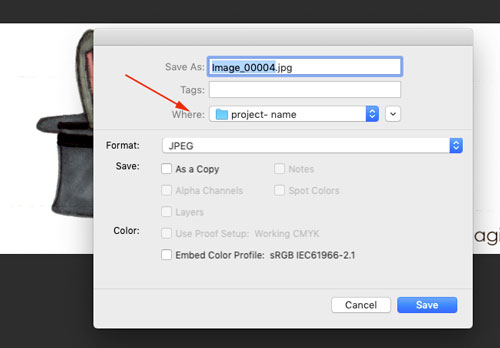
9. Save in a folder

Create a new folder "project - Name" where you are going to save all your images for this assignment.

10. Repeat the steps with every image

in InDesign:

1. Open Adobe InDesign

2. Create New Document

Number of pages: 1

Page size: Tabloid

Orientation: Landscape

Margins: 2p0

3. Save in the same folder you just created (Important!!!)

4. Use Rectangle Frame tool. Click on the screen. In the pop-up window set the dimensions:

8in x 2.4in (48p0 x 14p4.8)

5. With the frame selected, switch to Selection tool

6. Place the first image:

File > Place

Browse to your first image

7. Fit the image in the frame:

Object > Fitting > Fit Content to frame

8. Duplicate the frame (with content)

Alt (Option) drag

9. Place your next image.

File > Place

Select your next image

10. Continue with all 6 images.

11. Open Layers palette and create a new layer

12. Use Rectangle tool and draw a large rectangle the size of the document (or bigger)

13. Set fill color to Black

14. Drag this layer below Layer 1

15. Save

16. File > Export (as PDF)


...