step 4: execute
Execute you design using Adobe Illustrator.
If you rather do it on paper or board - that's fine too. If you want to do it half and half - go for it!
Download the work file.
Open it.
Here are the tools that you will be using:
selection
select, move, rotate, resize objects (shapes, lines, text, etc.)
direct selection
select and edit parts of objects (corners, points, etc.)
shapes
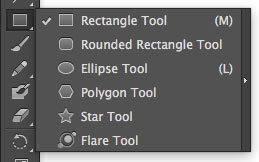
draw shapes
line

draw lines
colors
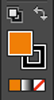
select fill type & color and stroke (outline) type & color
Panels (settings)
swatches

If you don't see it - go to the Menu bar:
Window > Swatches
text settings
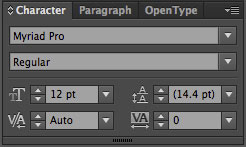
If you don't see it - go to the Menu bar:
Window > Type > Character
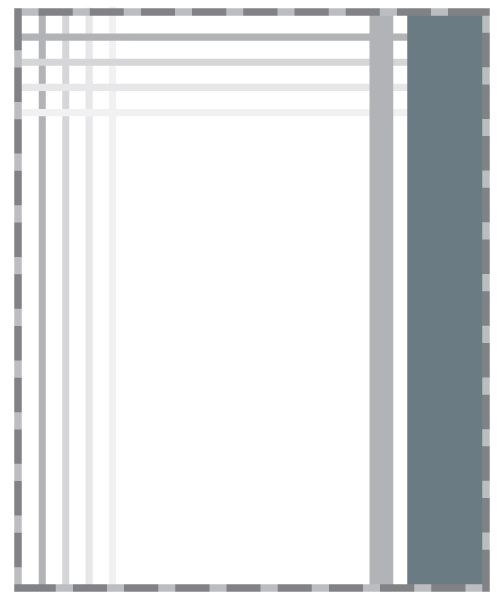
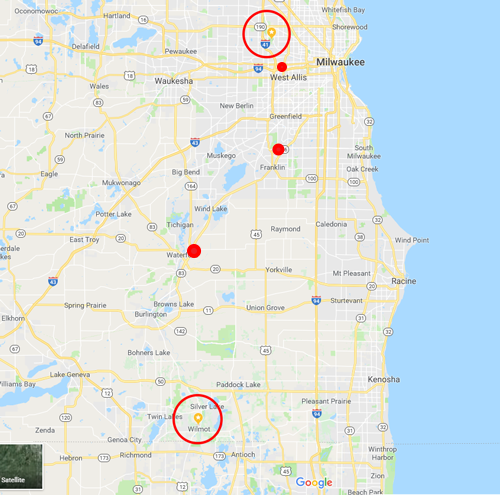
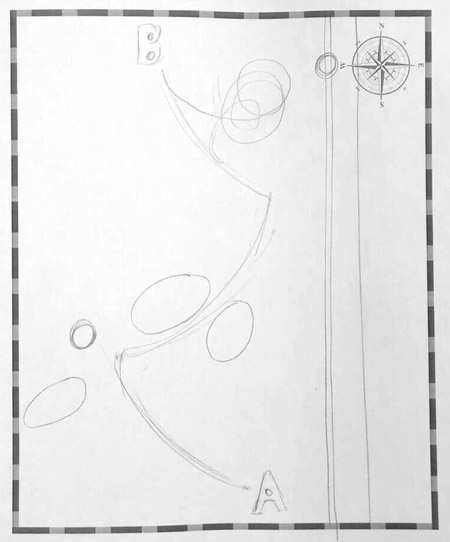
Create the "backdrop" for your story.
Each shape should have a meaning.
In my example:
Grey lines represent streets, blue rectangle - water.
If you need to add an image - search for pictures with transparent background. Add "transparent, png"to your image search.
convert images
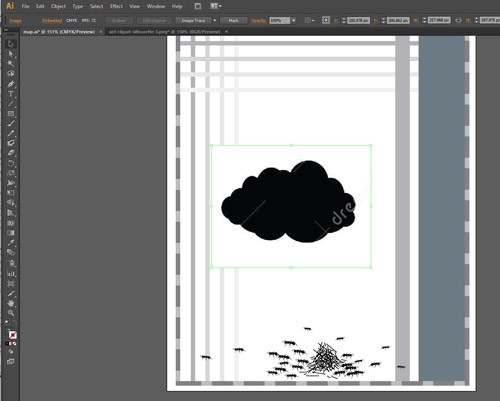
If you want to use an image that does not have a transparent background - look for black-and-white image.
Paste it onto your map.
Make sure it stays selected.
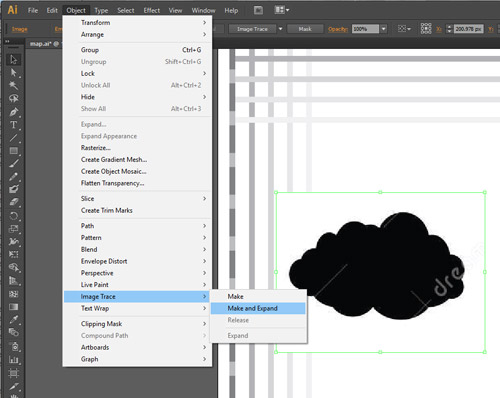
From the Menu Bar:
Object > Image Trace > Make and Expand

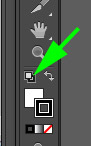
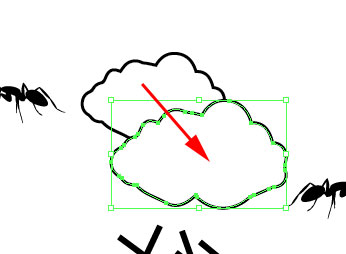
Use Direct Selection tool.
Click on white background.
Delete.
Now you have an isolated shape that you can edit.

Select your new shape. Click on Default Colors button in the Tools Box.
If you want - you can change colors now.
duplicate shapes
Duplicate shapes without Copy/Paste command.
Use Selection tool.
Hold Alt/Option key and drag your shape.
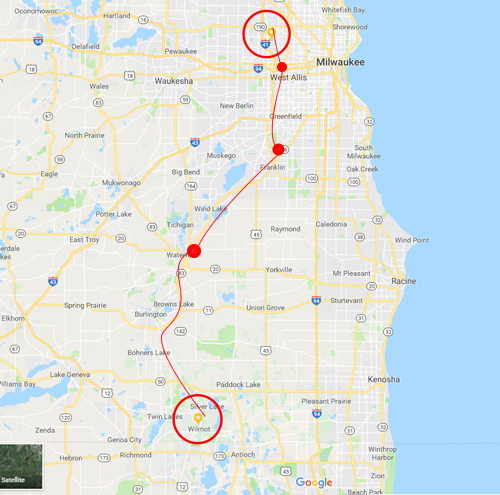
implied lines
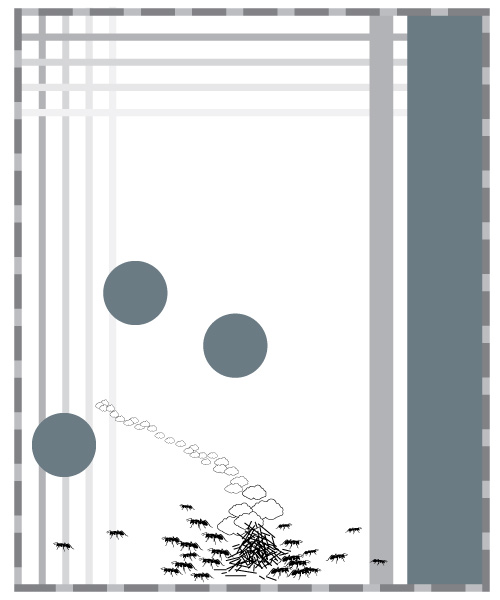
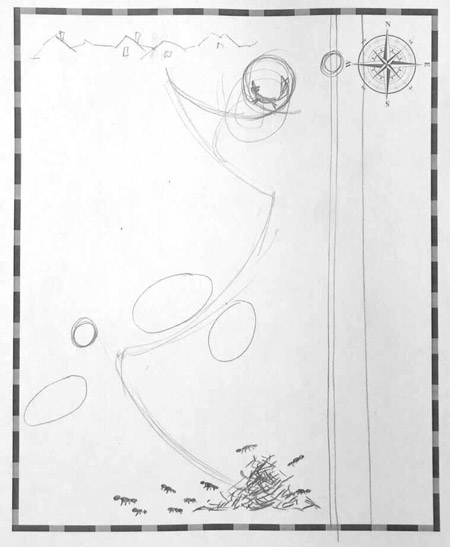
Start forming your path based on your sketches and design concepts.
You can add or remove shapes as you work to improve the design.
As you see, at this point I added a few circles to represent lakes.
adding photos
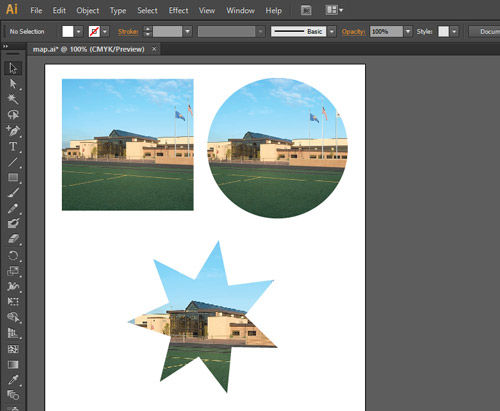
You can use any shape as a "cutter" for your photo.
You will need to have some unity and consistency in your design.
If you want to create a custom made "cutter" - follow the steps below.

Start with placing a photograph onto your map.
Resize it if needed.
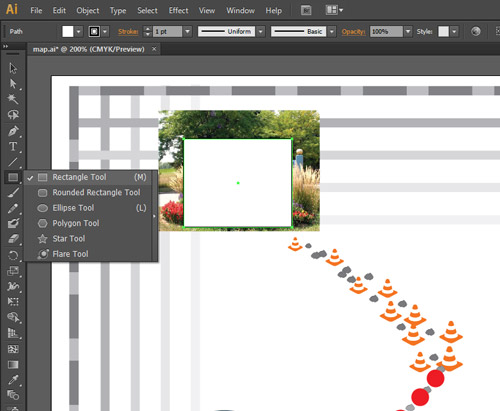
Use Shape tools and start drawing shapes to form your "cutter".

The shapes should cover the part of the image that you want to bee seen.
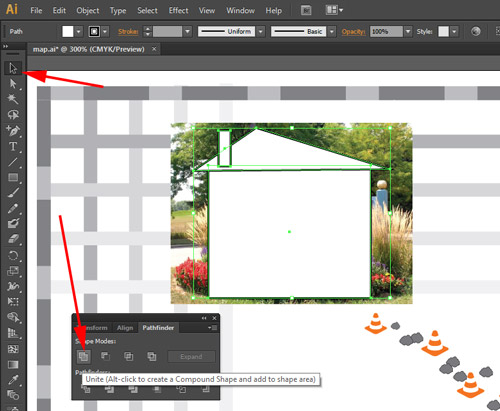
Now you need to combine all shapes.
Use Selection tool and select all shapes (hold Shift for multiple selection).
Open Pathfinder palette (Window > Pathfinder).
Click on the first button: 
This will unite the selected shapes.

Select both: your new custom shape and the photo.
From the Menu Bar:
Object > Clipping Mask > Make

Now you have your photo inside the shape that you created.
You can edit it if you need to or return to the original photo (Object > Clipping Mask > Release).

Continue working on the design.
If at some point you will realize that the design looks too cluttered, you can start simplifying some elements.

Continue improving your design.
...more to be added later...