julianna kunstler logo
color emphasis

layer saturation
Instagram icon

by JuliannaKunstler.com

Color emphasis. Layer saturation. Photoshop basics.

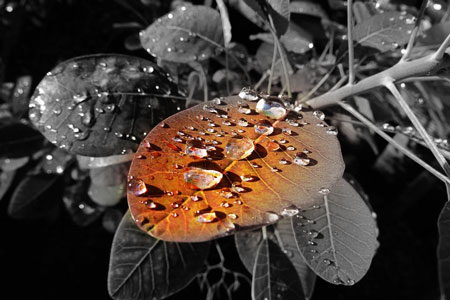
Emphasis is an area or object within the artwork that draws attention and becomes a focal point.

You can achieve this effect by using many approaches. In this assignment we are going to use COLOR to make viewer focus on one area of your artwork.

Start with finding an interesting color photograph. Decide what you want to emphasize an make the focal point.

GALLERY

color emphasis
color emphasis

STEPS

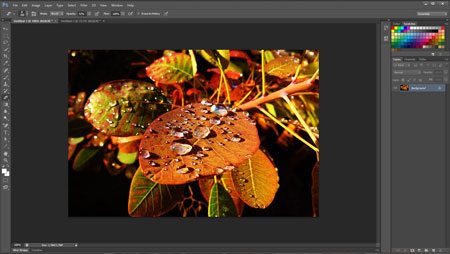
Open image in Photoshop.

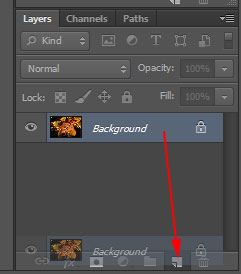
Duplicate the background layer by dragging it down to "New Layer" icon at the bottom of Layers palette.

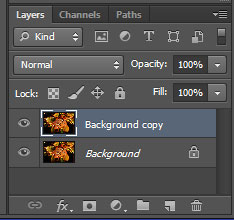
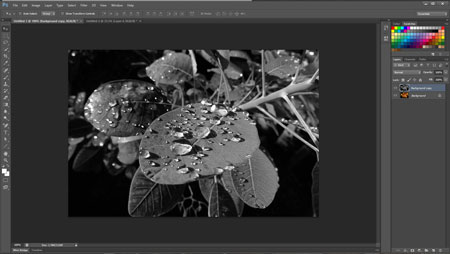
This is what your Layers palette should look like.

Two identical layers (images).

Next step is to remove all color from the top layer.

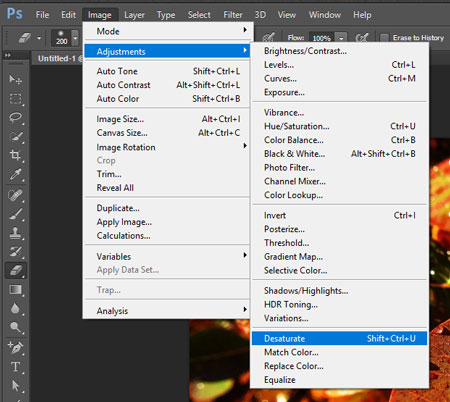
Image > Adjustments > Desaturate.

This will remove all colors from the pixels.

Now it is a black-and-white photo.

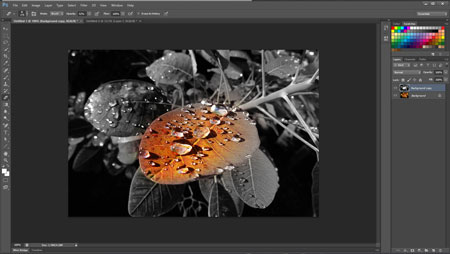
You are going to erase a part of the top layer to reveal colored background.

Choose Eraser tool from the Tool box.

Set Eraser's hardness to what you think is appropriate for your particular artwork. Setting hardness to 100% gives it sharp edges, setting it to 0% gives it soft edges. You can choose anywhere in between too.

Set Eraser's opacity to around 50%. This way you can erase gradually and make less mistakes.

Change the brush size based on the area you want to erase.

To change the cursor brush size shortcut is to press [ or ] keys on your keyboard.

Use small strokes to start erasing.

Print when you are done!

...