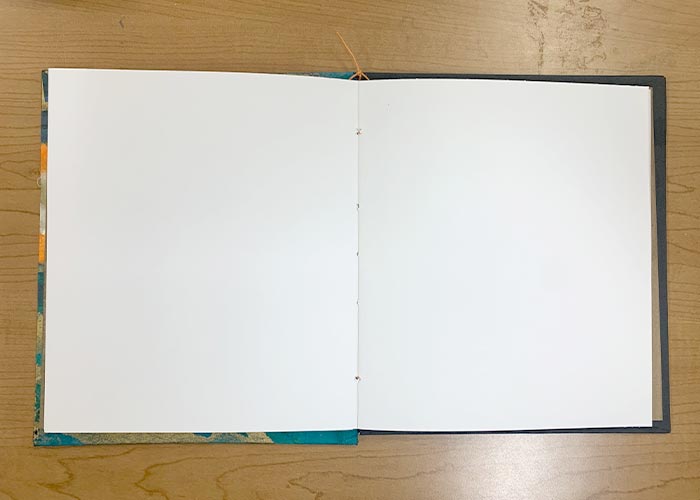
Let's create a unique sketchbook that you are going to use during this class.
This is where you will do you sketching and other drawing.

pages

Prepare enough drawing paper for your sketchbook.
Once you decided on the dimensions of your finished book - cut the sheets that have a double width.
Fold them.

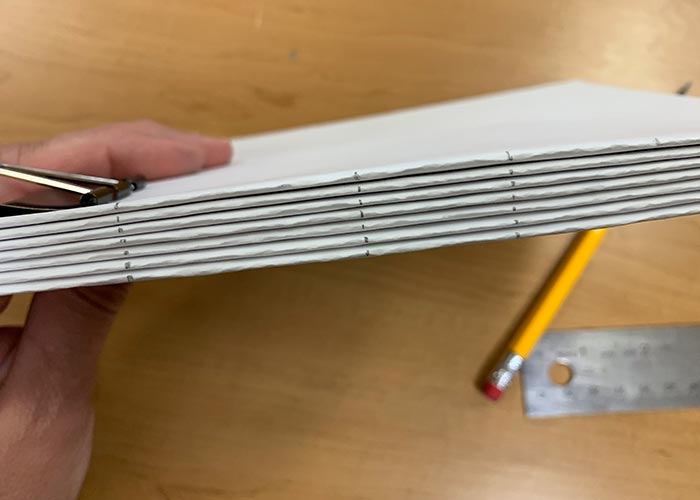
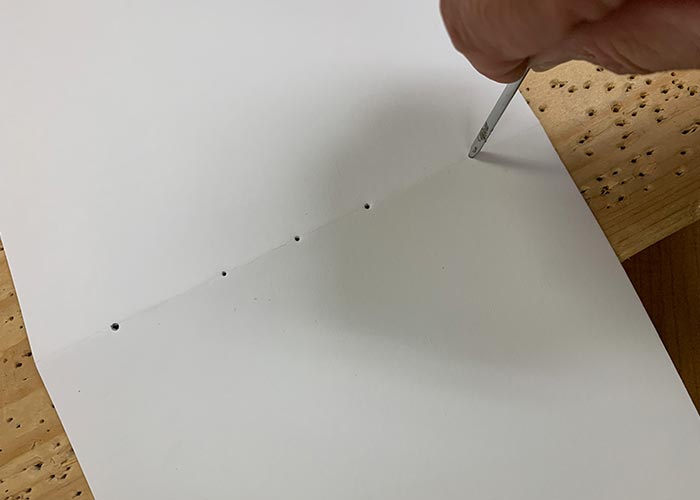
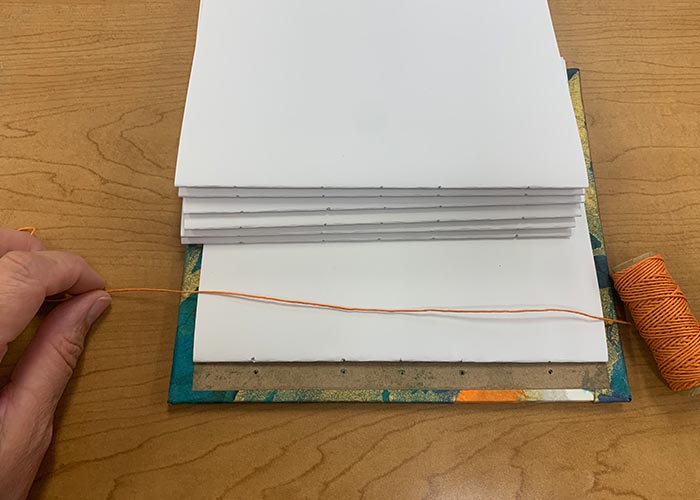
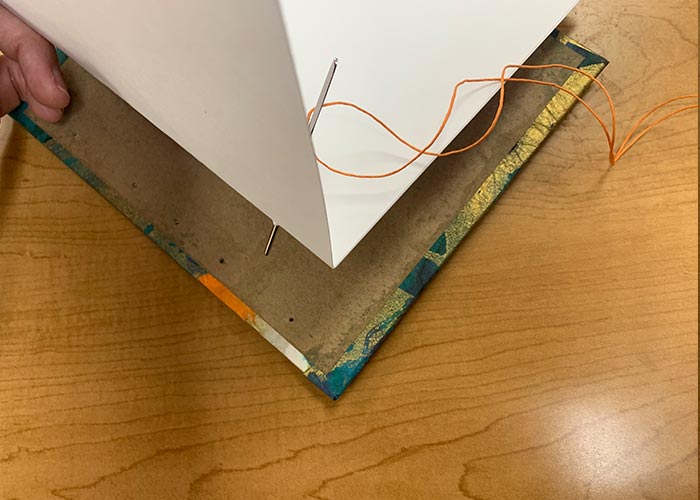
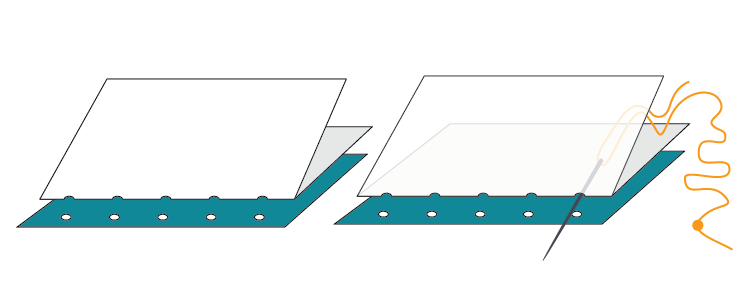
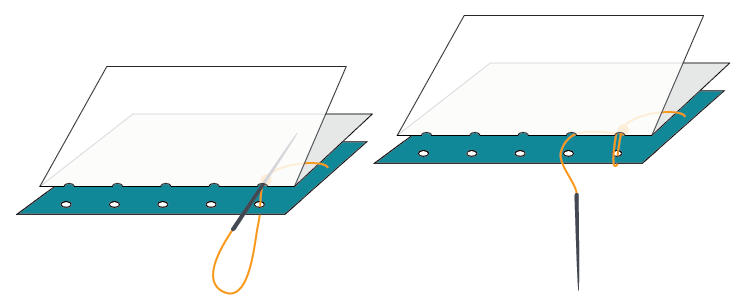
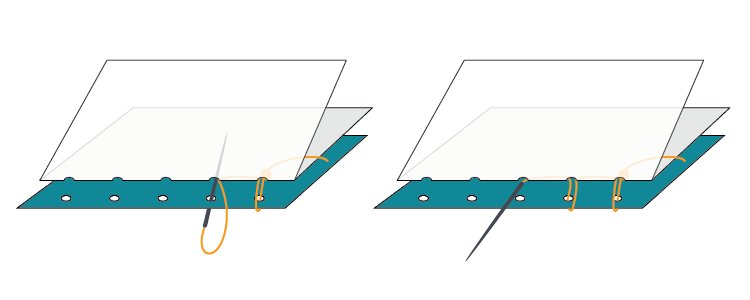
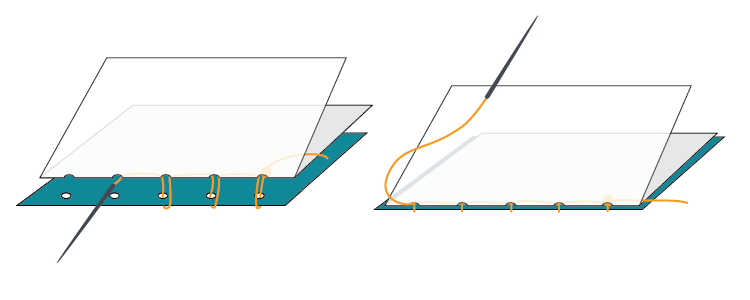
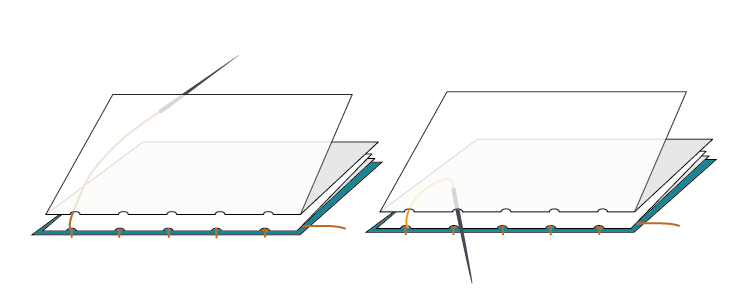
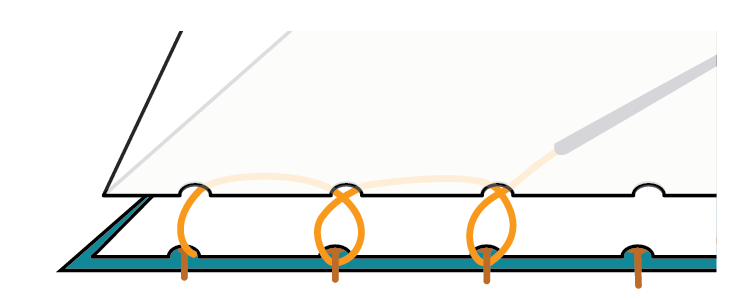
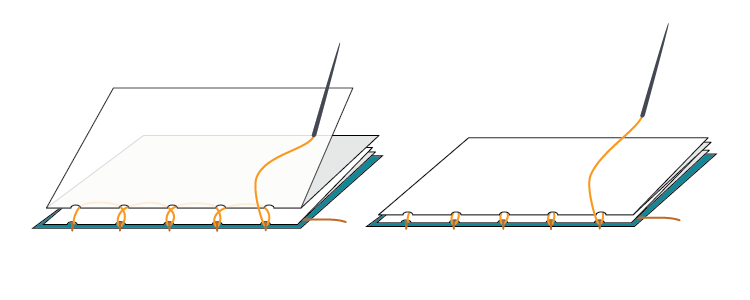
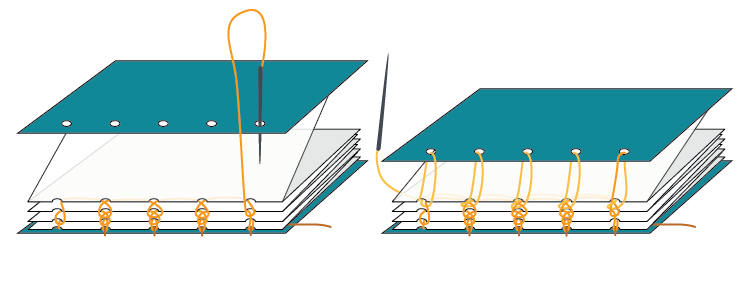
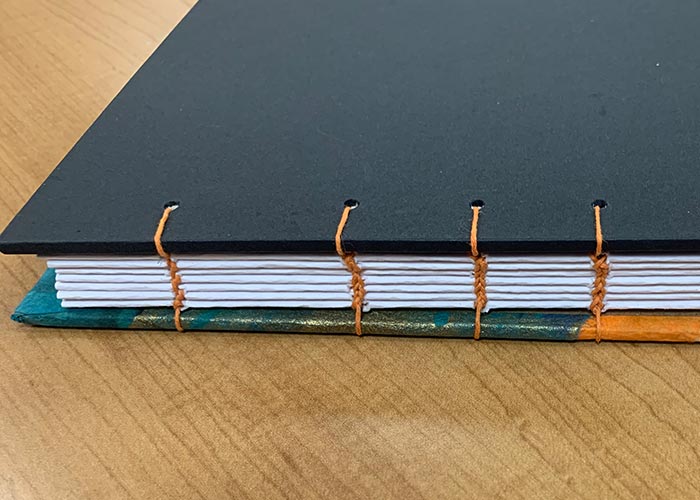
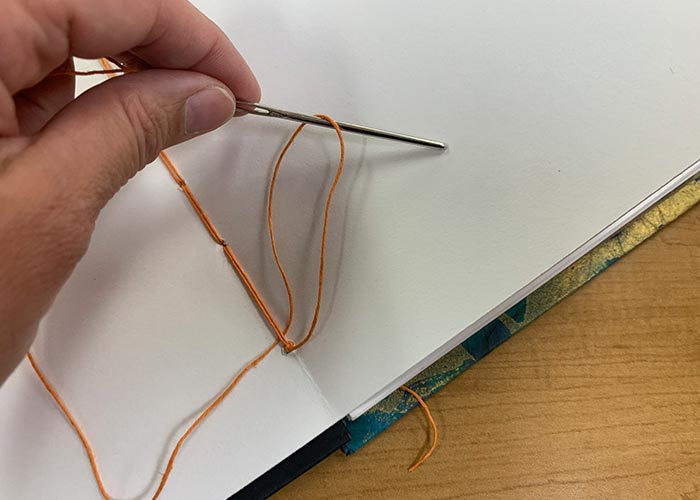
Create sets (called "signatures") that hold 3-6 folded sheets.
Make enough sets.
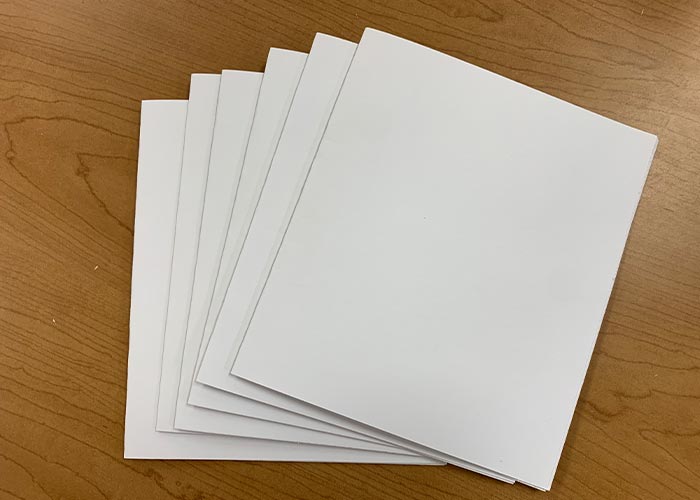
Set them aside.
cover (2 pieces)
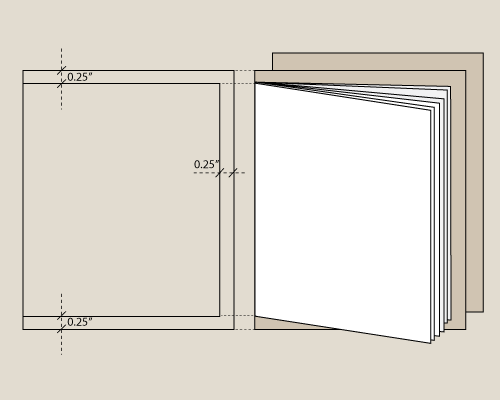
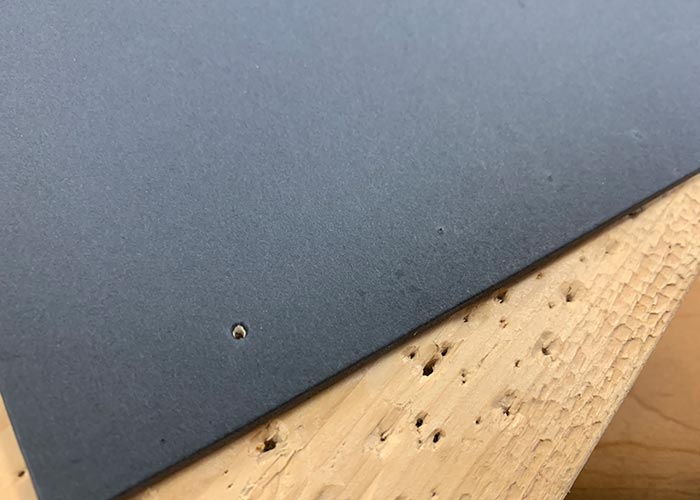
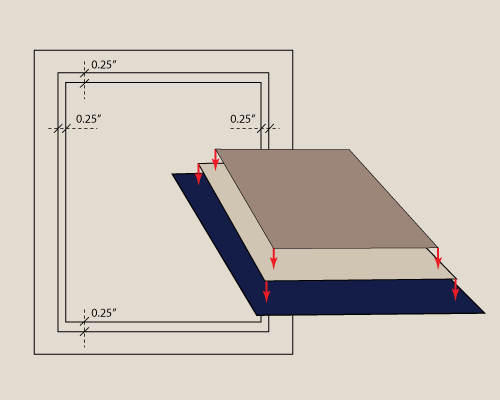
Cut 2 pieced of illustration board or any other board you want to use for the covers.
The boards need to be about 0.25 - 0.5 inches bigger on 3 sides.
Like that!

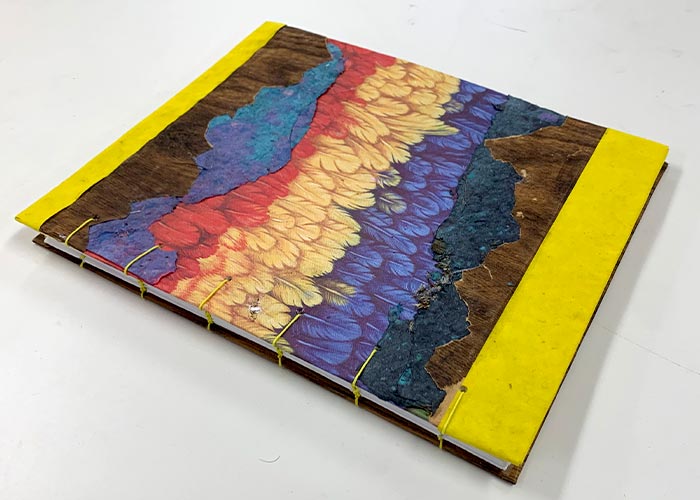
Next step is to decorate the covers.
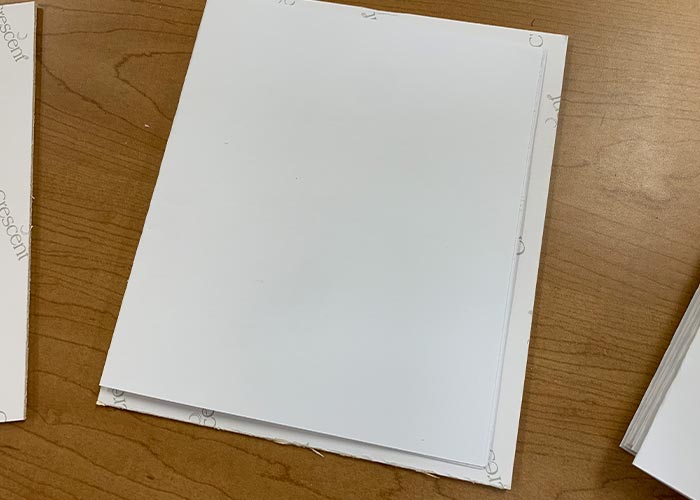
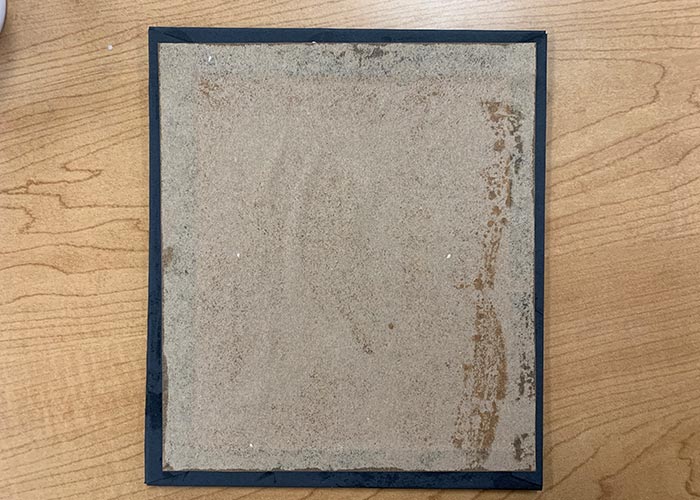
back cover
Back cover gets a lot of use.
It's the one that lays on a table and we want it perfectly flat - no textured creations or bulky decorations.
So we just going to wrap the board with a fancy paper.
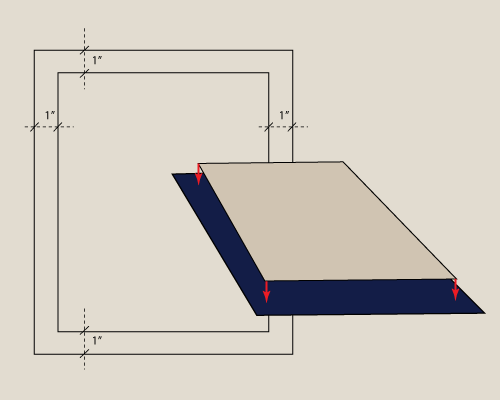
Cut a piece of patterned or any other type of paper that is 1 inch bigger on all four sides.
We will be gluing it to the board.
As we glue paper to the board - it will start warping while drying.
To counterpart that - we will glue a piece of paper to the opposite side.
It will also cover the folded parts.
I used a piece of brown craft paper that is a little smaller than the board dimensions.

Now that we have everything ready for one cover page...
... lets get started!
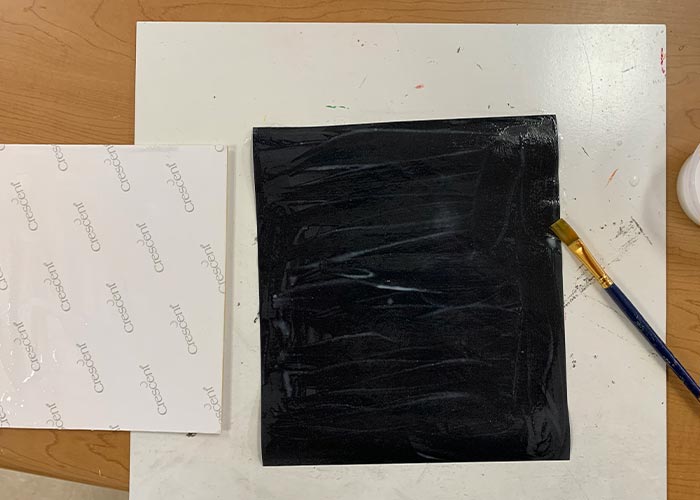
Glue both surfaces: the board and the paper.
 Press them together. Carefully remove all air pockets. Start at the center and and move air to the sides until paper is perfectly flat.
Cut out corners as shown to make perfect flaps.
Apply more glue to the flaps if needed...
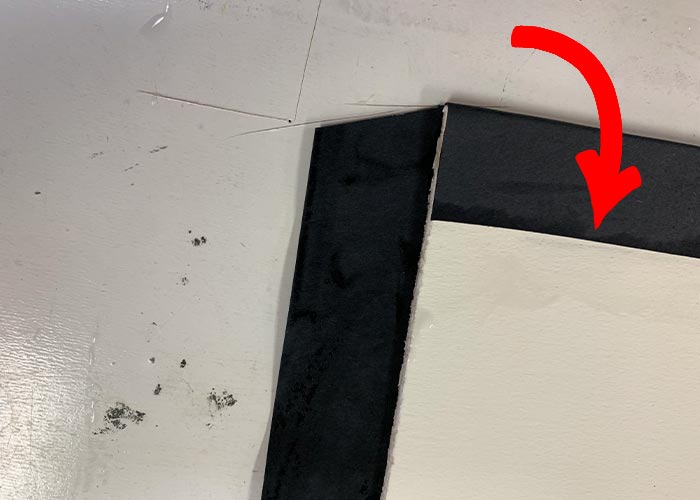
Then fold them and remove all air pockets.

Pay attention to the corners.
Then center and glue the inner piece of paper.
Don't worry if you see wrinkles on thin paper - they will stretch as the piece dry.

Put some weight over the board so it dries flat.
front cover
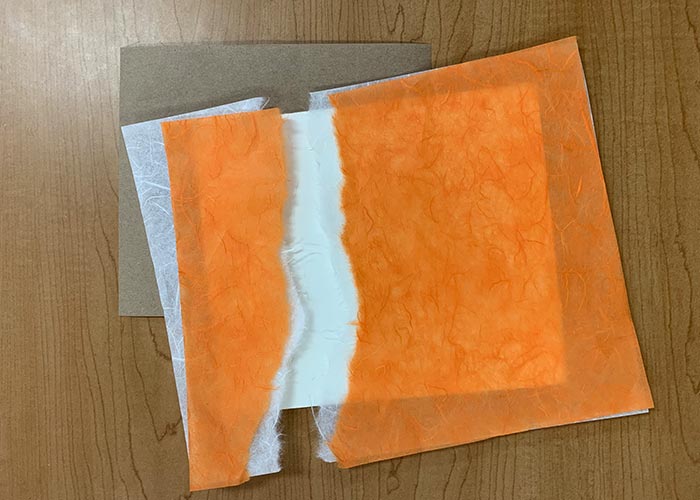
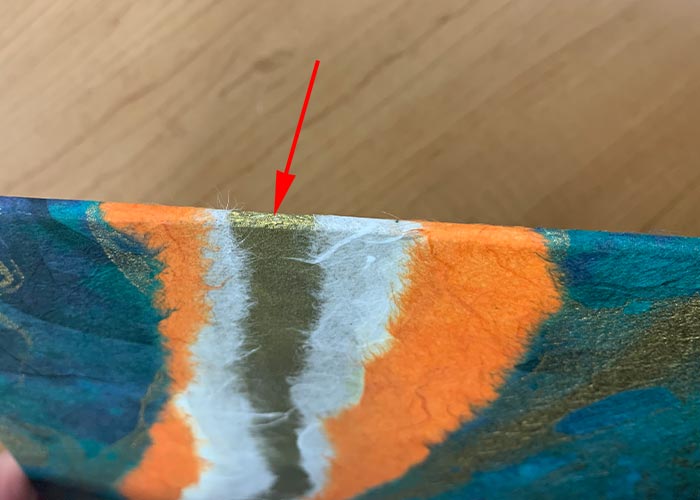
Make the front cover fun!
Collect materials that you think you might need:
- tissue paper
- handmade paper
- paint
- markers
- anything else
Don't forget to cut a piece of paper that will go onto the inner side of the cover (craft paper in my case).
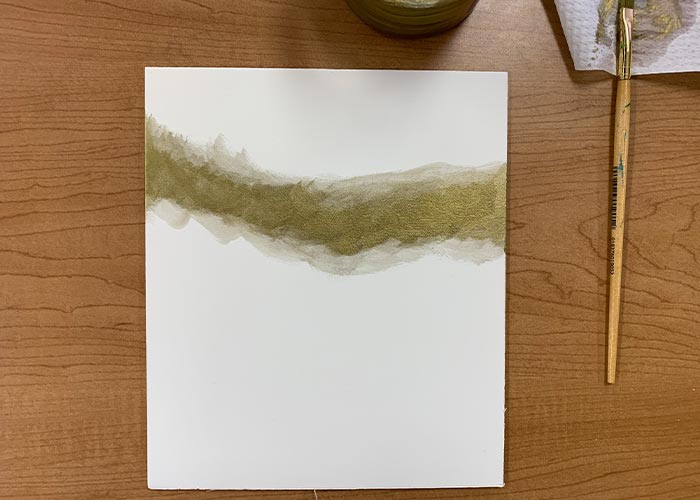
Experiment and get creative!

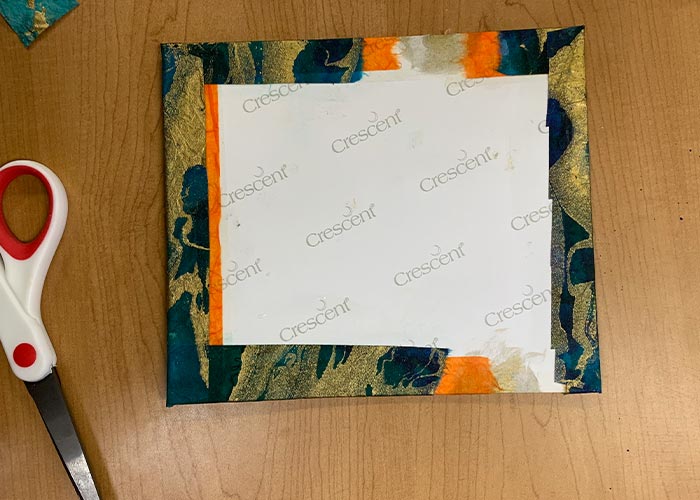
Cut the flaps and glue them to the board.
If you have multiple layers of papers - glue each layer individually.
If you have painted areas - make sure you also paint the edge and about an inch on the inner side.

Glue the inner piece.

Let the board dry under some weight.
Now you are ready for the next step!