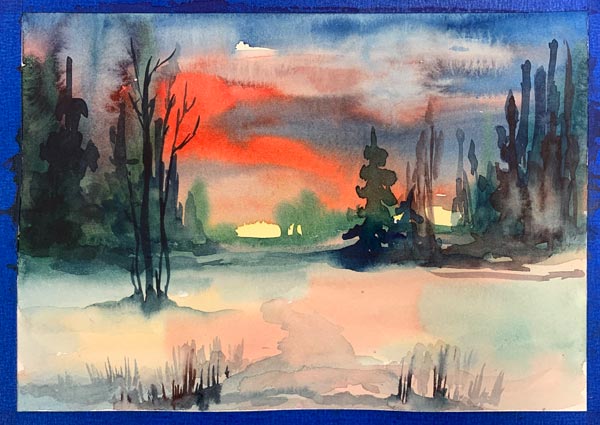
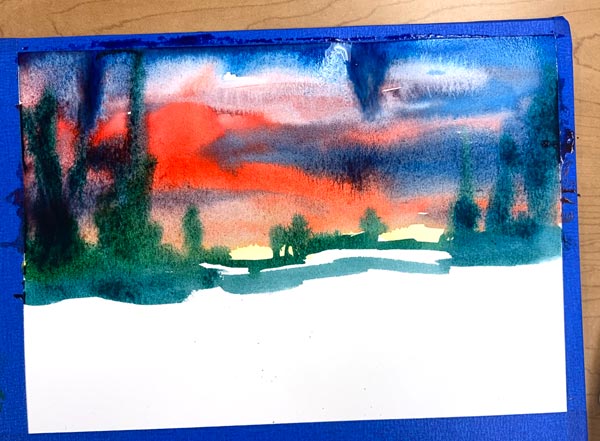
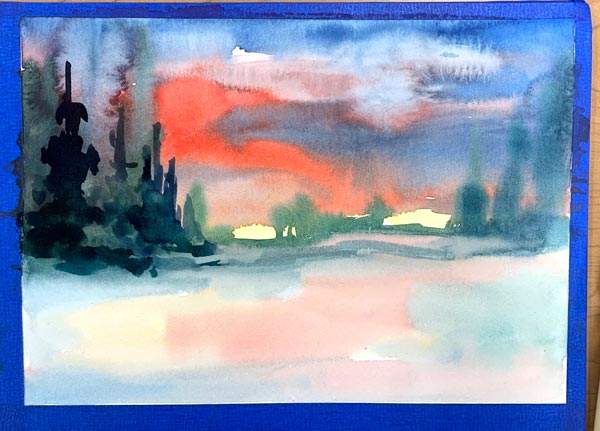
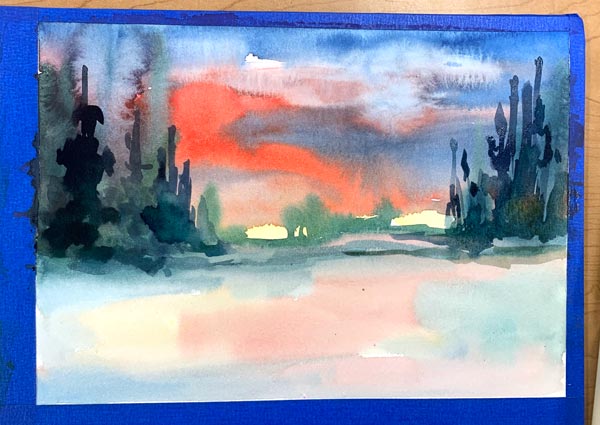
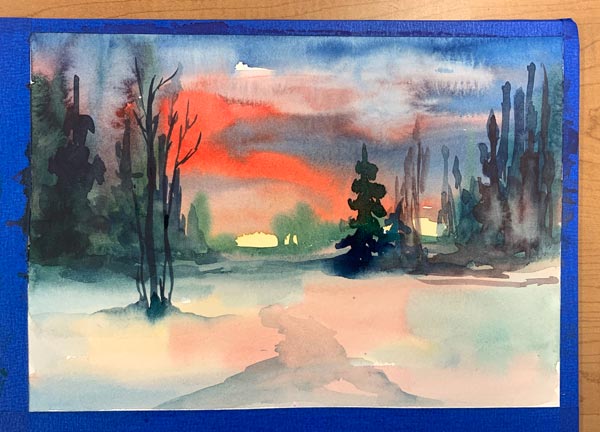
This assignment is designed to give you an opportunity to experiment with a few basic watercolor techniques.
Tape a piece of watercolor paper to a board and divide it into sections as shown.

before you start
Section 3:
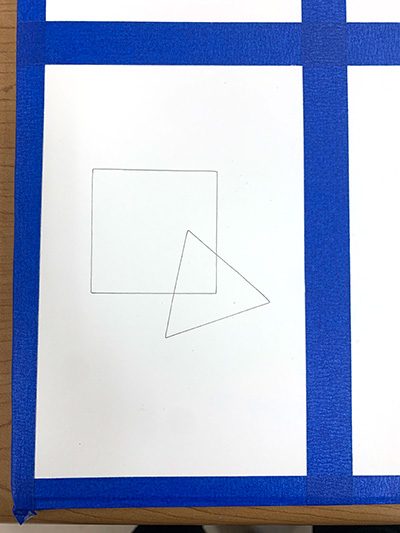
draw 2-3 overlapping shapes. Use a stencil or draw it freehand. Do not make it too complex.
Section 4:
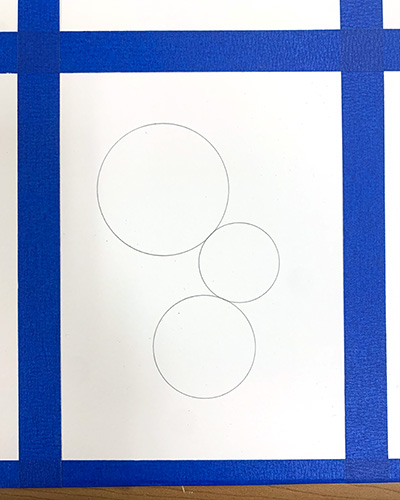
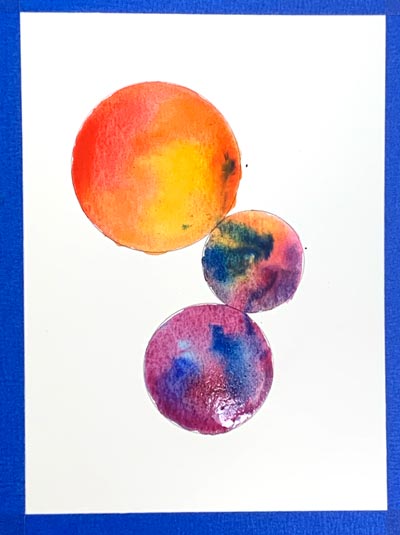
draw 3 circles that are connected
Section 6:
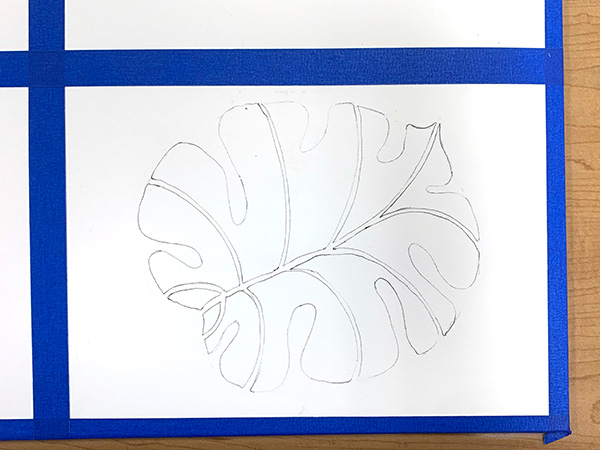
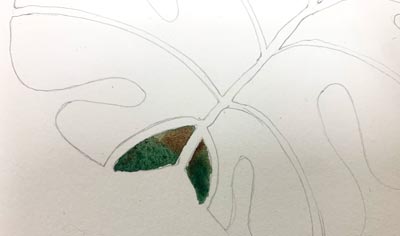
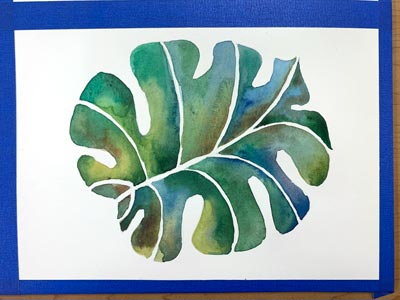
draw an organic object with gaps between its parts: like a stencil...
Each shape should not be connected with other shapes.
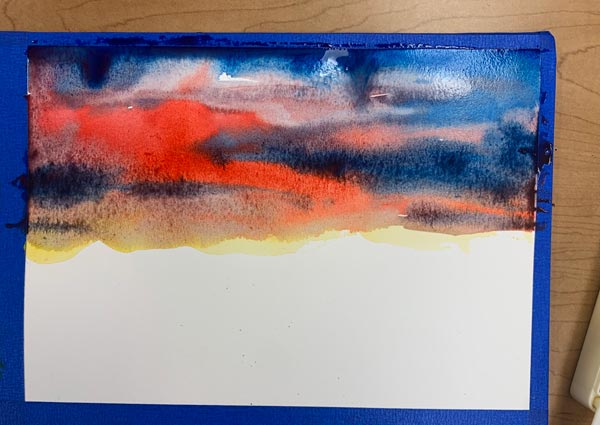
section 1: wash wet-on-wet
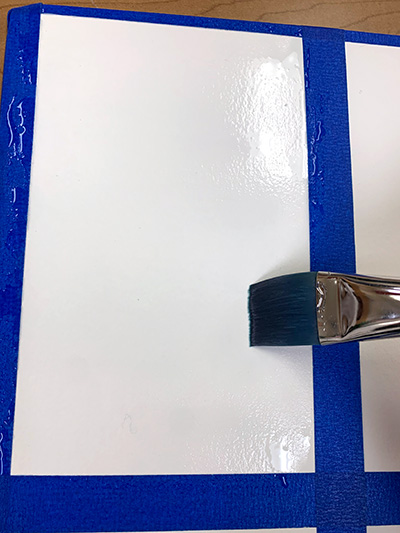
Use a big flat brush to apply water onto the first area.
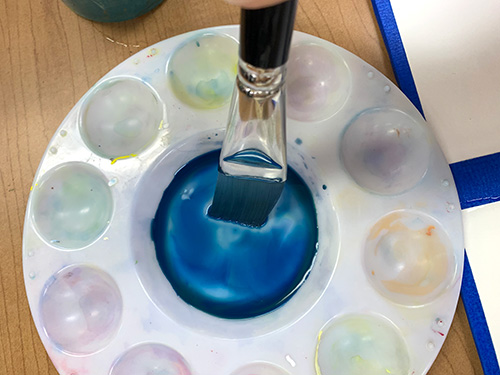
Mix a color wash.
You should have enough to cover the entire area.
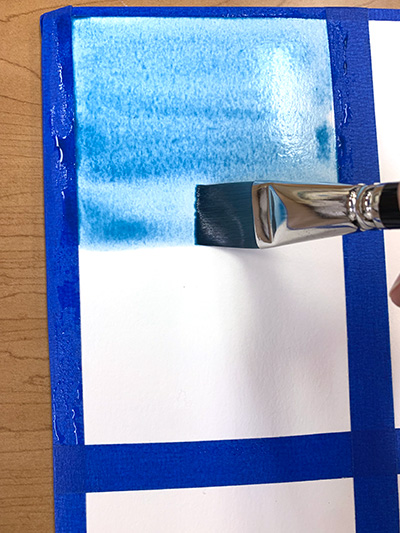
Use the same flat brush and apply the wash in wide strokes.
Do not go over the sane area multip[ler times.
As your wash dries - it will spread out and the area will be evenly coated.
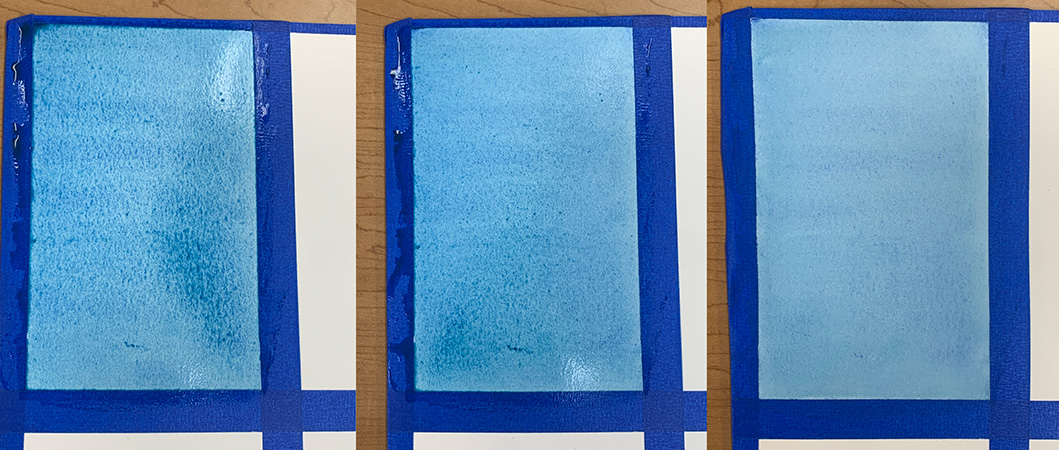
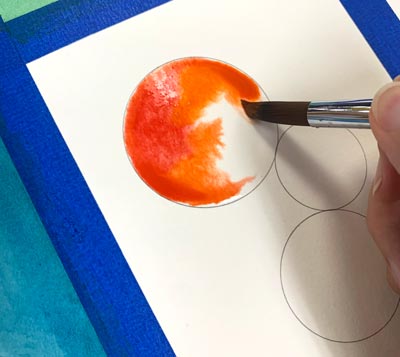
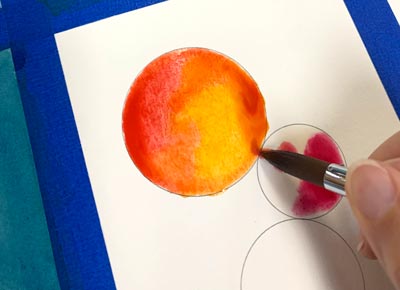
section 2: two color wash gradient wet-on-dry
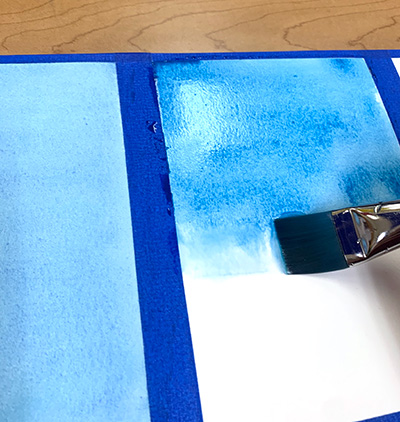
Do not pre-wet the next area.
Apply a wash half way.
Then add a few strokes with clear water.
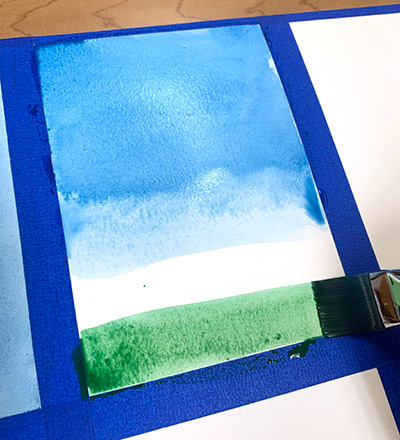
Apply a secvond color wash from the bottom up.
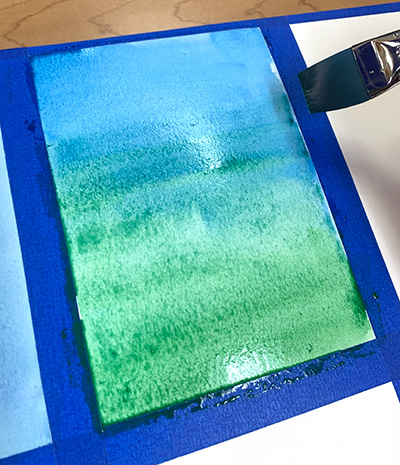
You can add some water for the overlapped area for better blending.
Watercolors will do the rest.
section 3: washes layers
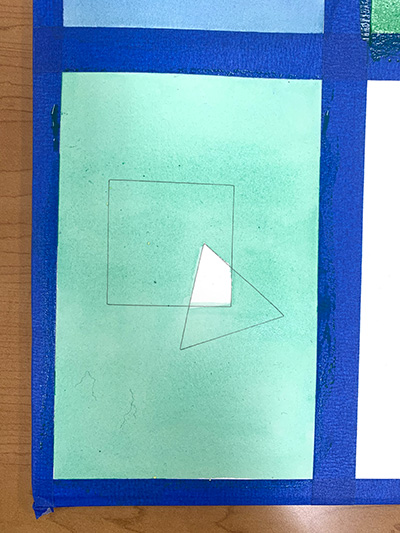
Apply a color wash over the next area excluding the overlapped shape.
Let it dry completely.
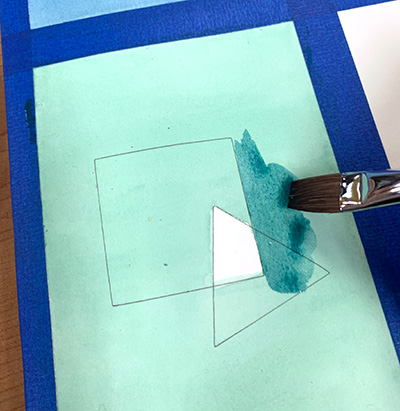
Apply another wash.
Now paint around one of the shapes.
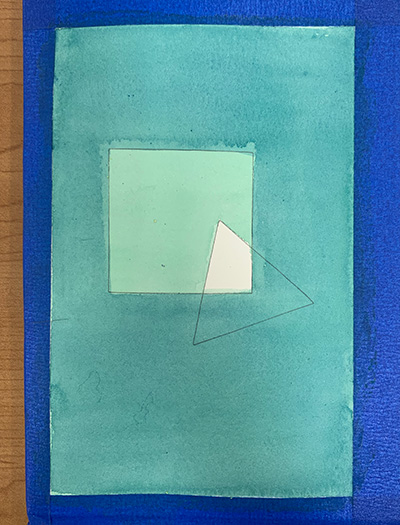
Let it dry completely.
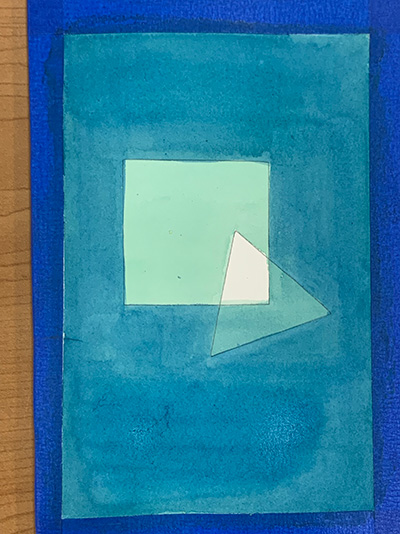
Now paint another wash.
This time cover only the backround.
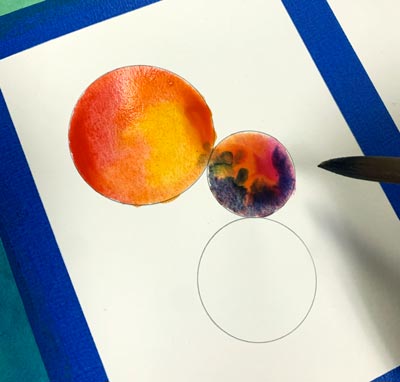
section 4: bleeding
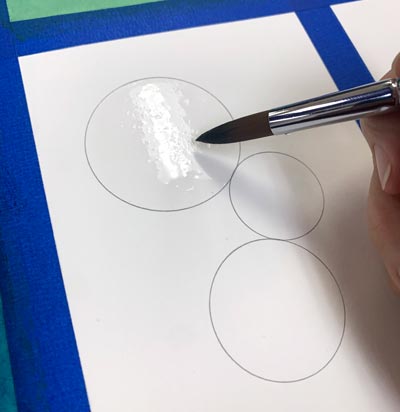
Apply a water wash over the first circle.
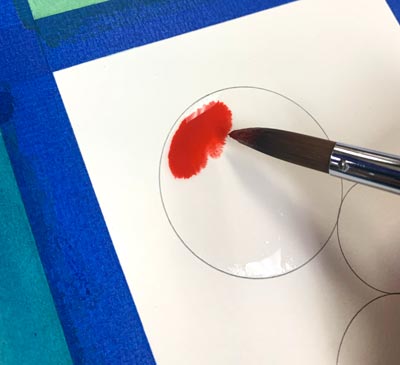
Add colors and let them mix on their own.


