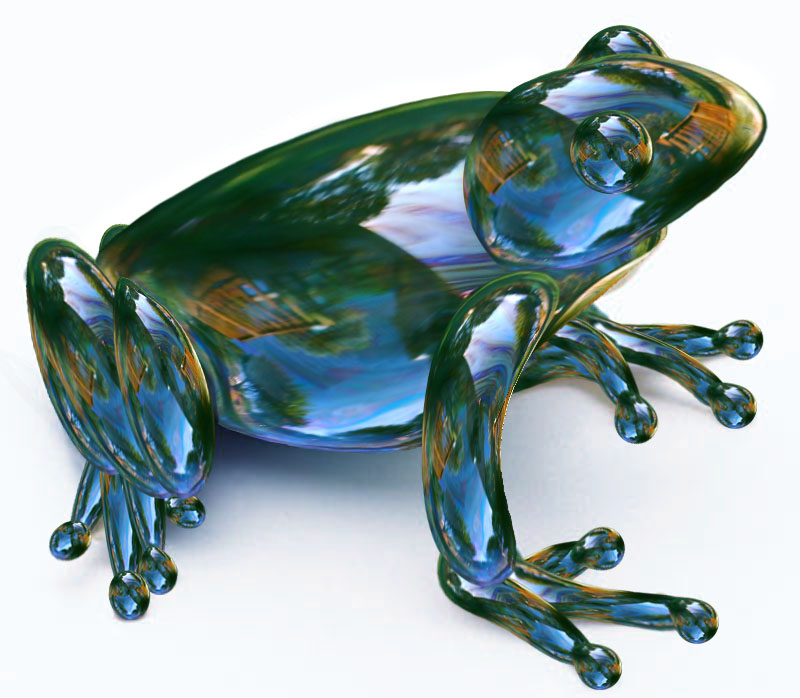
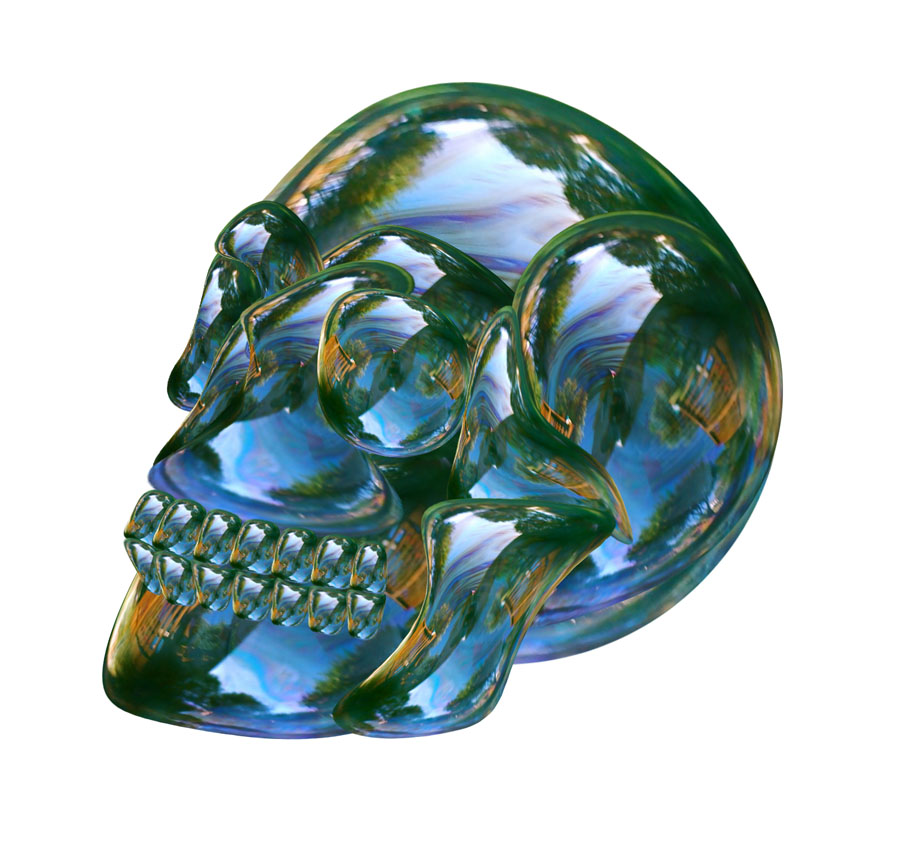
by JuliannaKunstler.com
STEPS
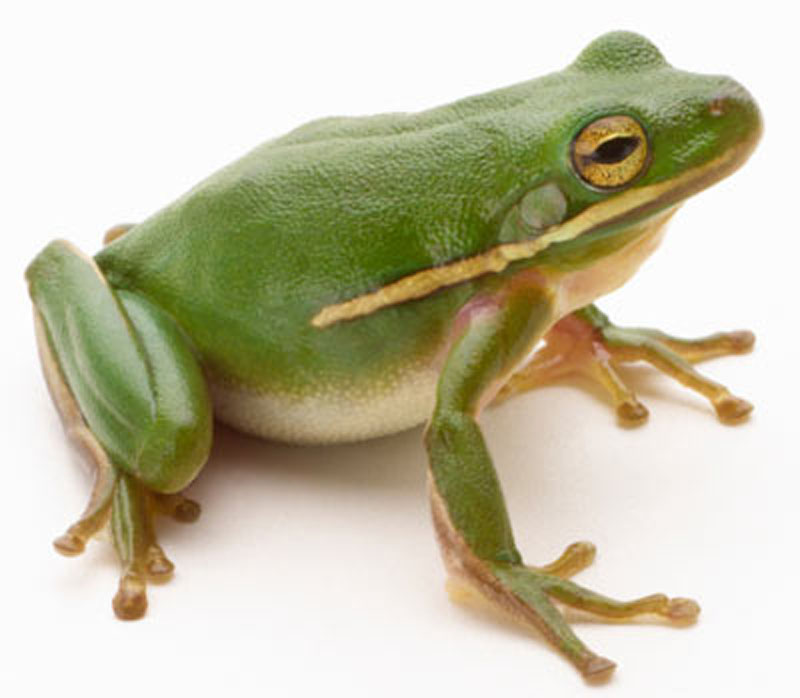
The first step is to choose your image (The image quality is not important since it will be fully covered by the bubbles). I chose this image of a frog but the technique will work with most images.
Keep in mind when creating the balloon sculpture that too much detail can spoil the effect.

Use your preferred method for selecting the bubble.
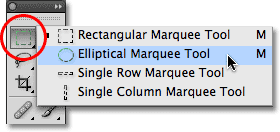

Select your bubble.
Click and drag from the center.
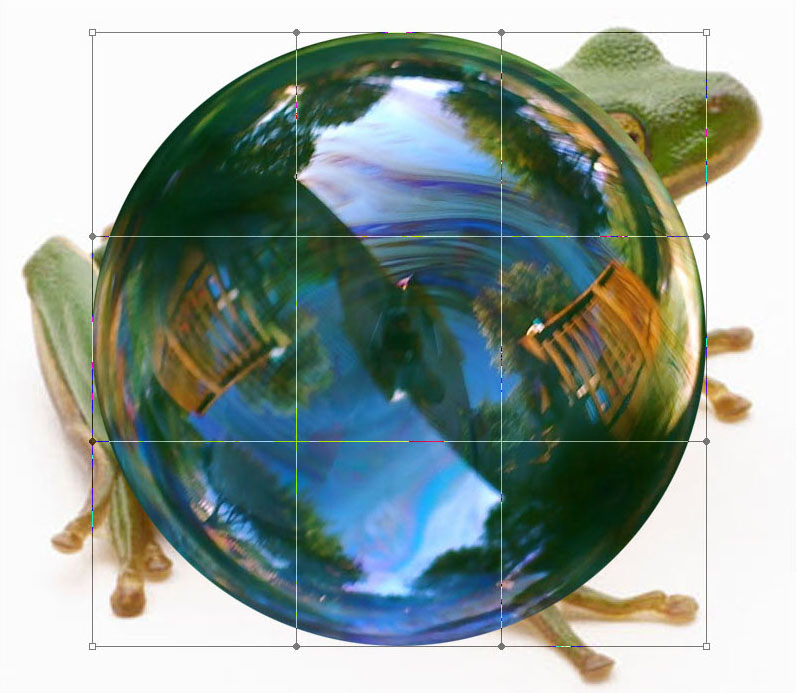
Drag the bubble onto the frog image and adjust its size to cover the body.
Keep the bubble file open with the selection in place. Save the selection if you need to return to the project another day.
You now have two layers: the background image of the frog and the "bubble" layer. You could reduce the opacity here (temporally) so that you can see the frog below the bubble.
You will now use the Warp Tool to shape the bubble to the body of the frog.
(Edit > Transform > Warp).

You can click on any of the handles and, with the left mouse button held down, drag them around to resize and reshape the deformation of the bubble.
You can also place your mouse inside the frames and distort your image that way.

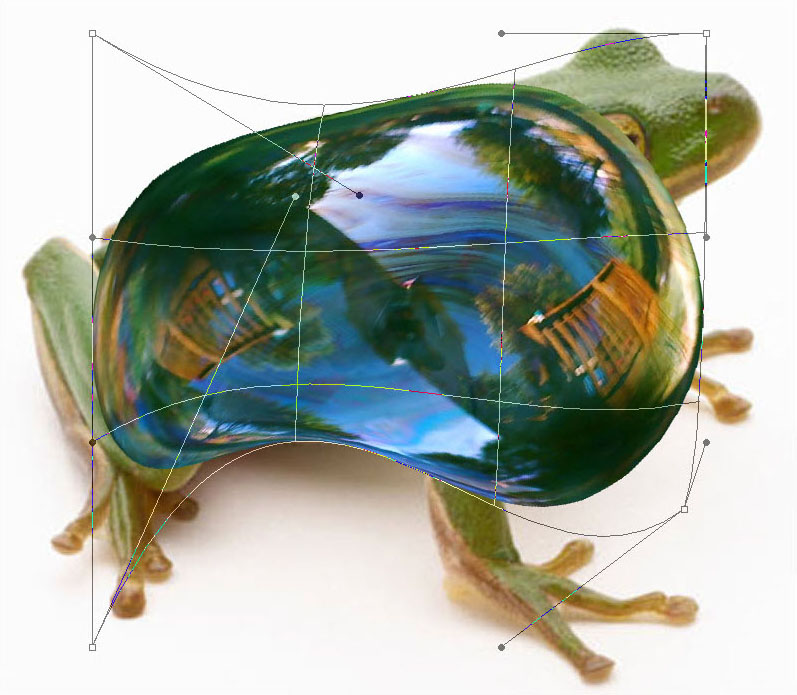
Press "Enter" to apply the changes.
You can repeat this as many times as necessary to achieve the shape you want
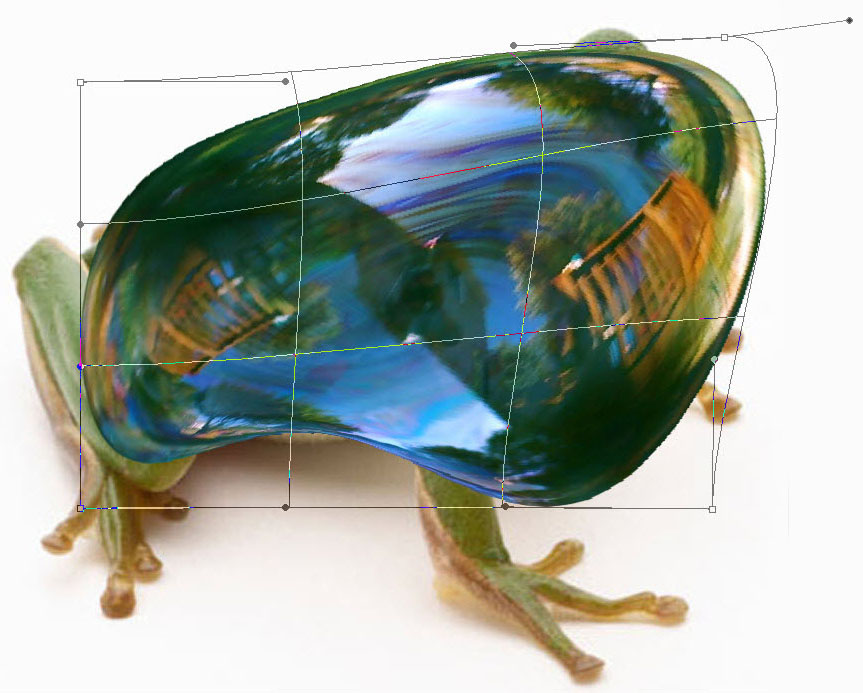
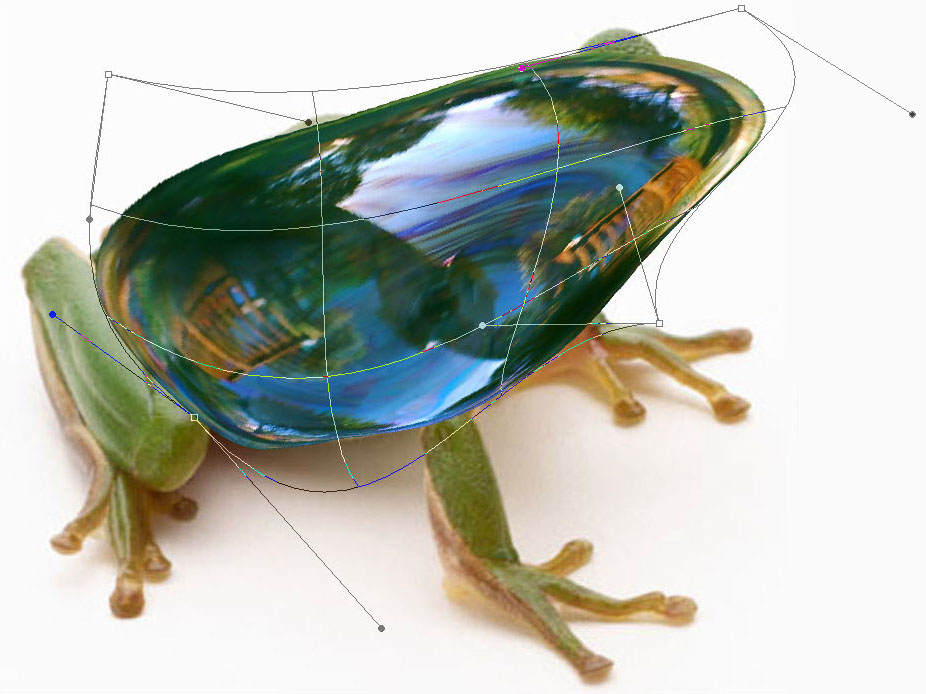
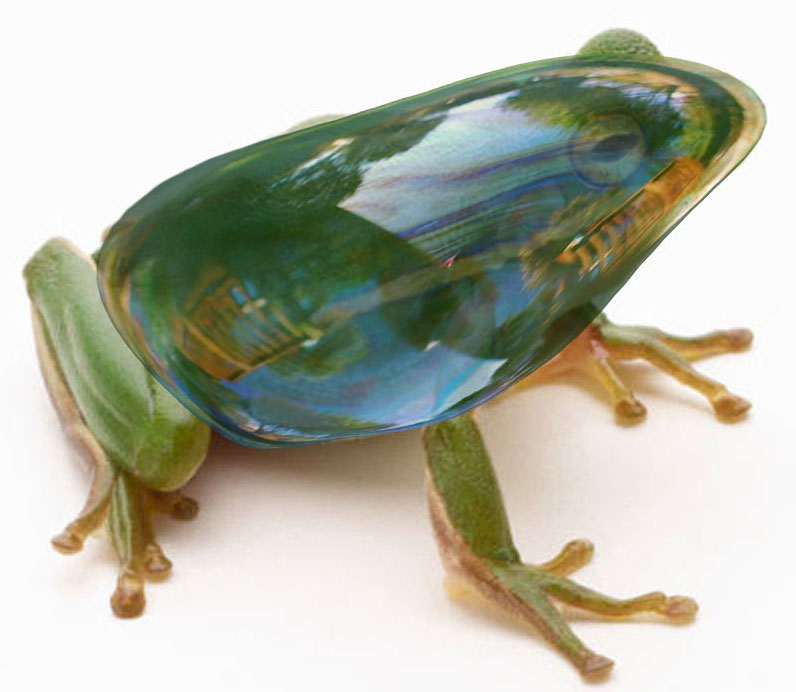
If you have not already done so, reduce the opacity to see the details of the frog below.
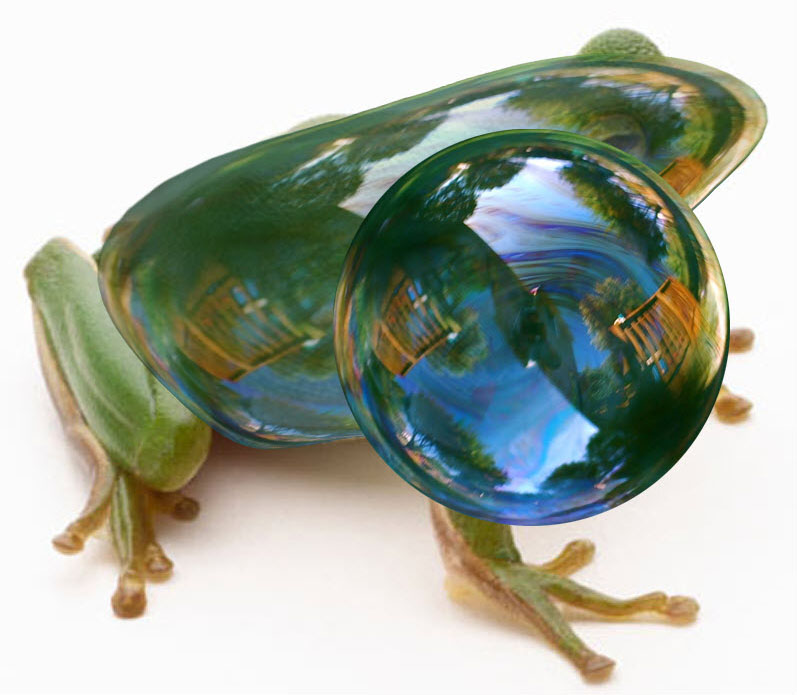
Place the bubble on a new layer over the frog and adjust its size to cover the head.
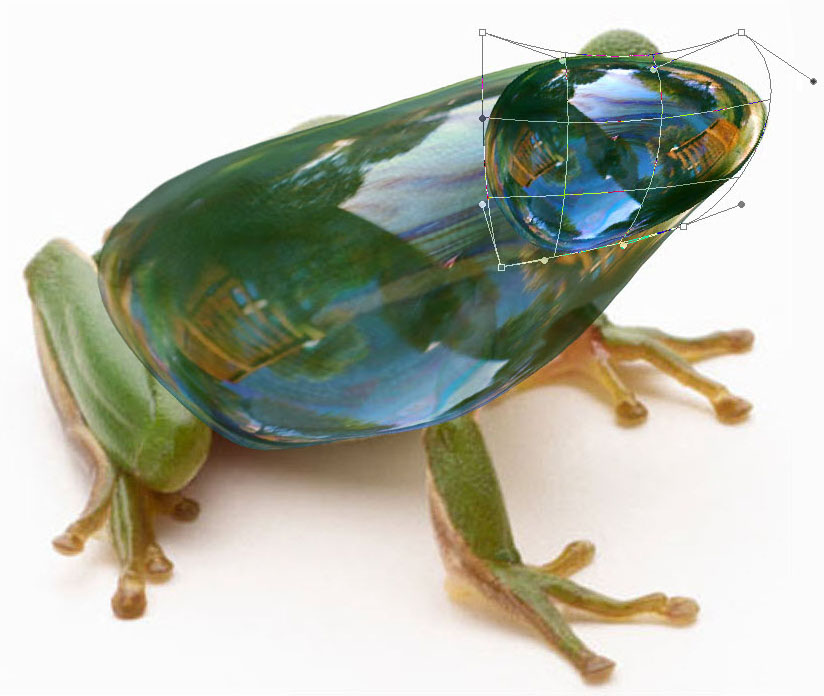
Use the same method for the head
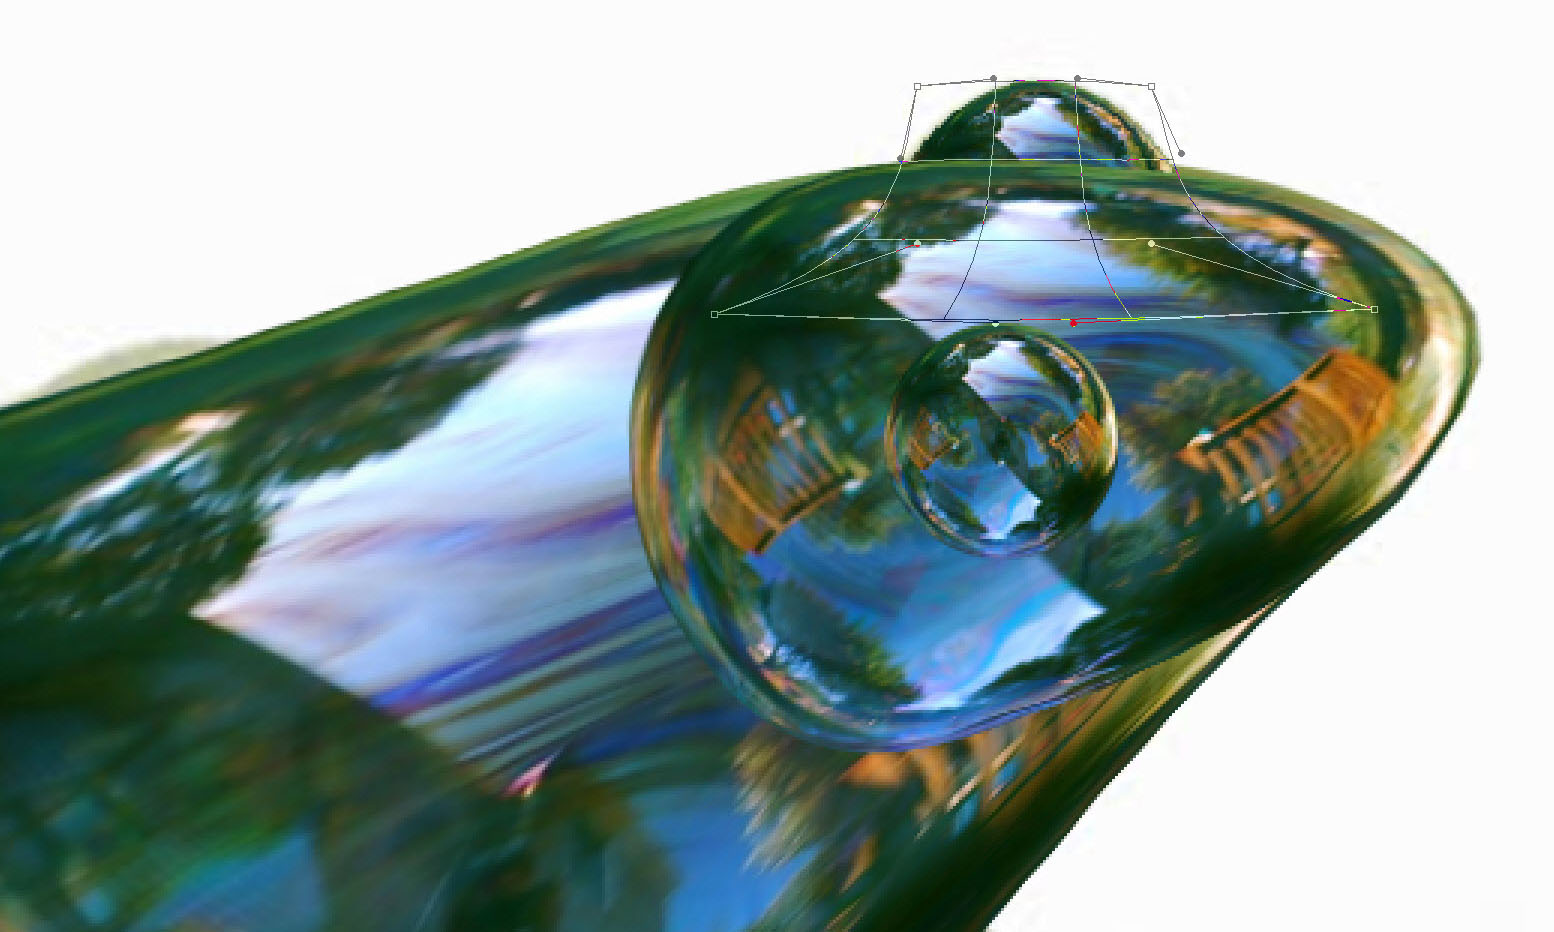
Place a bubble on a new layer over the frog and reduce its size to cover the eye. Duplicate the eye and place the second one below the head and body layer for the other eye.

Place the bubble on a new layer over the frog and adjust its size to cover the legs.
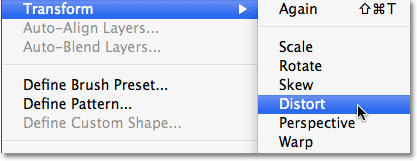
Distort (Edit > Transform > Distort)
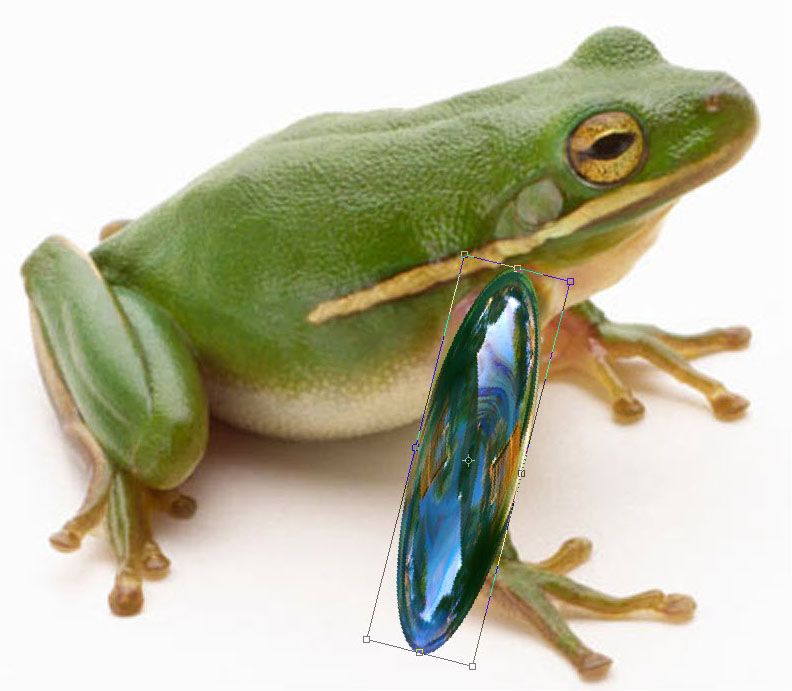
Rotate (Edit > Transform > Rotate)
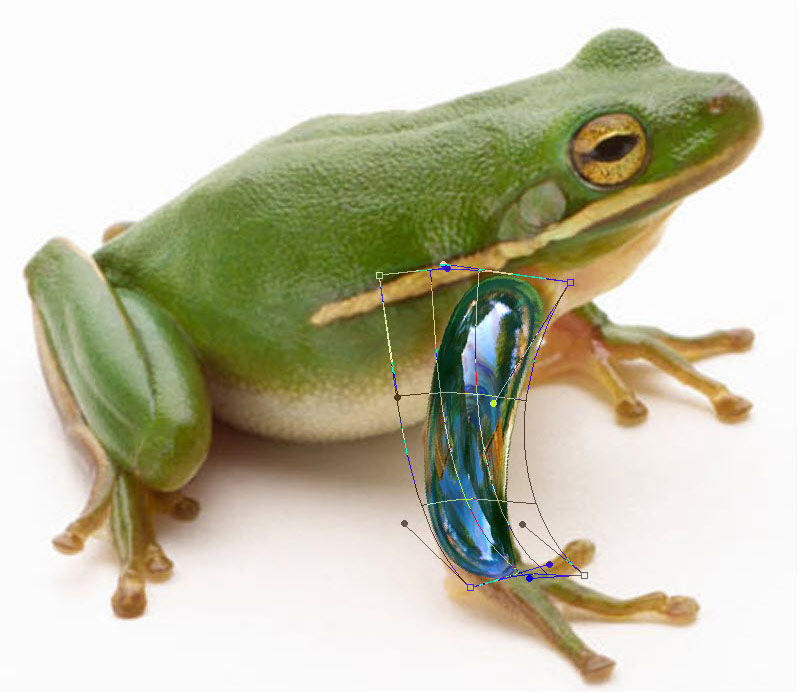
Warp (Edit > Transform > Warp)
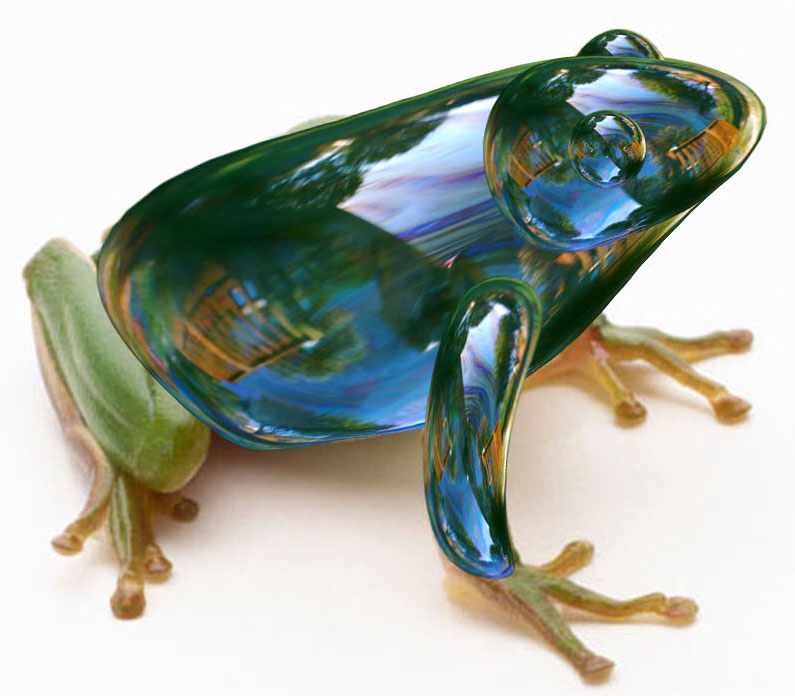
Repeat for each leg
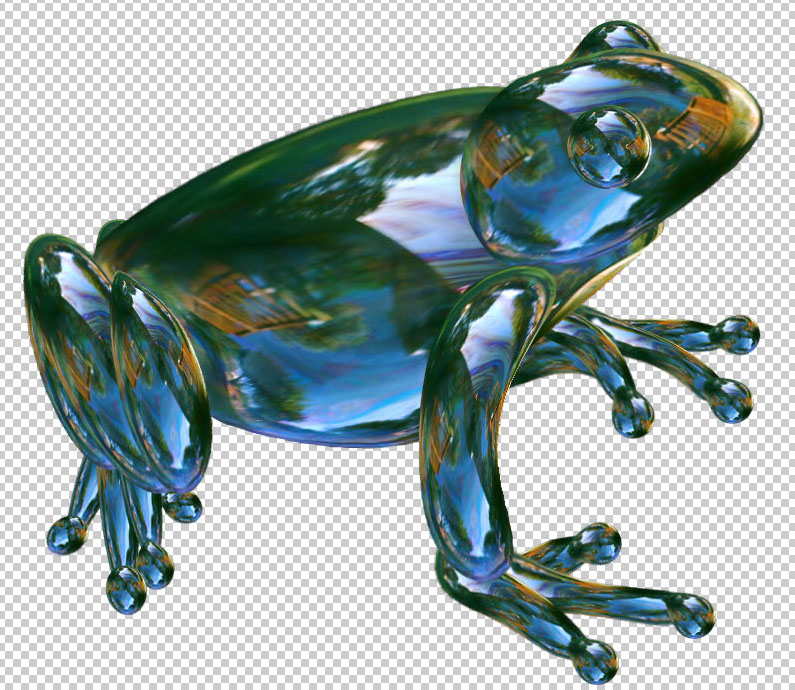
Repeat the same process for each of the toes to complete the frog.
Remove the bottom layer (frog) that has served as a model
You can now play with transparency, contrast, brightness and colors.
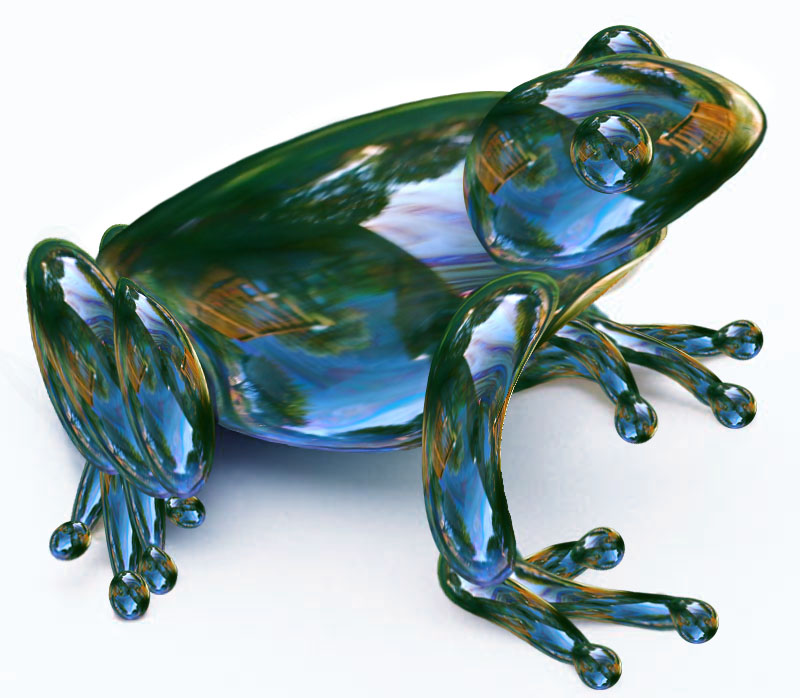
Add a shadow below the frog, but keep it soft because bubbles are largely transparent.
You can then add a background if you wish.
Compress/optimize it into a JPEG file and submit.
www.worth1000.com

