path
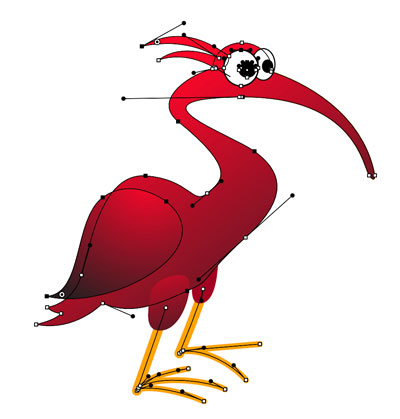
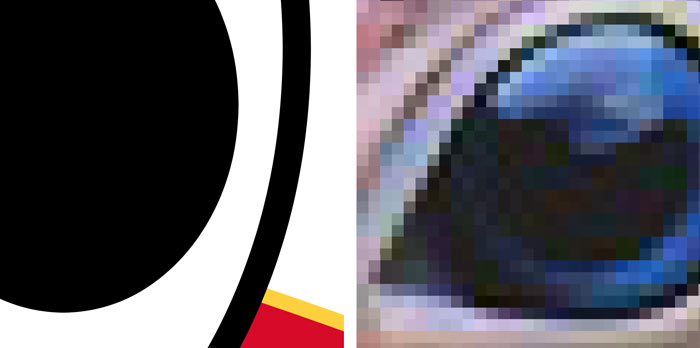
Unlike bitmap images (JPEG, PNG, GIF, etc.), vector graphics are not made up of a grid of pixels.
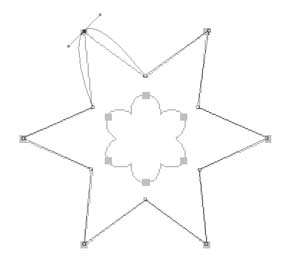
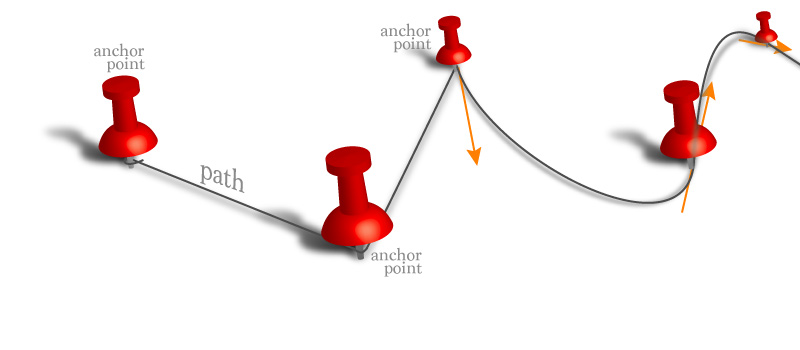
Instead, vector graphics are comprised of paths, which are defined by a start and end point, along with other points, curves, and angles along the way.
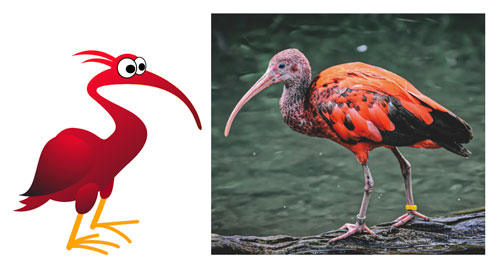
The paths are independent of resolution.
Because vector-based images are not made up of a specific number of dots, they can be scaled to a larger size and not lose any image quality.
When you blow up a vector graphic, the edges of each object within the graphic stay smooth and clean.
This makes vector graphics ideal for logos, which can be small enough to appear on a business card, but can also be scaled to fill a billboard.
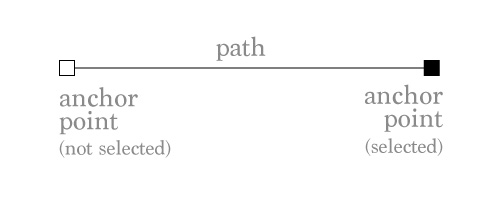
A path is an invisible line that connects two anchor points.
Open path:
Open path is a line with two end points (start point and end point).
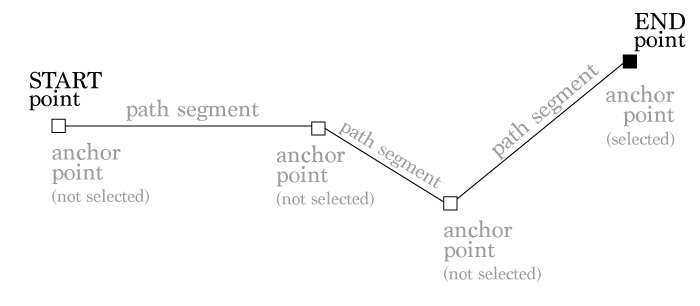
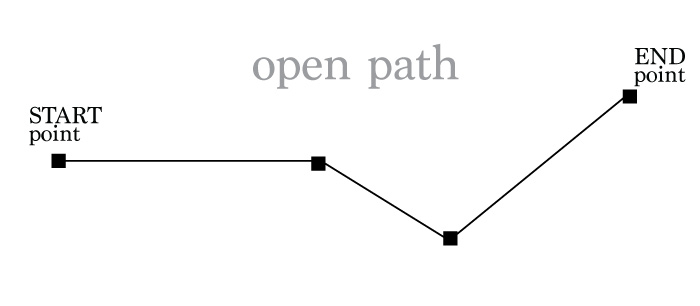
To end a path: Command/Ctrl click outside it.
Closed path
Closed path is a shape with no end points.
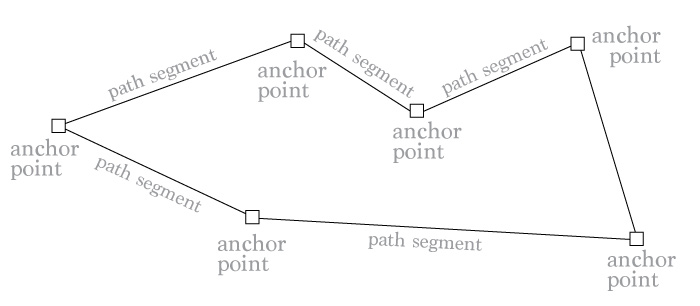
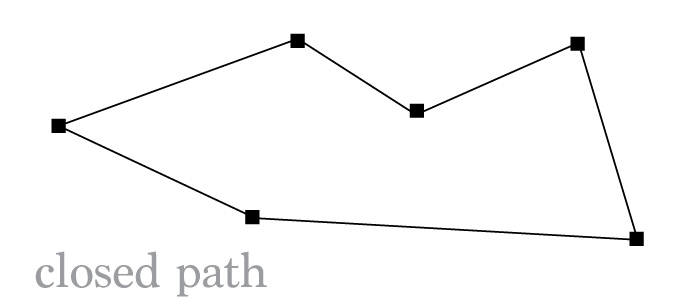
Path automatically closes when you return to the START point.
Path Tools
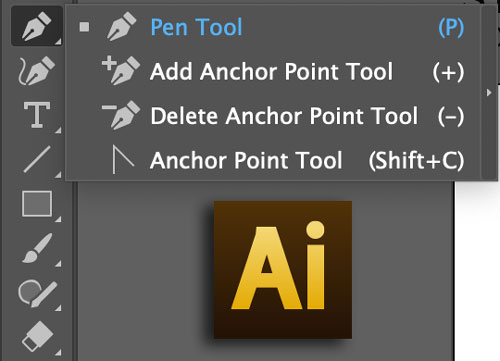
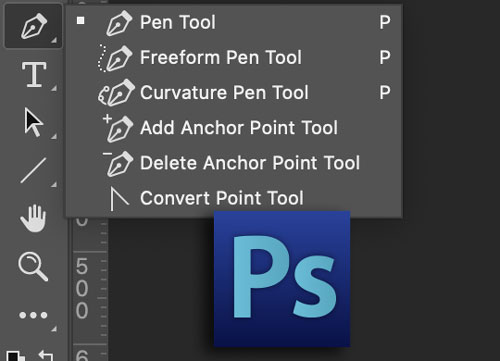
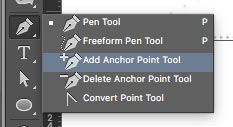
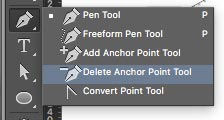
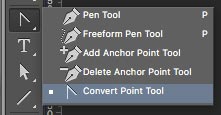
In both Adobe applications: Illustrator and Photoshop your #1 vector drawing tool is the Pen tool.
It works the same way in all graphic applications.
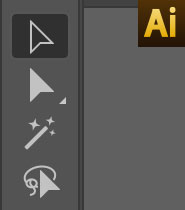
In all applications the main Selection and Editing tools are:
 Selection tool
and
 Direct Selection tool
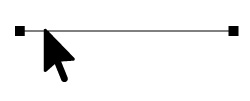
Path Selection Tool - selects the entire path with all anchor points.
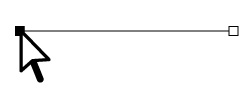
Direct Selection Tool - allows you to edit a path by selecting and (or) moving one or few anchor points, one or few segments of a path.
Pre-made paths
Choose a path, then click and drag to draw a line or a shape. 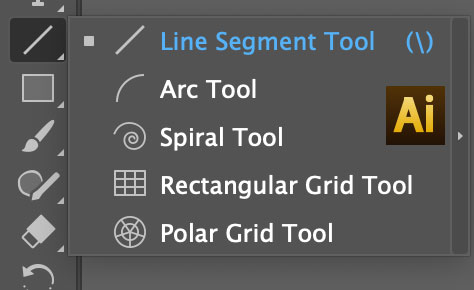
Illustrator offers a set of open paths (lines)
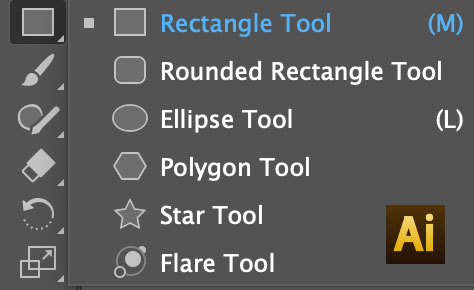
... and closed paths (shapes)
In Illustrator: you can click on the artboard and set specific parameters for your path.
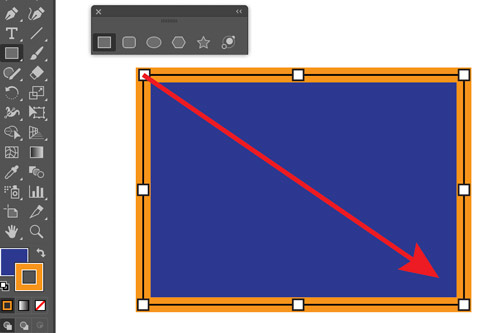
Click and drag to draw a shape.
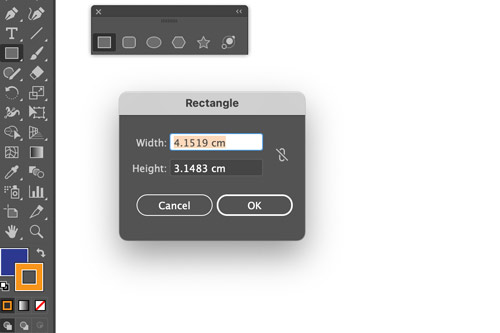
... or you can just click on the artboard and set the precise dimensions.
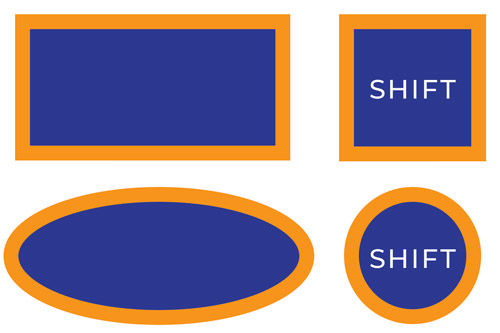
If you hold SHIFT key - you can draw a perfect square or a circle.
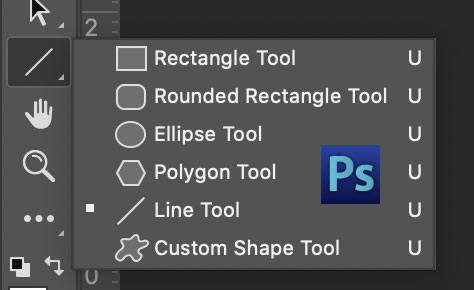
Photoshop is limited on the choice, but still offers basic shapes and lines.
Drawing paths: straight
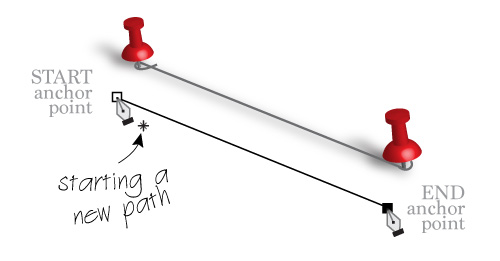
To draw a straight path:
Choose Pen tool
Click to place your start anchor point.
Click again to place your next anchor point.
The two points will be connected with a straight path.
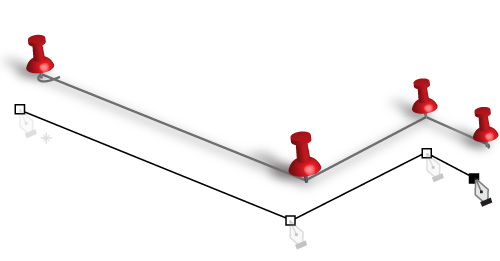
You can add more anchor points by clicking with the Pen tool.

When you are closing a path (return to the start point), a small circle appears next to the cursor. That tells you that you are creating a shape.
Drawing paths: curves
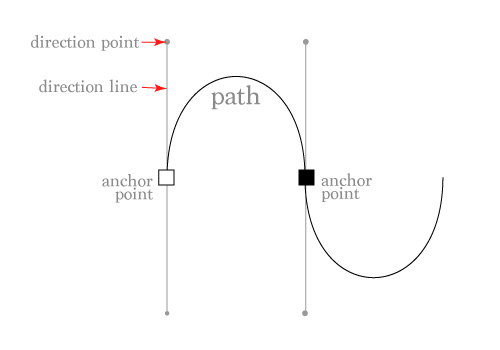
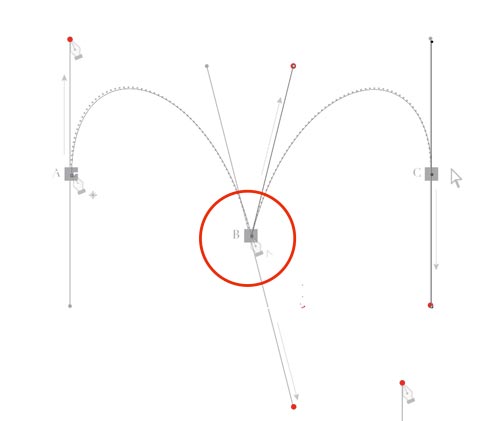
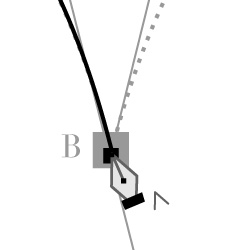
When you click and drag - you create an anchor point with direction lines.
Direction lines go in two directions.
Direction that you drag the direction line will be the direction the curve will go through this point.
When you click-and-drag with a Pen tool - you are creating an anchor point with a curved path property.
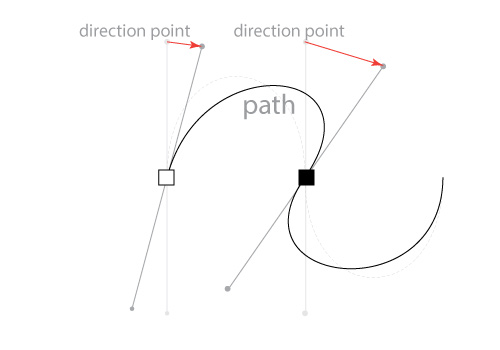
You can reposition the direction points and that will change the slope of your curve.
Drawing curves with the Pen tool requires some practice.



 Selection tool
 Direct Selection tool