Learning objectives:
Students learn to use Selection tools:
- Move tool
- Marquee tools
- Lasso tools
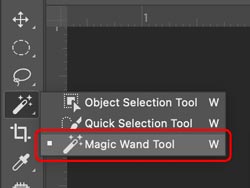
- Magic Wand tool
- Quick Selection tool
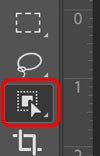
- Object Selection tool
- Crop tool

by JuliannaKunstler.com
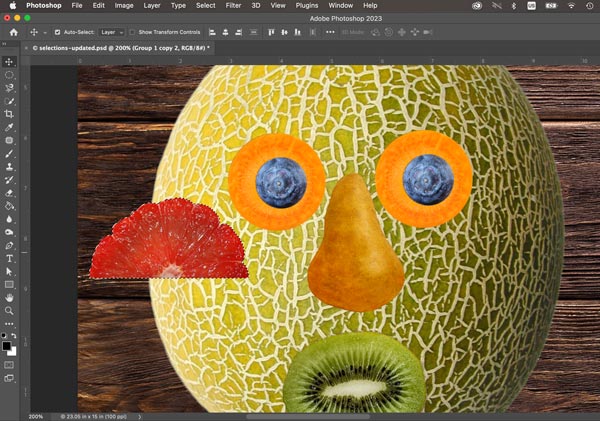
Students learn to use Selection tools:

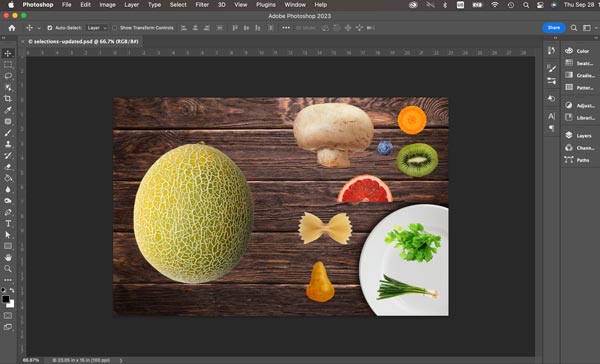
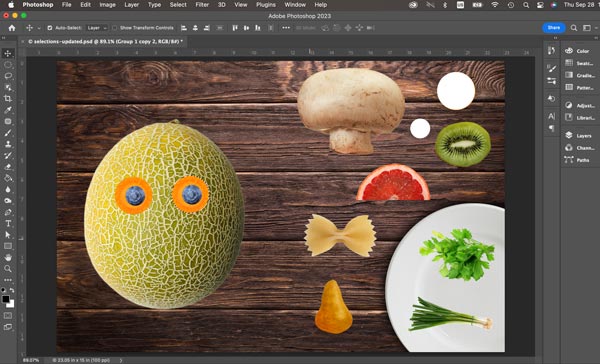
Download the file and open it in Photoshop.
Make sure your workspace is set to Essentials (Default).
In the Menu bar: Window > Workspace > Essentials (Default)
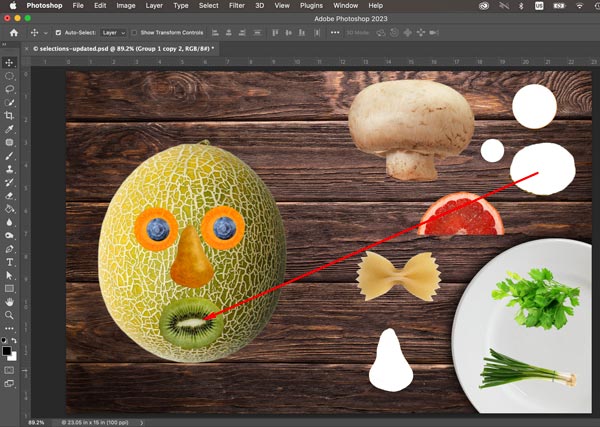
These are the selection tools.
They are grouped together.
We are going to use all of them for this project.
Some of them will be much easier than the others. But it is really important to try them all.


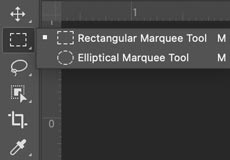
The first group of selection tools is called "Marquee Tools".
Rectangular and elliptical marquee tools will let you make rectangular or circular selections.
Single row and Single column tools will let you select a row that is 1 pixel high or a column that is 1 pixel wide.
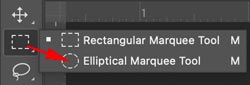
Select the Elliptical Marquee tool.
We are going to select a circle.
To make a round selection you just click and drag the cursor over the area that you want to select.
Try it.
If you want to select a perfect circle (or a perfect square) - hold SHIFT while dragging.
If you want to start your selection from the center - hold Option (Alt) button.
If you want both of these options (perfect circle/square drawing from the center) hold both keys (Shift + Option (Alt)) while dragging.
Try it!!!
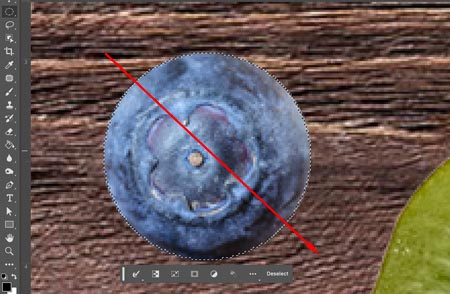
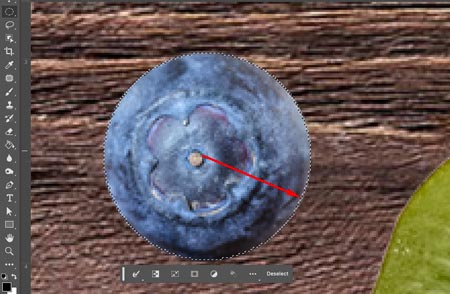
Now zoom in the area with the blueberry. Select it.

The next step is to move the blueberry over the carrot slice.
Move tool is for moving!
Select the Move tool.
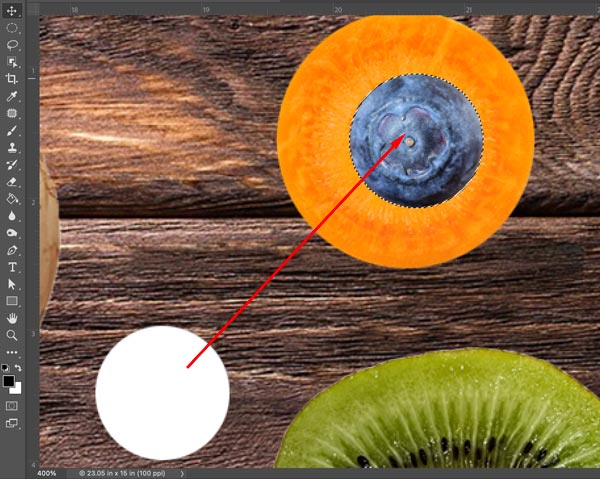
Place it inside your selection. Do you see the cursor changed to scissors? By using this tool right now you are cutting the blueberry out of the background in order to reposition it.
Drag the selection over the carrot slice.
While your blueberry is still selected, you can adjust its position (with a mouse or using the arrow keys on the keyboard)
Once you deselect it - it it permanently embedded into the image.
Deselect:
Select > Deselect on the menu bar
or Command D (Ctrl D)
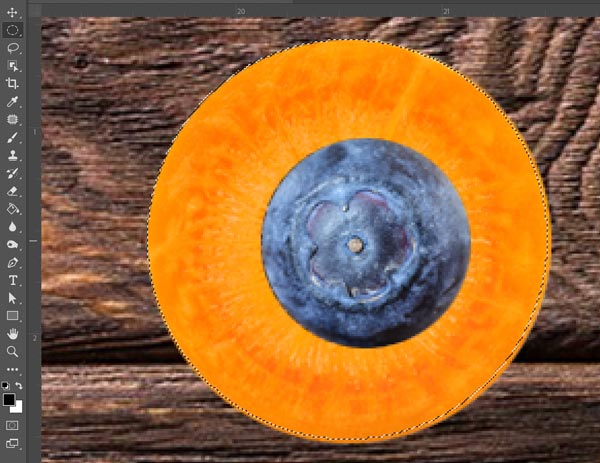
Use the same Marquee tool to select the carrot slice.
Check the color swatches. They should be set to defauld - black / white!!
Click the Default swatches button to restore the setting.
Double-click the Hand Tool.
It will zoom out the image so you are able to see it all.
This will make it easy to drag the selection over the melon
Use the Move tool to drag the carrot over the melon.
See? It looks like an eye....
DO NOT DESELECT YET!!!!!!
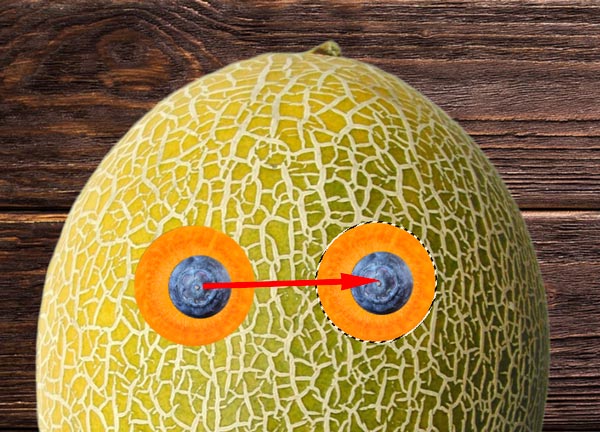
Let's add the second eye.
It is important that your carrot is still selected.
There is a way in Photoshop to duplicate selections and move them at the same time.
Choose the Move tool.
Place the cursor inside the selection (carrot).
Hold Option (Alt) key. See a small plus sign? Keep holding it down.
Now drag you carrot selection to create another eye.
Position the second slice.
You can reposition the duplicate while it is selected.
Once you deselect (Ctrl/Command D) - the duplicate will become a permanent part of the image.
Now you can deselect it now..

The nose..
You are going to select it with the Magic Wand.
So... Select the tool.
Magic Wand selects the pixels that are of a similar color. It works better to select objects that are of a uniform color.
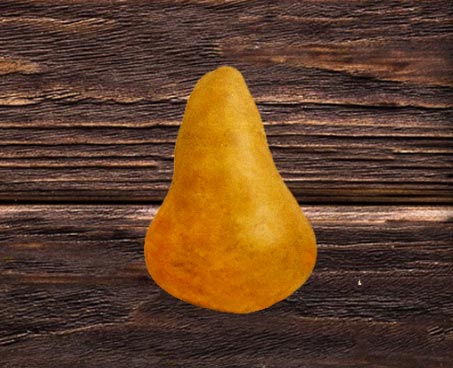
Zoom in the pear for the nose.
Then look at the Option bar.
Set Tolerance to 50.
That means that the Magic Wand will select all pixels within the range of 50 shades darker than the initial color and 50 shades lighter than the initial color.

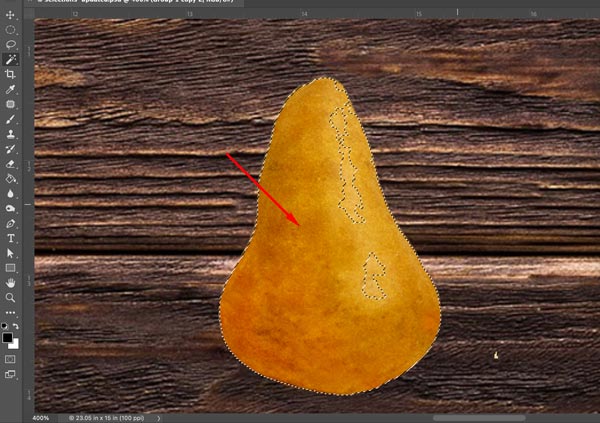
To set the initial color - click on the dark yellow area of the pear.
See?
All pixels that are within the range were selected.
What about the light yellow part?
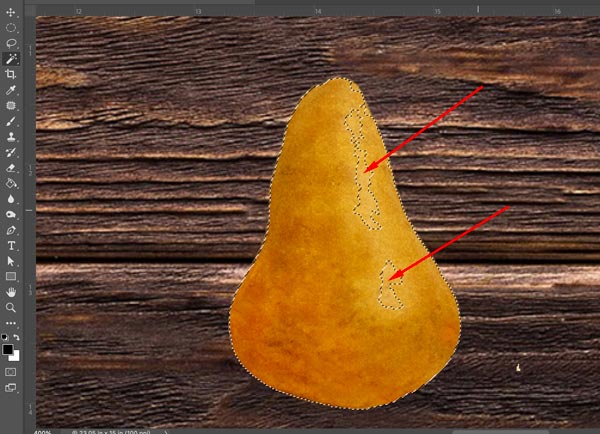
To add to existing selection - hold SHIFT
Then click on the light yellow area.
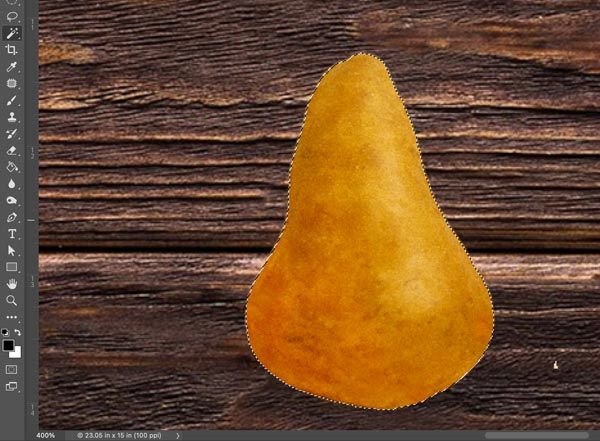
The entire pear should be selected now.
Double-click on the Hand Tool to view the entire image.
Choose Move Tool.
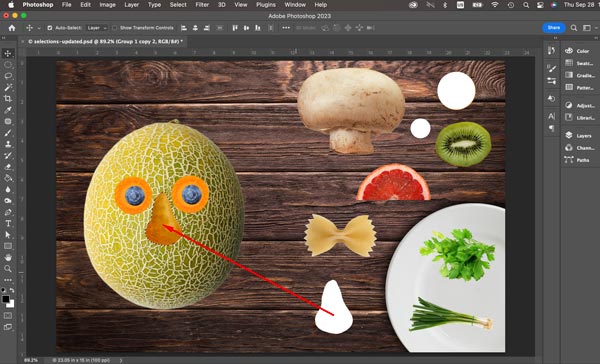
Drag the pear over the melon.
Looks like a nose?

Zoom in the area with the kiwi.
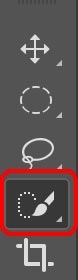
You are going to select it using Quick Selection Tool.
This tool allowes you to make selections by "painting" them. That's why the tool cursor looks like a brush.

Make sure the option for the Quick Selection tool is set to default "add" mode.
You can also change the size of tool in the Option bar.
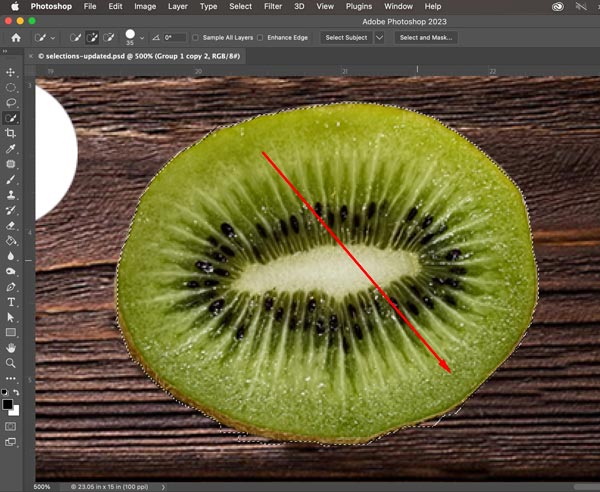
Now place it over the kiwi and click, hold the mouse and move the cursor over the green area.
Don't hold it too long - it will select too much.
If it did not work right - deselect and start over.
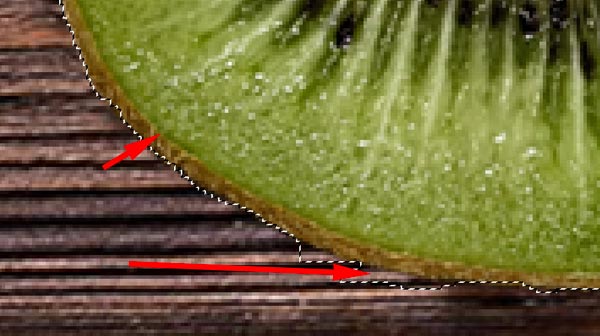
Sometimes, when the pixels are not contrasted enough - the selection can be inaccurate.
No worries!

Switch the tool mode to "subtract" and erase the unnecessary areas.
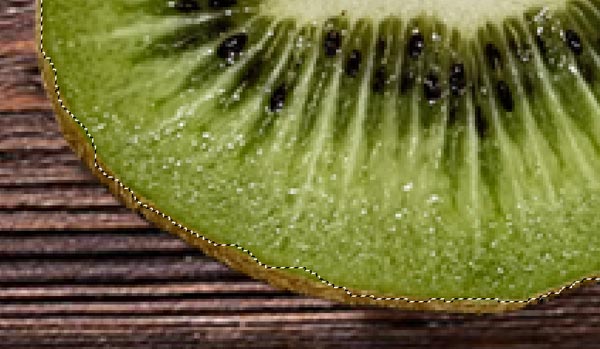
Something like this.
Move the kiwi over the melon (use Move Tool).

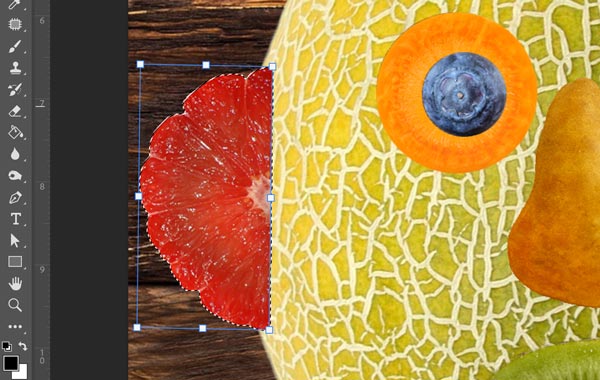
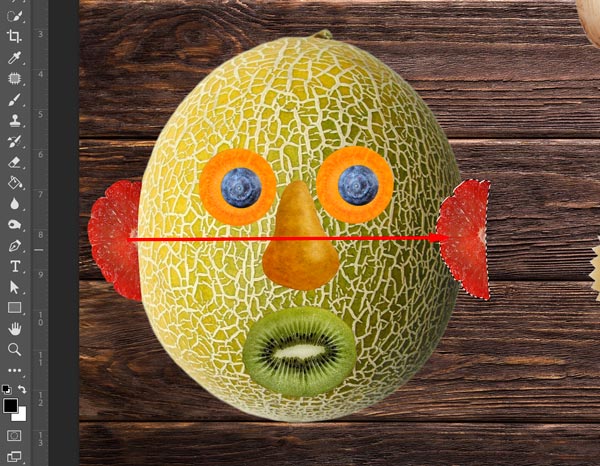
Zoom in the area with the grapefruit.
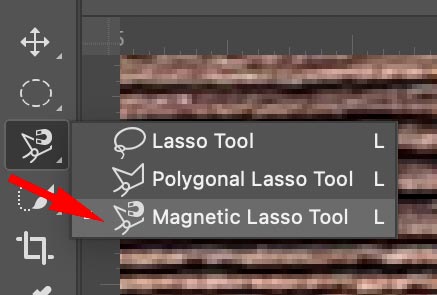
You are going to use Magnetic Lasso Tool. It is similar to Lasso Tool. It also allows you to "draw" the selection, but.....
Magnetic Lasso will snap to the edges of the objects that you draw. Actually, it snaps to the biggest contrast between the colors (values). Usually, the biggest contrast is the edge of an object vs. the background.
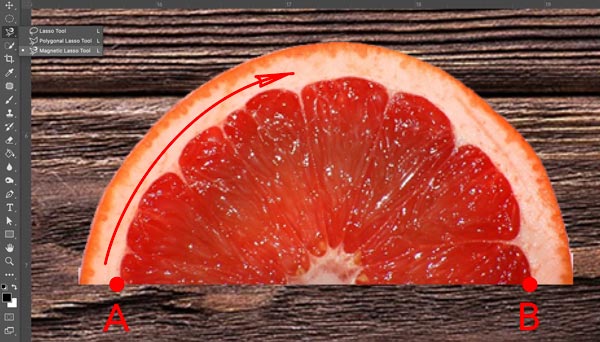
This is what you do:
1. Click at the bottom left corner of the grapefruit with your Magnetic Lasso tool
2. Start dragging the tool outlining the top part of the shape. Stop at the bottom right corner.
3. Double-click at the bottom right corner. It will close the selection with a straight line.
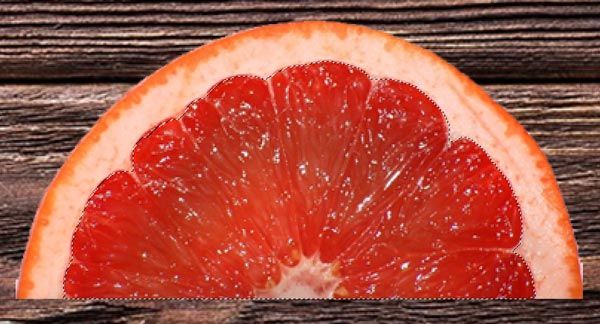
Move the selection towards the melon. You are going to make an ear out of it.
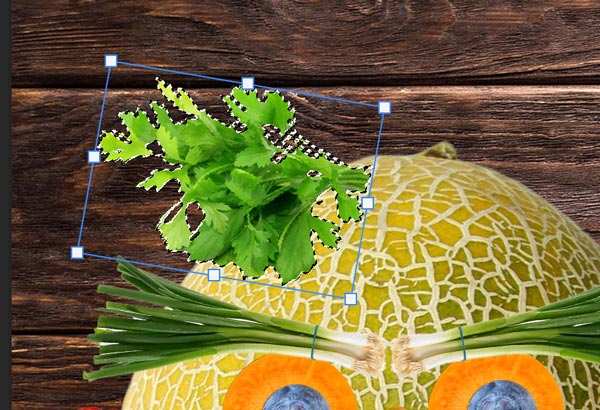
Next - rotate the ear ( and resize it)
To do this go to Edit > Transform > Free Transform
or Command T (Ctrl T)
You will see a bounding box around the selection.
Place the cursor next to a corner of the bounding box. The cursor should become a double-headed arrow.
Rotate.
To resize the shape drag a corner of the box.
To resize without distorting and stretching the selection - hold SHIFT while resizing.
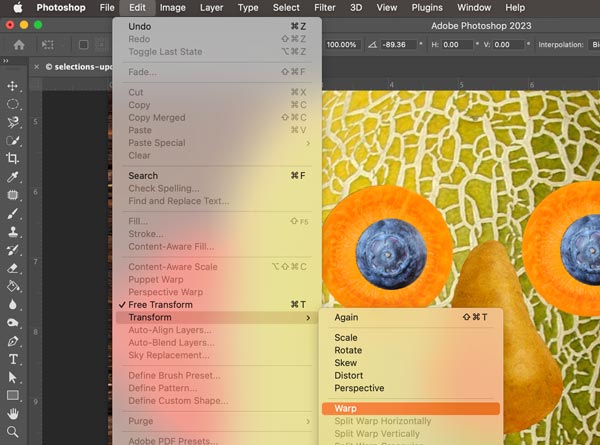
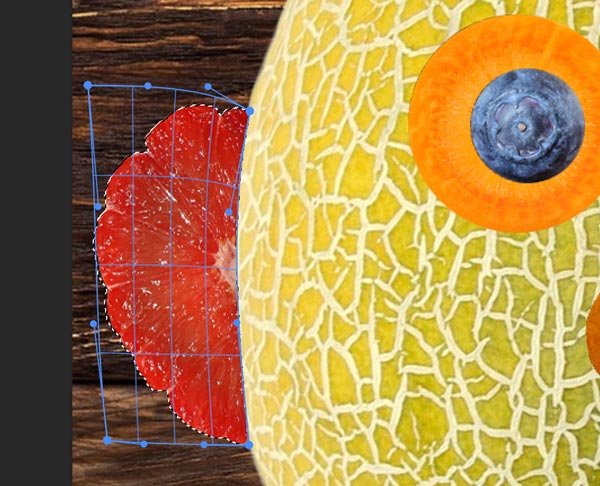
Edit > Transform > Warp
Push the curve in.
Enter
Choose Move Tool.
Duplicate the ear.
(hold Option or Alt while dragging)
Flip the ear:
Edit > Transform > Flip Horizontally
Deselect
Save.


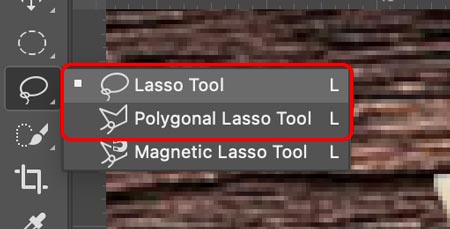
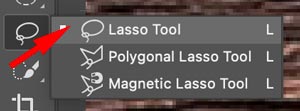
For the next task you will be using two tools: Lasso Tool and Polygonal Lasso Tool.
Polygonal Lasso Tool allows you to make selections with straight segments. All you do is click.. click... click...
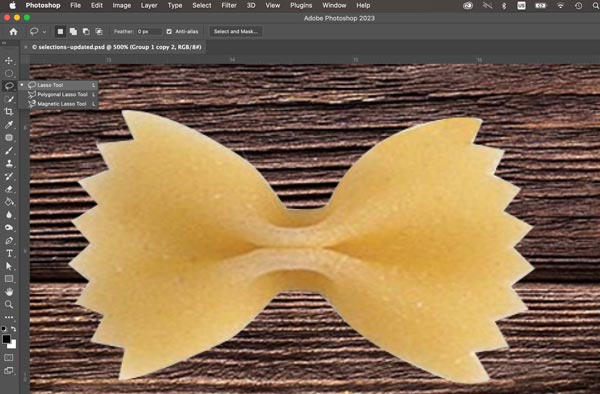
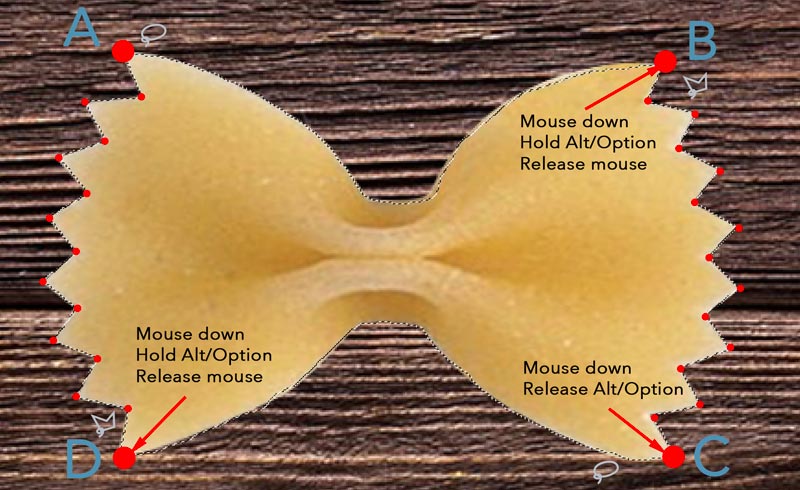
Zoom in the area with the bow tie pasta piece.
Start with Lasso Tool
It is really important to follow the steps exactly as they are described:
1. Start at the upper left corner. Click and drag the selection line following the shape of the bow tie. Stop at the upper right corner.
2. Do not release the mouse yet!!!
With the mouse down, hold Option (Alt) key.
3. Now release the mouse (still holding the Option (Alt) key down). The cursor changed to Polygonal Lasso Tool.
4. Start clicking to follow the pasta's zigzag shape.
5. Stop at the bottom right corner.
6. With the mouse down, release the Option (Alt) key. The cursor changes back to Lasso Tool.
7. Follow the shape of the pasta and stop at the bottom left corner.
8. Holding the mouse down, hold Option (Alt) key. Draw the left zigzag side.
9. Finish your selection at the start point.
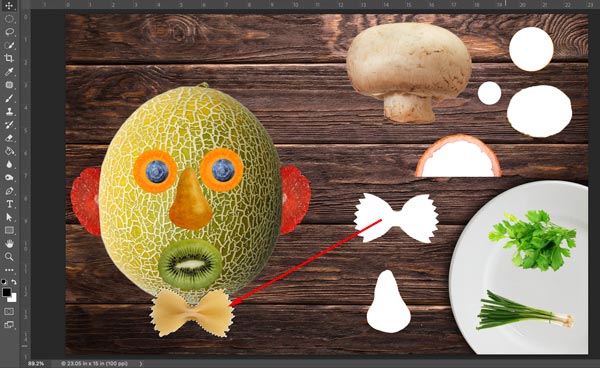
Drag the bowtie below the melon head.
Deselect.
Save.

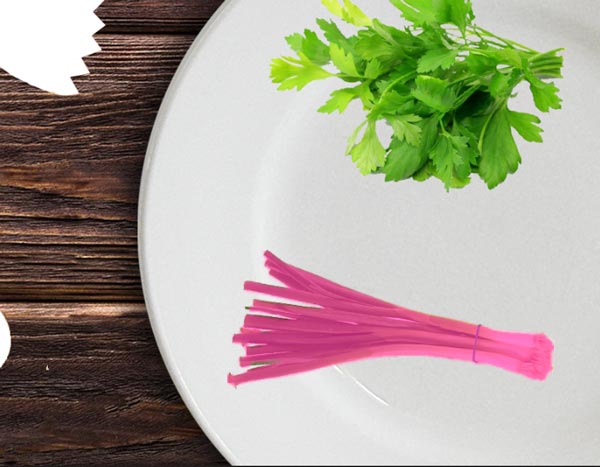
The next selection is the intricate shape of a bunch of green onions.
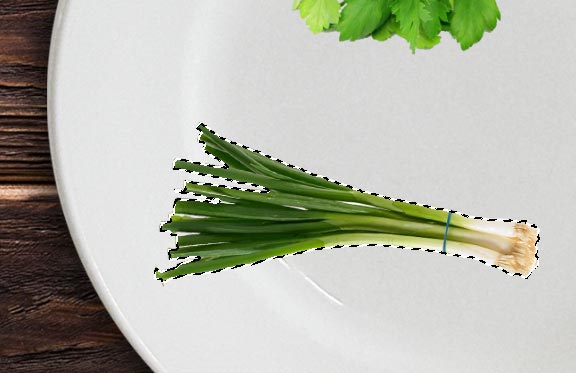
Remember? To subtract from selection you hold down Option (Alt) key.
So... Holding the Option (Alt) key - click on the white area inside the selection.
This will leave you with a perfect selection of the onions.
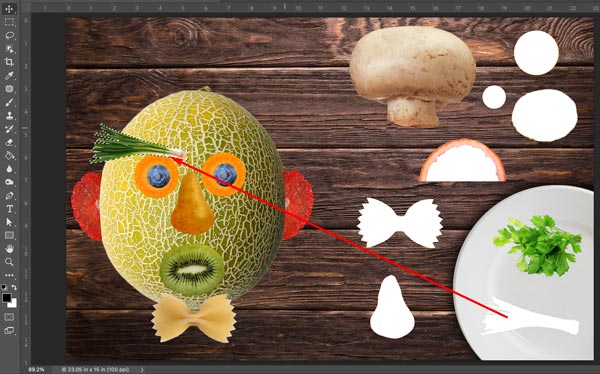
Move it above the eye.
Duplicate it:
Use move Tool and hold Option (Alt)
Flip the eyebrow:
Edit > Transform > Flip Horizontally
Deselect.
Save.
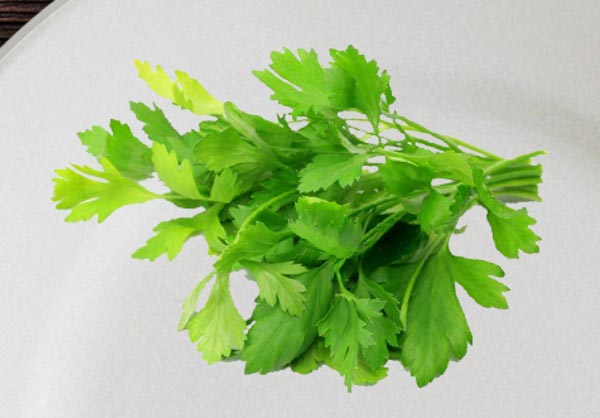
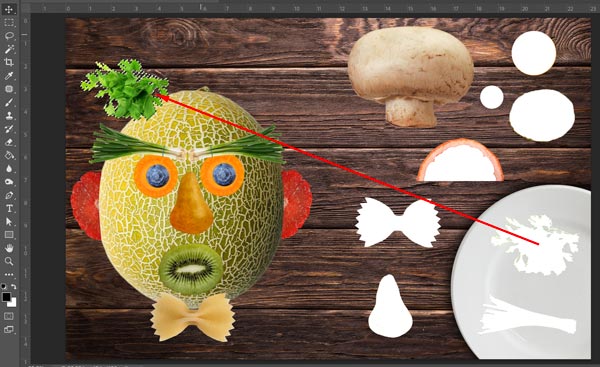
Repeat the steps above to select the parsley bunch.
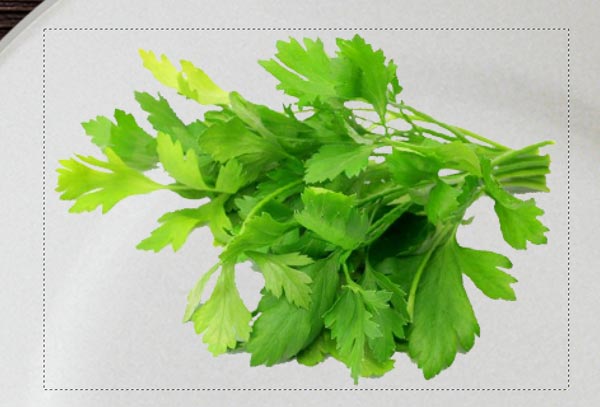
Select a rectangle (Marquee tool)
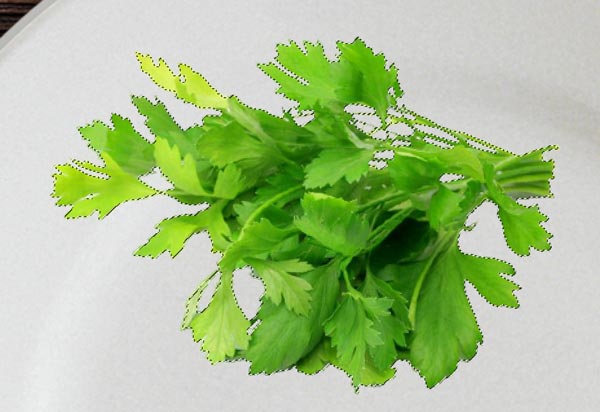
Choose magic Wand.
Change Magic Wand option: Uncheck Contiguous.
Hold Option/Alt key and click inside the selestion.
The intricate selection is ready.

Move the parsley bunch under the nose.
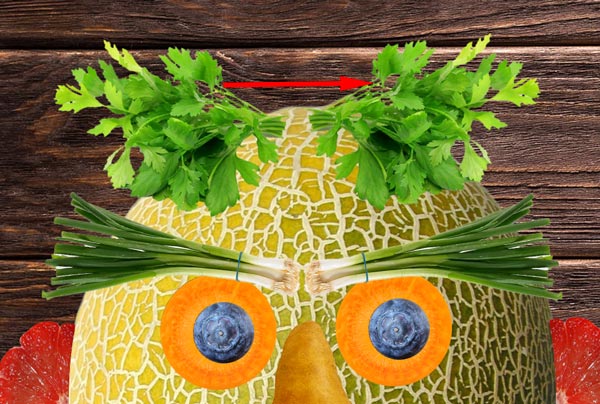
Duplicate and flip.
Deselect.
Save.
The next tool to use is Lasso Tool.
Lasso is a freehand selection tool.
You can draw your own selection.
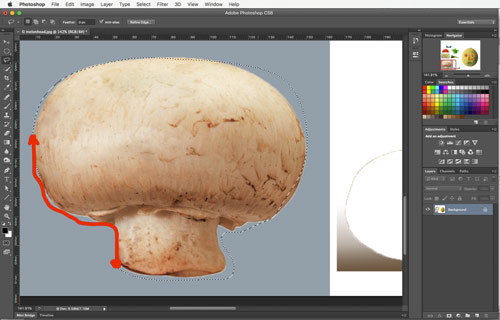
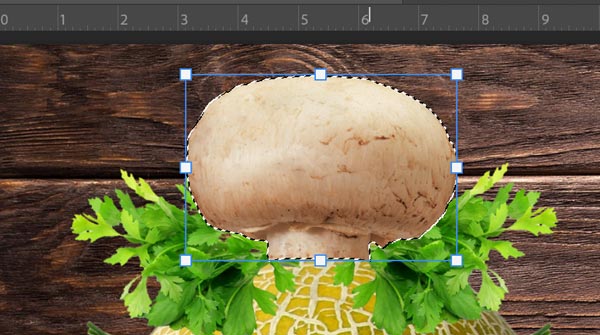
Zoom in the area with the mushroom.
To select mushroom draw the selection around it. Try to stay close to the shape. But if you don't - not a big deal. We'll fix it.
Remember - drawing your own selection - you need to return to your start point. Selection is a closed shape. So you need to end at your start point.
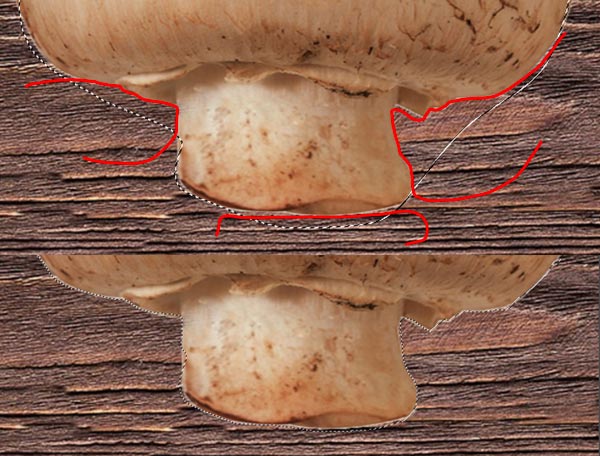
If you need to fix your selection:
use SHIFT to add to selection
use Option (ALT) to subtract from selection
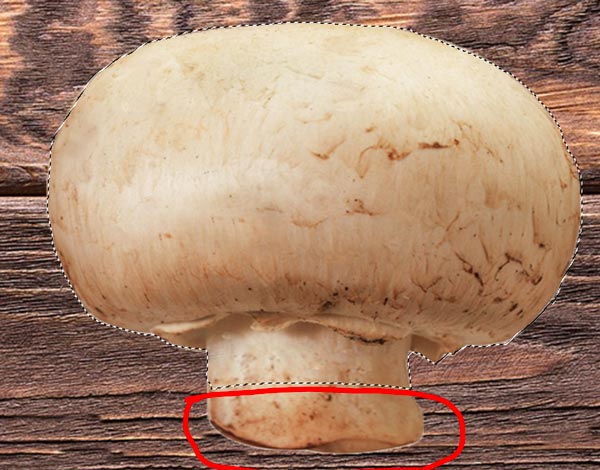
Move the mushroom like you see on this picture.
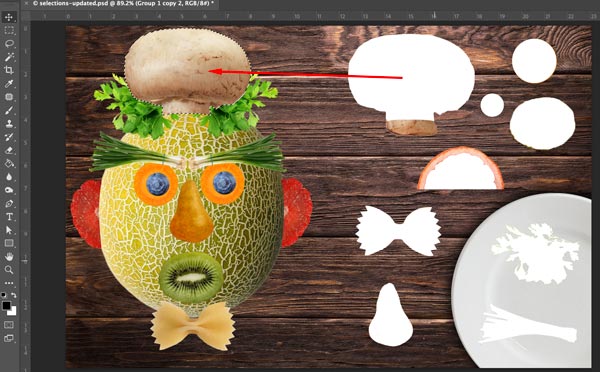
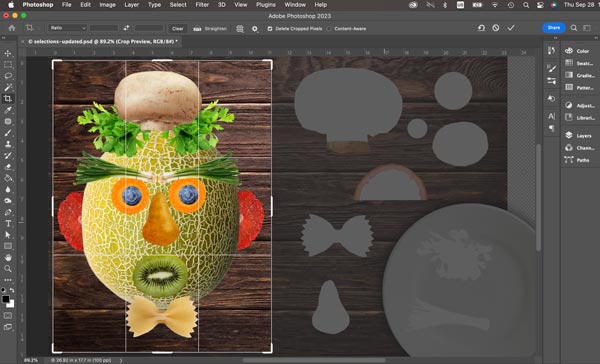
Now let's get rid of the left side of the image!
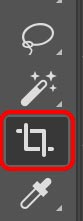
Choose Crop Tool
Draw a box around the Melonhead person.. :)
You can adjust the size of it (and even rotate)
Press RETURN (ENTER)
File > Save
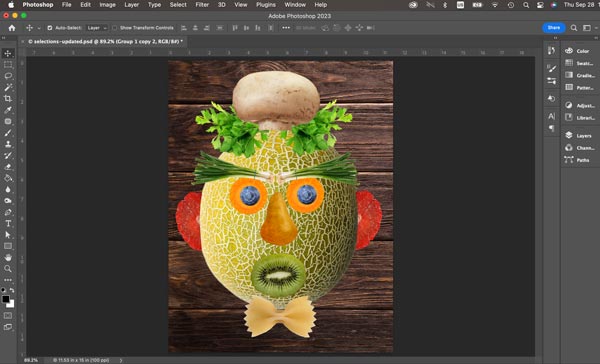
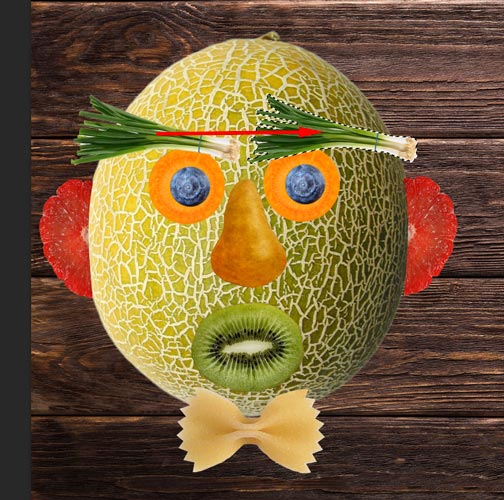
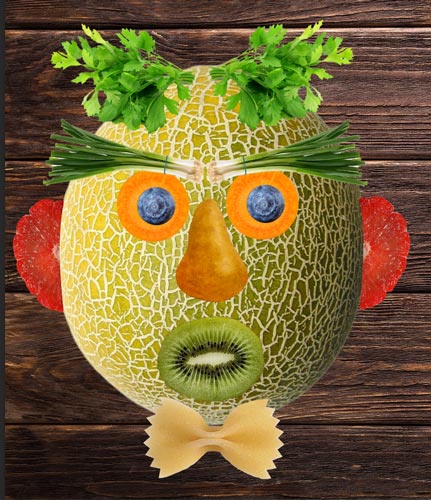
You are done!!!!
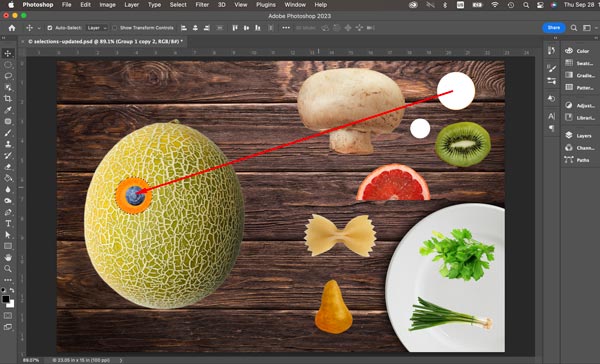
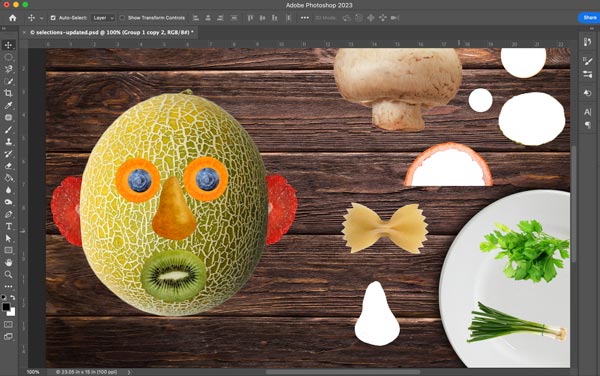
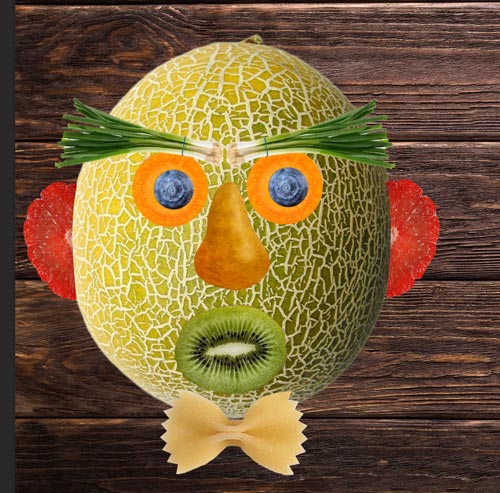
This is what it should look like!
Type your name and print it out!