Objectives: Students learn to use painting tools.
Essential questions:
1. What is the difference between Brush, Pencil and Paint Bucket tools?
2. How to save a color?
3. How to create a custom brush?

painting tools
painting in PhotoShop
by JuliannaKunstler.com
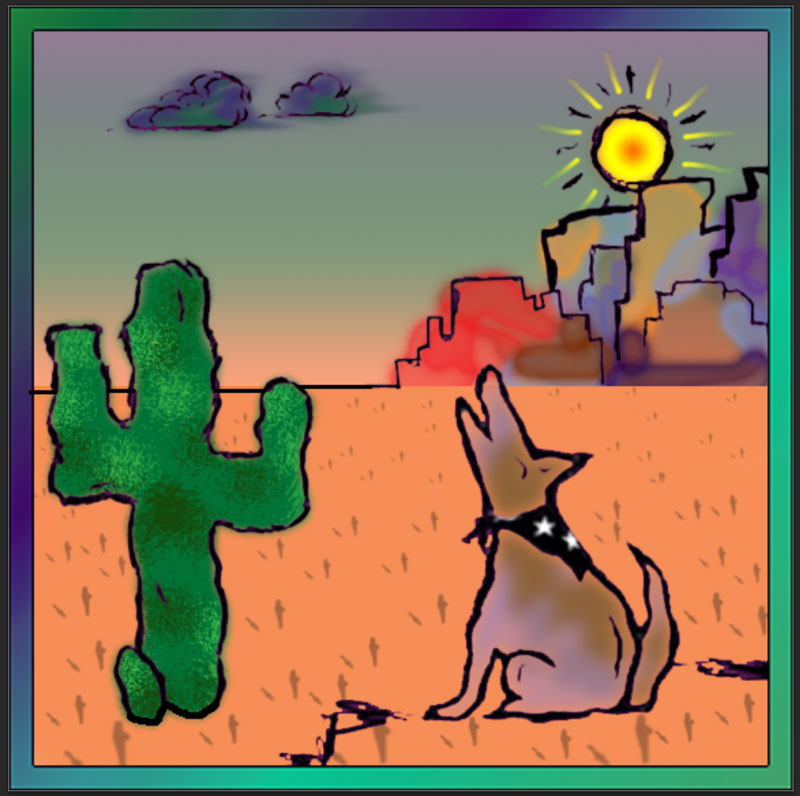
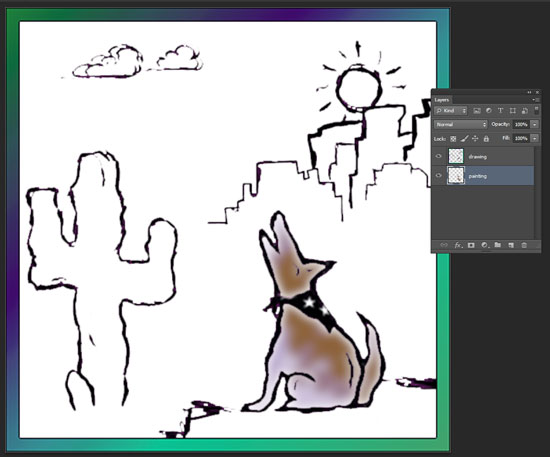
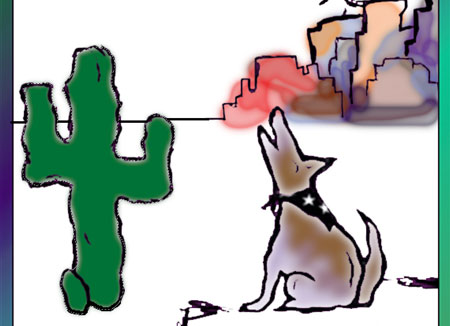
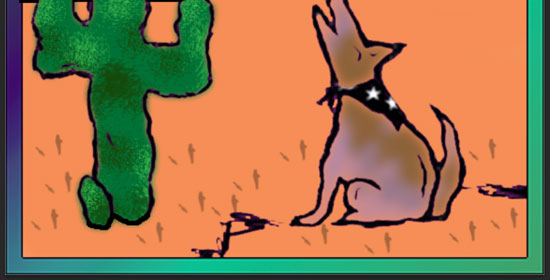
GALLERY
STEPS
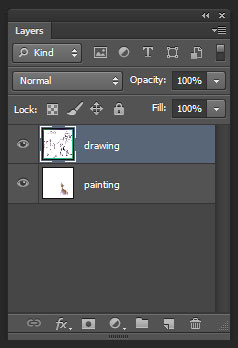
Step 1 - convert background into a layer

Open the file in PhotoShop.
Convert the background layer into a regular layer:
Double-click on it and name it Drawing.
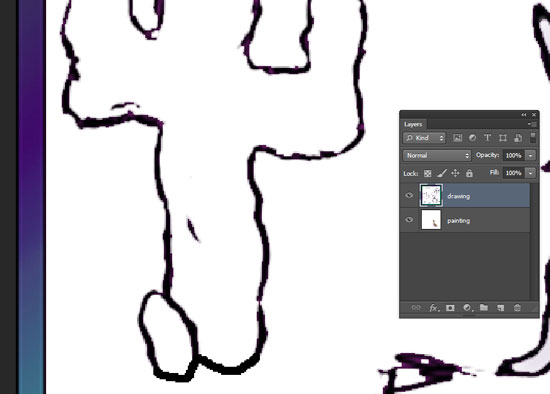
Step 2 - remove the background
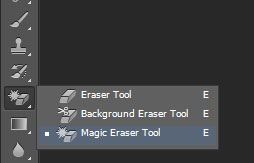
Choose Magic Eraser Tool
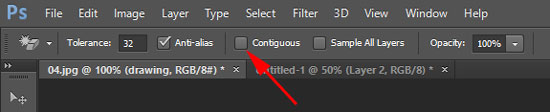
Uncheck "Contiguous" option
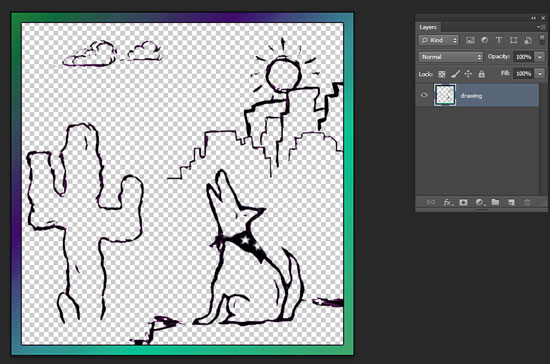
Click on the purple background.
All purple pixels will be removed.
The checkerboard shows the transparent areas
Step 3 - add a layer
Add another layer.
Name it Painting.
This is where all artwork will be done.
Step 4 - making a selection
Important!!!!
Return to drawing layer.
You are going to make a selection before painting.
To make an accurate selection you need to be on the layer that has a drawing on.

Use Magic Wand
Set Options
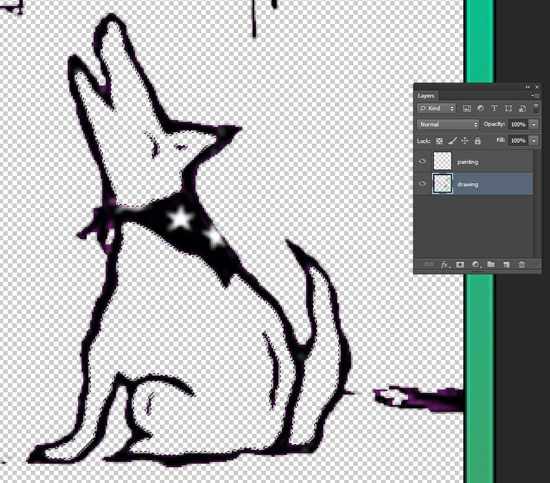
Click inside the coyote.
Then Shift-click inside the head and the tail.
Total of three areas should be selected.
Step 5 - paint inside the selection
Select the painting layer.
All artwork will be done on this layer from now on.

Select the Brush tool.
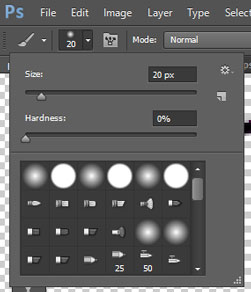
Set the Options:
Size: 20
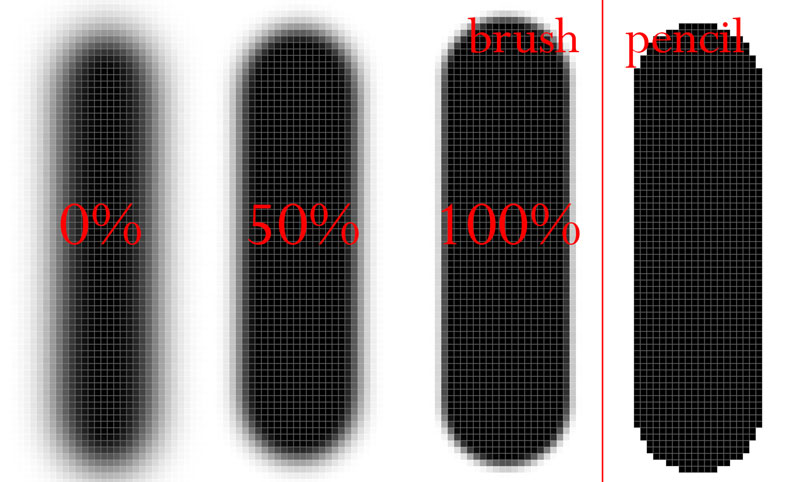
Hardness: 0 (that means the edges of the brush strokes are soft)
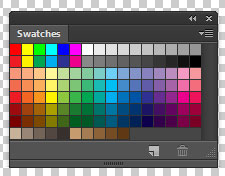
Open Swatches palette
(Window > Swatches)
In the Swatches palette choose a color for the coyote (some shade of brown).
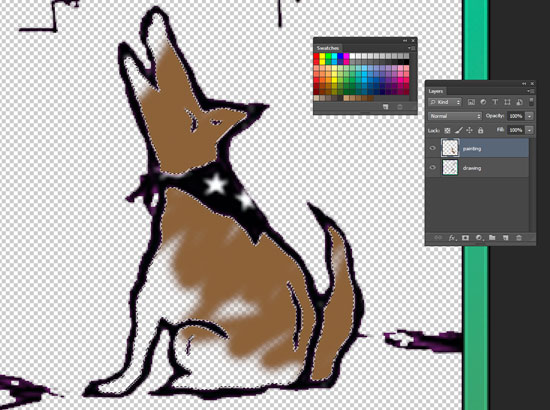
Paint inside the coyote, but leave some blank ares around the edges.
The paint shows only inside the selection.
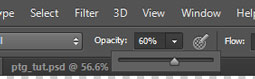
Change the opacity of the brush to 60%.
(in the Options bar)
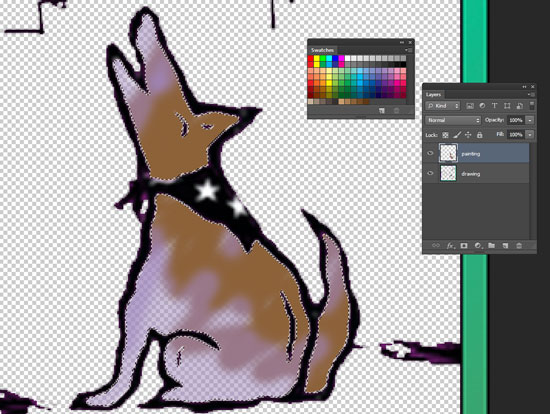
Pick another color (I picked purple).
Paint the blank areas of the coyote.
IMPORTANT:
When done painting - go back to Brushes Options and change the opacity to 100%
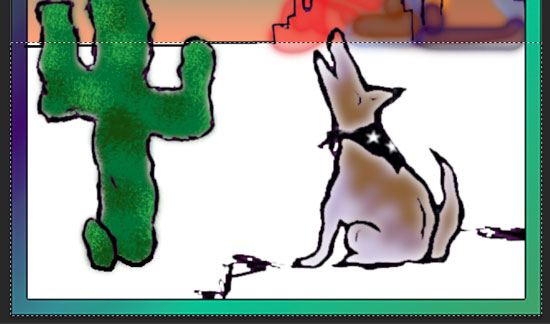
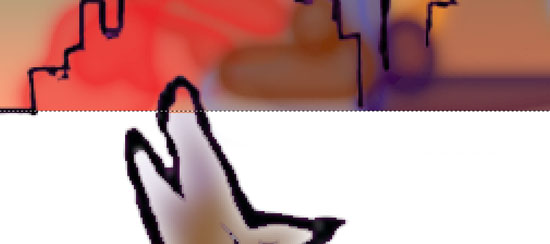
Step 6 - apply a filter
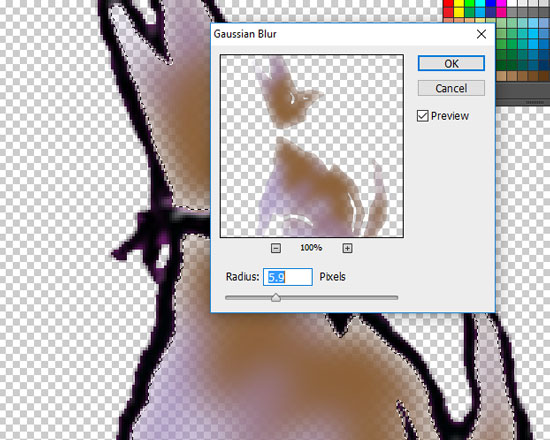
Now you are going to apply a filter to soften, mix, and blur the paint.
Go to Filter > Blur > Gaussian Blur.
Move the slider to preview the changes.
When you are happy with it - click OK.
You are done with painting the coyote!
Deselect (Ctrl / Command D)
Save (Ctrl / Command S)
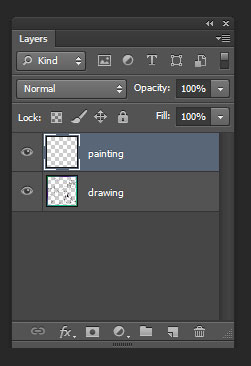
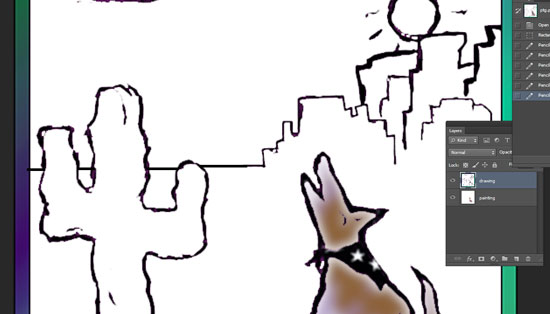
Step 7 - change layer order
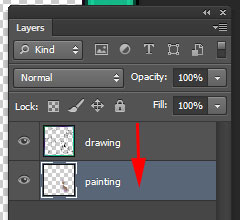
Move painting layer below the drawing layer.
Step 8 - transparency setting
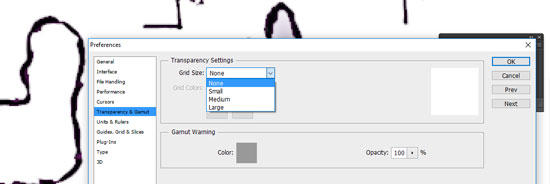
Let's turn off the transparency checkerboard:
Edit > Preferences > Transparency & Gamut
Grid size: None
That removes the view of the checkerboard in the transparent ares. These areas are still transparent - we just don't see the checkerboard. It will make it easier to paint without distraction.
(the checkerboard is still visible in the layers palette thumbnails)
Normally you want the checkerboard option to be on - it helps to spot the transparent areas.
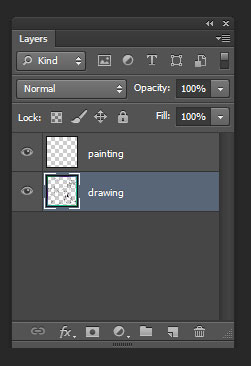
Step 9 - adding to the drawing
Next - you'll be adding a few details to the drawing layer.
IMPORTANT:
Select the drawing layer.

Choose pencil tool.
Set Size to 5:
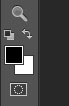
Click on Default colors icon (to have black as our foreground color)
Compare Brush strokes (with three different hardness settings) and a Pencil stroke:
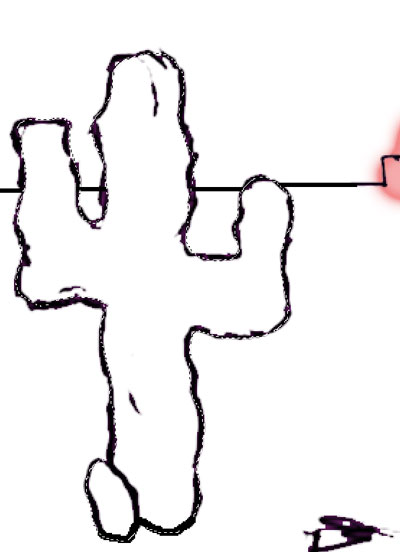
Complete the cactus drawing by adding two curved lines as shown.
Draw the horizon.
To draw a perfectly straight line - hold Shift :
first click with the pencil tool, then hold Shift while drawing segments.
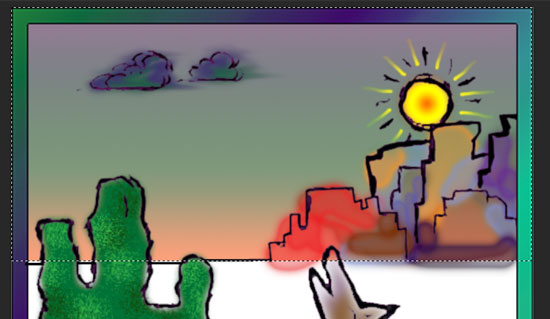
Step 10 - watercolor effect

Now you are ready to paint the mountains!!
IMPORTANT:
Select the painting layer.
Choose your first color for the mountains.
I chose a shade of red.
We are going to try watercolor effect.
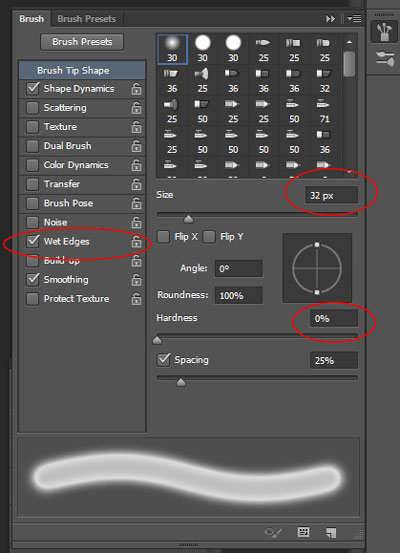
Select the Brush Tool:
Then open Brushes palette
(Window > Brushes)
Check Wet Edges.
Hardness: 0
Brush size: around 30
Double-check that you are in the painting layer.
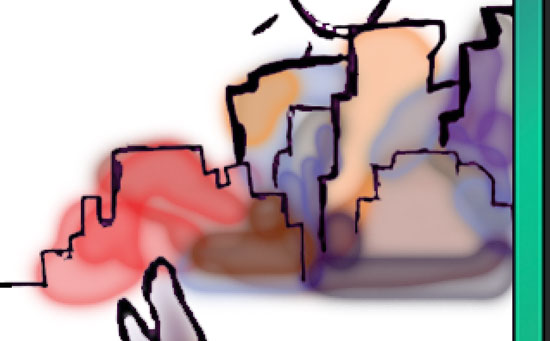
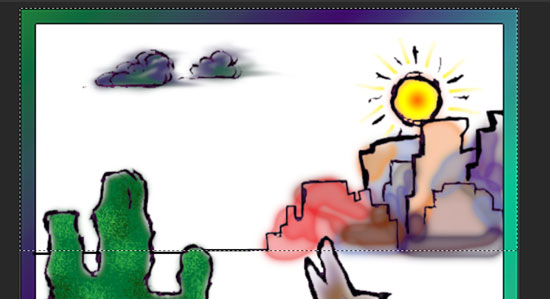
Start painting the mountains.
Change the colors to make it more fun!
Change brush size as you paint
(use [ and ] keys)
If you wish - use Eraser tool to clean around the top edges of the mountains.
Don't worry about the bottom line - we'll erase the excess paint later using Eraser tool.

When done - go back to Brushes palette and uncheck the Wet Edges option.
Step 11 - Coloring cactus with a soft selection

Choose Magnetic Lasso tool.
Set Feathering to 3 for a softer edge
Draw the selection around the cactus. (You are still on the painting layer)
Feathering setting adds a fading effect to the selection
Choose Paint Bucket tool.

Pick a nice shade of Green color.
Click inside the selection.
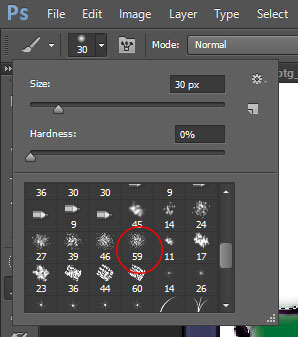
Now let's add some texture to the cactus. Choose a darker (or lighter) green or any other contrasted color.
Then pick any texture brush from the Brush sets in the Brush Option Bar:
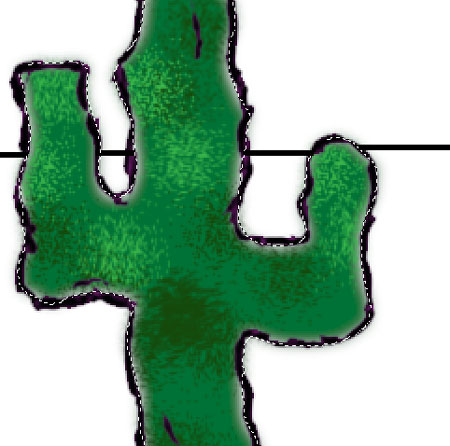
Apply texture.
Deselect.
Step 12 - airbrushing and smudging the clouds
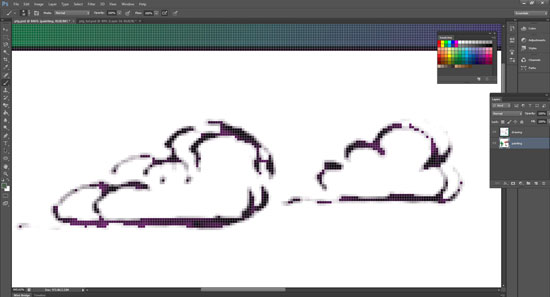
Clouds next!
Zoom in the area with the clouds.
Select the Brush tool (size 20).
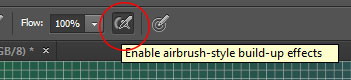
Click on Airbrush option
Airbrush setting works as a spray can: longer you spray - more coverage you get.
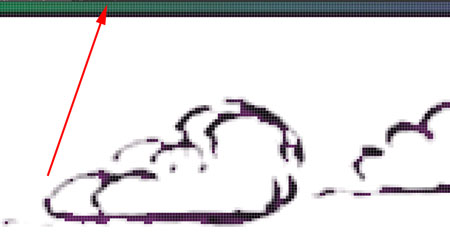
Select a green color from the border - use Eyedropper tool (or hold Option key)
![]()
It will become your Foreground color.


Paint a few strokes.
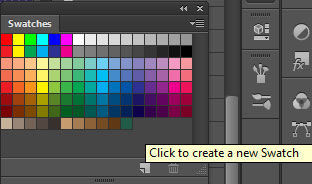
To save the sampled color in your Swatches palette: click on the grey area of the palette or click on a "new swatch" button.
Give your swatch a name.
You will see a new swatch being added to the palette.
To remove a swatch - Alt / Option click on it.
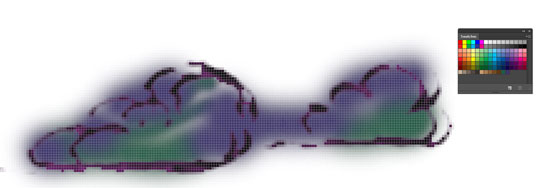
Sample a purple color from the border. save it to the Swatches palette
Paint more.

Select the Smudge Tool

Use it as you would use your own finger to smear the wet paint. Move it back and forth. Then move it to one side to create a moving effect.
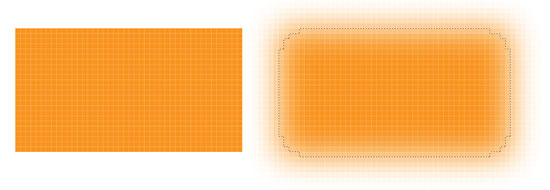
Step 13 - gradients

Select the sun (Elliptical Marquee Tool):

Set feathering option to 4
To start from the center - hold Alt / Option key.
For a perfect circle - hold Shift.

Then select the Gradient tool from the Tool box.
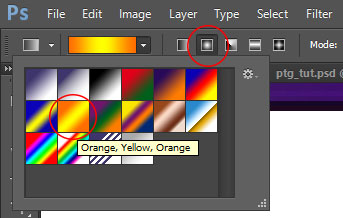
Choose an Oranhe gradient from the "Oranges" folder in the Options bar.
Choose Radial gradient
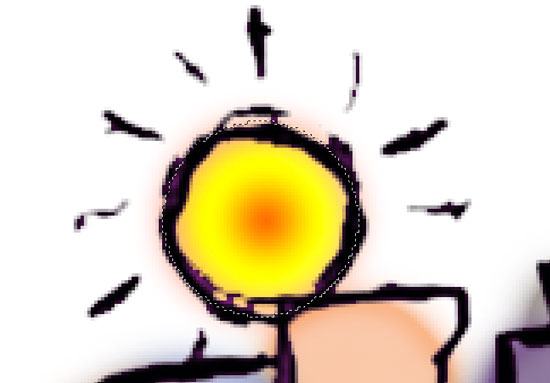
On the Painting layer:
Position the cursor in the center of the sun and drag it out.
See the soft edges? It's feathering.
Deselect!
Go back to Elliptical Marquee Tool options and change the feathering setting back to 0 px.

Now choose a small soft brush (size 5) and paint the sun rays with some shade of yellow.
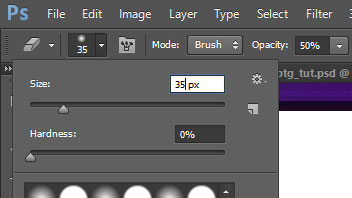
To soften the ends of the sun rays:
Choose Eraser Tool (size 30 - 40), soft edges, opacity 50%.

Go over the ends of the sun rays a few times to achieve the fading effect.
Go back to the Options bar and change the Opacity setting back to 100%
Step 14 - gradient modes
To paint the sky:
Select the upper part of the image with Marquee Tool (as shown).
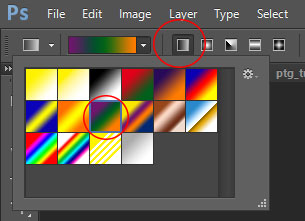
Choose Gradient Tool.
In the Option bar select any purple gradient from the Options bar.
Linear Gradient
If you apply the gradient with the current settings - its colors will replace all painting that you have done so far.
So don't apply the gradient yet!
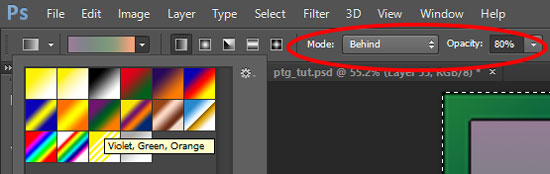
First go to the Options bar and change the Gradient type from Gradient to Classic Gradient -it will give you more options.
Now change Gradient mode to "Behind" - the gradient will be applied only to blank (transparent) areas of the selection.
Set Opacity to 80%
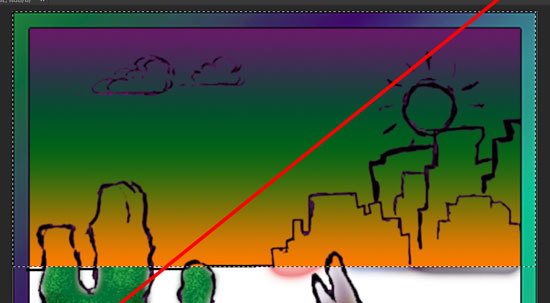
Drag the gradient from the top to the bottom of the selection.
See? The gradient did not paint over your mountains and the rest of the painting.
Switch the mode back to Normal.
Deselect
Step 15 - clean the edges
Use Marquee to to select the bottom part of the image.
Use Eraser tool to remove the unwanted strokes.
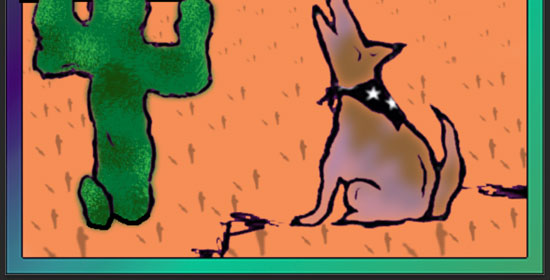
Step 16 - painting the background
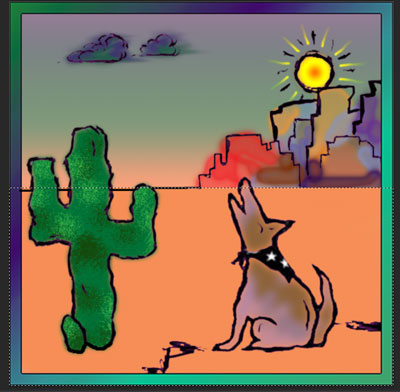
To paint the ground:
Select a large brush.
Select a color
Select Behind mode for the brush.
Paint the ground.
When done - deselect
Switch back to Normal mode.
Step 17 - custom brush
Next you are going to create your own texture brush.
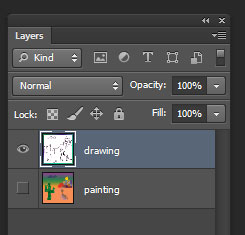
Turn off the Painting layer (eye icon).
Select the Drawing layer.

With the Marquee tool select the two sun rays like shown on the picture.
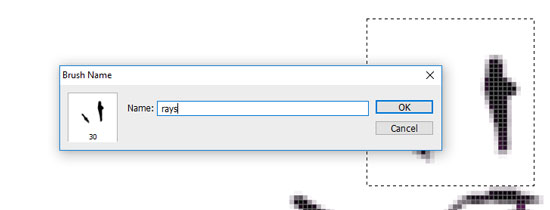
Edit > Define Brush Preset
Give your new brush a name.
Deselect (Ctrl D)
Content for class "step" Goes Here
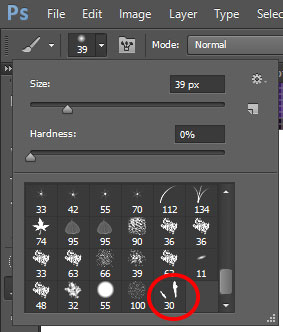
Now if you open the Brushes options - you'll see your new brush there.
Select it.
Choose a nice color for the ground texture.
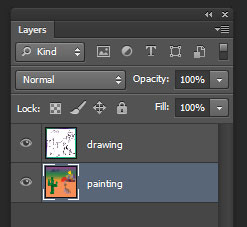
Return to the Painting layer.
Paint the texture.
Change the brush size as you paint in the distance.
Done!