
by JuliannaKunstler.com
GALLERY
STEPS
 |
 |
step 1
Find an old black-and-white photograph with one or more person in it. You can use one of your family photos if you want to. The photo should be a good quality scan. Open it in PhotoShop. |
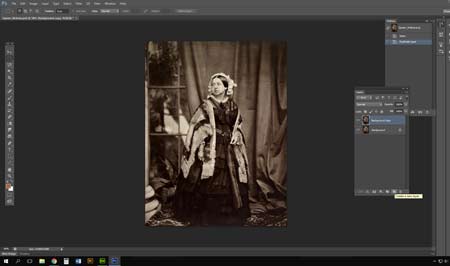 |
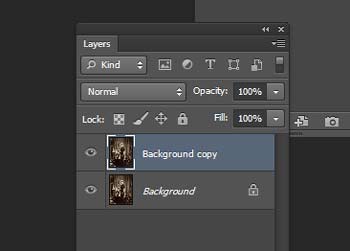
Duplicate the background layer. You are going to do adjustments and coloring to the copied layer. Keep the original image (layer) in case you need it. |
 |
step 2
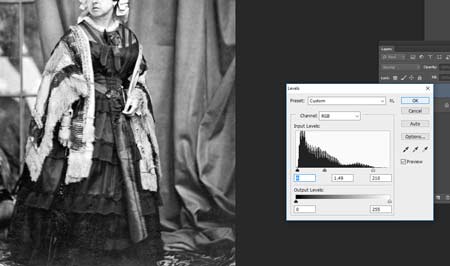
Remove all colors: Image > Adjustments > Desaturate |
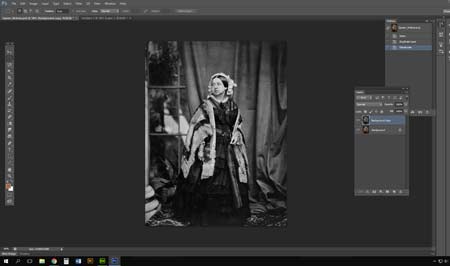 |
Adjust the levels if your image is not contrasted enough, or too dark / light. Image > Adjustment > Levels |
 |
step 3
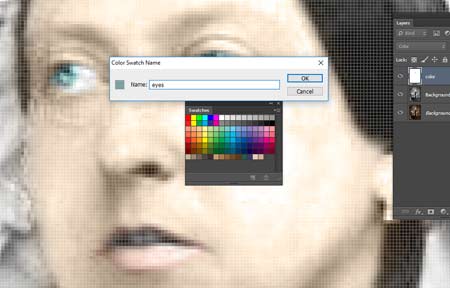
Add a layer. Name in COLOR. Change blending mode to "color". |
 |
Use a soft brush (hardness 0). In Brush's Options - set Opacity between 10 and 50% Pick a skin color. Apply to the face, hands, etc. Set Eraser tool to hardness 80 - 100% to remove paint. |
 |
Save colors as swatches - so you can fix, adjust, restore the painted areas. You can give your swatches names. |
 |
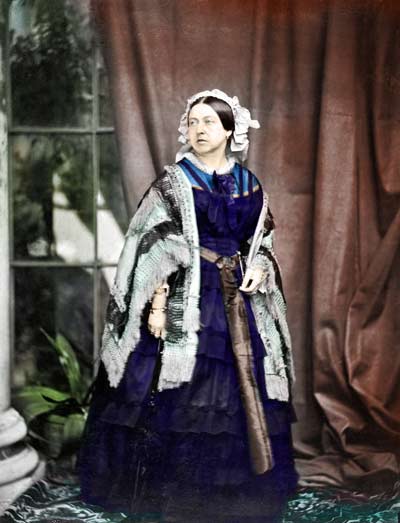
step 4
Continue painting the rest of the image. You can use multiple layers for coloring. Try different Blending modes - in addition to COLOR - it can be OVERLAY or others. |
step 5
After you are done - it's time to place "before" and "after" images next to each other. Go to the Menu bar: Image > Canvas Size
|
 |
| You will heave an extra space next to your colored photograph. |  |
Use Move tool. Convert Background layer (original photo) to Layer 0. Move the original photo to the right. |
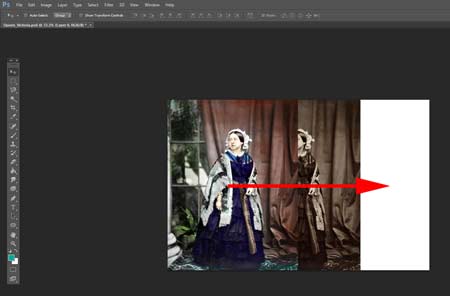 |
Add a signature. Print.
|
 |