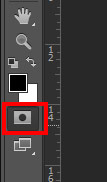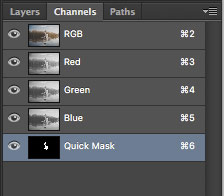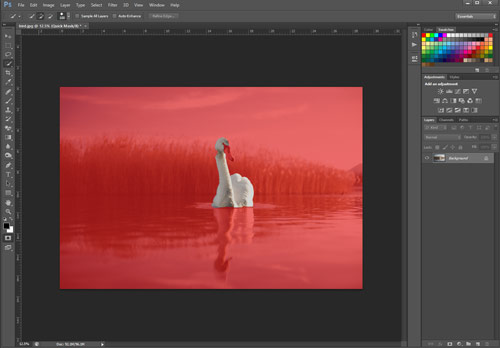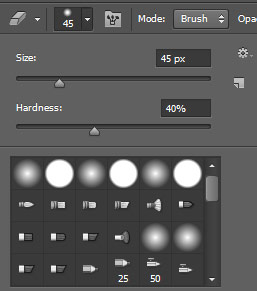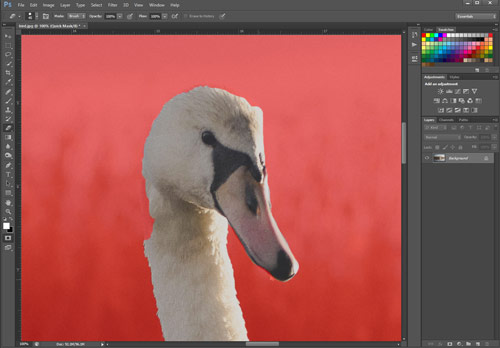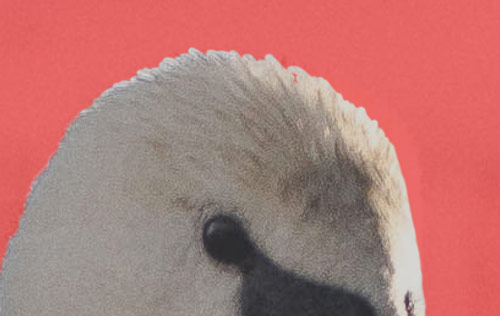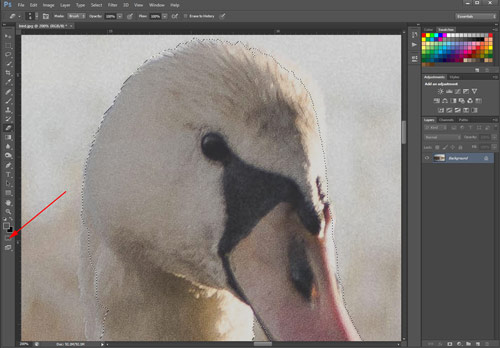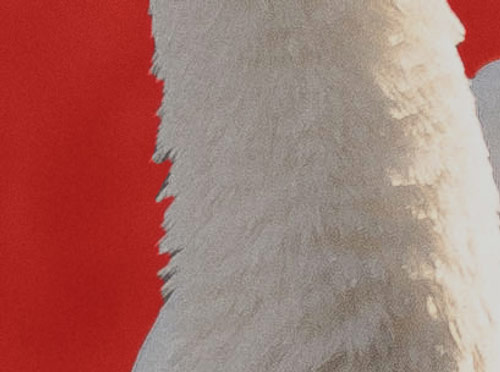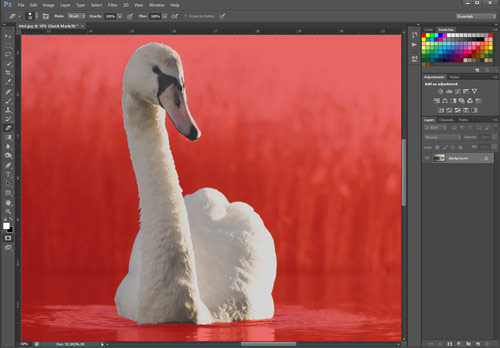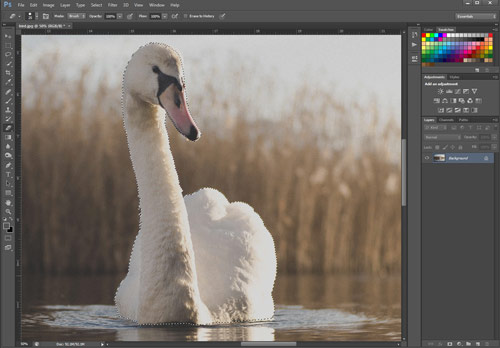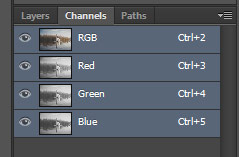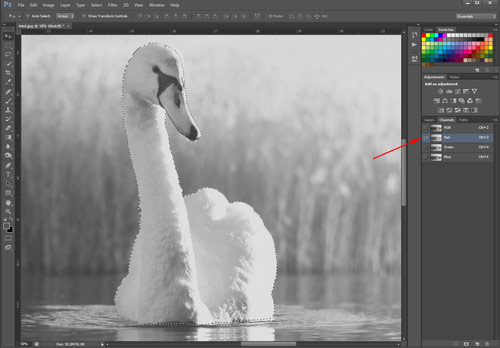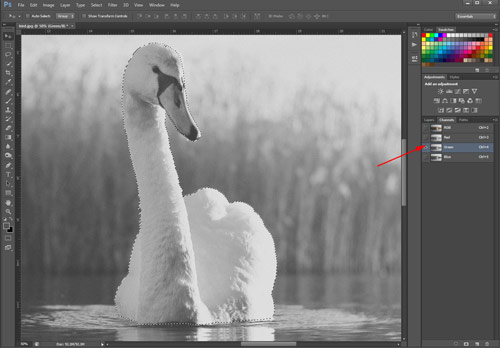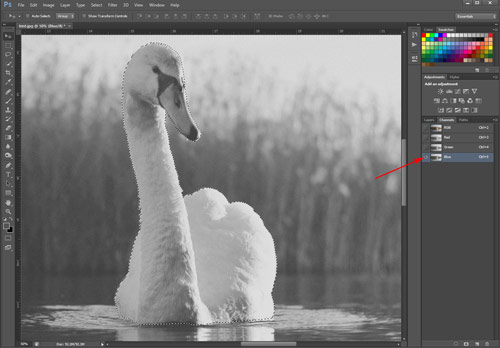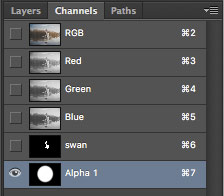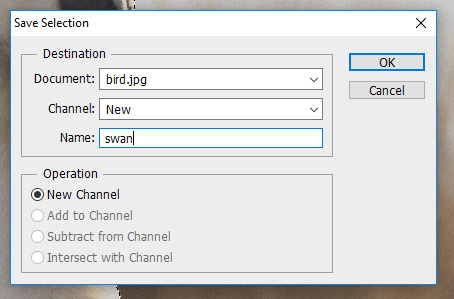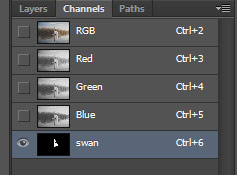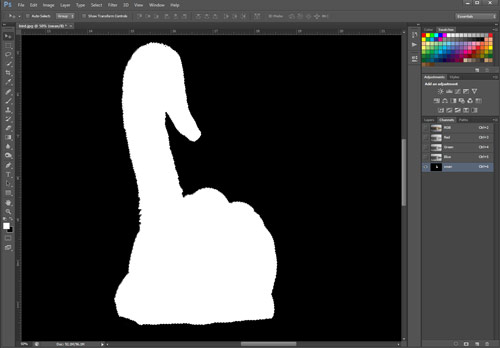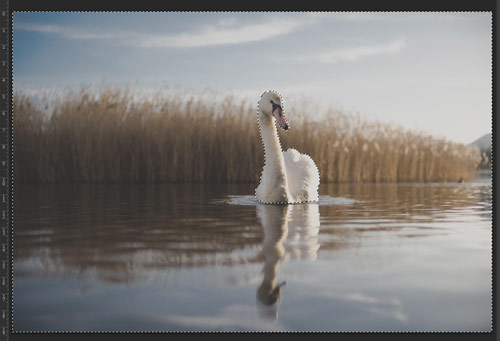
Click on "swan" channel.

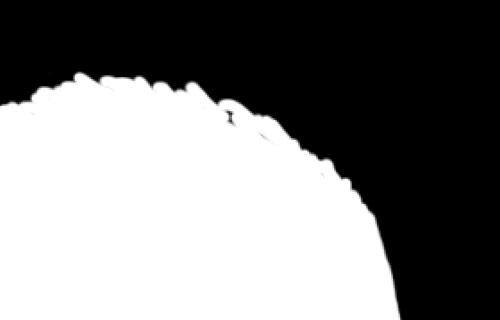
You can edit the selection again if you need to clean up your mask (there might be a few spots that you overlooked).

Zoom in and move around the selection to see any spots left.

When done - click on RGB channel.

Place the selection back onto the image:
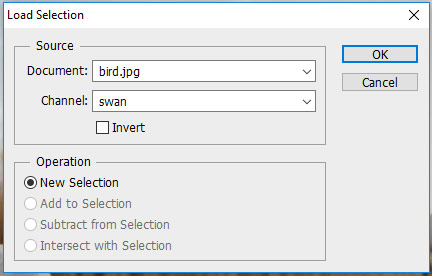
Select > Load Selection
Choose "swan" channel
OK

Now you are going to select the background - the area around the swan.
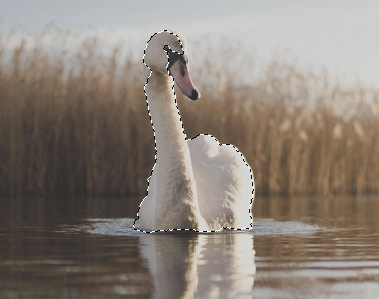
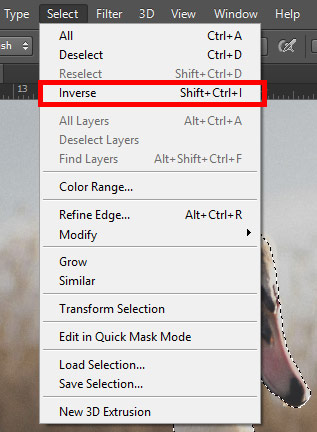
With the swan still selected - see the selection outline around the bird?
Select > Inverse

Now you should see the selection outline around the perimeter of the image and around the swan.
The swan is masked now (protected).
You can manipulate with the background without affecting the swan.
a

You are going to adjust the tonal balance of the background.
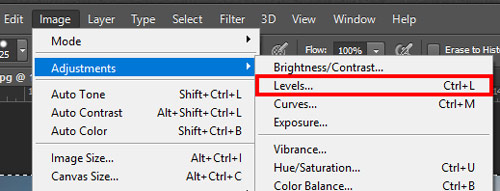
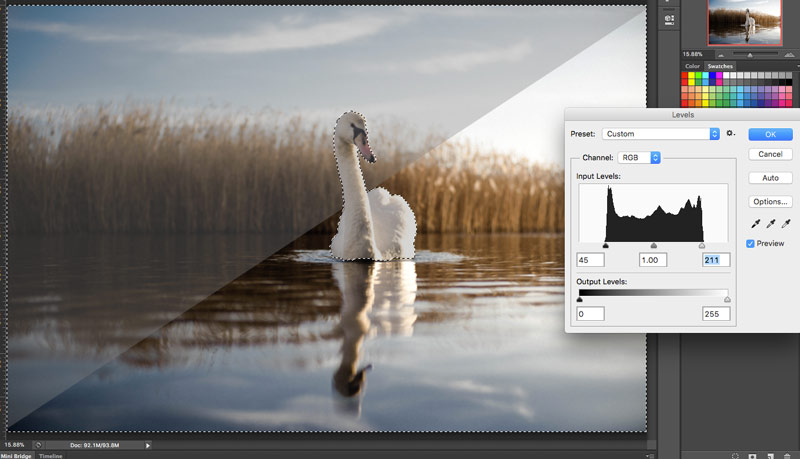
Image > Adjustments > Levels
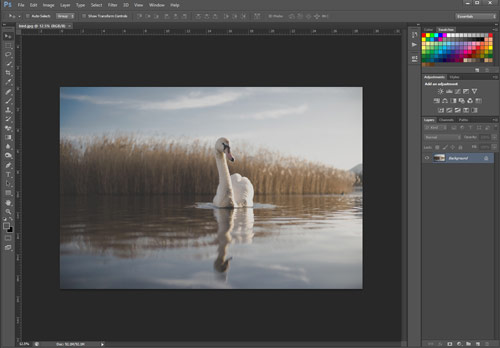
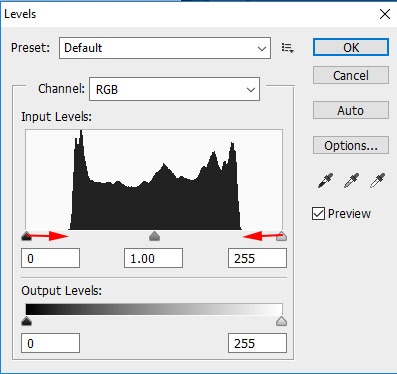
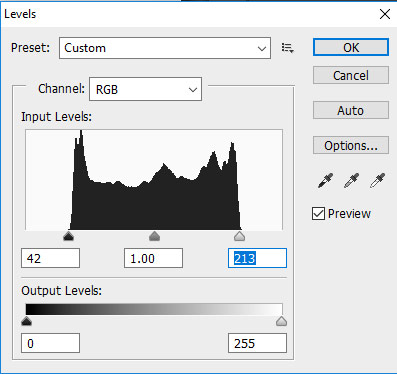
Increase the contrast of the photograph - make the lightest pixels white, and darkest - black (right now the lightest pixels are light grey, and the darkest are dark grey, as you see from the image on the left).

You are going to define the lightest and the darkest pixels as white and black.
To do so:
Drag the left (black) slider to the start of the graph.
Drag the right (white) slider to the end of the graph.

If you wish to adjust mid-tones - slide the middle (grey) slider.
Make sure the Preview option is checked.

This is what the image looks like after we have improved the tonal values.
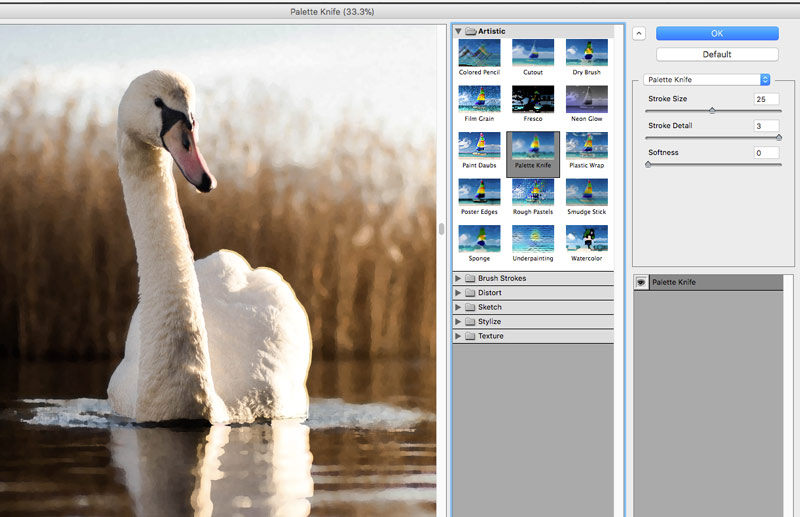
Let's apply an artistic filter to the background while it is still selected.
From the Menu bar: Filter > Filter Gallery
Choose Palette Knife filter. Experiment with settings. You will see the changes in the preview window. As you see - the filter is applied only to the background. The swan has not been edited.
Click OK when you like what you see.
Deselect!!
Save.


Now it's time to improve the colors of the swan.
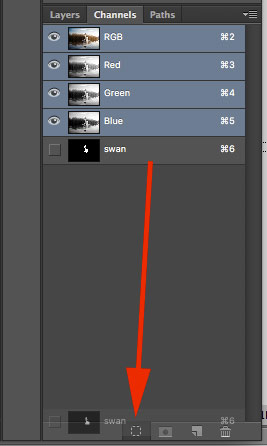
Load the swan selection.
You can do it by dragging the channel onto "selection" button at the bottom of Channels palette.

Because the swan is the focal point of the image - we'll use more elaborate way to improve the colors and contrast.
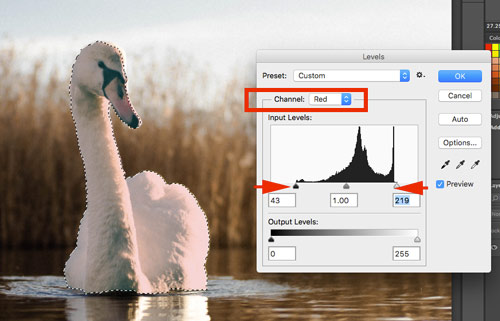
Image > Adjustments > Levels
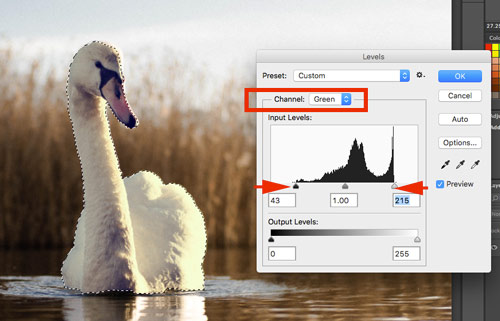
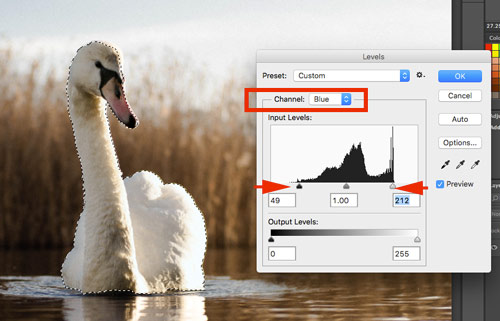
Instead of adjusting RGB channel (all three colors), we are going to adjust each color channel individually for more accuracy.
Start with Red channel.
Drag the sliders to the histogram as shown.

Switch to Green channel.
Adjust levels.

Adjust Blue channel.
Click OK.
Deselect.
Save.

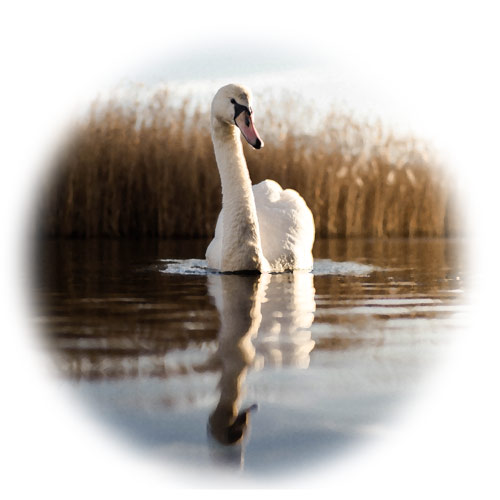
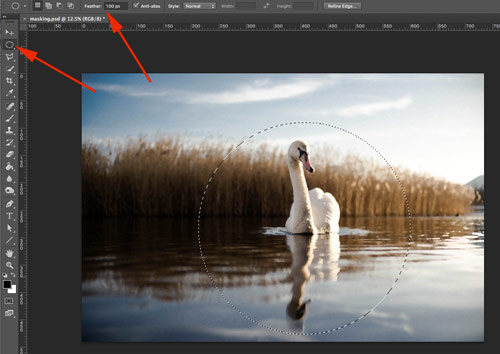
Choose Elliptical Marquee tool from the Tool Box.

Change Feathering option to a higher number (50 - 100 px.).
Hold Shift and Command/Option and drag a selection around the swan.

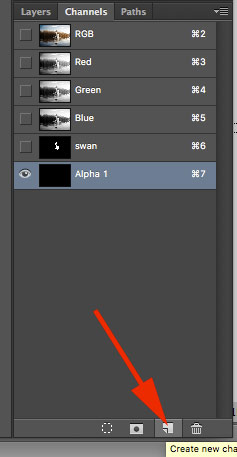
Create a new Alpha channel by clicking on the New Channel button.
Your image window will display the new channel.
The new channel is solid BLACK because there is no selections on it... yet....

In the Menu bar:
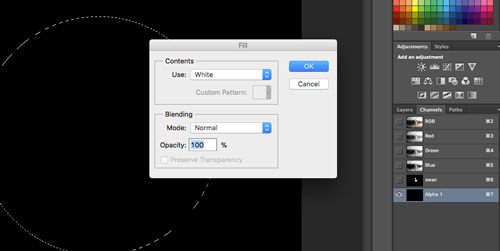
Edit > Fill

Choose WHITE for Contents.

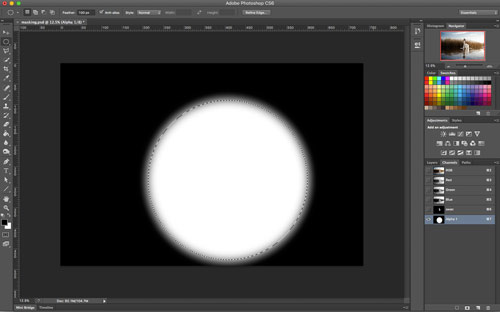
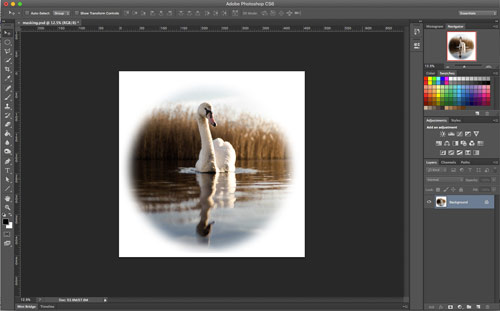
You will see a white circle with fading edges.
White color shows your selection
Black color shows what's not selected, masked, protected
Range of Greys shows pixels with a range of transparency: lighter the grey - more transparent the pixel.
Deselect

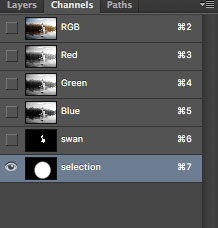
Rename your Alpha channel as "selection" or any other descriptive name.
Now your fading circle is saved as "selection" channel.

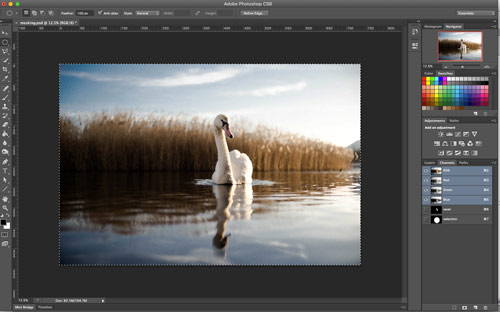
Click on RGB channel to return to full color view.
Next step is to remove the background around the round selection.
Select the entire image:
Command/Ctrl A
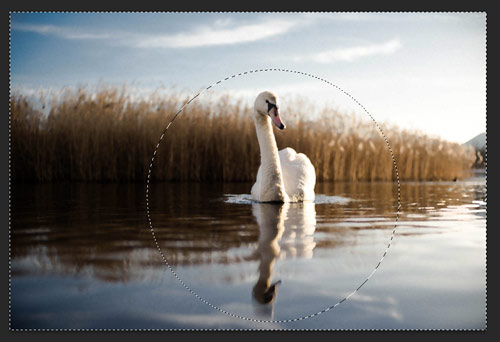
You should see the selection border around the perimeter of the image.

To remove the circle from the "all image selection":
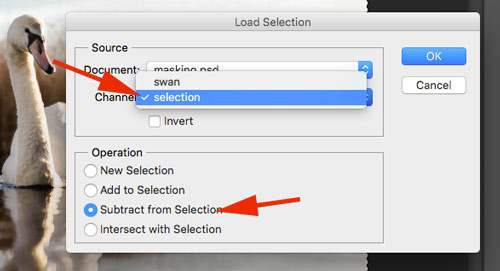
Select > Load Selection
Choose your "selection" channel
Choose "Subtract from Selection" option
Click OK

Now you see the background selected with a "hole" in it.

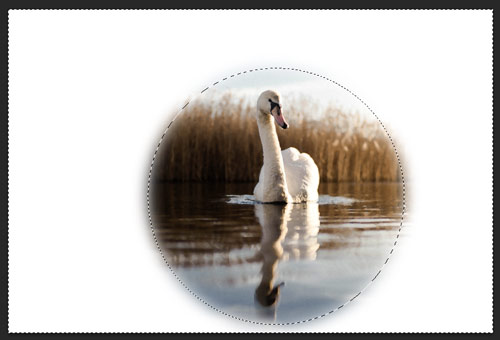
Delete the background:
Edit > Clear
Deselect
Save

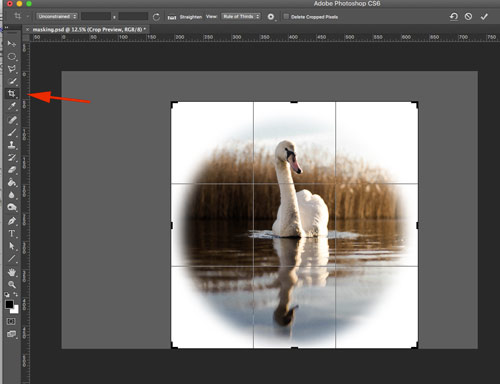
Use Crop tool to remove the extra space.
Don't forget to hit ENTER

Save
Compress/optimize it into a JPEG file and submit.

