Read the Intro to Pencil tool before you start (link above).
Download the practice image to follow the steps below.

by JuliannaKunstler.com
Read the Intro to Pencil tool before you start (link above).
Download the practice image to follow the steps below.
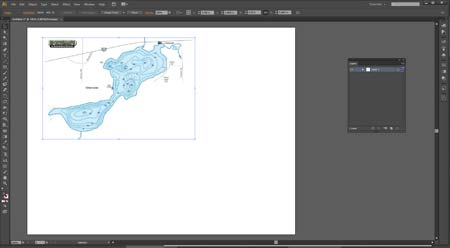
Open Adobe Illustrator.
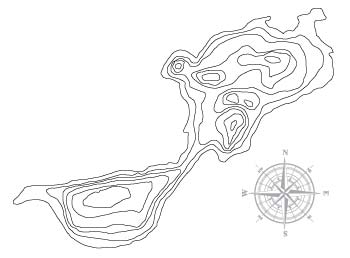
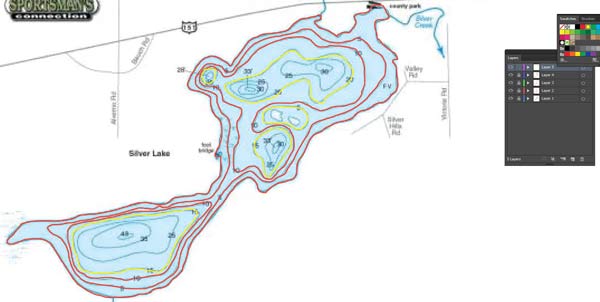
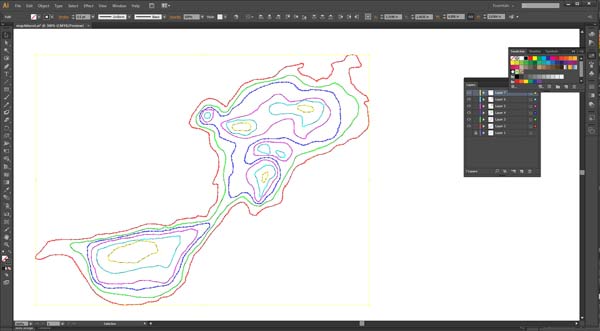
Open an image to trace.
(I used a map that I downloaded from the Internet. It is not a good quality image - that's why it is so pixelated)
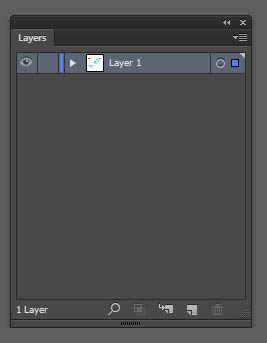
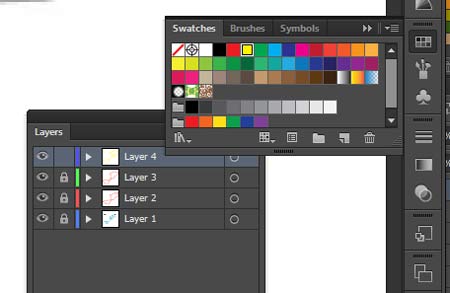
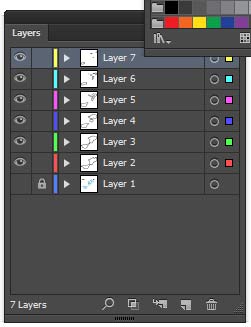
Open Layers palette (Window > Layers)

Lock the layer with the image.
This way you won't accidentally reposition it.

Create a new layer.
Your first path will stay on this layer.
You can rename the layers if you want to.

Select Pencil tool in the Tool box.
If you double-click on the tool - Options Window will pop up.
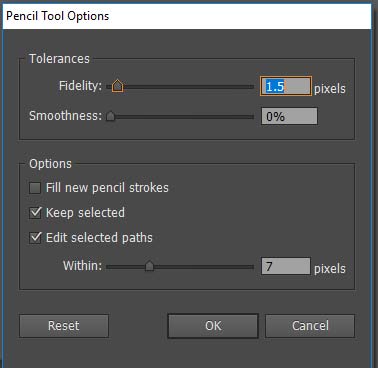
Set the options as shown.
Click OK.
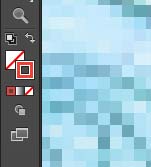
Click on STROKE swatch in the Tool box to bring it forward.
Double-click on it to bring the Color Picker window or.....
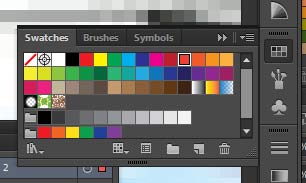
Use Swatches palette for a bright (contrasted) color for the stroke.
You will be able to change the color later.
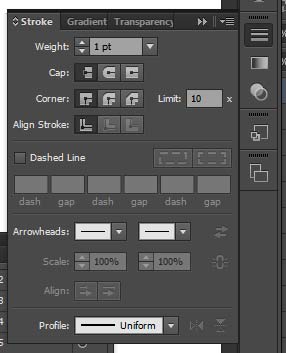
You can set the stroke options in Stroke palette.
(Window > Stroke)
Use stroke weight that will fit your image. You can change the options at any time (path should be selected to apply changes).
Zoom in to see details
Ctrl (Command) +
... or use Zoom tool.
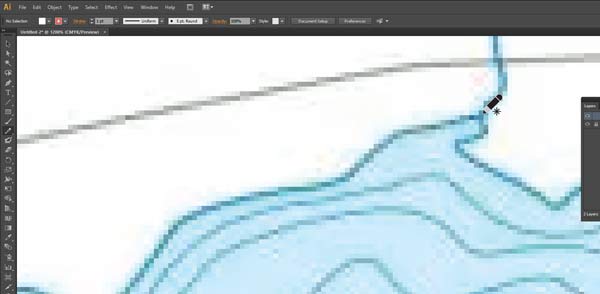
Place the cursor over the outer edge of the landmark.
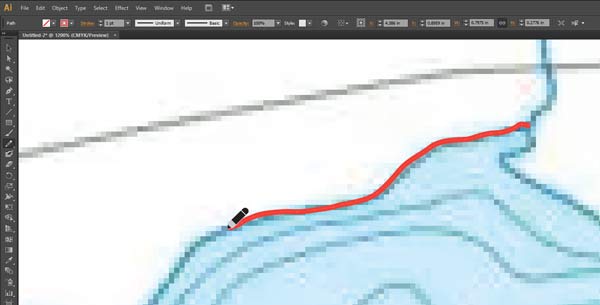 Start tracing.
You do not need to trace the entire shape with one stroke.
Draw a stroke that you are comfortable with.
Then place the cursor close to the end of the previous stroke and continue drawing.
Important: Make sure there is no "star" symbol next to the cursor to continue drawing the same path.
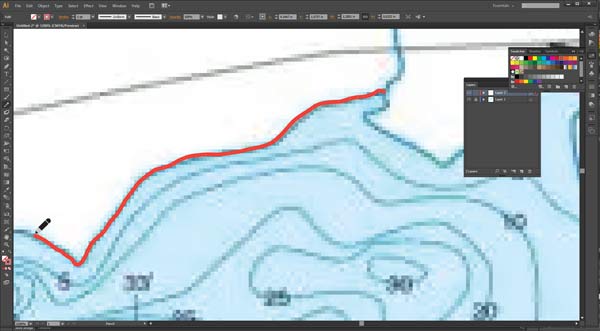
Continue drawing.
Hold Space-bar to navigate inside the image.
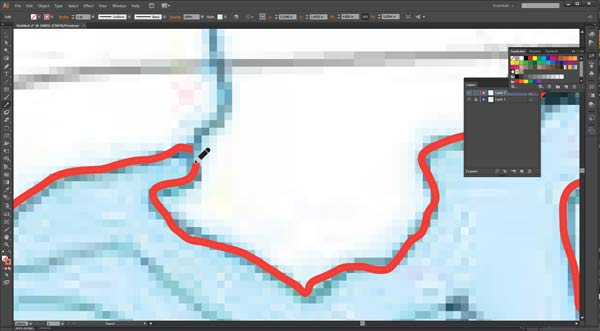
Return to the START point.
You need to complete the path for enclosed shape.
If you are not sure whether the path is closed - Ctrl (Command) J
If the path is already closed, a window will pop up telling you so. Just click OK.
The first path is done.

Lock the Layer 2.
Create a new layer.

The third layer will have 2 shapes (paths).
Use a different stroke color for both shapes.
I used yellow.
Continue tracing.
Make sure you keep track of all shapes (paths) for each layer.
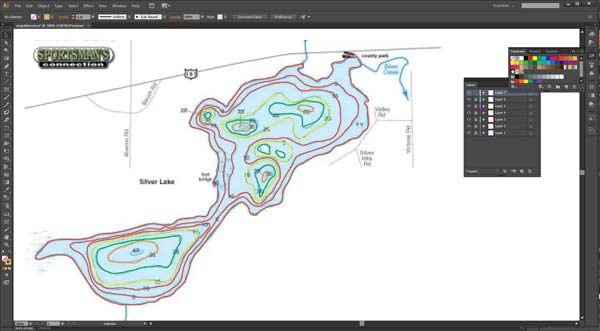
Keep changing stroke colors from layer to layer.
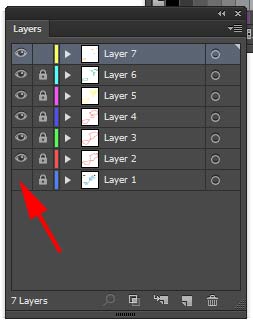
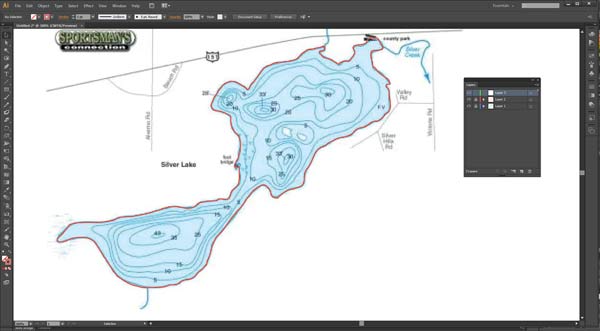
Hide the original image by clicking on the eye icon in the Layers palette.

Unlock all layers with the traced shapes.
Select all paths:
Ctrl (Command) A

Now you can change the colors to Black (or any other color you want).
Choose Swatches palette or Tool box Stroke swatch.

You can change the stroke weight in the Options bar or Stroke palette.
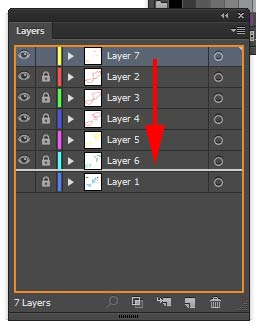
You can reorder the layers by dragging them in the palette.
Keep Layer 1 in place as this is where the original image is.
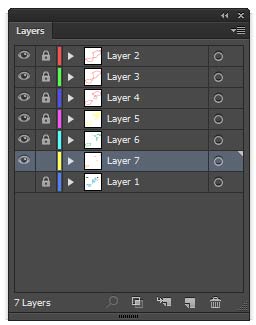
That's it!
You are done!