
by JuliannaKunstler.com
GALLERY
STEPS
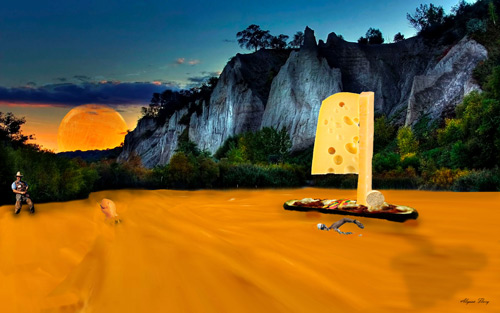
Cheese... In this project, your task is to use images of cheese in a creative way, either by exaggeration its importance, or by swapping it with other everyday items, or putting it where you'd least expect to find them.
Specifically:
- No logos
- No text
- High quality, strong technical execution.
- Have fun, be creative, and keep it clean.
 |
Please do not repeat my idea! Think of your own!
examples
 |
step 1 - image search
Look for the background image first. Think of a good setting for the cheese.
Then look for cheese images that will fit your setting.
NOTE: search for large images!
step 2 - extract cheese!
Make a nice selection around your cheese images. Use Quick Mask or Paths.
Switch to Move Tool.
Drag the cheese selection onto your background file.
Repeat with the rest of the cheese images.
step 3 - put it together!
How I changed a day into night:
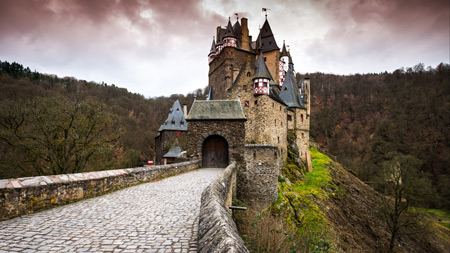 |
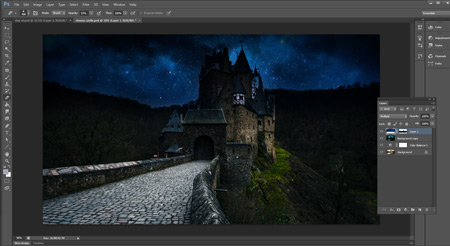
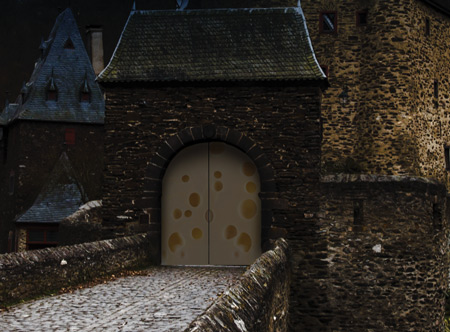
This is the image I started with. I chose it because it is a large, sharp, and detailed setting for what I wanted to do. |
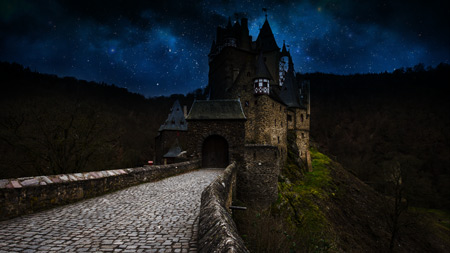 |
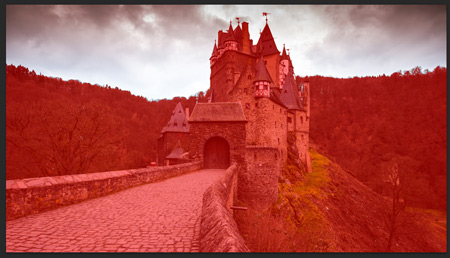
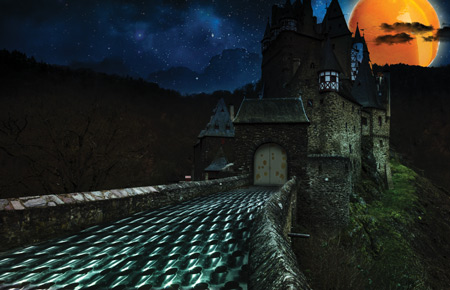
This is what the same image looks like after just a few manipulations. |
 |
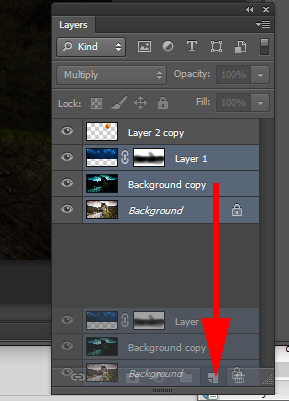
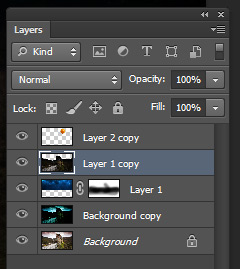
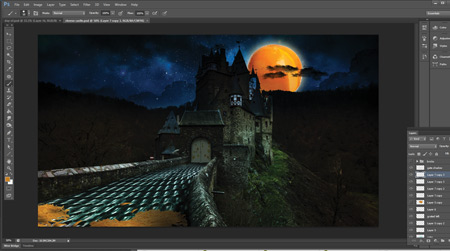
1. Duplicate the layer! 2. Image > Adjustments > Levels: move the midtone slider to the right. |
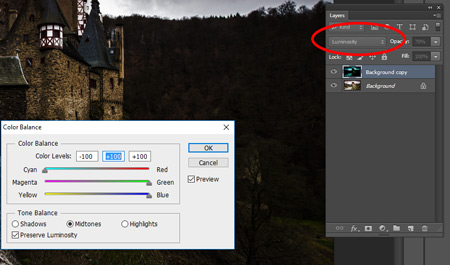 |
3. Play with Layer's blending modes (in the Layers palette) 4. Add more "blues" to the top layer by adding an adjustment layer: |
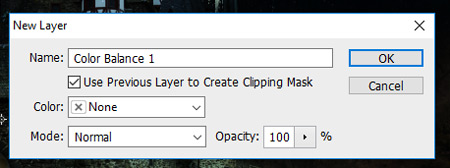 |
Layers > New Adjustment Layer > Color Balance Check "Use Previous Layer to Create Clipping Mask" |
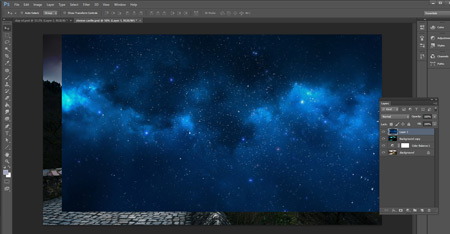 |
5. Add a night sky image. |
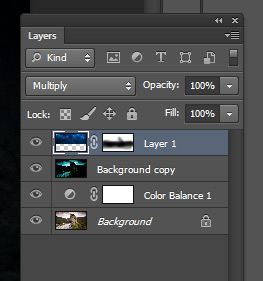 |
6. Play with the Layer's blending mode 7. Add a Layer mask to remove the sky image from areas, that cannot be covered by it: trees, buildings, etc |
 |
Done. |
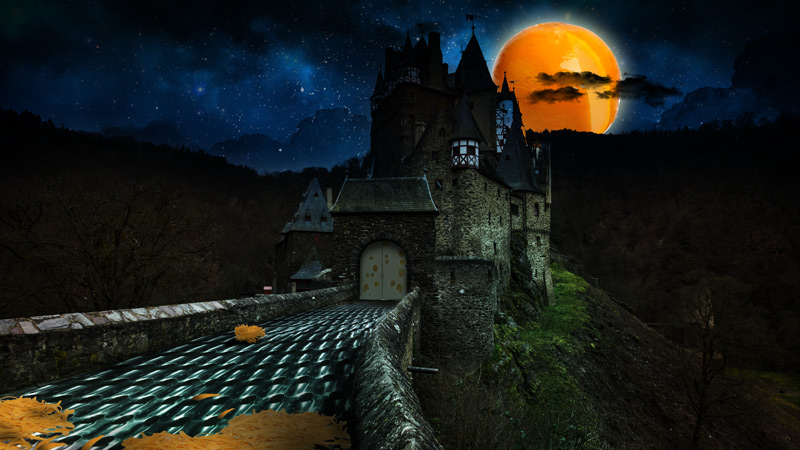
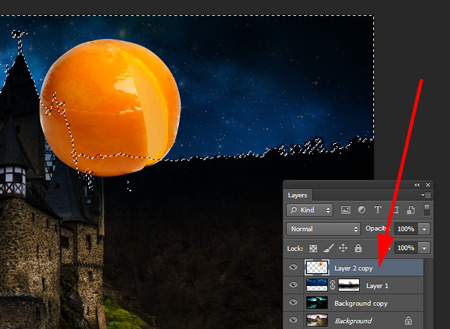
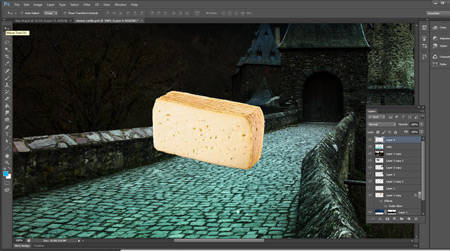
How I placed the moon behind the castle
|
This is what I started with. Then I dragged the cheese image. |
||||
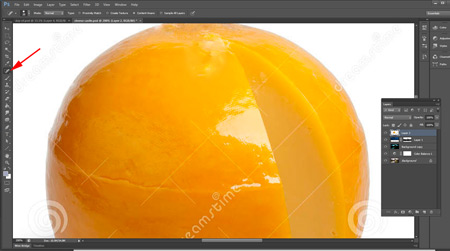 |
1. If you need to get rid of watermarks - use Healing Brush Tool (or Spot Healing). | ||||
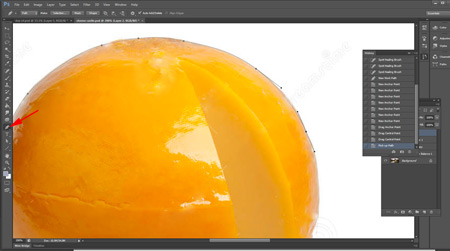 |
2. I used the Pen Tool to create a perfect selection of the cheese. | ||||
 |
3. Clear the background. | ||||
 |
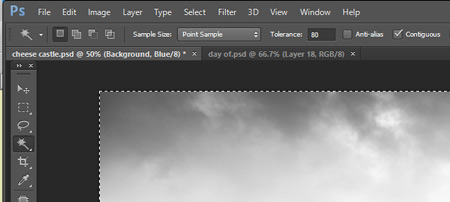
4. To select the sky do the following:
|
||||
 |
|
||||
 |
|
||||
 |
|
||||
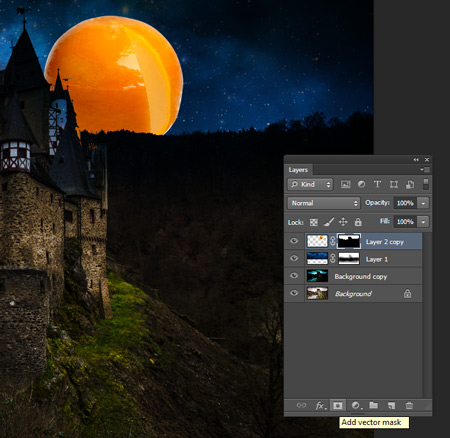
Now, that the sky selection is saved... ...there are two ways to place the cheese behind the castle: option 15. Duplicate all layers, that form the landscape (exuding the Cheese/moon layer).
6. Merge the duplicated layers. (Right-click on them, choose Merge Layers)
7. Load the sky selection (Select > Load Selection) 8. Remove the sky from the layer.
9. Move the Cheese layer under the Castle layer
9. Add glowing effect to the cheese layer: Layer > Layer Style > Outer Glow
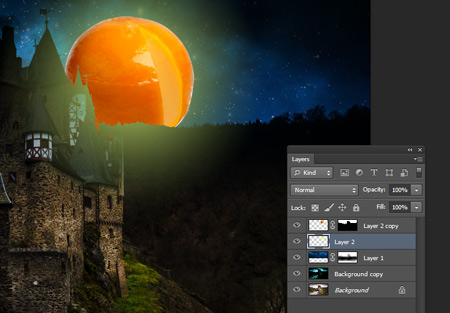
option 25. Load sky selection (Select > Load Selection) 6. Select the Cheese layer
7. Add Layer mask. Id you want to reposition the cheese - just unlink the thumbnail and the mask in the Layers palette, then select the image thumbnail.
8. To add the glow - use Gradient Tool. Choose a bright light Foreground color. Make sure the Gradient is set to Foreground to Transparency, Radial style.
9. Create a new layer for the glow. Place it under the Cheese layer. Draw a gradient - starting in the middle of the cheese shape - drag it past the cheese edges.
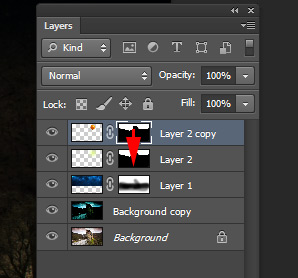
10. We need to apply the same layer Mask to the glow as we did for the cheese. In the Layer's palette Alt-drag the Layer Mask thumbnail over the Glow Layer.
|
|||||


How I added dark clouds:
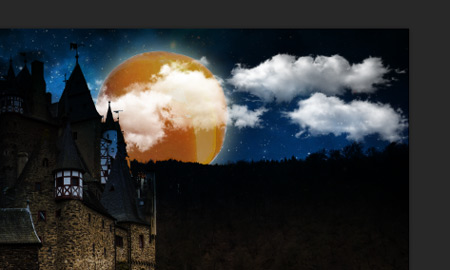 |
1. Find a nice PNG image of clouds. Drag them onto your image. |
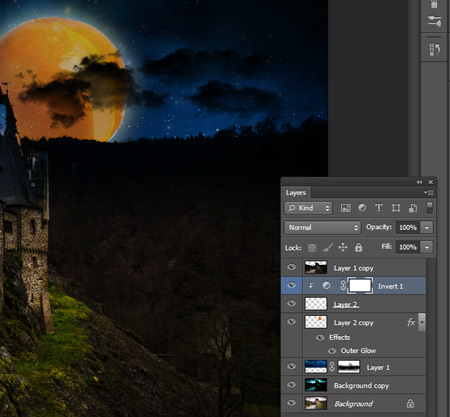 |
2. Insert a New Adjustment
Layers > New Adjustment Layer > Invert Check "Use Previous Layer to Create Clipping Mask" |
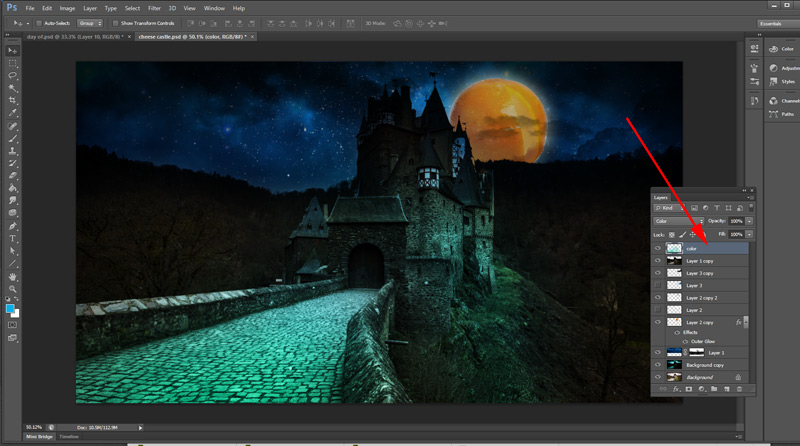
How I added the night colors:
|
This one is simple: just add a new Layer, Change blending Mode to "Color" or "Overlay", then pick colors and paint with soft brush. Apply a Gaussian Blur Filter to mix the colors. (Filter > Blur > Gaussian Blur) |
 |
|
How I added other cheese details:
 |
You can use one image and multiply to create a pattern. |
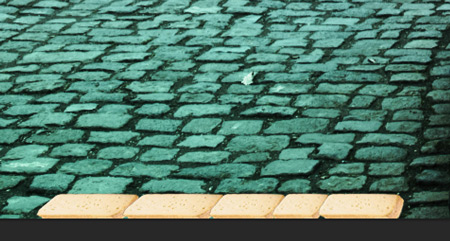 |
Use different Transform options to make the units different: Edit > Transform >
|
 |
If you place a detail in a darker area - make sure it matches the darkness of the rest of the image, also add drop shadows where needed. |
 |
If you add a new texture - make sure you add all necessary shadows. |
 |
|
idea credit: