1. Choose a Story:
- Select a story (poem, nursery rhyme, fable, short story, etc.) that can be broken down into a visual format. The story should be short enough to fit into 4 panels.
- Action: Copy and paste the chosen story into a Word document (or a document of your choice) for reference.
Example:
There was an old woman who lived in a shoe.
She had so many children, she didn't know what to do.
She gave them some broth without any bread;
And whipped them all soundly and put them to bed.
2. Break the Story into 4 scenes:
- Divide your story into at least 4 key scenes. These scenes should represent different parts of the story (e.g., beginning, middle, and end, or key turning points).
- Think about how you can visually communicate the key moments without relying on too much text.
This document is going to be a part of the final grade.
You will use these descriptions as prompts for generating the images.
Example:
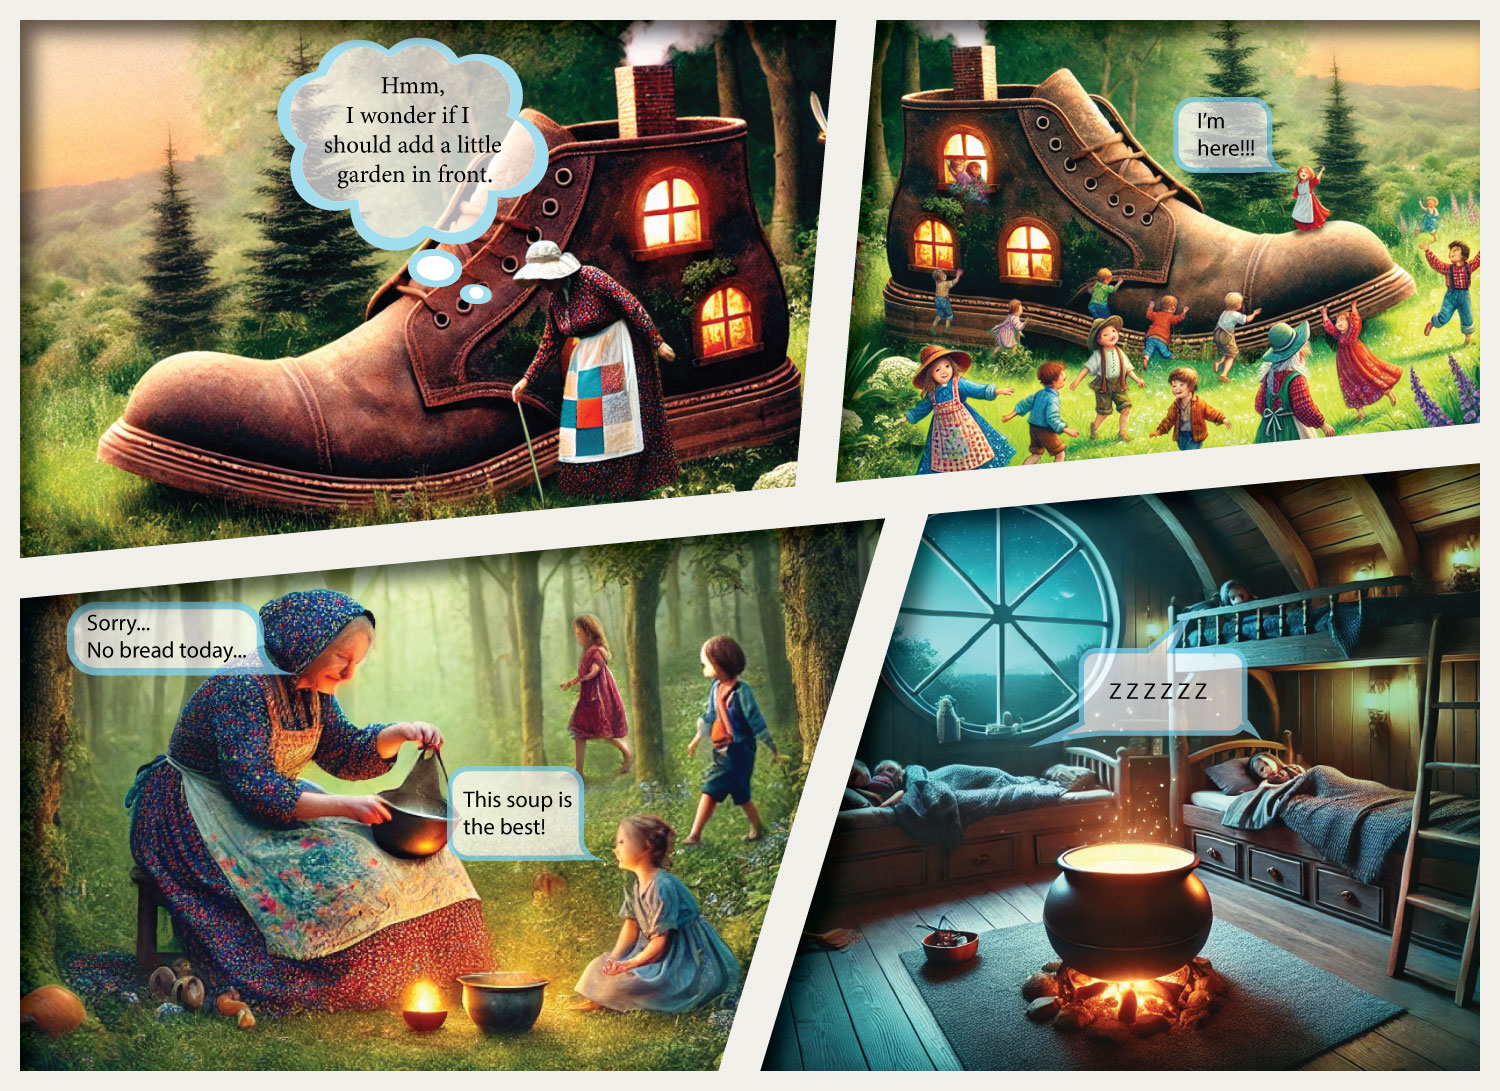
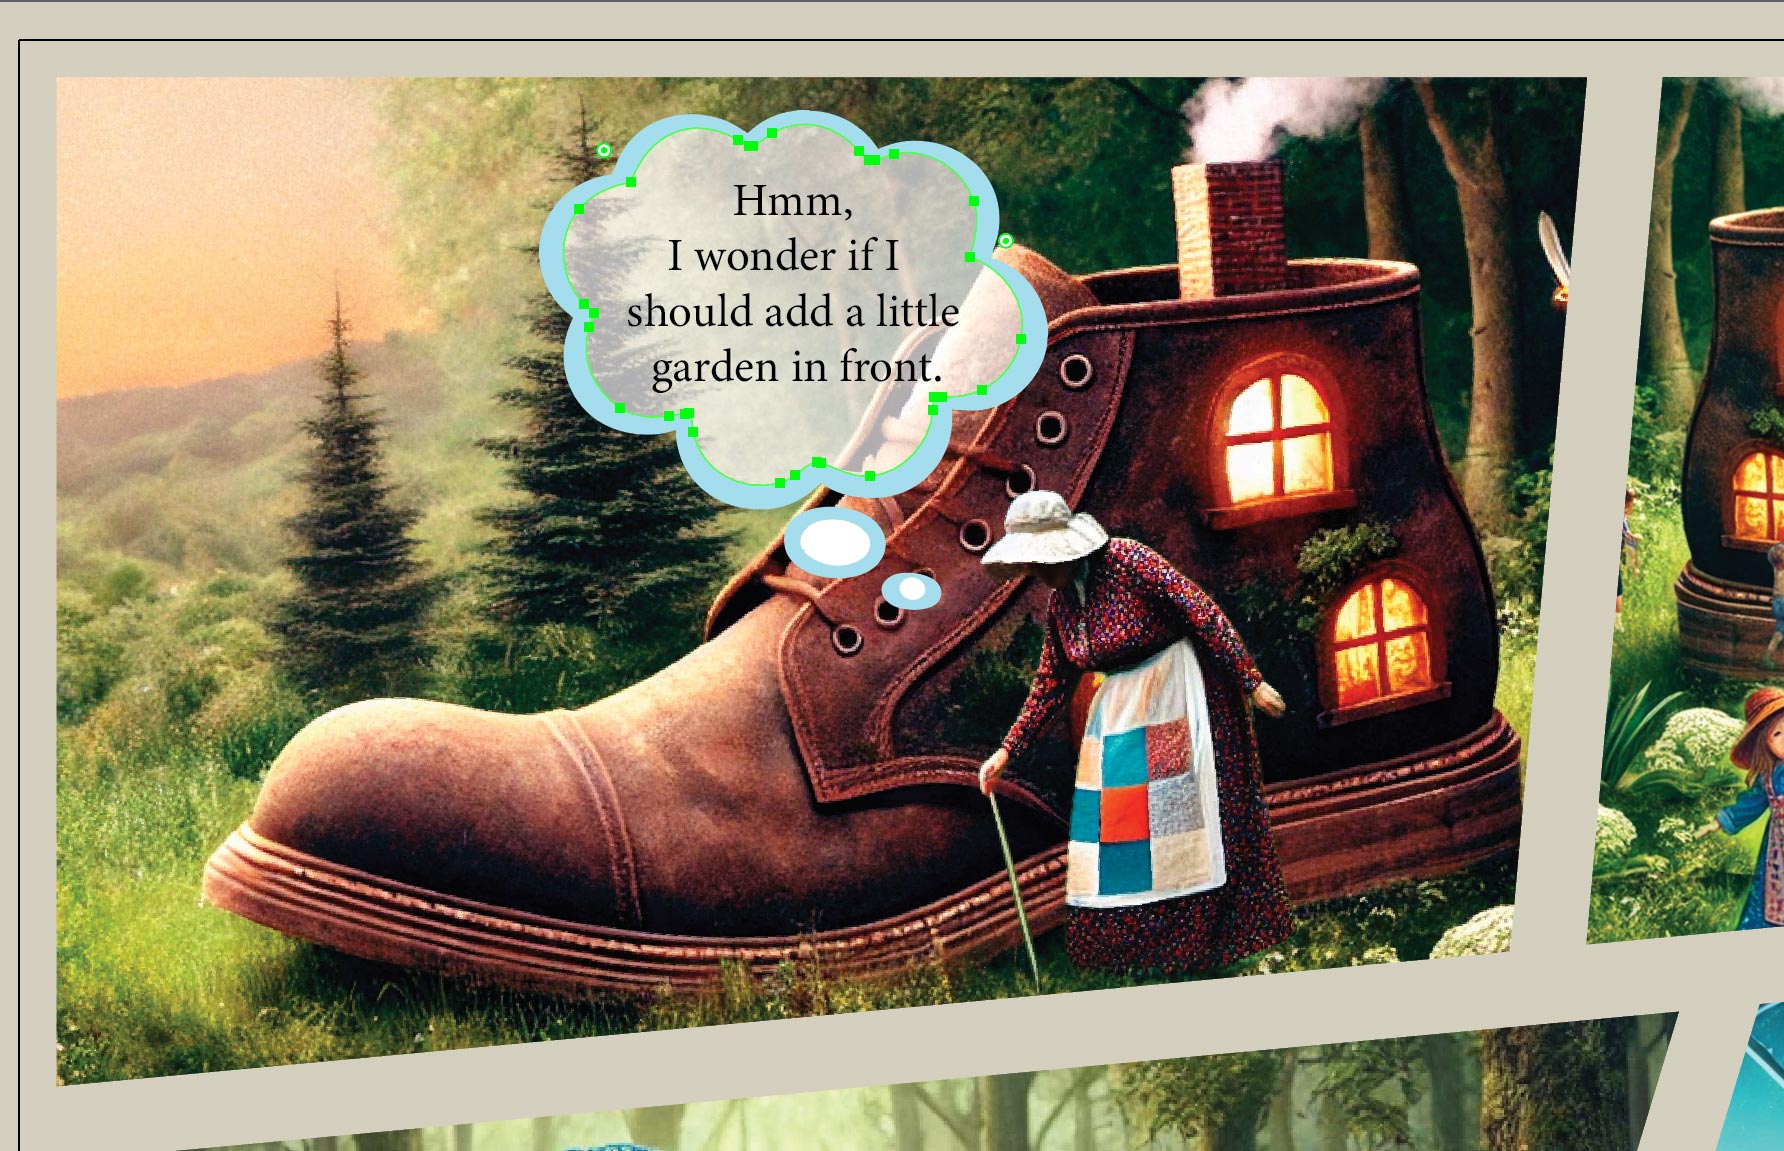
Scene 1: "There once was an old lady who lived in a shoe..."
Setting: A quaint landscape, sunny day, trees and mountains in the back.
Description: The old lady, dressed in a simple, cozy outfit, is looking around with a thoughtful expression. She’s standing near a very large, weathered shoe (the house), placed on a grassy patch with trees in the background.
Old Lady (thought bubble): "Hmm, I wonder if I should add a little garden in front."
3. Create a Storyboard:
- Sketch a rough storyboard for your comic strip. This is a basic layout showing the composition of each panel. Think about the visual elements you will use (characters, backgrounds, props) and how they will move the story forward.
- Action: Create a digital or hand-drawn storyboard based on the scenes you’ve chosen.
Take pictures of all your sketches.
They are going to be a part of the final grade.
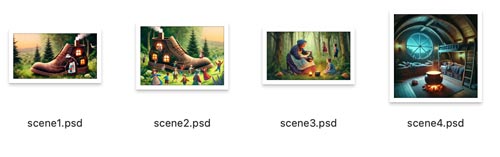
In Photoshop
4. Illustrate the Scenes in Photoshop:
- Using Photoshop, illustrate each of the 4 scenes. Focus on the visual elements of the story, including characters, settings, and emotions.
- Create a new file for each scene.
example:
Scene1.psd
New file, 12x9 inches (or other dimensions), 300 ppi
Create a background on the background layer:
1. Make a full image selection (Ctrl/Coimmand A)
2. Edit > Generate Image
3. In the popup window: type or paste from your storyboard description the detailed prompt for the background and setting
4. Click Generate and wait.
5. You can adjust the prompt or choose from a few alternative options in the Properties panel.
6. Select All again. Generate another image for the character. Make sure you are as detailed as possible. Do not forget to add a no background request. The white background can be easily removed.
7. Continue experimenting and adding more characters and all essential elements for the story. Place them on separate layers so they can be easily adjusted. Then save and start the next scene.
Check the quality of the selections - use layer masks to be safe.
Consider overall color scheme that would help the "mood" of the scene.
Save each scene as a separate PSD file (one for each panel).
In Illustrator
Create the Layout in Illustrator:
- Using Illustrator, create a grid or layout for your comic strip. You can decide on the panel arrangement.
- Place each scene (saved as a PSD file) into the grid layout.
- Add comics elements
step 1:

Create a new document in Illustrator.
11"x8" is a good size.

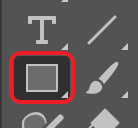
Double-click on the Rectangle tool.
Type in dimensions that match the size of your artboard.
This rectangle will form the grid layout.
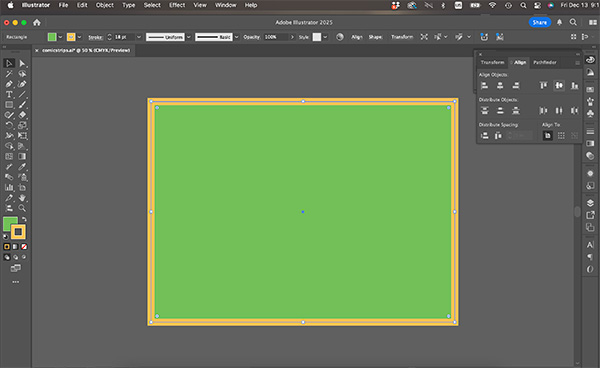
Fill and stroke color does not matter.
Apply a thicker stroke so it is easier to see..
Center the rectangle. Use Align panel.
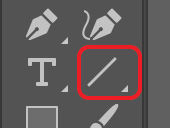
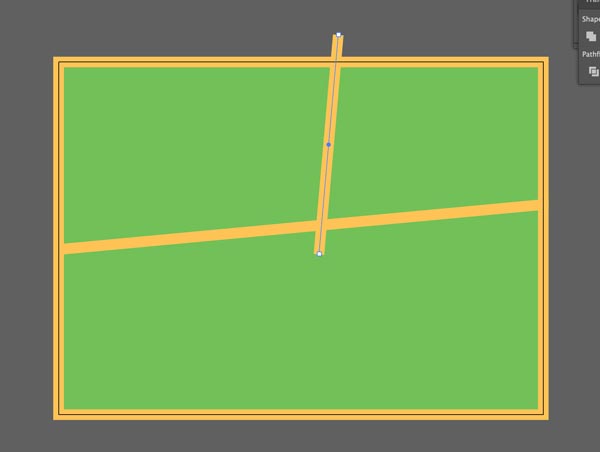
Select the Line tool.
Draw a line across according to your planned layout. We are going to use it to cut the rectangle in halves.
Select both - the rectangle and the line.

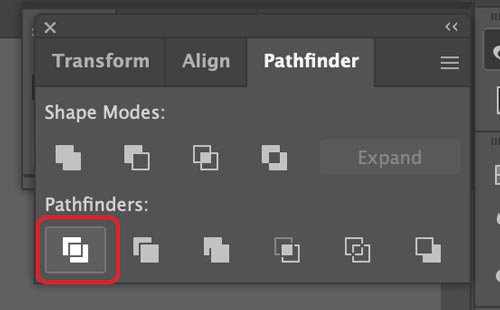
Divide the rectangle using Pathfinder panel.
Now we have two shapes. But they come grouped together.
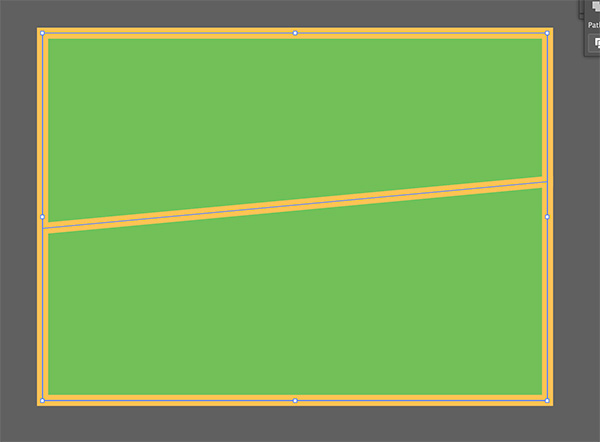
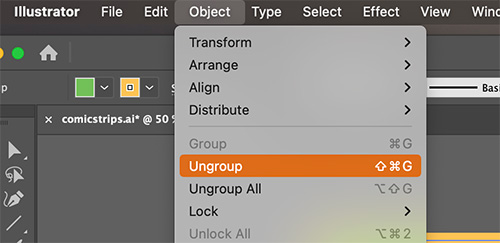
To ungroup them:
Object > Grouping
To divide the top shape into two - draw a vertical line.
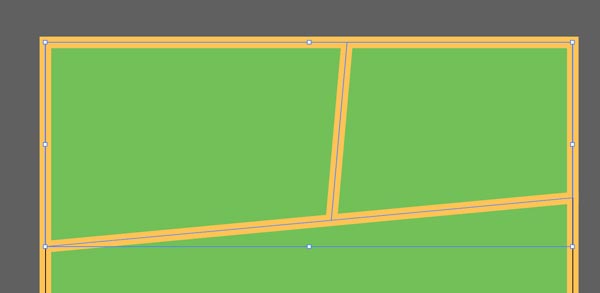
Select both - the top shape and the line.
Pathfinder... Divide
Object > Ungroup
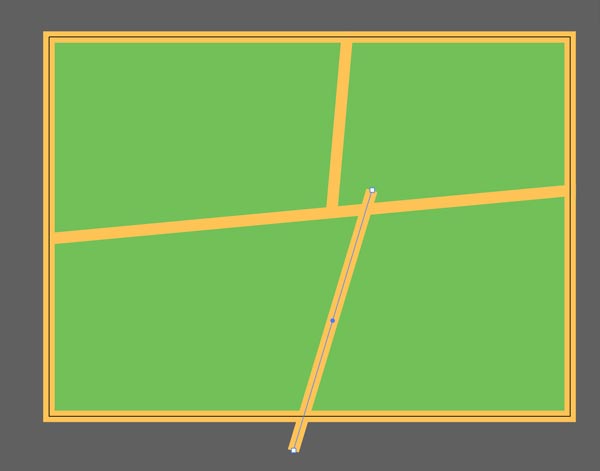
Repeat the steps for the bottom shape (divide, ungroup)
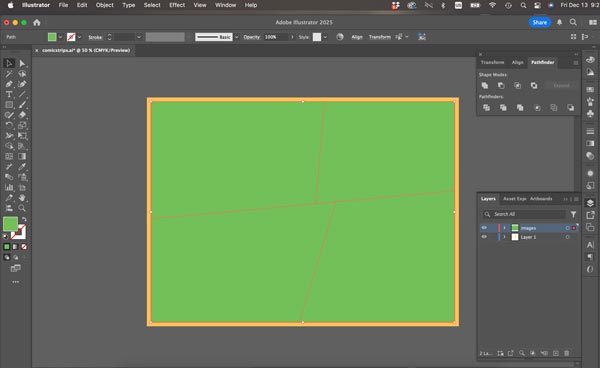
Select all.
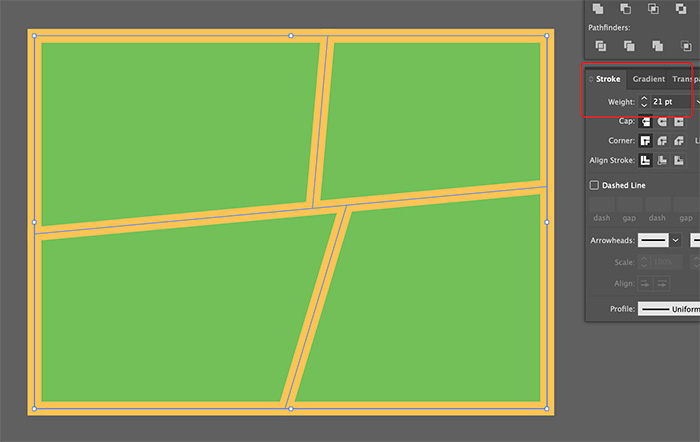
Increase the stroke weight to about 20-24. This will act as the space grid between the scenes.
Now we are going to separate the green shapes from the orange grid. Understand that the colors are totally optional.
We are going to use the green shapes to hold the images.
The orange grid will just be that. The grid.
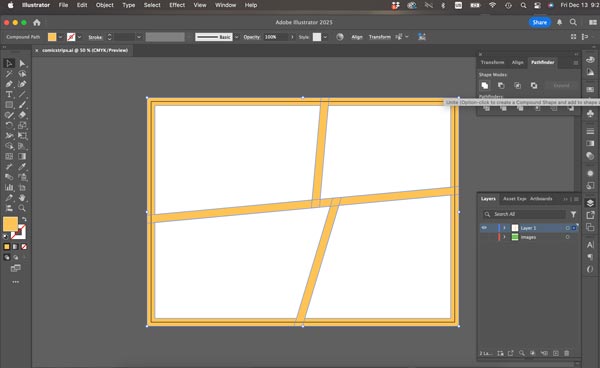
So... Object > Path > Outline Stroke.
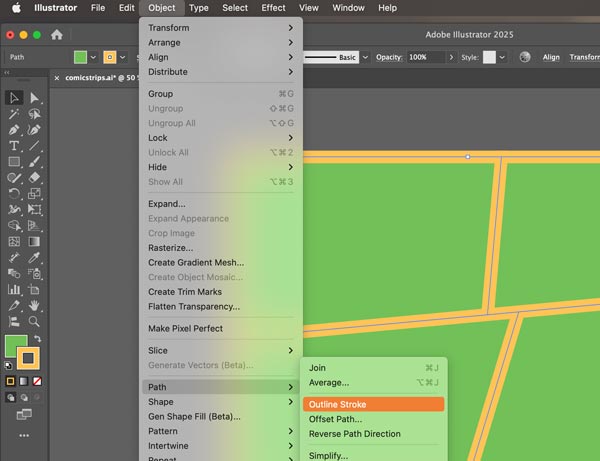
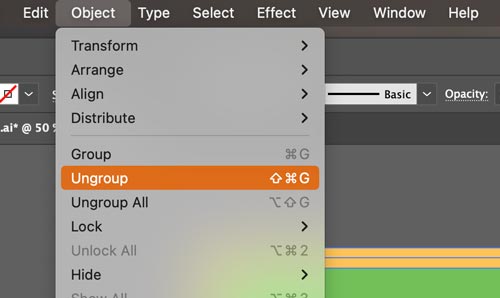
Ungroup right away.

This is what the have at this point.
You can see the green shapes paths - they are exactly where they were. They go through the middle of the orange shapes.
And yes... The orange grid is not just a path with a stroke anymore. Each path became a shape.

Select all green shapes.
Edit > Cut
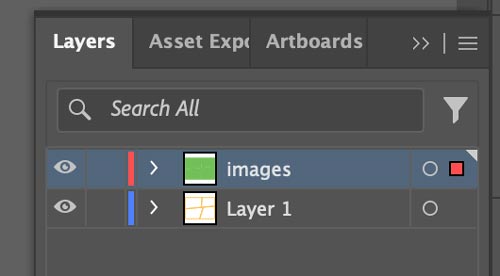
Create a new layer.
Name it "images"
Edit > Paste in Front
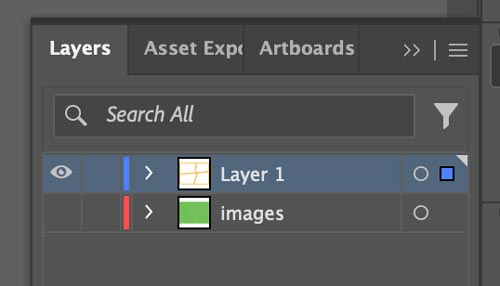
Hide the "images" layer.
Move it to the bottom.
Select the grid.
Pathfinder panel: Unite
Now the grid frame is a single shape.
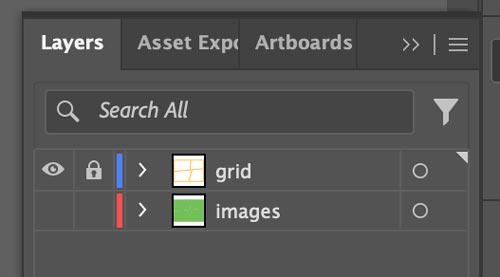
Lock the grid layer

Now ready to insert the images.
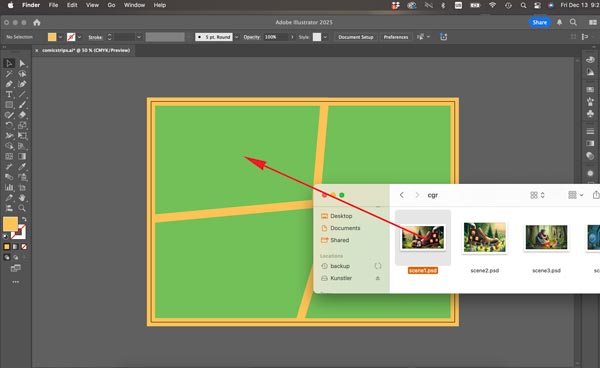
Make the "images" layer visible and active.
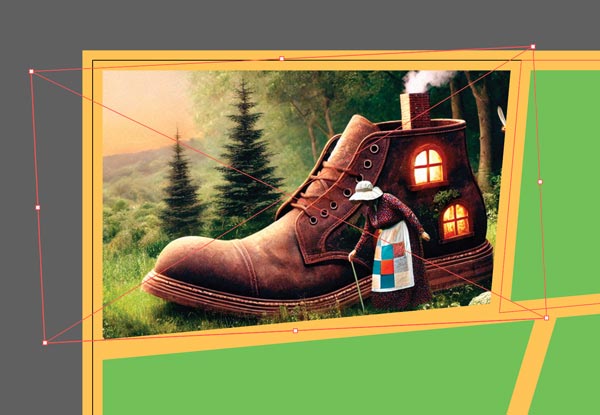
Drag the scene 1 file onto the images layer.
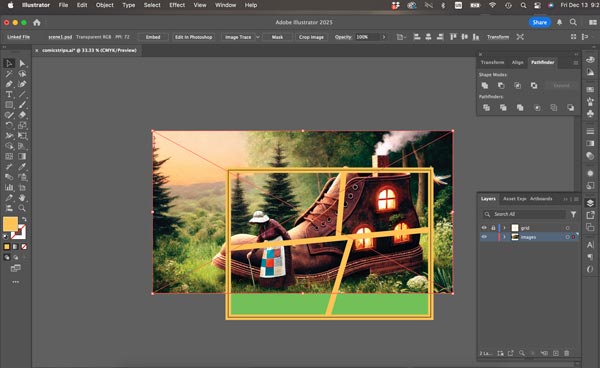
Most likely the image will bi bigger that needed.
Resize it and rotate if needed.
Make sure to constrain proportions as you resize.
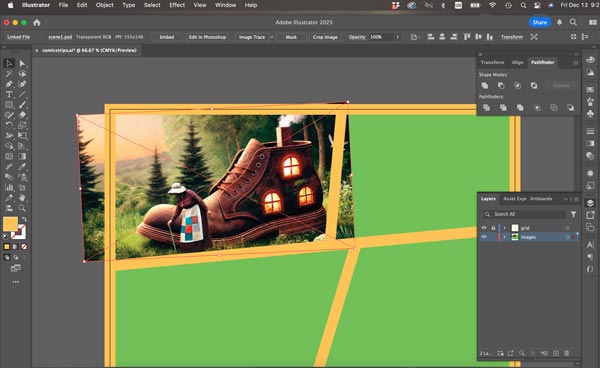
Position the image to fit the frame.
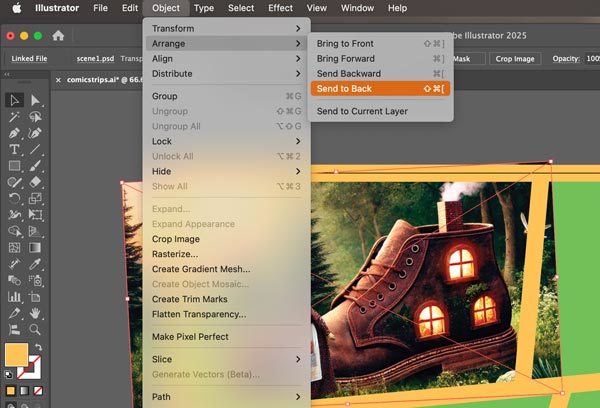
Now we need to place the image behind the green shape - the placeholder.
The green shape will act as a "cookie cutter" for the picture.
Select the image. Object > Arrange > Send to Back
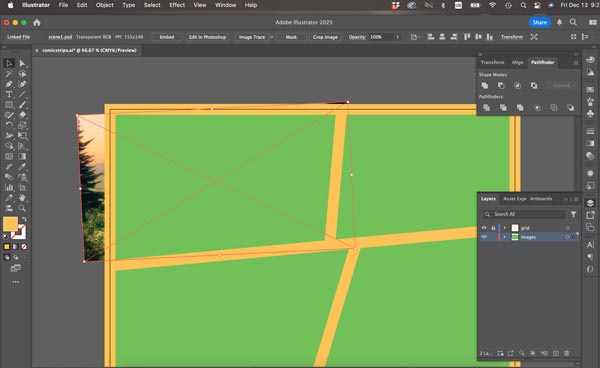
Now the green shape is above and ready to crop the image.
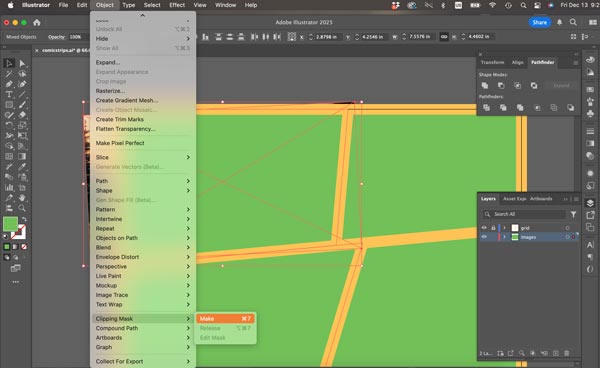
Select both: the image and the green shape.
Object > Clipping Mask > Make
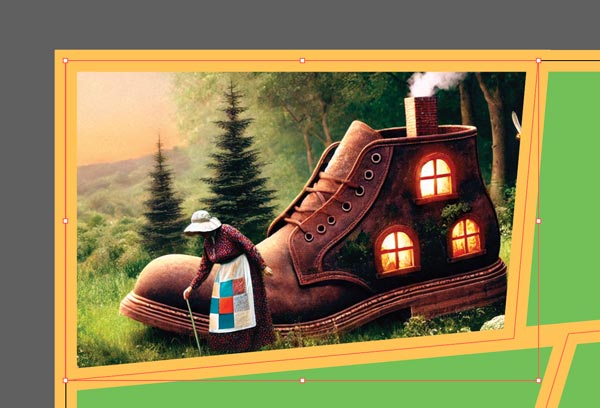
Great!
Scene 1 is in place.
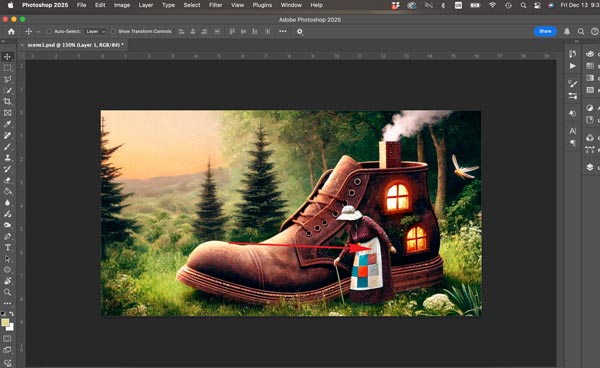
The cool thing about combining Photoshop files with Illustrator projects is that you can adjust and edit the image in Photoshop and it will be updated in Illustrator.
So lets say you want to move the old lady to the right.....
You open Photoshop and do it.
Make sure to SAVE!!!
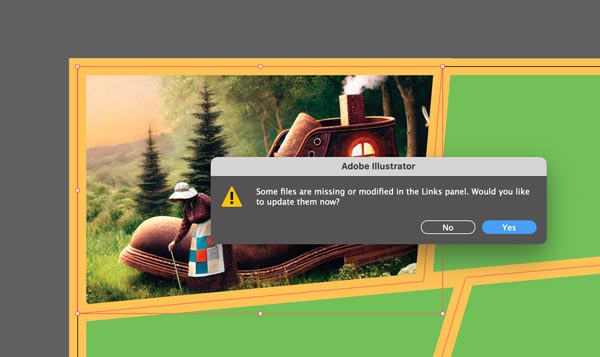
When you return to Illustrator - it will inform you that the file was modified.
Accept that.
The image will be updated.

Repeat the steps with the rest of the scenes.
Then lock the "images" layer.
Unlock the grid layer.
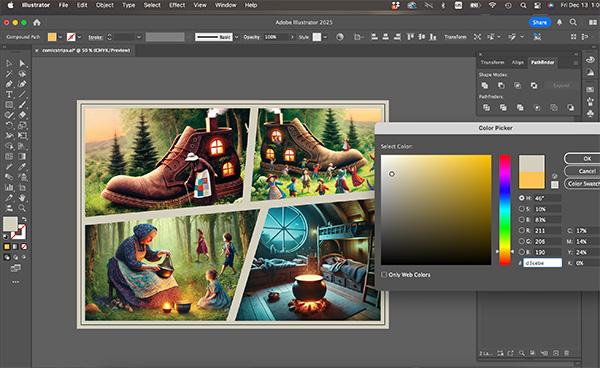
Now that you have all images in - you can change a color of the grid frame.

When done - lock the grid layer too.
Add Comic Elements in Illustrator:
- In Illustrator, add comic-specific elements to your strip:
- Speech bubbles: Use these to add dialogue or narration.
- Sound effects: Use onomatopoeia or symbols like "BAM!" or "POW!" to enhance the visual storytelling.
- Other elements: Add motion lines, background textures, or other visual aids to help convey the story.
- Action: Adjust the placement of text and speech bubbles to fit the composition of your panels.
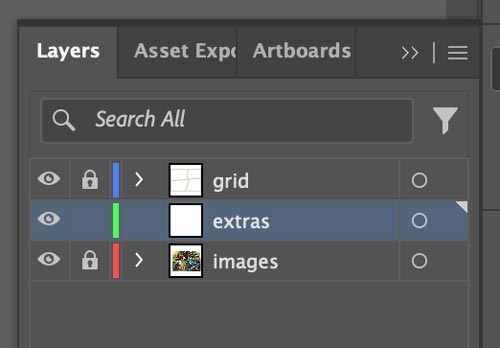
Insert a new layer between images and the grid.
Name it "extras"

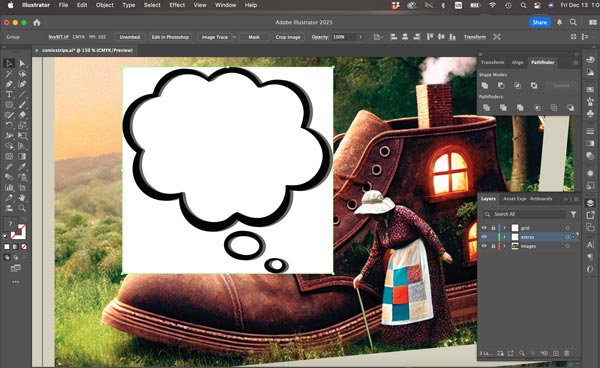
Based on your preliminary work, start adding comics elements, like speech and thought bubbles, etc.
These can be easily done by using basic shapes with extra paths added to them.

... and then united in Pathfinder.
You can also use any black-and-white image by converting it to vector path.
Paste an image of your choice.
Keep it selected.
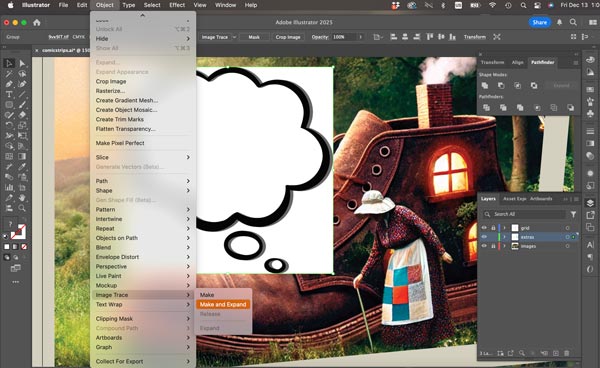
Object > Image Trace > Make and Expand
This will convert the picture into black and white vector shapes.
It will be grouped.
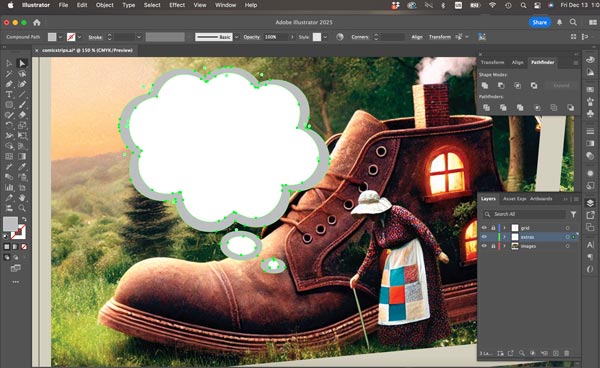
Use direct selection tool to select and delete the backgrounds.
Now you can also individually select the shapes and change colors, opacity, apply strokes, etc.
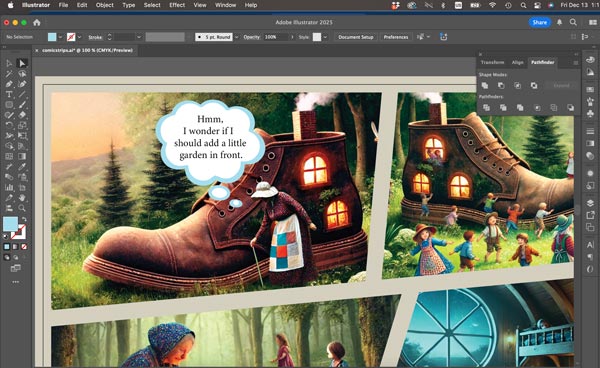
Add a text area
Choose appropriate font and font size and color
Experiment with colors.
Make sure the text is easy to read.
Continue to the next scene.