by JuliannaKunstler.com
GALLERY
STEPS
Learn how the two types of images can work together
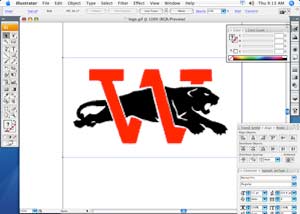
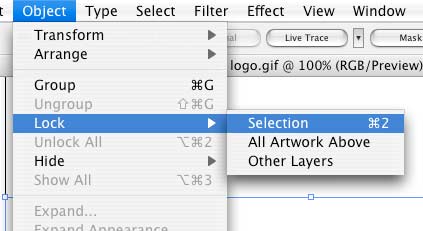
First - create a vector logo based on the bitmap image (image 1) (save it and open in Adobe Illustrator) You are going to use it as a template. First, let's lock it - so we don't move is accidentally
Select the logo bitmap (see how it is pixelated?)
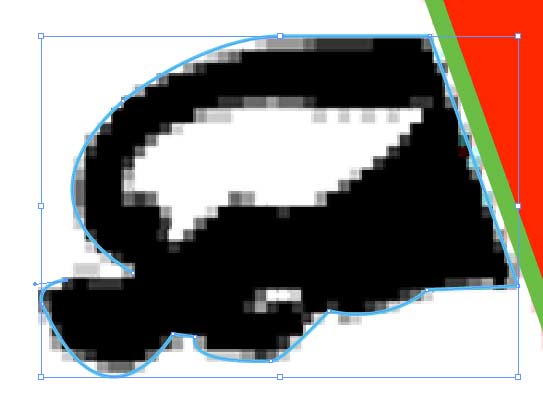
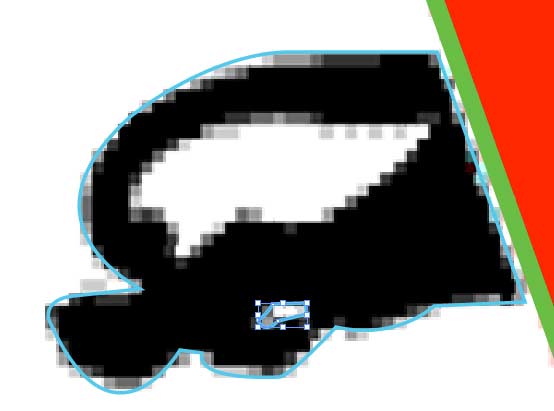
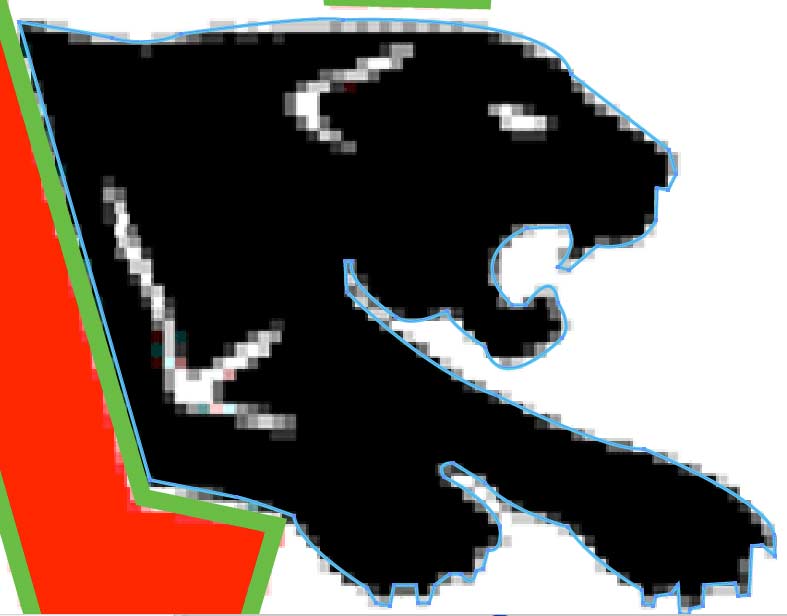
Start creating a path around the first shape. Remember, just clicking - creates straight segments, clicking and dragging - creates curves, Option (Alt) clicking on an anchor point - creates a corner point.
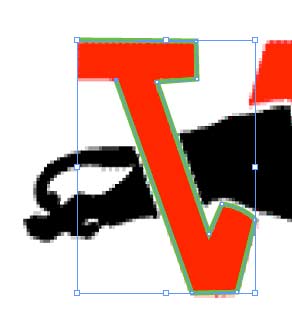
Continue tracing the rest of the shapes:
tracing curves can be more complex, but start with the biggest shape first. make sure that all the shapes you draw are "closed" shapes (that means you return to the start point and the cursor looks like a pen with a small "o" next to it).
Now trace a small shape:
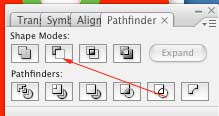
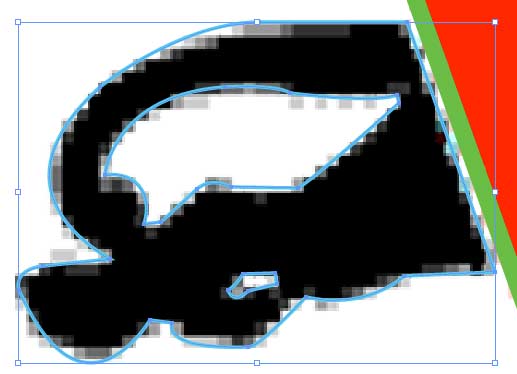
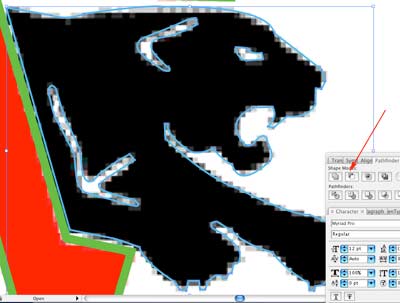
Select both shapes. Use "Subtract" button to "cut out the small shape". The click "Expand"
If it did not work - one of the shapes is not a "closed" shape. Redo them. Outline the next shape to cut out. Use pathfinder again.
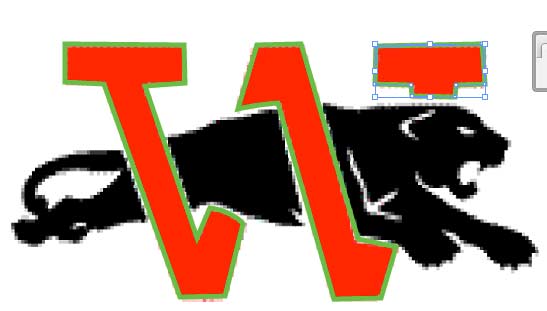
More shapes to trace:
Cut out small shapes using Pathfinder:
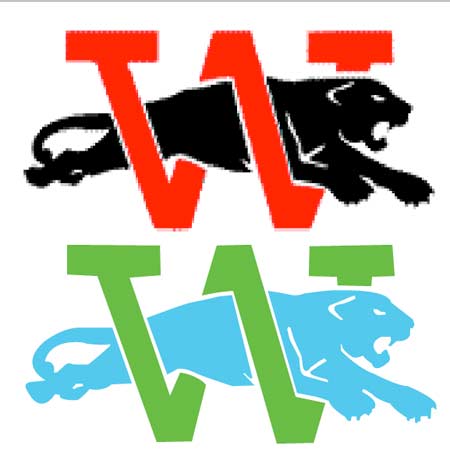
If you were to switch Fill and Stroke colors in the Toolbox, you'll see something like this
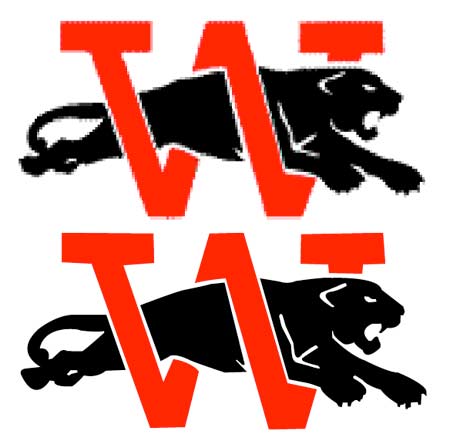
Change colors to Red and Black. See how the vector image looks better?
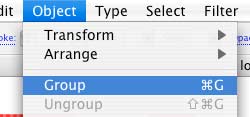
Select the entire logo. Go to Object > Group.
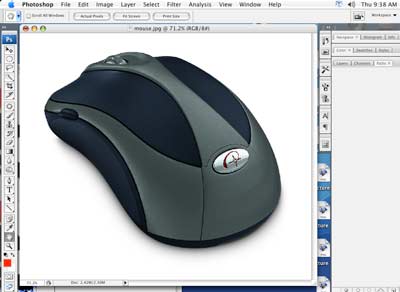
The first part of the project is done. Print it (don't forget your name). Let's combine the logo and an image of a computer mouse. You can use your own picture, or download mine (image 2)
Drag logo from Illustrator window to Photoshop
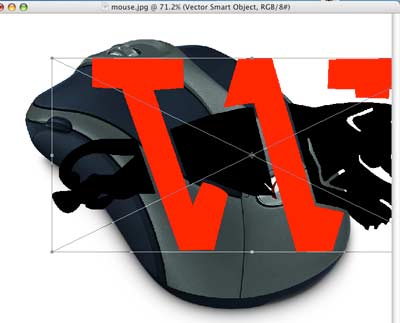
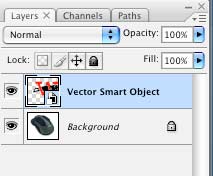
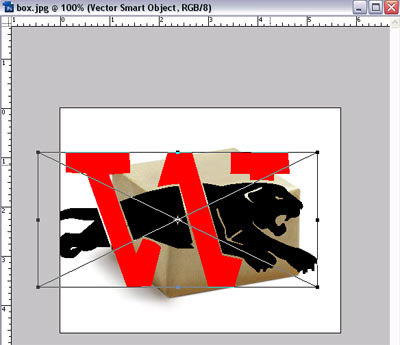
It will be placed on a separate layer as a "Vector Smart Object". You can resize and rotate it (in Photoshop) or edit it (in Illustrator) Double-click on it to "place" it.
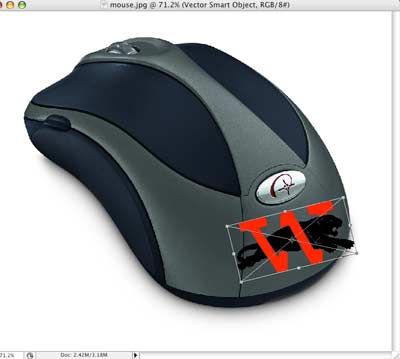
Resize it and rotate.
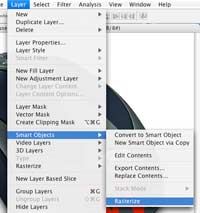
Then you'll need to rasterize it (convert vector to bitmap):
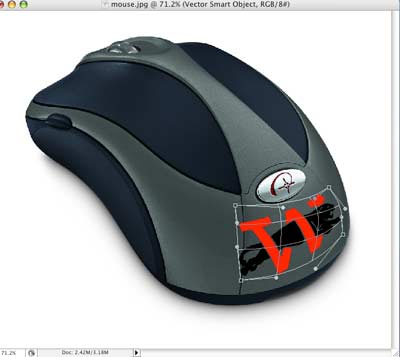
Use Edit > Transform > Warp to make the logo follow the shape of the mouse.
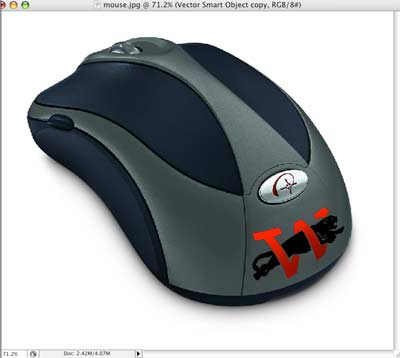
To change the lighting on the logo (light on the top, dark on the bottom): Duplicate the logo layer. Use Hue/Saturation option to make one layer darker and the other - lighter. (Desaturate a little and change the Lightness setting).
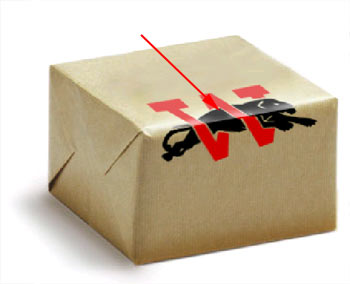
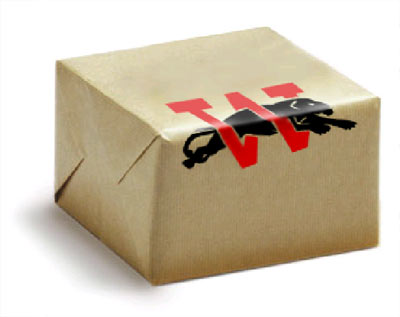
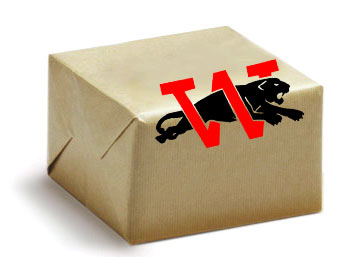
Sign and print. For the next assignment, download an image of a box. You can use mine (image 3) Drag the vector logo onto the box image.
rasterize, resize and rotate the logo.
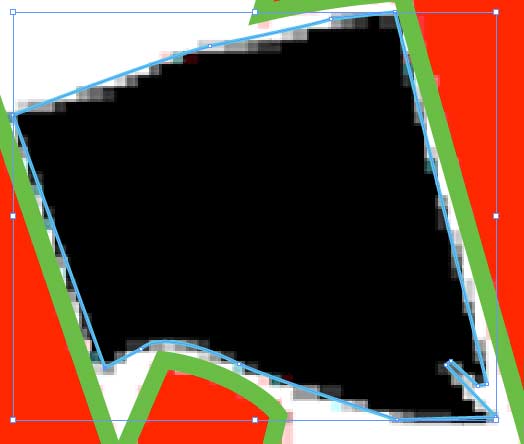
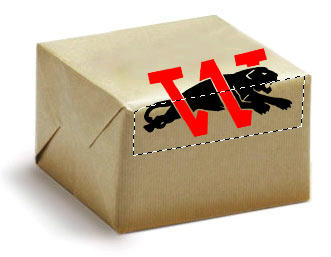
Use Polygonal Lasso tool to select the bottom half of the logo.
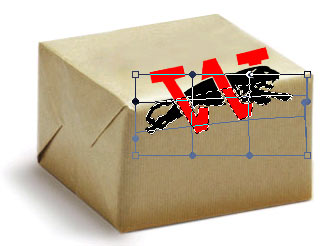
Use any technique you want to distort the bottom part of the logo to make it look "in perspective".
Distort the top part:
Lighten up the top part using Levels or Hue/Saturation options.
You can also blur it a little. Something like this:
|


 Select the Pen Tool
 Select "No Fill" option and a bright color for a stroke.
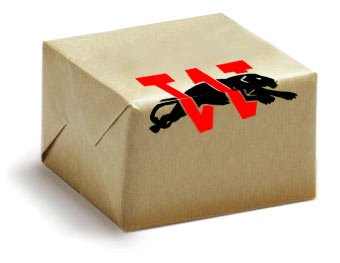
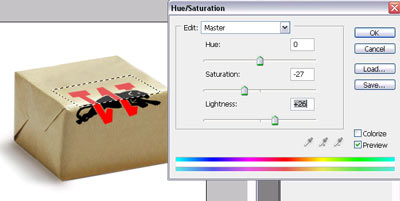
 Use Dodge Tool to lighten the edge of the box: