Business Cards
print ready
Adobe InDesign
by JuliannaKunstler.com
GALLERY
STEPS
Open Adobe InDesign. New Document. Copy the following settings (margins are set for .25 inches)
Your new document will be created. Margins are red.
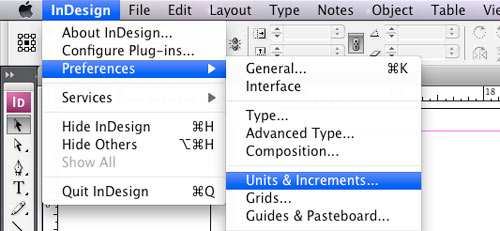
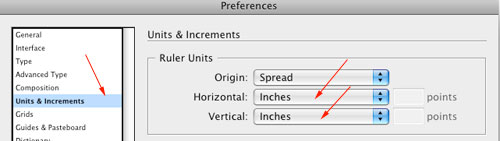
You need to change the rulers' settings to inches:
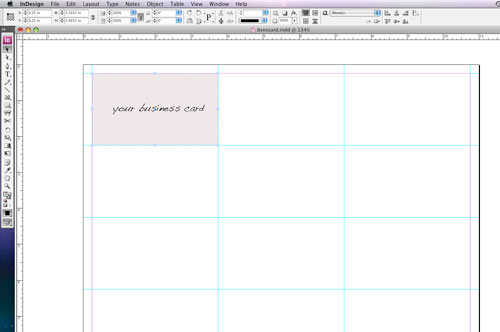
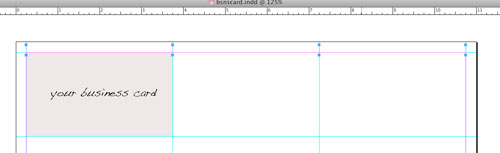
Drag vertical guides from the left ruler to the following X marks: 0.25... 3.75... 7.25... 10.75...
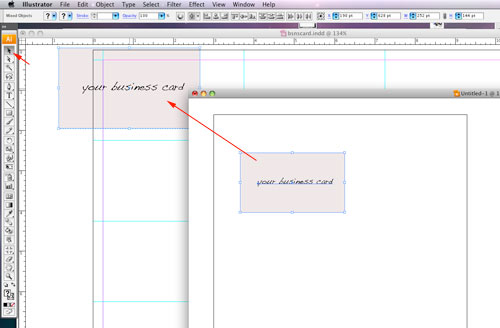
Open your logo in Illustrator. Select it all (including the background). If your background is plain white - you don't have to select the rectangle.
Position the business card to fit into the first cell.
The next step is to place the cutting marks. Use the Line Tool and draw a small vertical line over the first guide in the upper left corner.
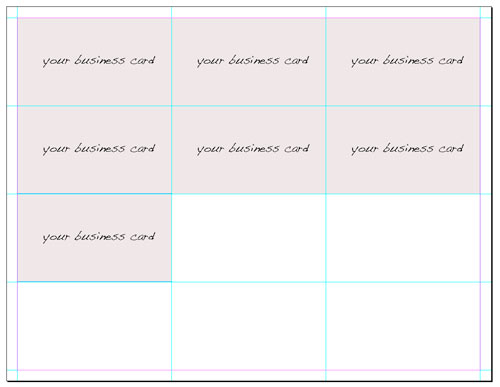
Duplicate the line 3 times and position them at X: 3.75.... 7.25... 10.75...
Select the lines (cutting marks). Option Shift drag them down.
Repeat the steps by placing horizontal lines at Y: 0.25... 2.25... 4.25... 6.25... 8.25... Now duplicate the card:
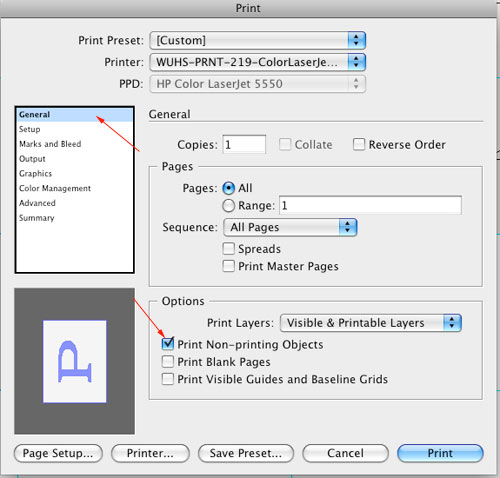
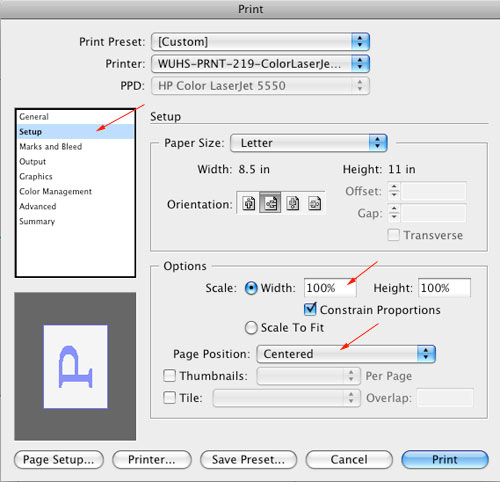
File > Save File > Print Use the settings below:
Cut the cards. Give me one! |