|
Launch Adobe InDesign
Create a NEW DOCUMENT
Set the paper size to TABLOID (11" x 17")
Set ORIENTATION to Landscape (as shown)
Margins are optional. You can leave the default setting of 3 points or make them 1 or 2. |
 |
Click OK
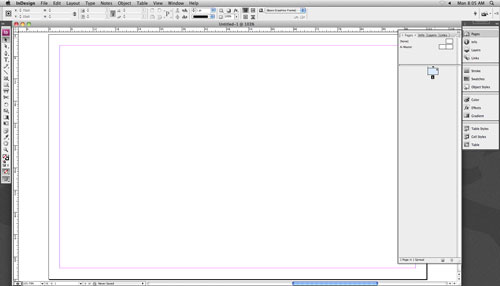
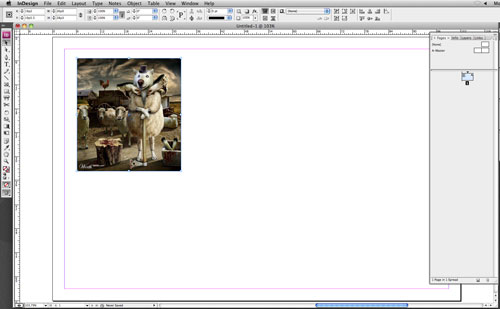
You will have your Document open.
The red lines are the printing margins that you set. Do not place anything outside them - it will not get printed. |
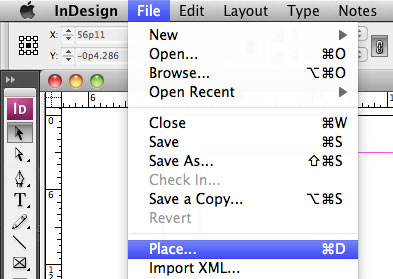 |
To place your picture in the document:
File > Place
Pictures are not physically placed in the document as they would in Microsoft Word, but they are linked to to picture file instead (like web page). This is done to minimize the file size. But, it you move or delete the picture file - it will be gone from the InDesign document as well. |
 |
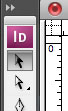
Once the image is placed, you need to resize it to fit the document.
You will be using 2 tools to do that. The reason is - One tool (black arrow) - will resize the image holder (a "window" that shows the image), another tool (white arrow) will resize the actual image.
Important: HOLD SHIFT as you resize!!! |
 |
Choose Selection tool |
 |
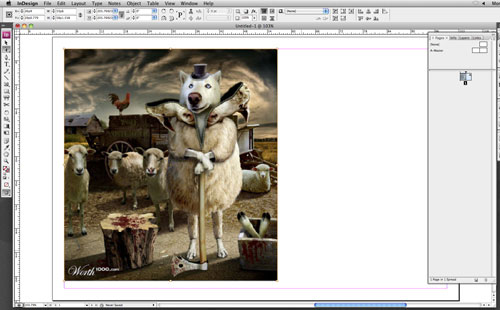
Resize the image holder. |
 |
Choose Direct Selection Tool |
 |
Hold SHIFT and resize the image |
 |
Choose Type tool |
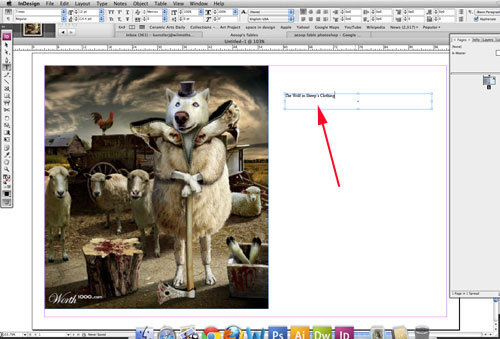 |
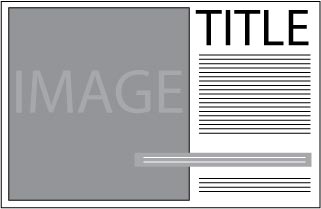
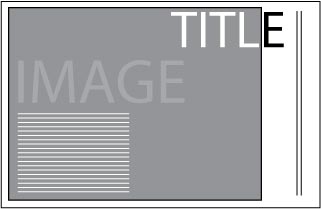
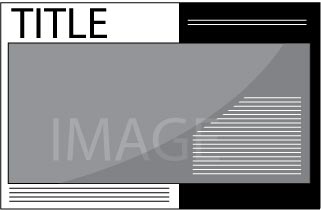
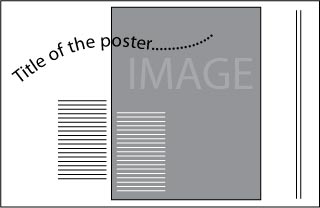
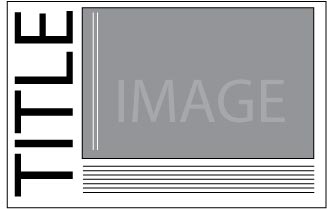
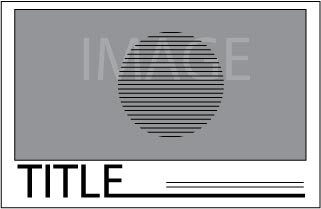
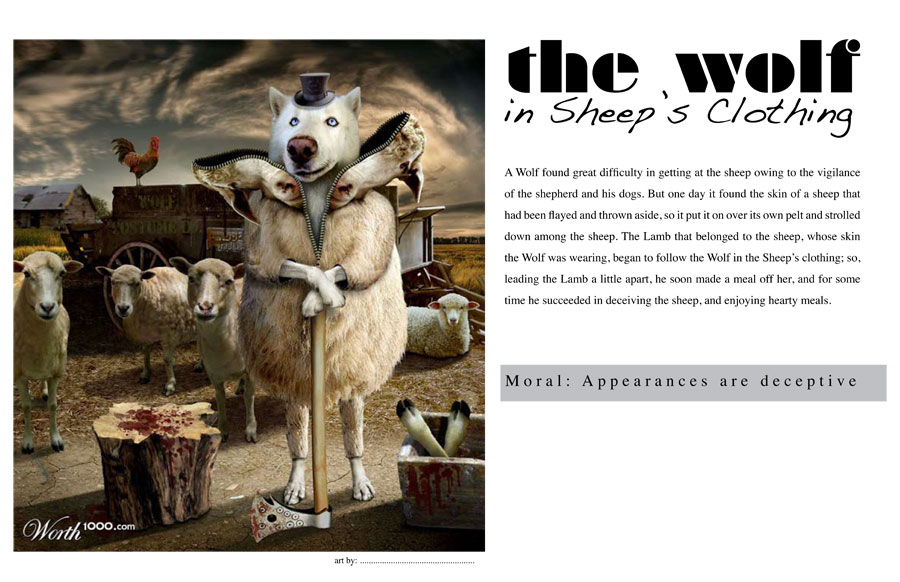
Drag a text box and type the name of the fable
You can split the title into parts |
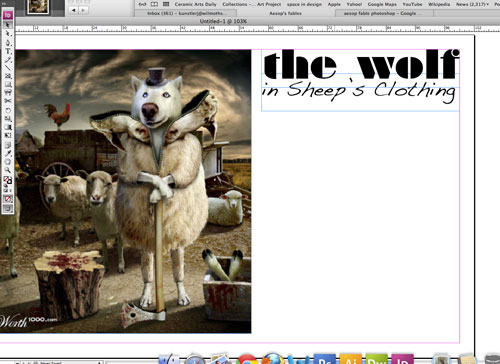 |
Choose appropriate fonts for the title parts.
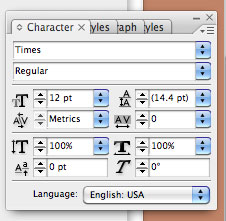
You can use setting in the Options bar at the top or open a Character palette (Window > Type&Tables > Character)
|
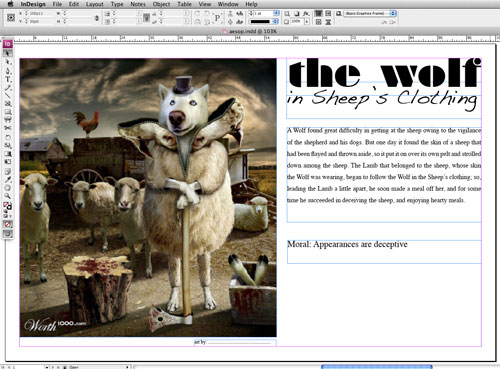 |
Paste the fable
Paste the moral of the fable into a separate text box. |
 |
You can use shape tools to emphasis certain parts of the fable. You can use any appropriate color or shape. |
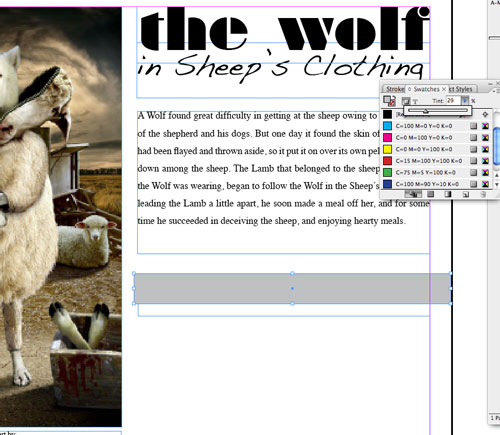 |
Just click and drag
(I am emphasizing the moral)
The rectangle will appear in from of the text box.
You will need to rearrange the items and place the rectangle behind the text |
 |
Select the rectangle
Object > Arrange > Send to back |
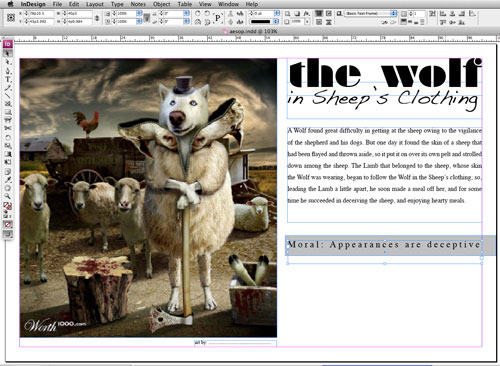 |
Go to Paragraph palette to set text alignment.
You can change the colors of the font too. |
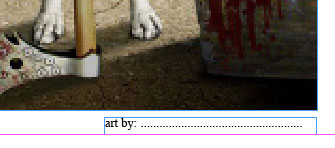 |
Don't forget to create a text box for your name. |
 |
Save the file.
|
 |
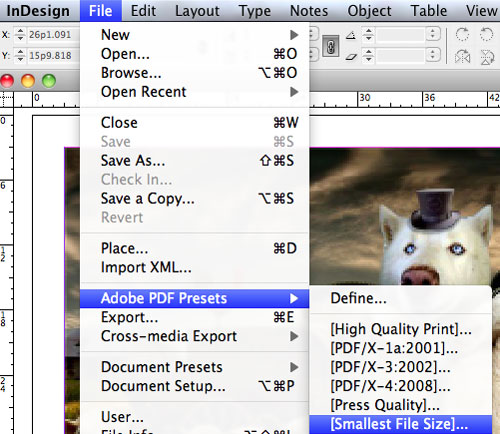
Optional: You can save a copy of it in PDF format.
When done - print! |