julianna kunstler logo
self portrait

oil pastels
Instagram icon
 

by JuliannaKunstler.com

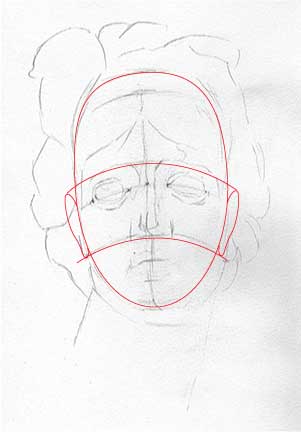
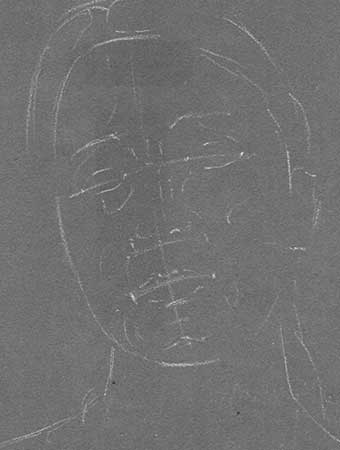
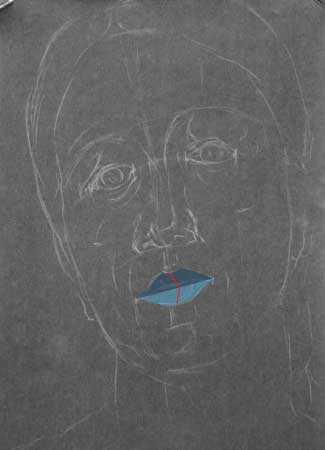
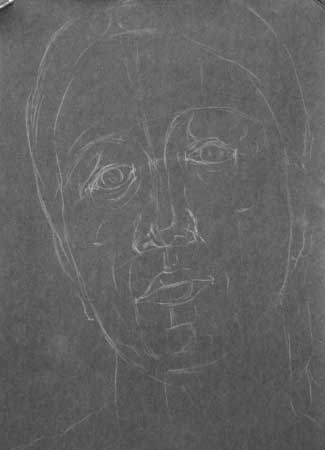
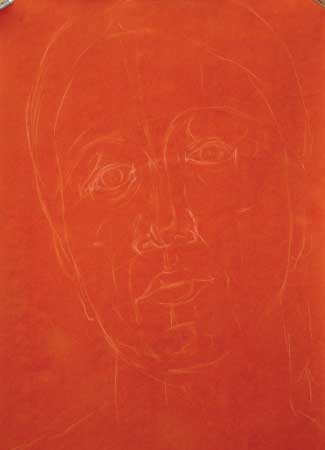
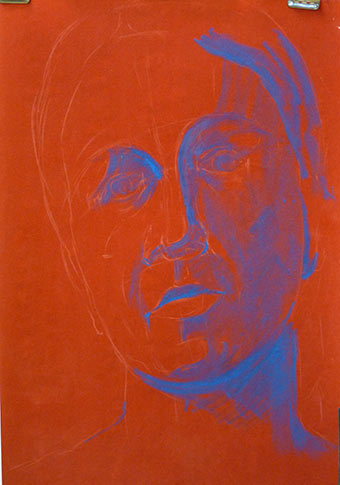
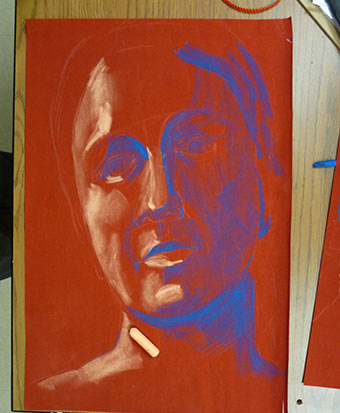
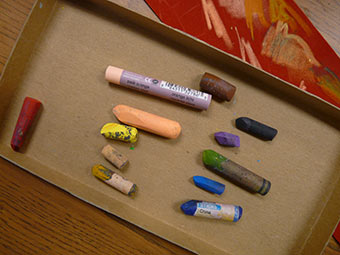
You are going to draw your self portrait on a velour paper, using a color pencil. Pick a color of the paper sheet. Any color will work. Use a similar color for your pencil.

Use very fine lines as this type of paper is not forgiving for too much erasing.

Drawing from observation is different than drawing from a photograph.

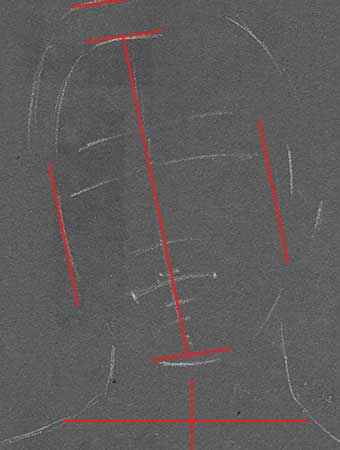
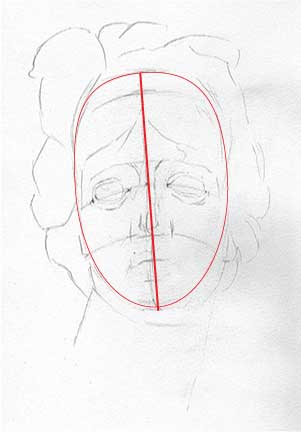
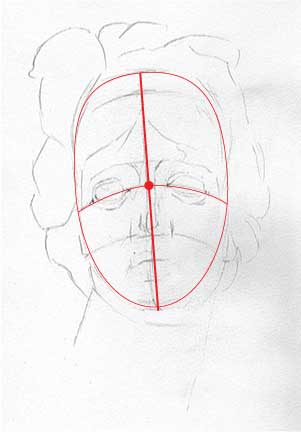
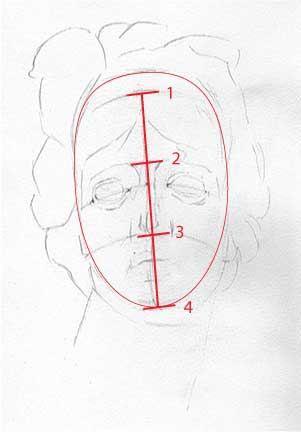
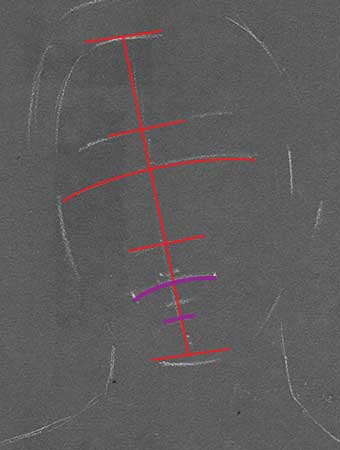
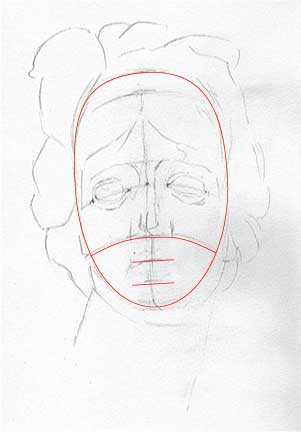
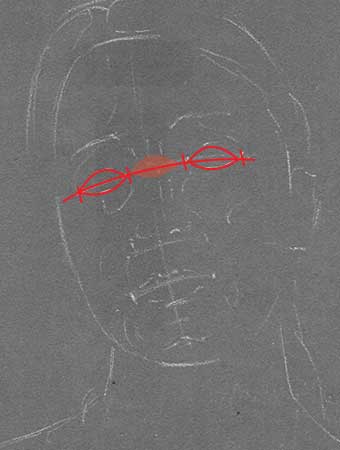
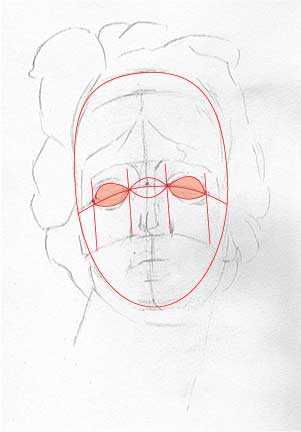
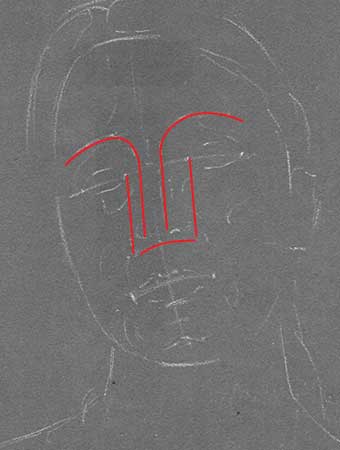
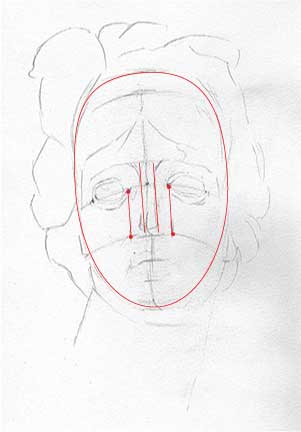
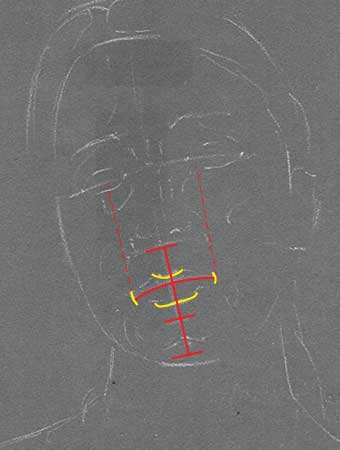
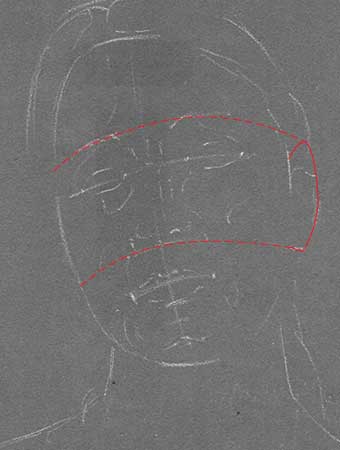
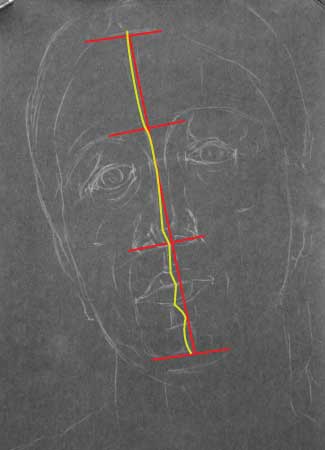
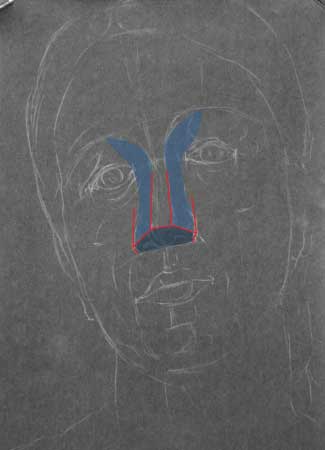
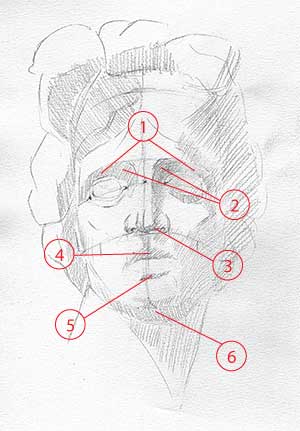
Use your pencil as a measuring tool to check the facial proportions

GALLERY

portrait

STEPS

drawing

portrait

Start you portrait from looking in a mirror and positioning your head so you feel comfortable. You are going to look back and forth between a mirror and your drawing paper. Eventually, your muscles will "remember" the position of your head.

Look at your face and think how it is different from an antique statue: how big the eyes are, how close they are, how big is the forehead, how wide or narrow the face is, how big is the mouth, hoe big or small is the chin, etc.

Place the center line according to the tilt angle of your head. Define the size of the head.

proportions

facial proportions

Follow the steps of drawing classic facial proportions, just make adjustments to your personal proportions.

Keep in mind the "Thirds rule" as you laying out the features.

drawing a portrait

Divide the lower third of the face into three parts.

Position the mouth line.

proportions

head drawing

Now you have most of your construction lines completed: you have a "face layout" ready for adding details.

facial proportions

Place the eyes outlines onto the eye line. Measure the distance between the eyes.

facial proportions

portrait

Divide the space between the eyes into 3 parts - position the nose there.

If your head is not in the straight front view - you have to measure these three parts as they are not even.

proportions

portrait

Draw the upper lip, the lower lip, and the corners of the mouth.

See how long is your mouth line in relation to existing elements (like eyes).

portrait

The ears usually fit within the middle third of the face: between the eye brow line and the nose line.

proportions

portrait

Add more details.

Do not shade anything at this point.

drawing a portrait

Please note:

If your head is turned - the center axis line will follow the form of the face (the yellow line).

portrait

Look at the nose and try to simplify its form:

You should be able to see at least 4 sides of the nose: top (middle) side, left, right, and bottom.

portrait

Pay attention to the outline of the lips. Stay away from drawing "leaf" shapes for lips. Their form is much more complex.

Also, keep in mind that the upper lip is normally shaded darker than the lower lip as it gets less light

drawing a portrait

Ready to color now.

oil pastels

oil pastels portrait

Now you are ready for coloring.

There are 3 steps to the coloring:

  • apply shadows
  • apply highlights
  • add details
oil pastels

Shadows:

Pick a color to fill in the shaded areas. Cool colors work god - blues, purples, greens.

Use a tip of a pastel for more intense and detailed shading

Use a side of a pastel to shade larger areas with softer shadows.

oil pastels portrait

Apply shadows to all dark areas. Use different pressure to achieve wider range of dark values.

oil pastel portrait

Highlights

Pick a lighter color (not WHITE) and apply all highlights and light values.

Details

oil pastels

Pick a set of colors that you are going to use for your portrait. How many? You decide how colorful you want to make your drawing.

Here are the colors that I used.

oil pastel drawing

Use a pastel of a color that matches your paper to correct coloring mistakes (remember - you cannot erase oil pastels) - just color over you mistakes.

Add color variations in shaded areas and lit areas. Start defining details.
Do not outline facial features!

portrait

Experiment with colors!

Be creative and have fun.

...