julianna kunstler logo
Textures & OpArt

textured spheres design
Instagram icon

by JuliannaKunstler.com

Learning targets:

  • Textures
  • Realistic drawing
  • Repetition & pattern
  • Use values to create depth
  • Manipulate lines to create an illusion of depth
  • Manipulate textures for a 3D sphere illusion.
  • Colored pencils shading technique
  • Color schemes
  • Optical Illusion

There are 3 steps to create this project:

  • draw the design
  • draw the textures
  • follow the coloring technique to make the design colorful, unique, and three-dimensional

GALLERY

opart with texture spheres

STEPS

drawing

optical design drawing step

Use #2 pencil. Sharpen it!

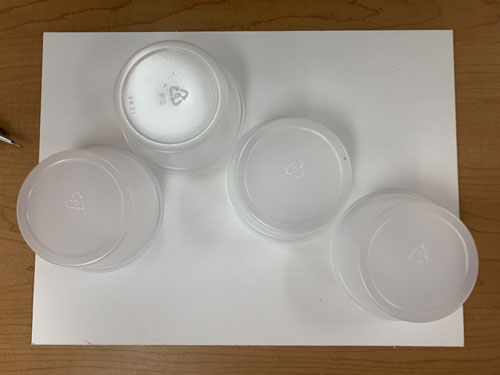
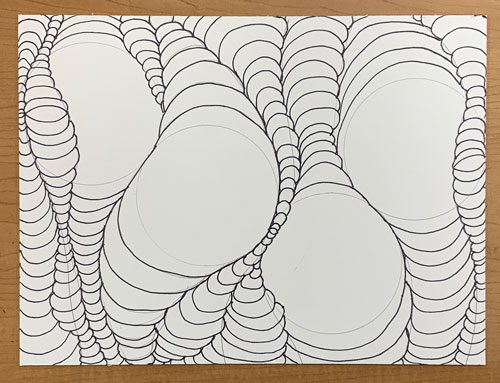
Arrange stencils to draw 4 circles.

They do not need to be the same size, but they need to fit in the board and connect (not overlap).
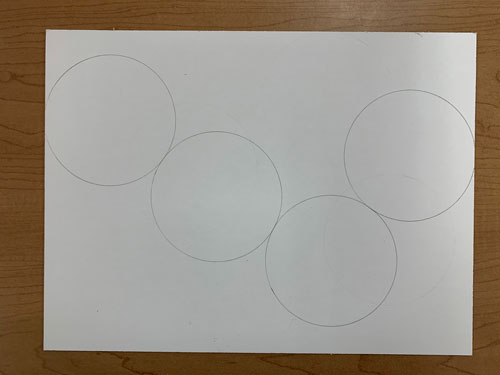
optical design step

Trace them.

optical design drawing step

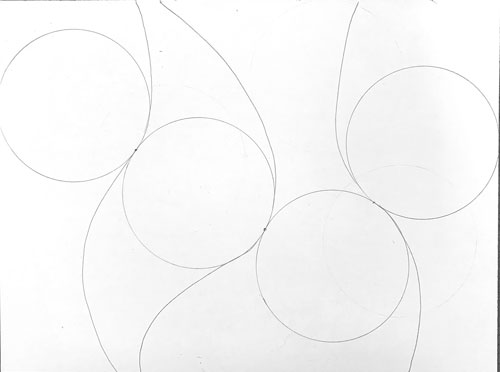
Draw curved lines from top to bottom through circles' connection points.

drawing details

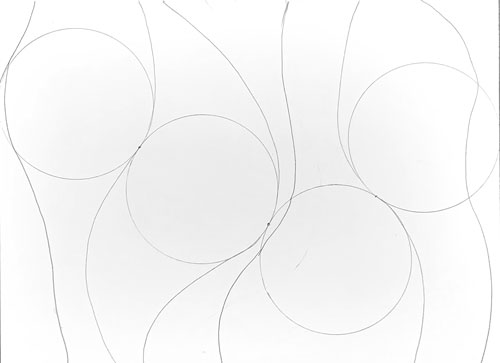
Add a few more curves.

This time the lines can overlap the circles (a little).

optical design drawing

Pick one section.

Draw upward curves above the circle.

Use lines as guides for their width.

Draw downward curves below the circle.

This will complete your first section.

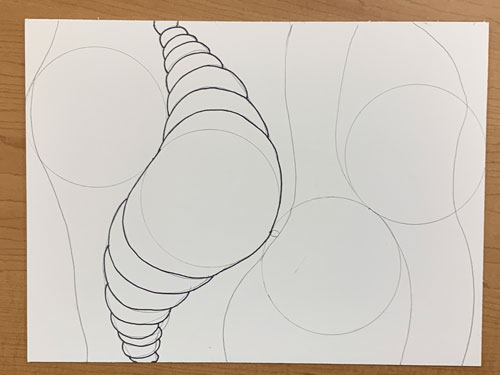
Outline the curves carefully!!!!

If you are planning of drawing some kind of "soft" texture for this circle - do not outline it with a marker. You might want the texture to expand outside the circle a little.

If you are comfortable drawing the curves with a marker - continue doing so. Otherwise you can draw them with a pencil first.

For the additional sections:

Start with a small circle someplace between the big circles.

Then add curves the same way: upward - above it and downward below.

Complete the drawing.
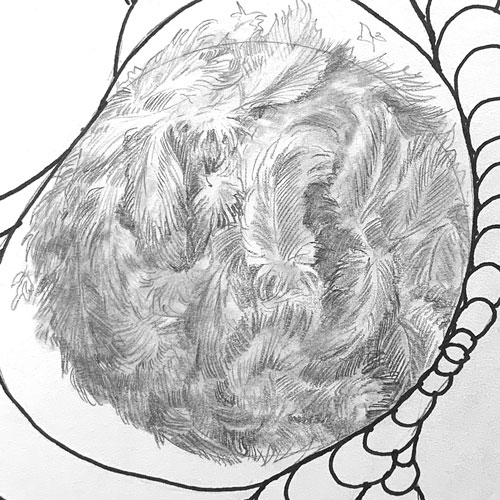
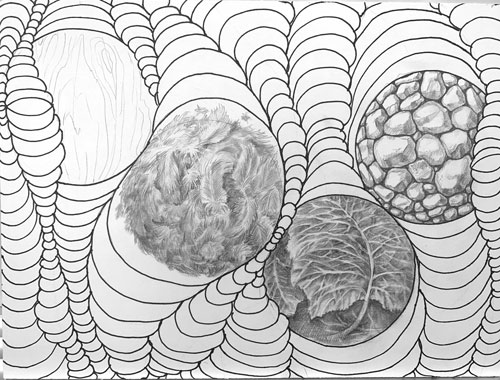
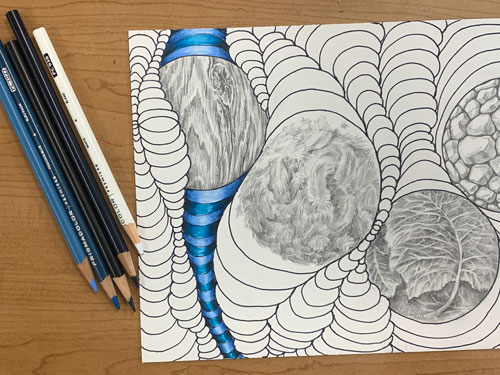
adding texture

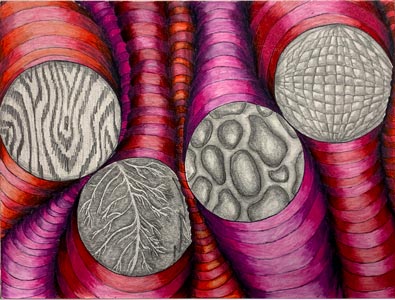
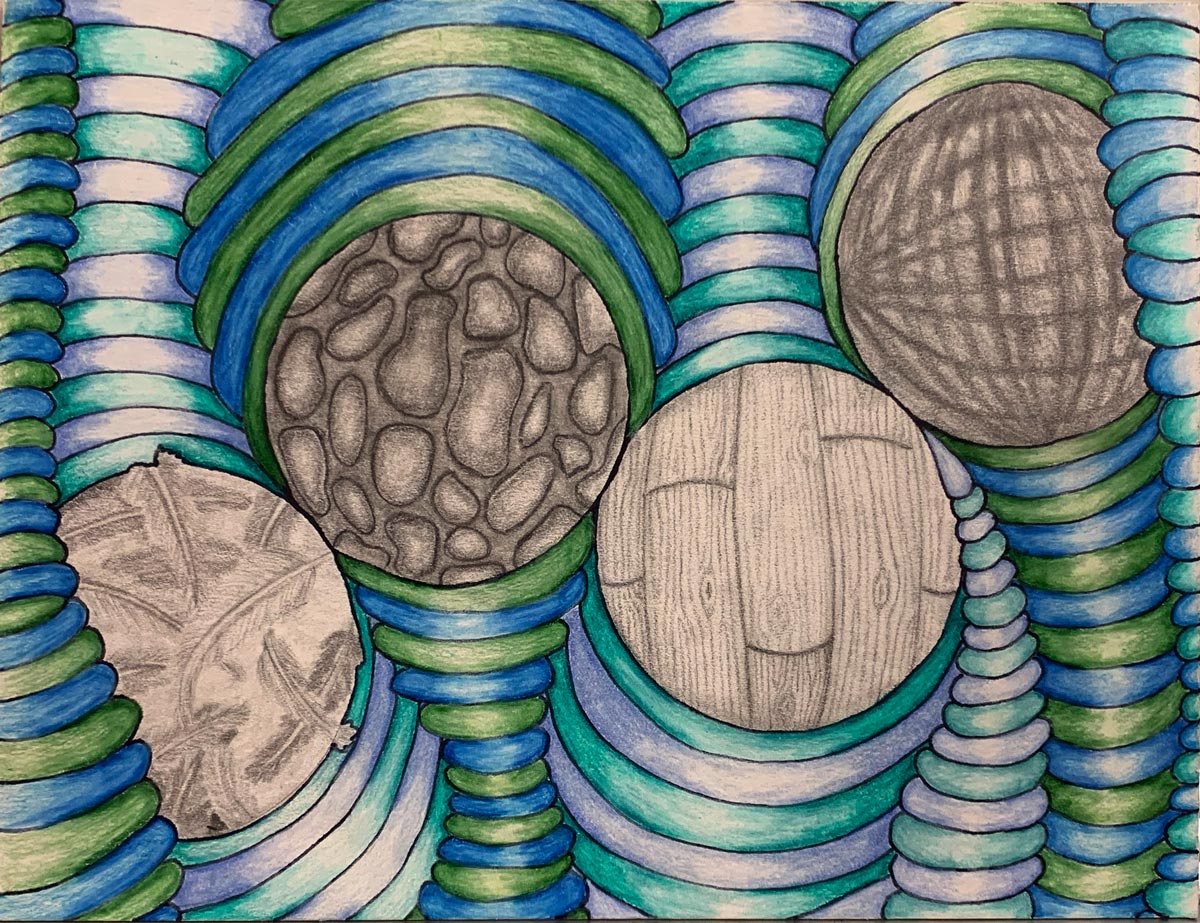
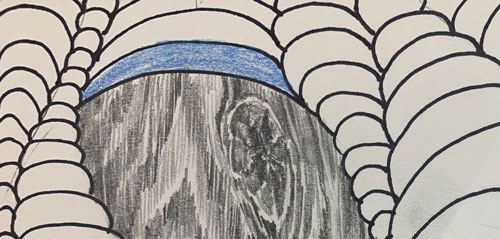
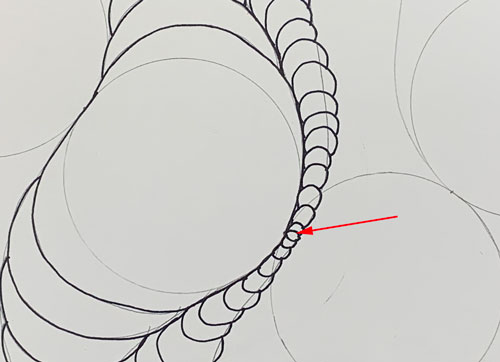
Before you apply textures - visualize each circle as a sphere. You will need to create an illusion of each sphere to have a texture. Texture should support the 3D illusion (wrapping effect).

All straight lines become curves that support the surface bending.

Texture elements become bigger in the center and smaller around the edges.

Content for class "step" Goes Here

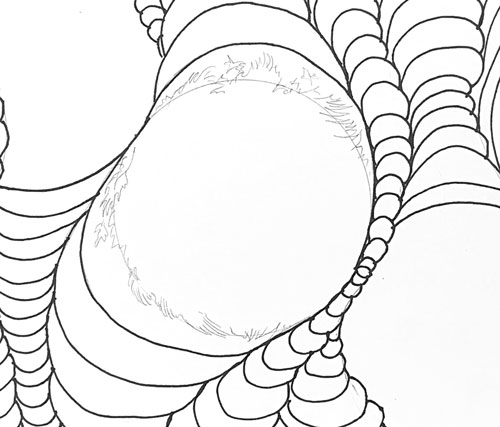
For the soft textures - draw additional outlines.

All textures should be realistic.

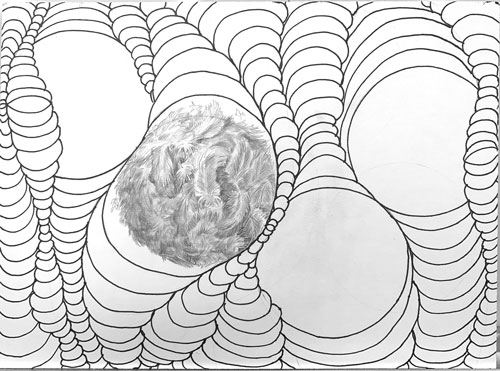
Complete your first texture.

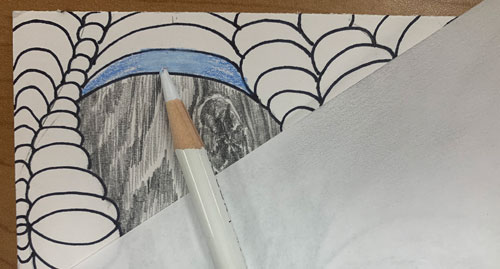
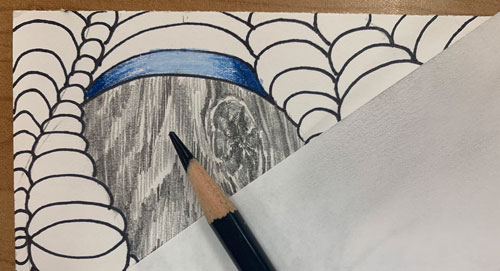
Use blending stump and eraser as additional tools.

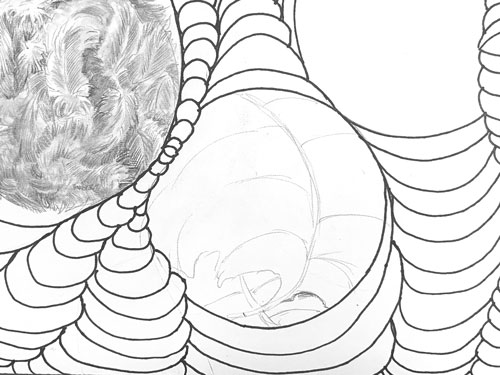
Lay out shapes for your next texture.

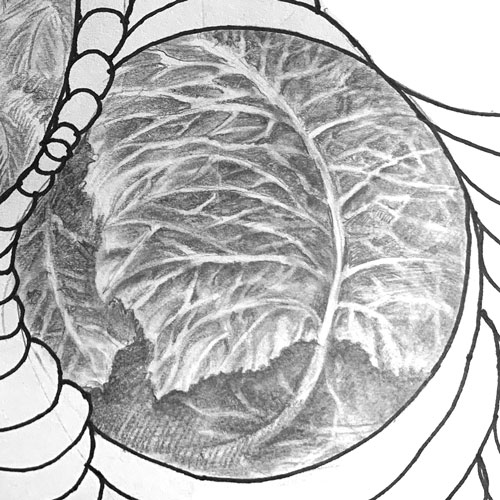
Complete texture # 2

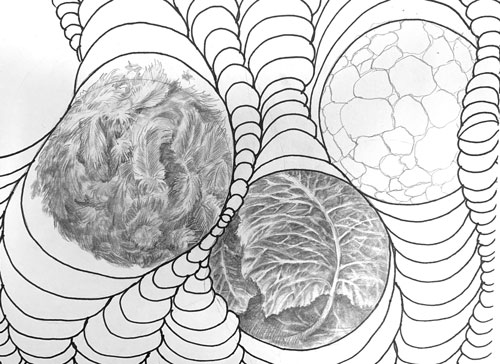
Draw layout for the next texture shapes and lines.

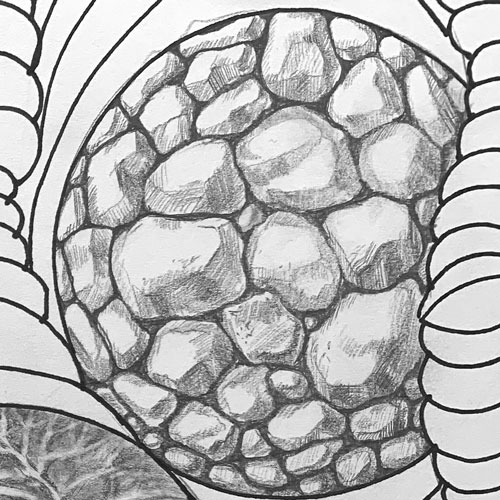
Complete texture # 3

Now all texture balls are completed.

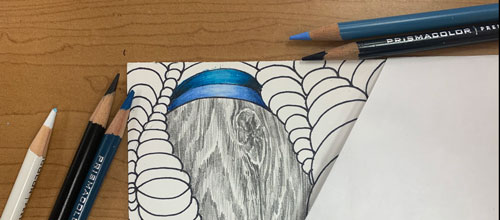
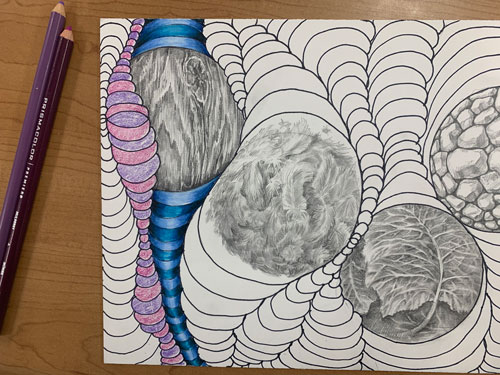
Next step is coloring.

coloring

optical design coloring step

You can use a monochromatic or an analogous color scheme for a section.

Pick a med-value color and shade lightly inside one area.

optical design coloring step

Use white pencil and blend the central part.

color scheme

Use a darker shade of your color an color both corners of the area.

optical design coloring step

Now back to your 1st color to blend all shades and tints together.

It took 3 pencils to complete the area: mid-blue, white, and dark-blue.

optical design coloring step

Now I repeat the steps with different blues:

dark-blue, white, and black

A total of 3 pencils.

add highlights

Repeat the steps to complete the section.

optical design coloring step

I used two different violet color pencils for my next section.

To make things faster - I lightly shaded all areas in the section.

Then I would use white for the middle part, and darker colors or black for the corners.

The 1st color again to blend everything together.

Keep going!

Pay attention to the quality of the coloring. We need nice, solid, full color shading!

You can get creative with colors!

Check out this assignment:

optical design

Optical design

Enjoy!