julianna kunstler logo
linoleum printing

reduction method
Instagram icon

by JuliannaKunstler.com

linoleum print

You are going to make multi-value/color linoleum prints.

Normally you would use multiple printing plates (linoleum boards) for this type of printing. Here we are going to use just one. We are going to print in steps, continuing to cut the linoleum plate as we print.

Info about basic 2-color linoleum printing you can find here:
printmaking
printmaking

GALLERY

multicolor linoleum print

STEPS

reference image

image

Start with a drawing or a photograph. Best to use pictures with a strong contrast.

I am going to do the computer manipulation with your picture to break it into 5 - 6 values.

grey scale

If you want to do it yourself, here are the steps to follow when you open your image in Adobe PhotoShop:
1. Make sure the size of the image is within 8 1/2" by 11" (Image>Image Size)
2. Remove all colors: Image>Adjustments>Desaturate
3. Apply filter: Filter>Artistic>Cutout... Number of levels: 4 or 5

Note: your prints will be mirror images of your picture.

If you don't want this to happen:

4. Image > Image Rotation > Flip canvas horizontal

After you printed the image - it's time to trace it onto linoleum using a transfer paper.

values

Make sure that the dark (blue) side of the transfer paper is facing the linoleum. Then place the picture on the top of it.

Tape the picture and the transfer paper onto the linoleum.

Proceed by tracing every line you see with a red pen (so you can see what's been traced). When you finish, take off the picture and copying paper.

Make sure not to throw out your picture, because you will need it for the following steps.

Next - number the values. Find all white shapes and number them as 1. Then find the lightest grey shapes - mark them as 2. Then mark the next darkest shapes as 3, the next darkest - as 4, etc....

orchids values

Trace all lines on the linoleum with a black Sharpie.

This is what it should look like.

white areas

Use a pencil to lightly shade all areas marked 1 (all white spots)

These are the areas you are going to cut out first.

cutting

linoleum printing setup

IMPORTANT:

Always use a metal bench hook to prevent linoleum from moving while carving it. This way you won't need to hold it with your other hand (and cut yourself!!!)

lino cutters

The linoleum cutters come in different sizes.

Use V-shaped small blades to "outline" the shapes first.

Use U-shaped bigger blades for larger areas.

warming plate

Warm up the linoleum before cutting.

It should be just warm - not hot. If you overheat it - it becomes more difficult to cut.

cutting bench

Cut away from yourself. You can rotate the linoleum as you change the direction of the cut, but don't cut it towards yourself.

And... never... ever... put your other hand in the direction of your cut.

linoleum

When you cut all white areas - time to print!!!!

printing

mix printing ink

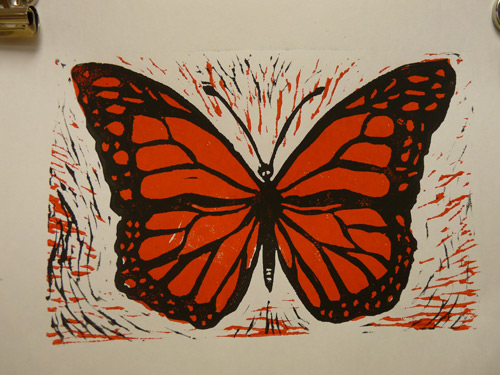
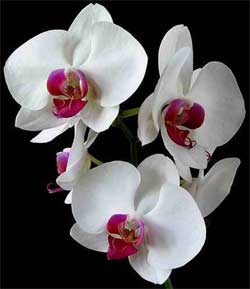
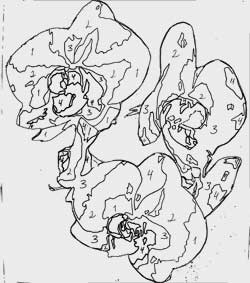
Pick a color for your prints.

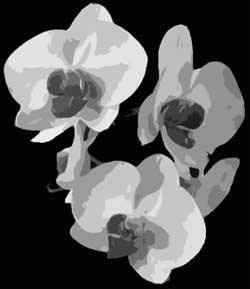
You are going to use different values of this color.

Start with the lightest possible value.

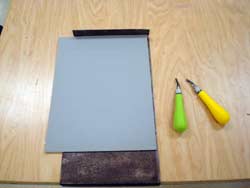
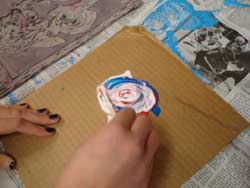
Place some white ink on a board an add just a tiny bit of a color.

Use a craft stick to mix the color.

rolling ink

Roll the ink on the board: up and down, right and left.

The goal is to distribute the ink evenly on the roller.
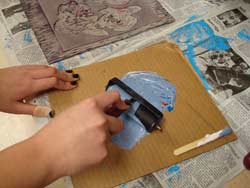
lino printing

Roll onto linoleum.

Don't press too hard on the roller.

Again, the idea is to distribute the ink evenly on the linoleum.

multicolor linoleum printing

Place the linoleum onto the printing board.

Important: The upper left corner goes into the inner corner of the board.

printing

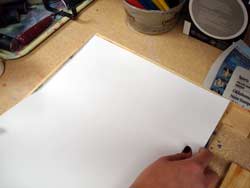
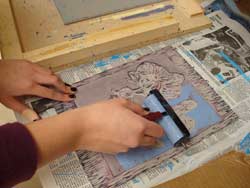
Place a piece of printing paper on the top of the linoleum.

Important: The upper left corner of the paper goes into the outer corner of the board.

The alignment is really important because you want all your colors to align!!!!!

print

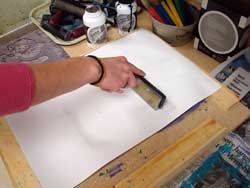
Use a clean brayer to roll over paper.

print 1

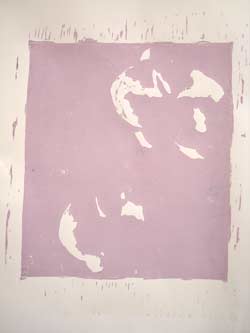
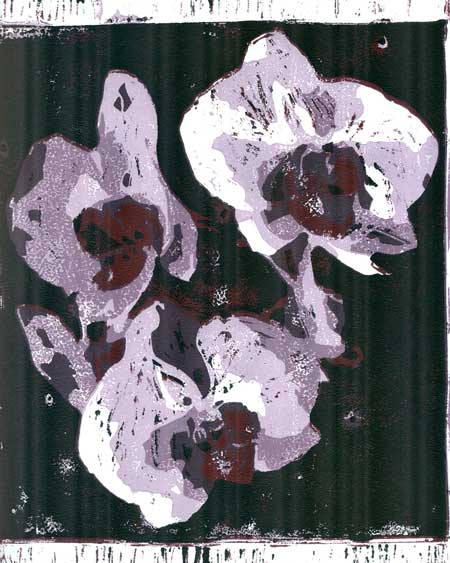
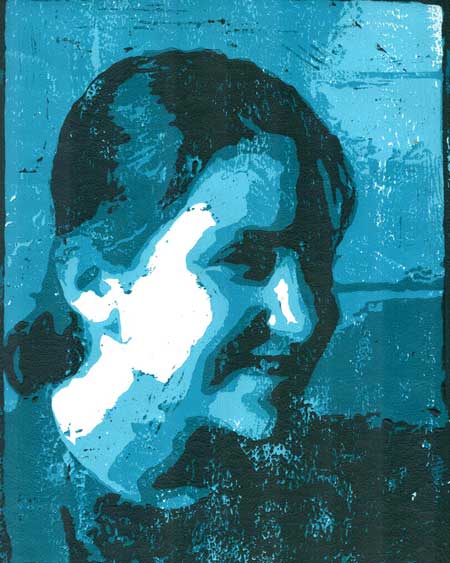
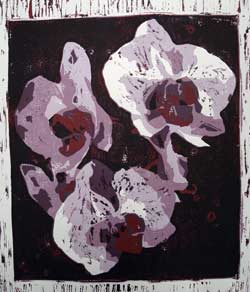
Your first print will not look like your picture.

That is because you are going to add more details to it as you print next values.

Print 10 pieces!!!

Lay them flat to dry.

Wash your linoleum and the roller.

print 2

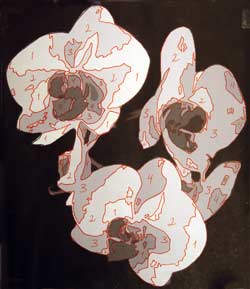
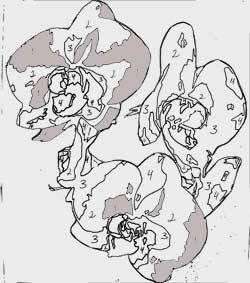
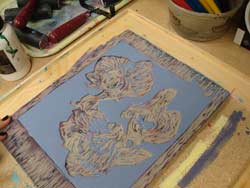
After the linoleum has dried - use a pencil to shade all #2 values (the lightest Grey).

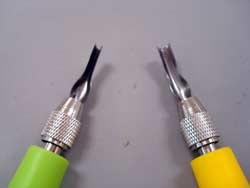
Warm up the linoleum ant cut out all shaded areas.

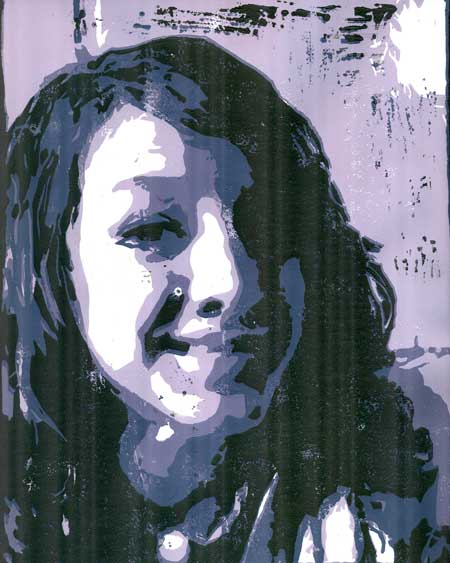
Mix your second color - a bit darker than the first one.

Print right over your first prints (all 10).

Wash everything after you are done.

print 3

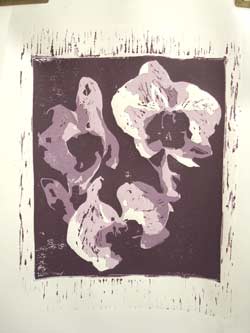
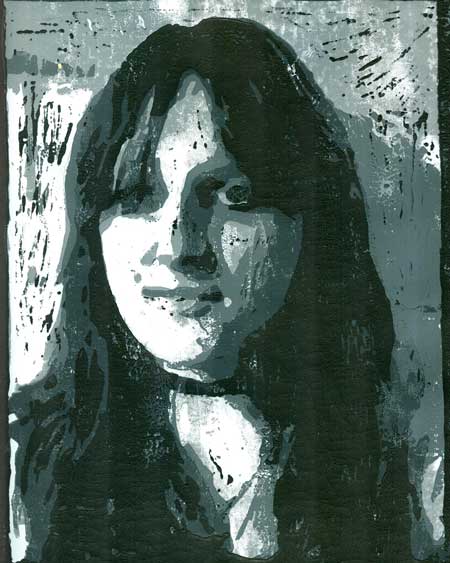
Continue cutting and printing. Each time use a slightly darker ink.

See now why the alignment is so important?

print 4

When you are done with the last color - sign them.

At the bottom right corner of the print, right under the image write your name and the print number ( 1/10, 2/10, 3/10.....)

Use a #2 pencil.

Turn in one of the prints.

...