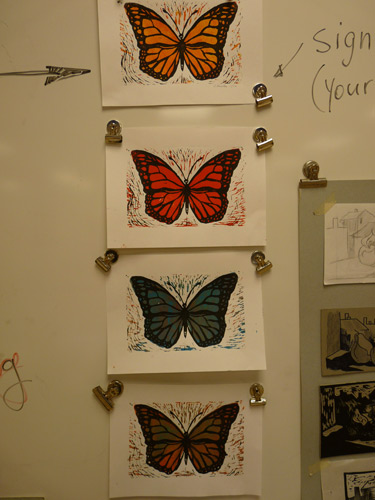
by JuliannaKunstler.com
STEPS
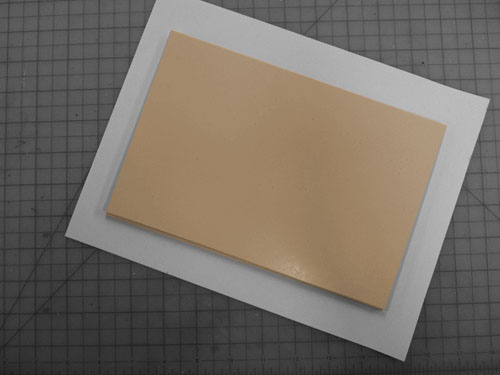
Place the printing block over your pencil drawing.
Make sure the edges are perfectly aligned.
You can try using the butterfly image:
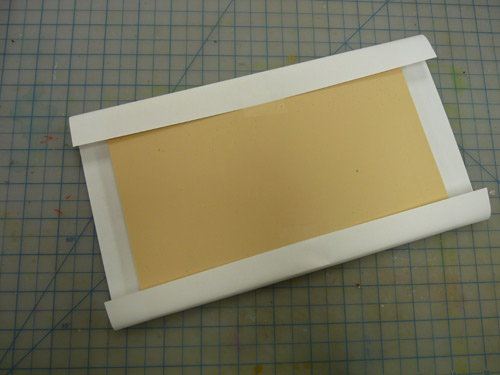
Fold the sides of the paper and tape them to the block to secure the drawing.
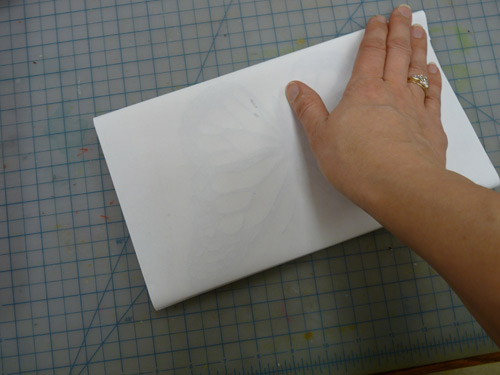
Flip it over and rub the drawing onto the printing block.
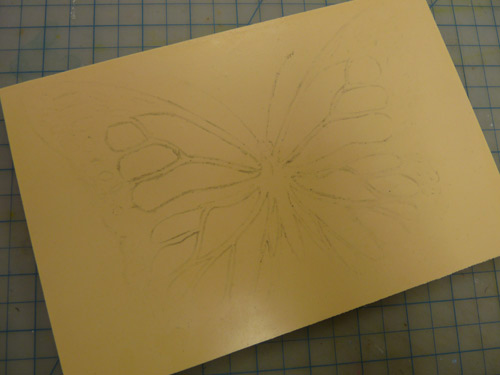
Remove the drawing.
The outline of the drawing should be transfered to the printing block.
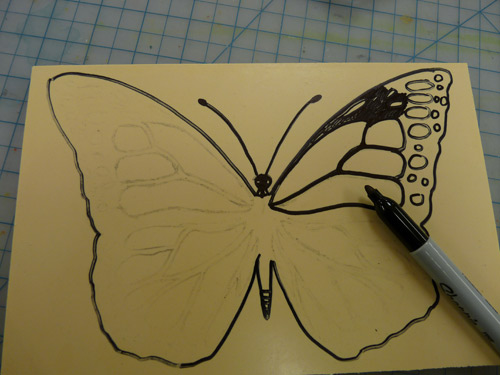
Outline everything with a Sharpie.
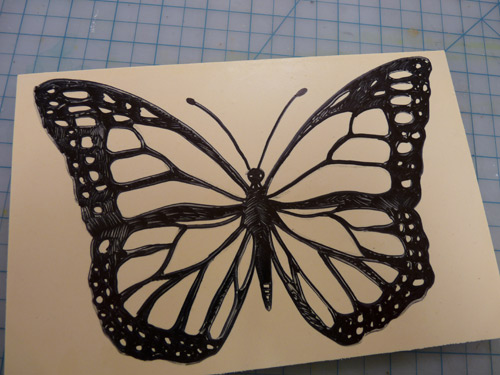
Fill in all black shapes.
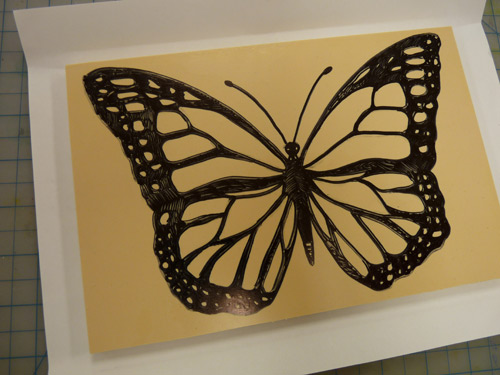
Place the other side of the printing block onto the drawing.
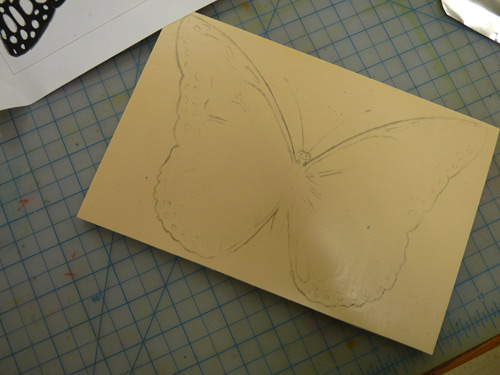
Transfer the image.
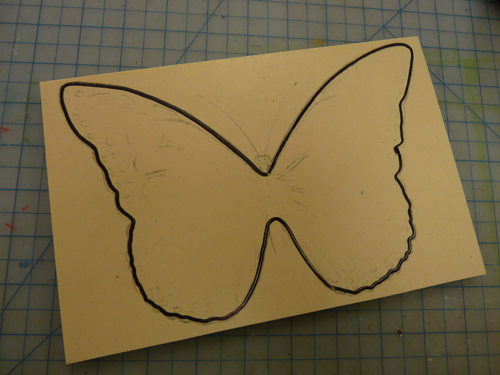
Trace the "color" shapes only.
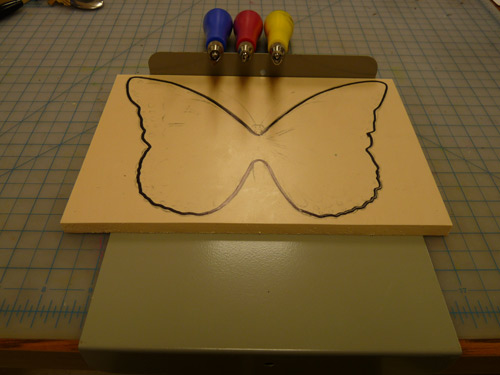
Place the "color" side of the printing block onto a bench hook for safety.

Choose 3 linoleum cutters:
1. Small blade (for details)
2. V-shape blade for outlining
3. U-shape blade for larger areas
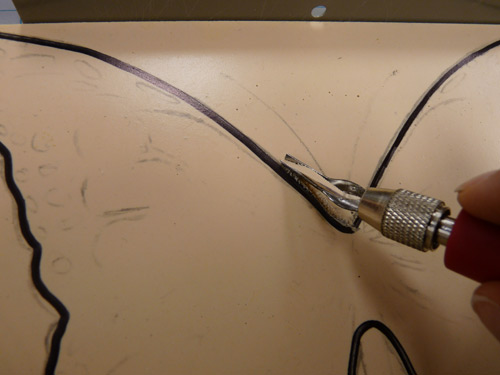
Start cutting with a V-shape blade.
Outline the shapes.
Cut away from yourself.
You can rotate the printing block as you cut.
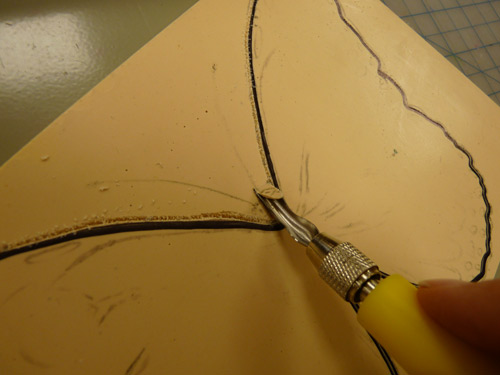
After you are done outlining - use U-shape blade to remove the background.
Use short cuts.
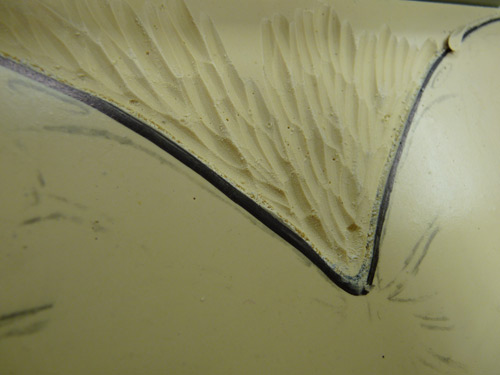
This is how it should look.
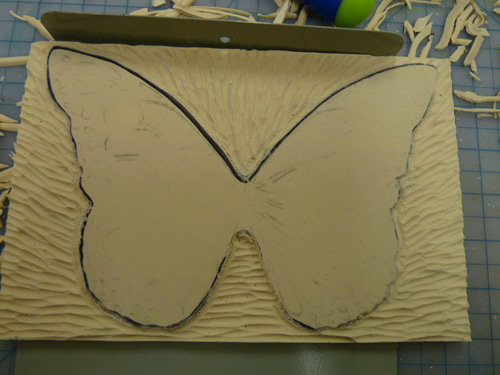
Once your "color" side is done - flip the printing block.
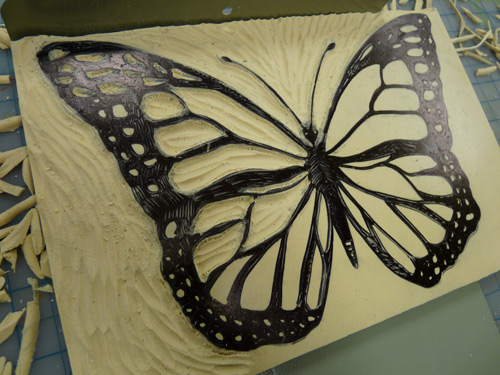
Cut out all shapes that are not black.
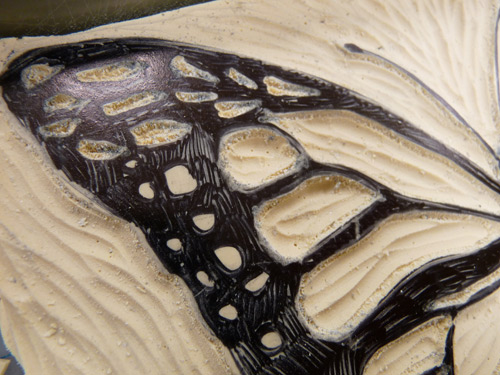
This is what it should look like.
Now it's time for printing.

Protect the area with newspapers.
Mix at least two colors of the printing ink using craft sticks.
Use a roller to transfer ink onto the block.
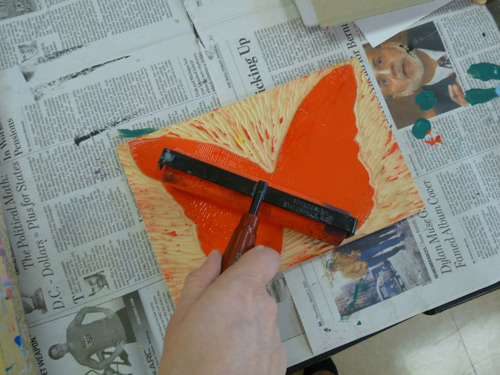
Make sure it is covered uniformly.
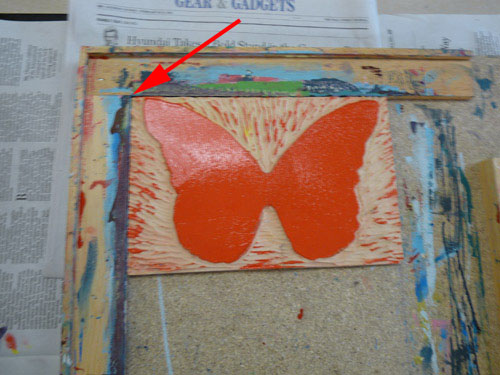
Place the printing block onto the alignment board.
Align the corners.
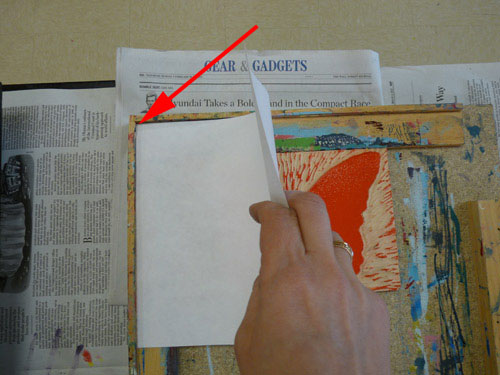
Place a corner of printing paper in the upper corner of the board.
Let the paper fall onto the printing block.
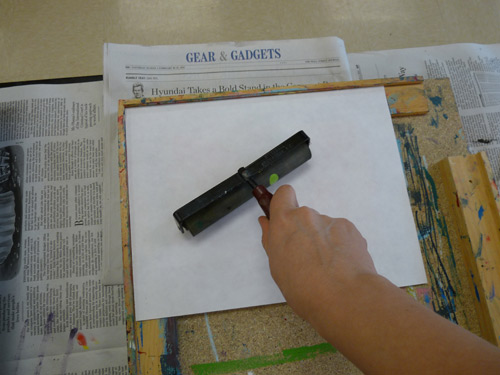
Use a clean roller to transfer ink onto the paper.
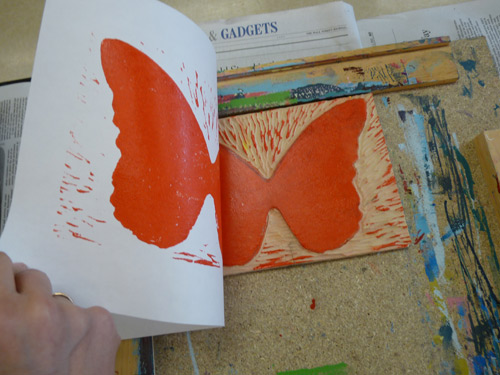
Lift the paper.
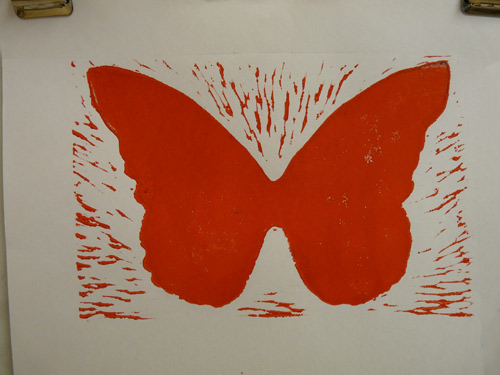
Let the prints dry!
Wash the printing block.
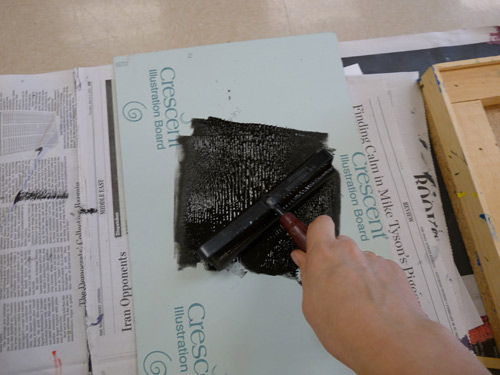
Use black ink.

Apply black ink onto the other side of the printing block.

Align it the same way on the board.
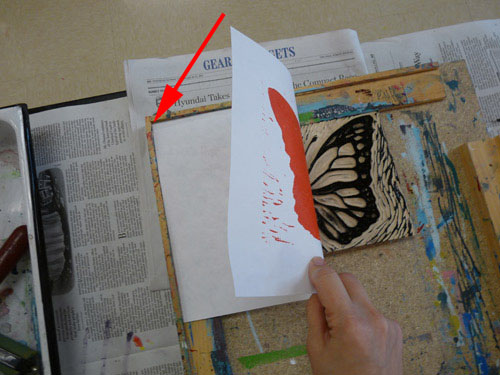
Use your "color" prints for printing
Align paper exactly the same way on the board.

Lift the print carefully.
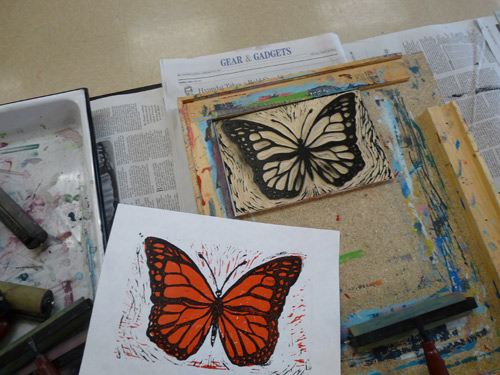
Let it dry.
Print the other 9 copies.
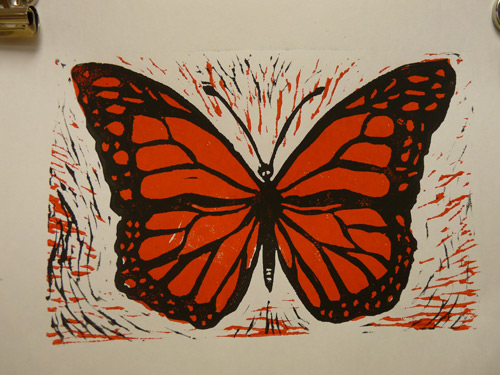
Sign your name and year in the bottom right corner, just below the print.
